
Android has a built-in browser called WebView that any app can use, which makes it easy for developers to display webpages without actually having to build an internet browser into their apps. But WebView is a stripped-down, bare bones browser with no ties to Android's default browser, Chrome, so none of your synced data like bookmarks, passwords, and history is available when an app is using WebView to display a page.
To remedy this issue, Google debuted a new Android feature called Chrome Custom Tabs, which essentially allows developers to use Chrome as their in-app browser instead of WebView. This means that apps can display pages internally using a faster and more secure browser in Chrome, which comes with the added benefit of having all of your saved passwords and synced data right there waiting for you in any app.
- Don't Miss: 6 Surefire Ways to Speed Up Google Chrome
- Don't Miss: Convert Your Favorite Android Apps into Chrome Apps
But as these things go, developers have been slow to adopt the new Chrome Custom Tabs feature, so most Android apps are still using the antiquated WebView. But thanks to an app from developer Arunkumar, we can speed up this slow adoption rate ourselves, and force all apps to use Chrome Custom Tabs right now. Setup is incredibly simple, so it only takes a few minutes to get all of the benefits of Chrome Custom Tabs system-wide, and I'll show you how to do it below.
Requirements
- Android version 4.1 or higher
- Google Chrome, Chrome Beta, or Chrome Dev installed
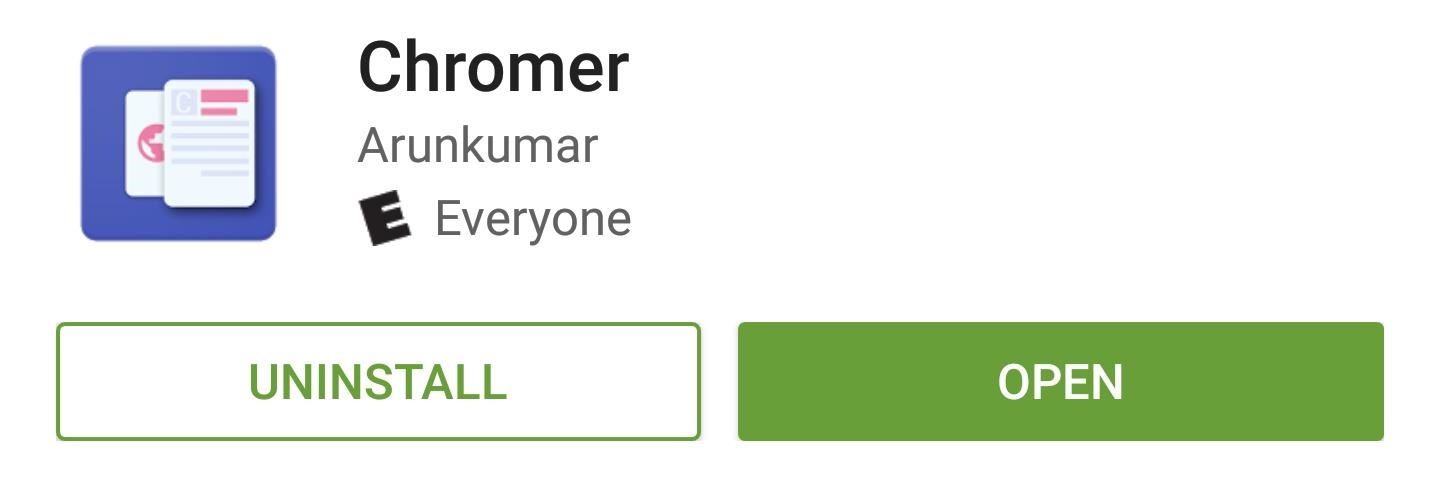
Step 1: Install Chromer
The app that brings Chrome Custom Tabs to every app on your phone is called Chromer, and it's available for free on the Google Play Store. From your Android device, search Chromer in the Play Store app to get it installed, or head directly to the download page at the following link:
Step 2: Customize Chromer's Interface
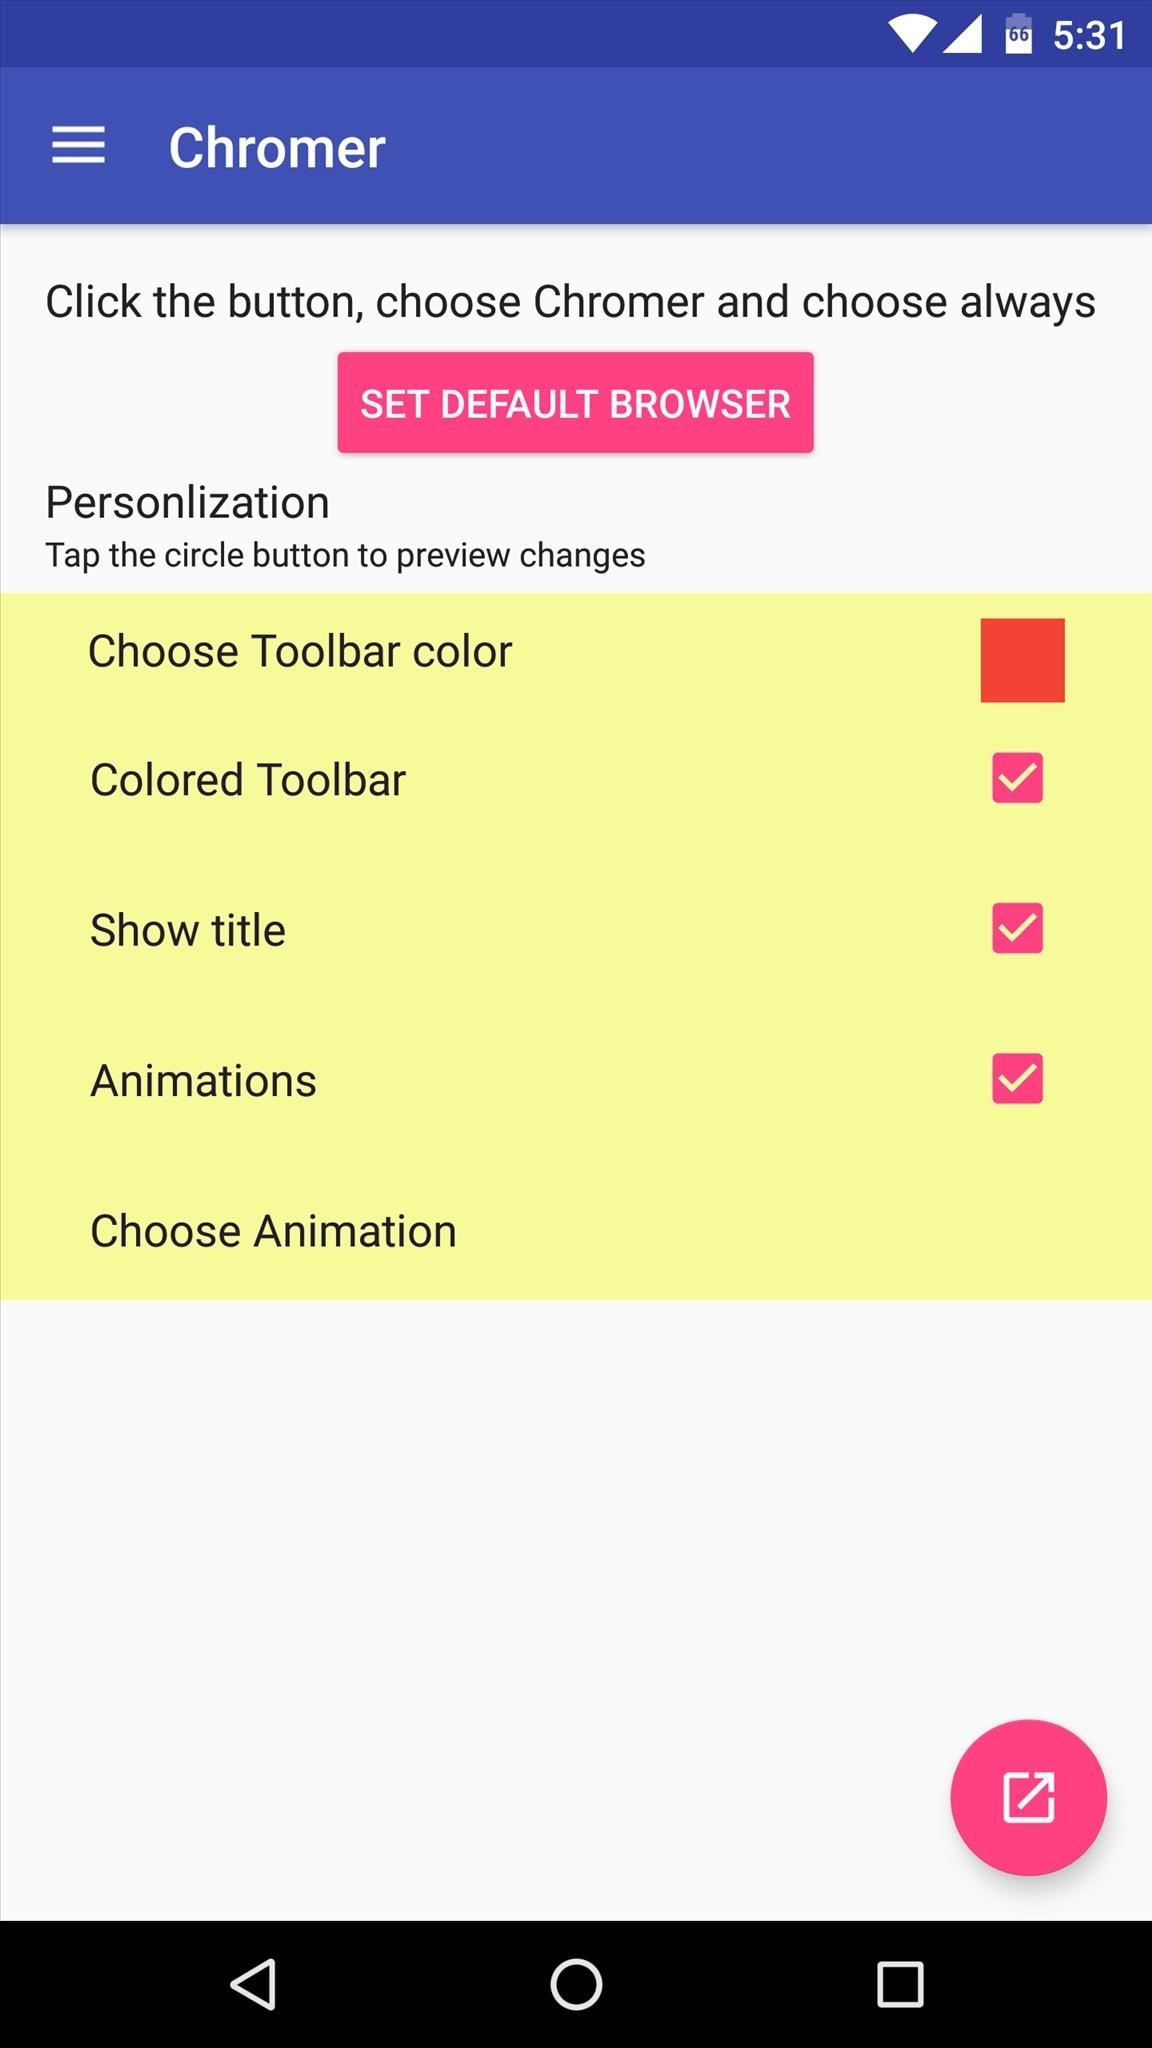
Once you've installed Chromer, go ahead and launch the app. At this point, it would be a good idea to take a second and personalize the Chrome Custom Tabs interface with all of the options provided.
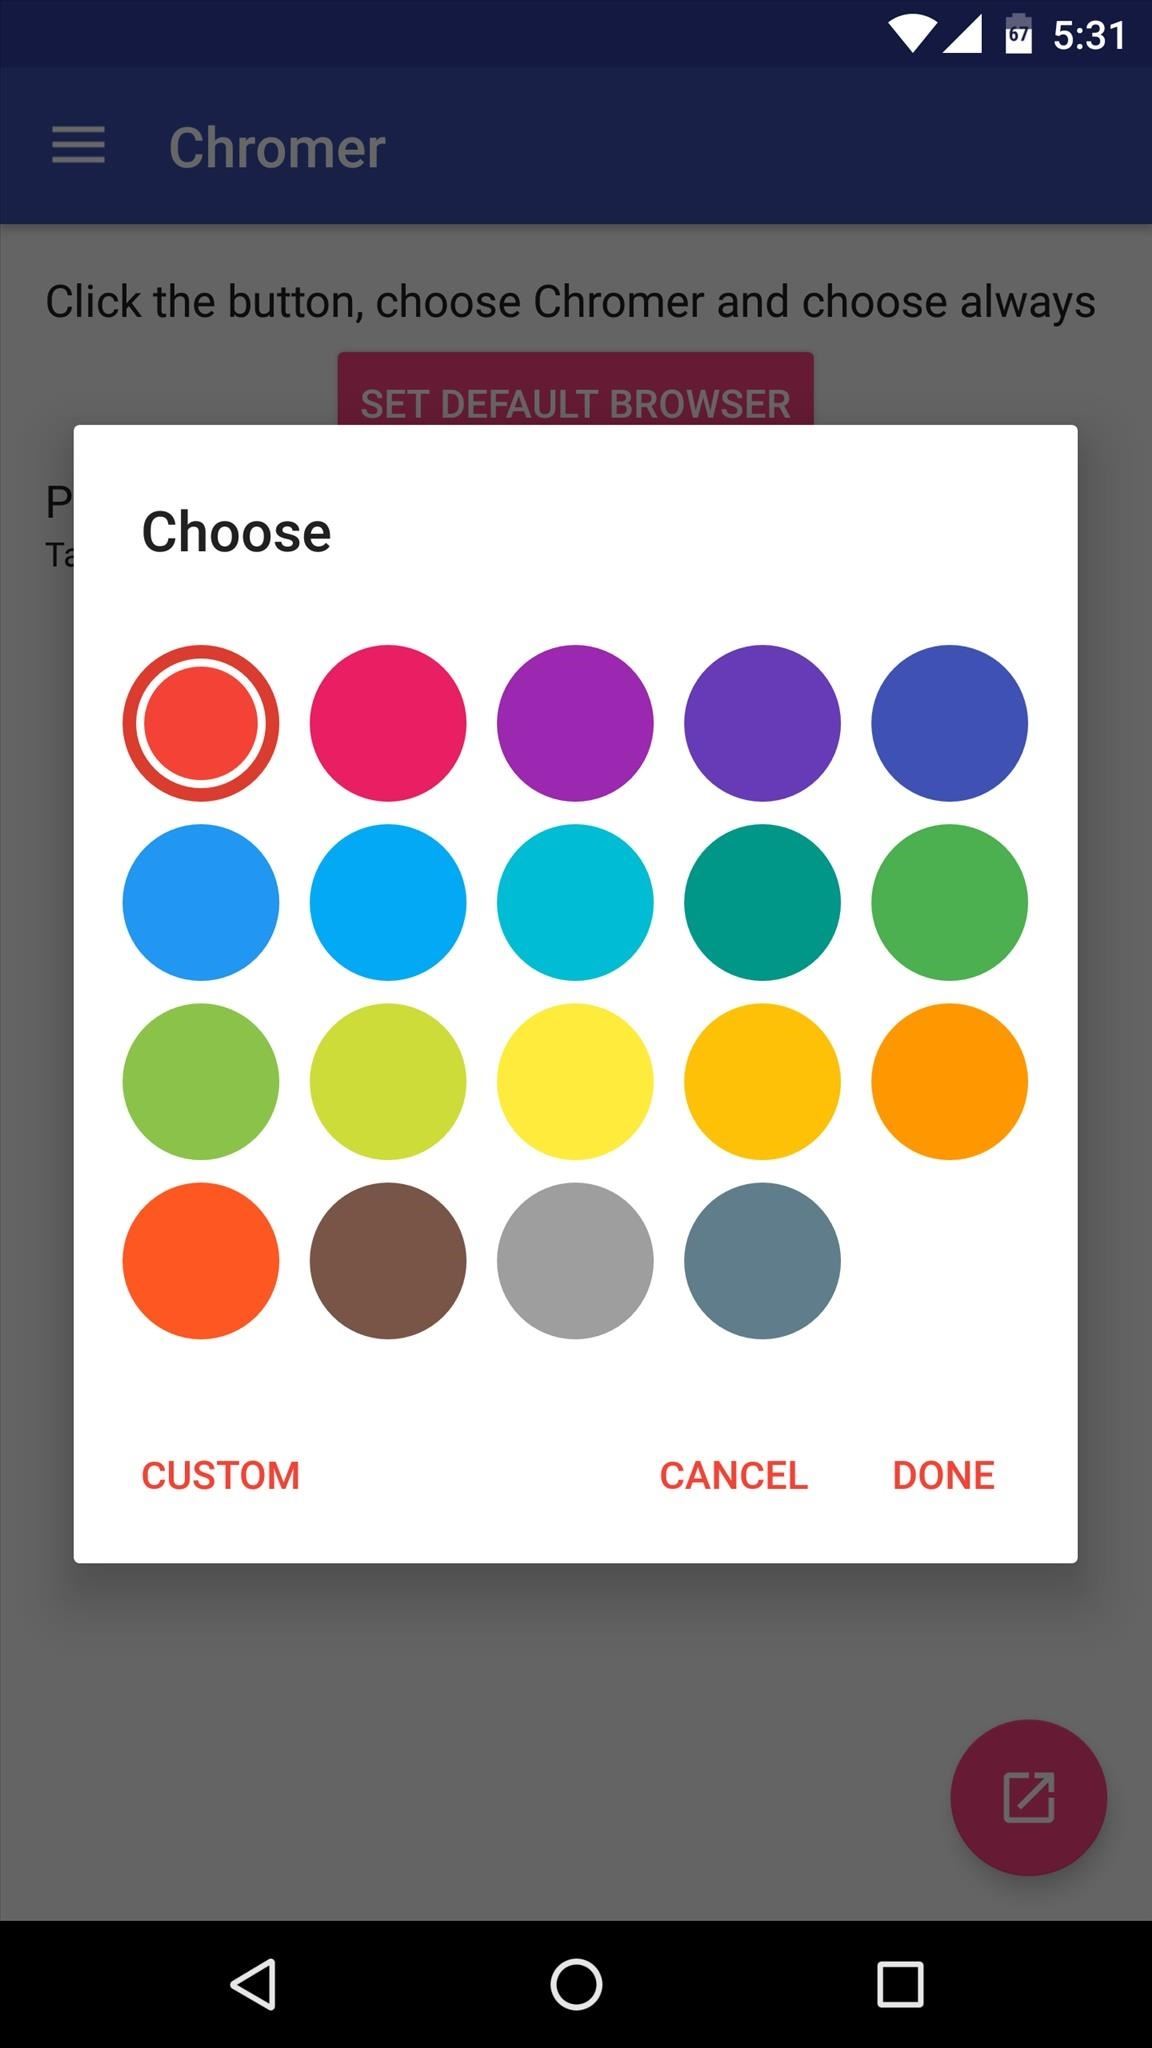
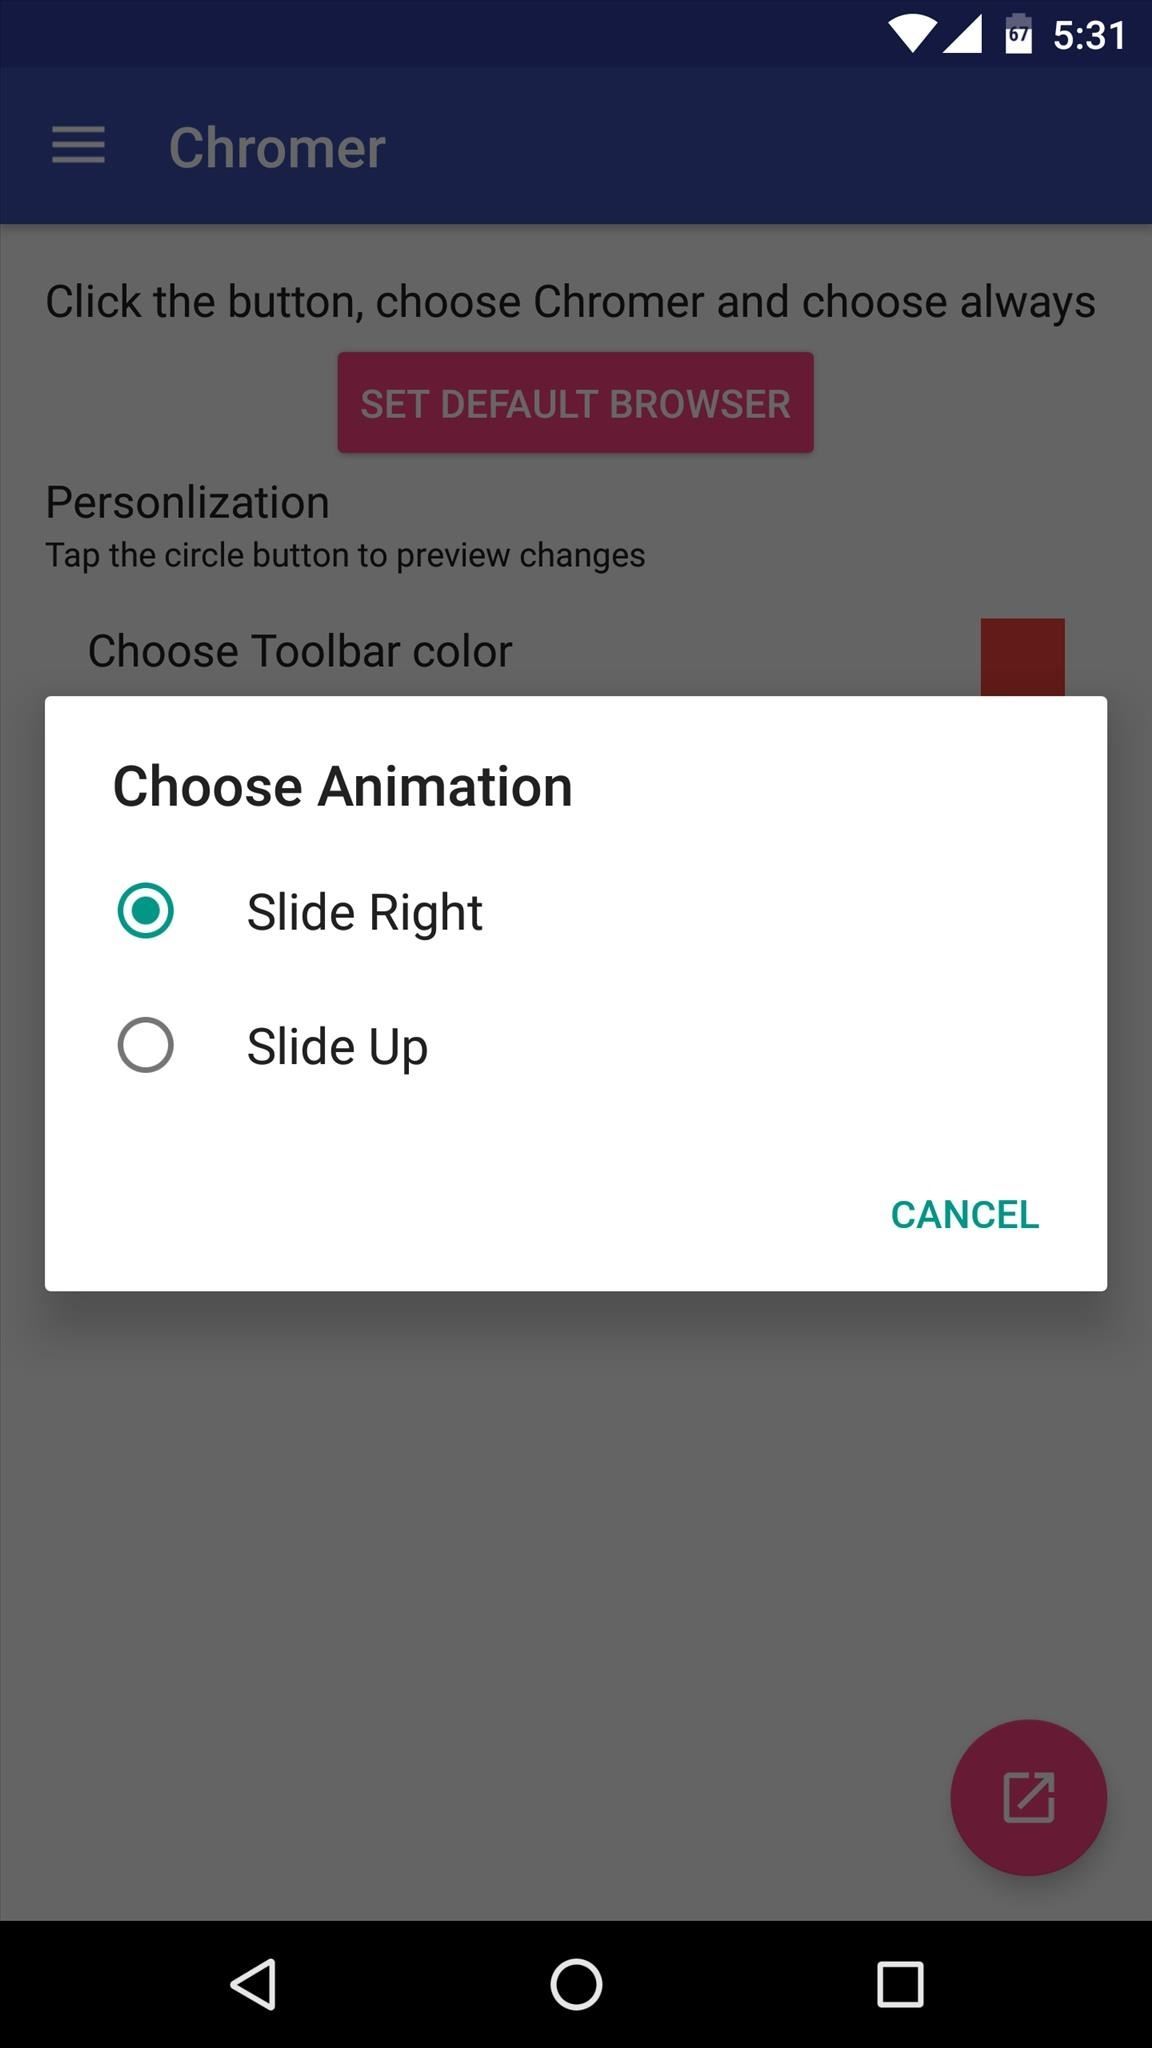
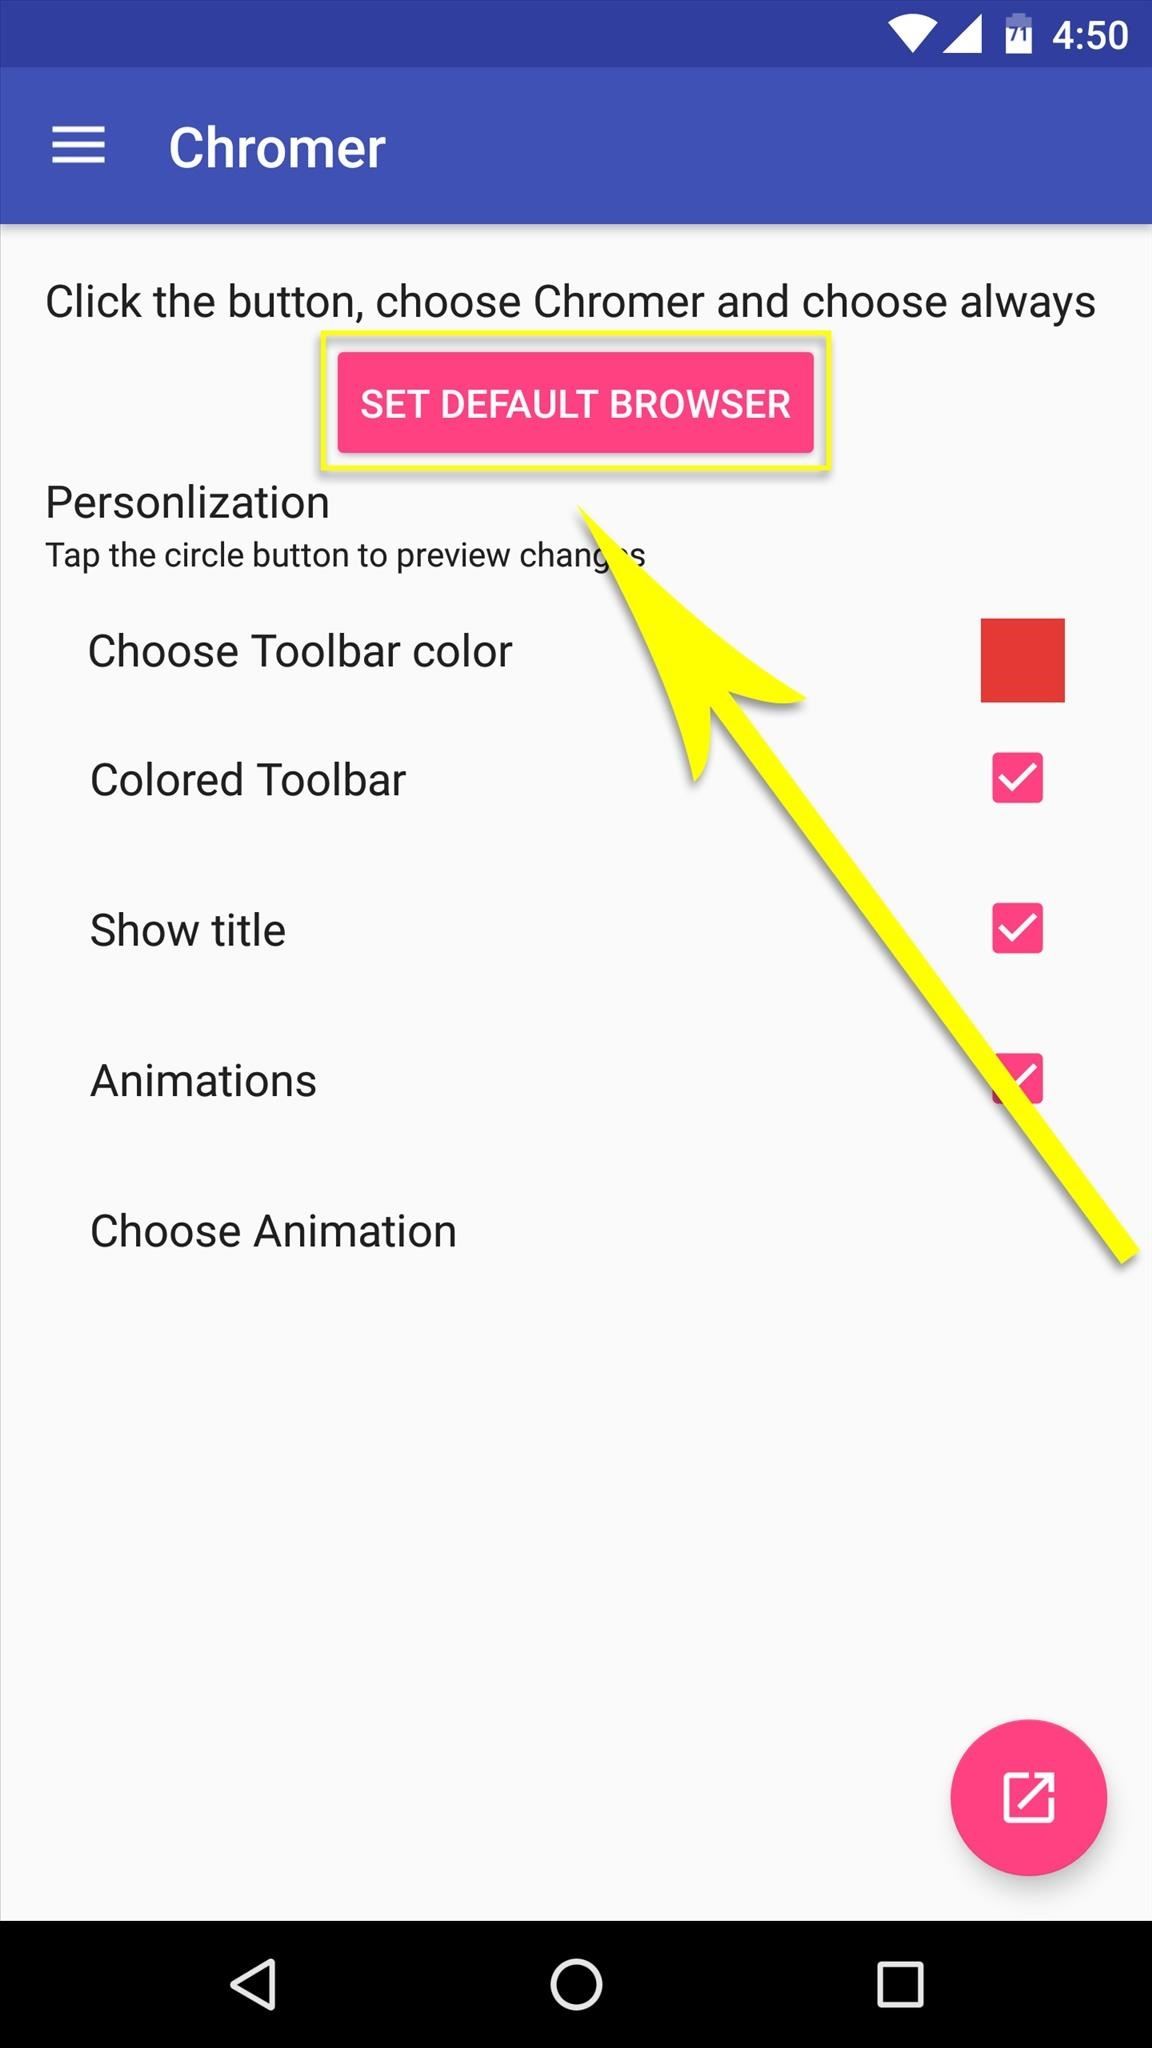
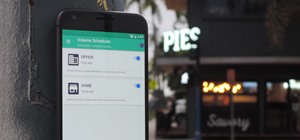
First, tap "Choose Toolbar color" to change the look of the address bar and status bar at the top of any page, but note that you'll also need to have the "Colored Toolbar" option ticked for this feature. Then, you can opt to show webpage titles at the top of the screen with the "Show title" option. Next, you can tweak transition animations by ticking the box next to "Animations," then selecting your preferred animation from the last entry in this menu.
Step 3: Set Chromer as Your Default Browser
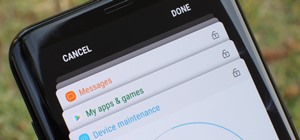
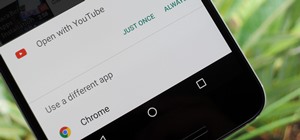
Once you've got the interface set up to your liking, you'll just need to set Chromer as your default web browser to use Chrome Custom Tabs system-wide. To take care of this, tap the "Set Default Browser" button, then choose Chromer from the menu that pops up next, and press "Always."

Step 4: Browse the Web Using Chrome Custom Tabs
From now on, any app that used to use WebView to launch links internally will now use Chrome Custom Tabs instead. You should notice the difference right away—the newer browser is much faster than WebView, and of course your personalized animations and colors will be present.
This of course comes with the added bonus of having your Chrome passwords, bookmarks, and browsing history synced—and you get it all without ever having to leave the app you're currently using. Additionally, Chromer will take over for any app that already uses Chrome Custom Tabs, so your personalized interface will be present system-wide.
What is your favorite aspect of Chrome Custom Tabs—the speed, the synced data, or the fluid integration with all app? Let us know in the comment section below, or drop us a line on Android Hacks' Facebook or Twitter, or Gadget Hacks' Facebook, Google+, or Twitter.
Who needs a wand? Unlock your magical powers and transform yourself from a Muggle into a Wizard or Witch just by using your Android phone. See how:


1 Comment
Tabor uses Google Chrome's latest feature custom tabs.
With light weighted Tabor you can open web links inside using app with out leaving the app.
https://play.google.com/store/apps/details?id=com.bloggingfeed.taborbasic&hl=en
Share Your Thoughts