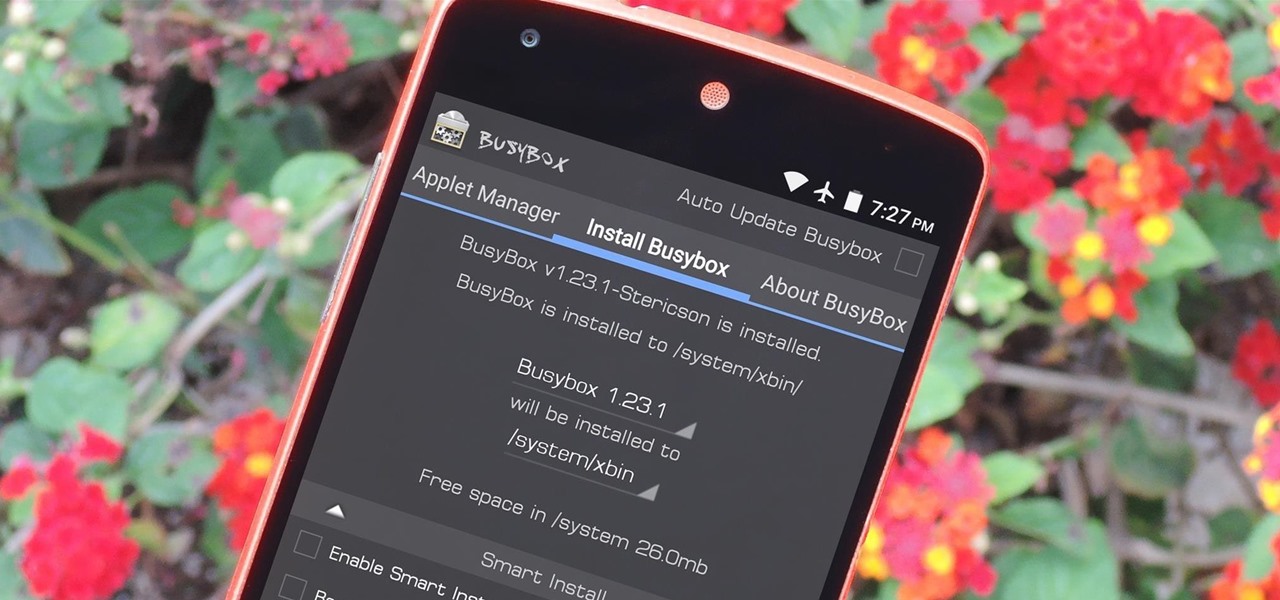

If you're a rooted user, you've probably heard the term "BusyBox" by now. Many mods require these powerful root commands, but the process of installing BusyBox can be a bit confusing for the uninitiated.
To clarify things a bit, BusyBox is both an app and a set of specialized root commands. This is where the confusion generally lies, since you have to install the app to then install the set of commands. But truth be told, it's a quick and painless process, which I'll outline below.
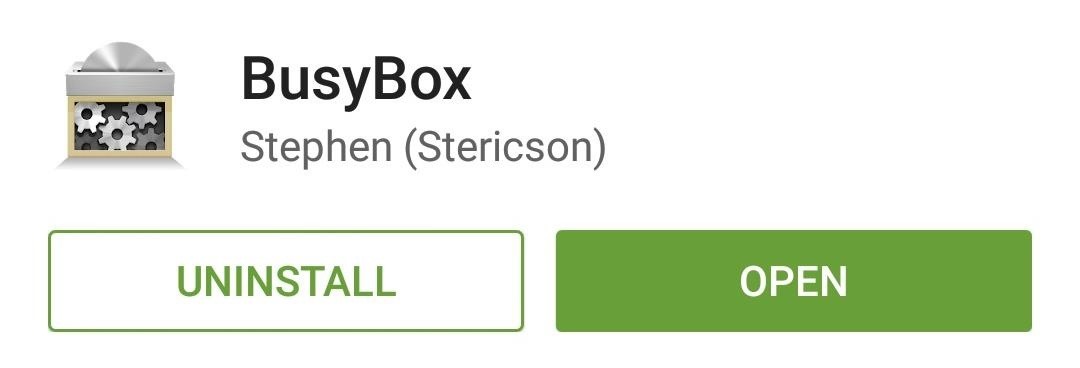
Step 1: Install the BusyBox App
To begin, head to the Google Play Store from your rooted Android device, then search for and install BusyBox. This app was created by developer Stephen Ericson, and it is constantly updated with the latest BusyBox commands.
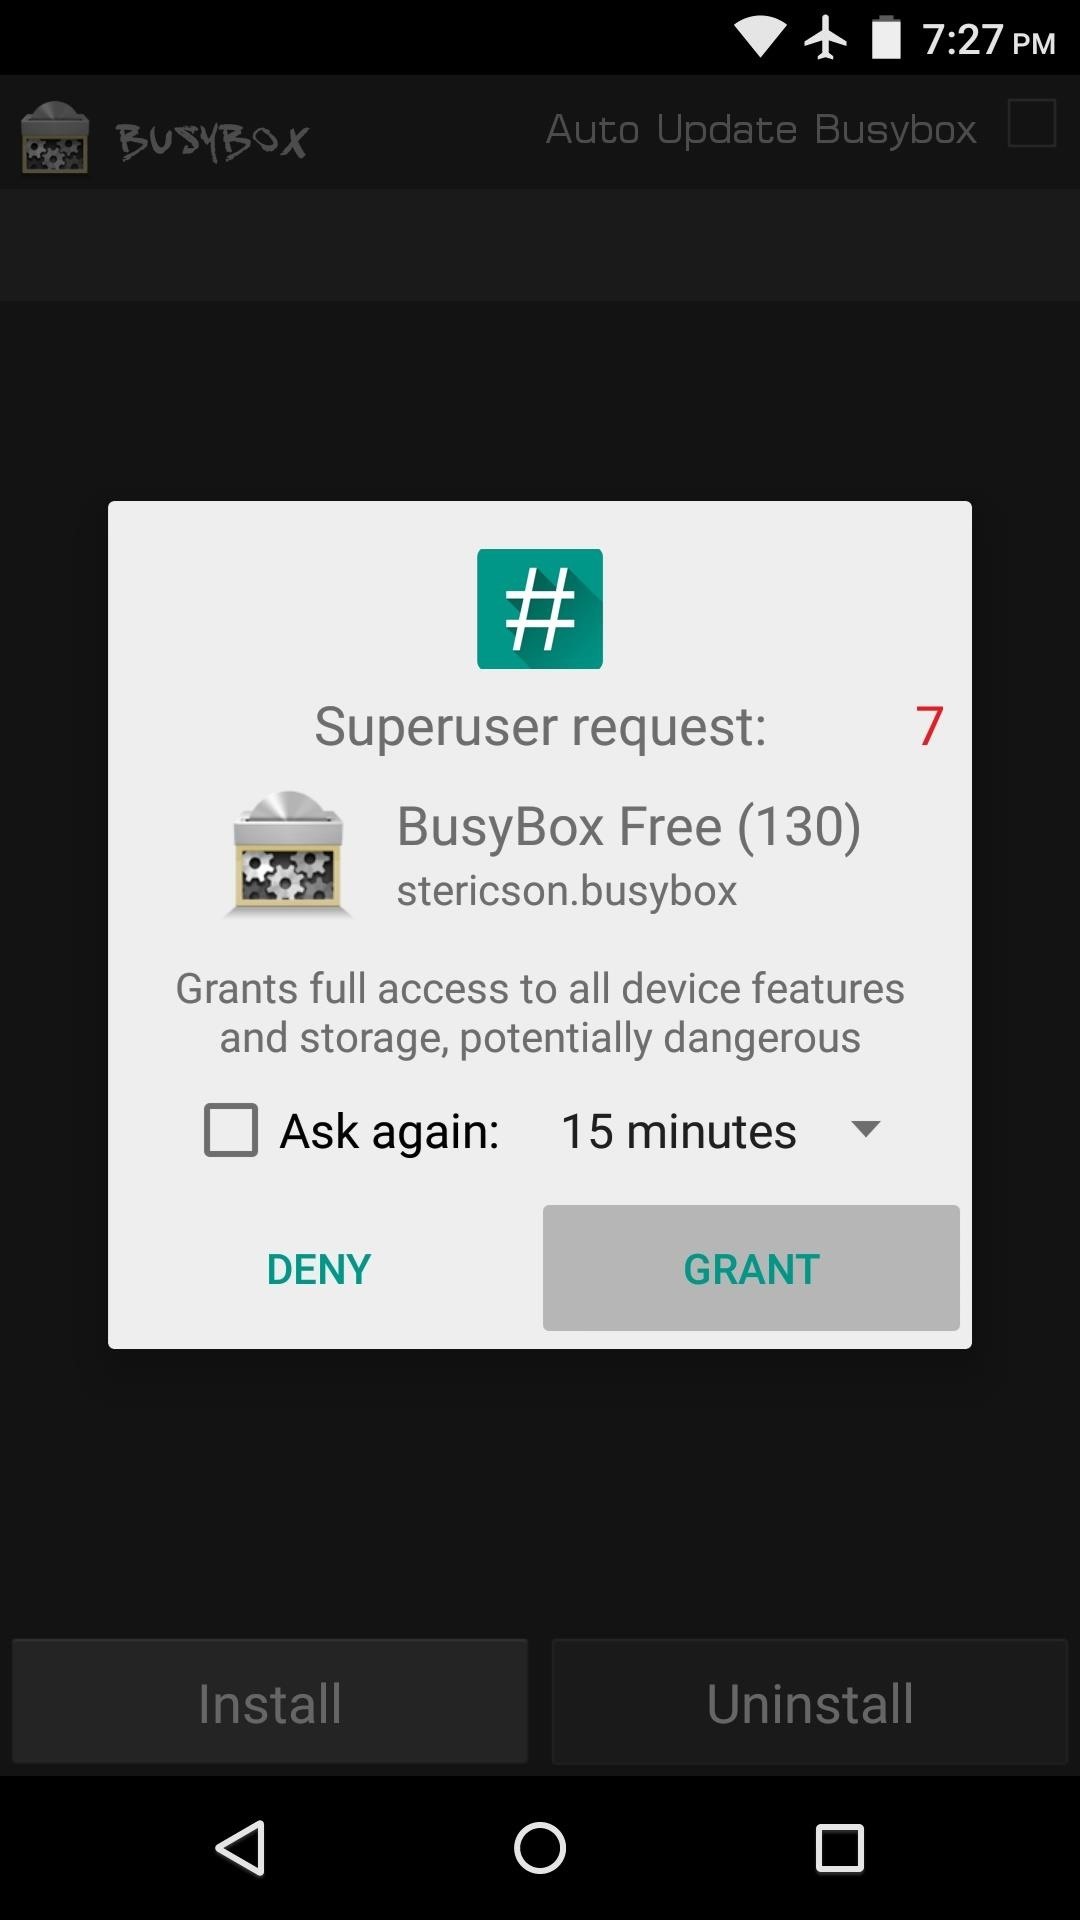
Step 2: Install the BusyBox Commands
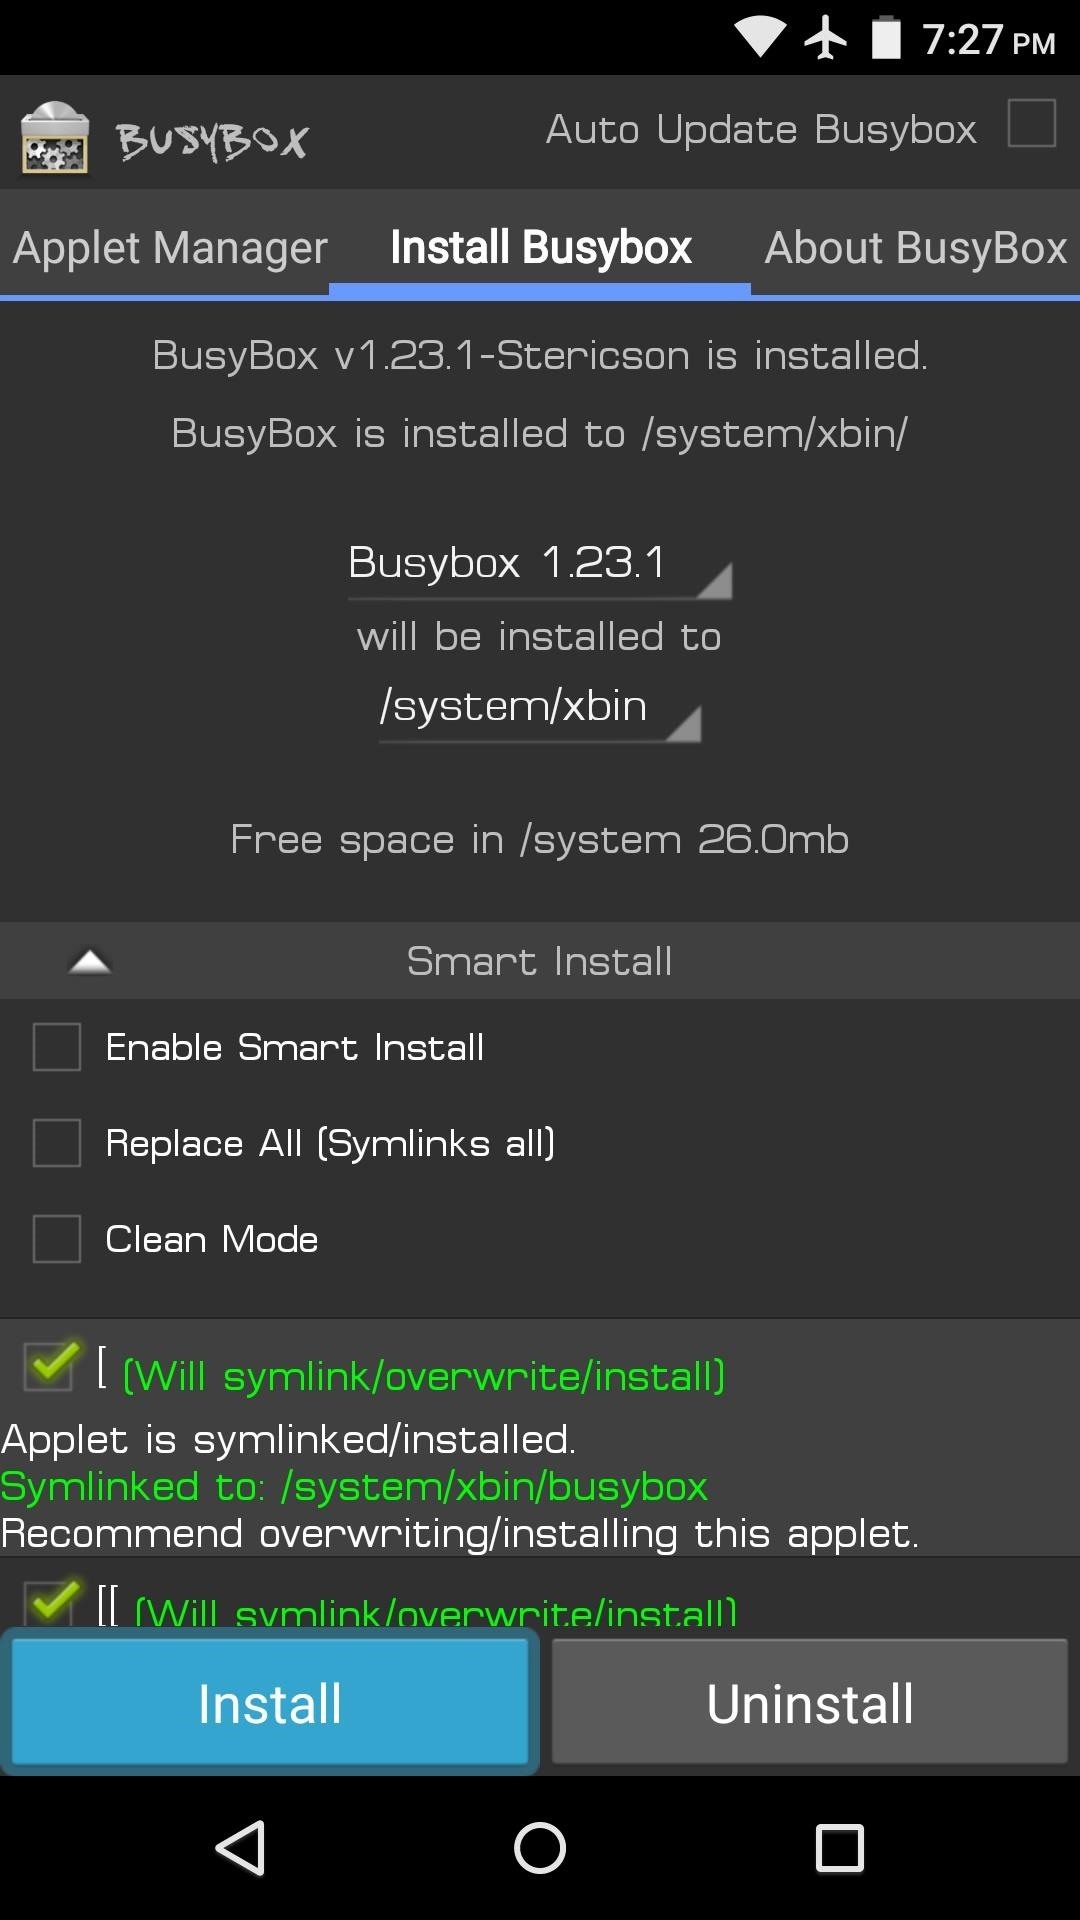
Next, go ahead and launch the BusyBox app. Almost immediately, it will ask for Superuser access, so tap "Grant" on this popup. After that, dismiss the message that appears next to head into the app's main menu.
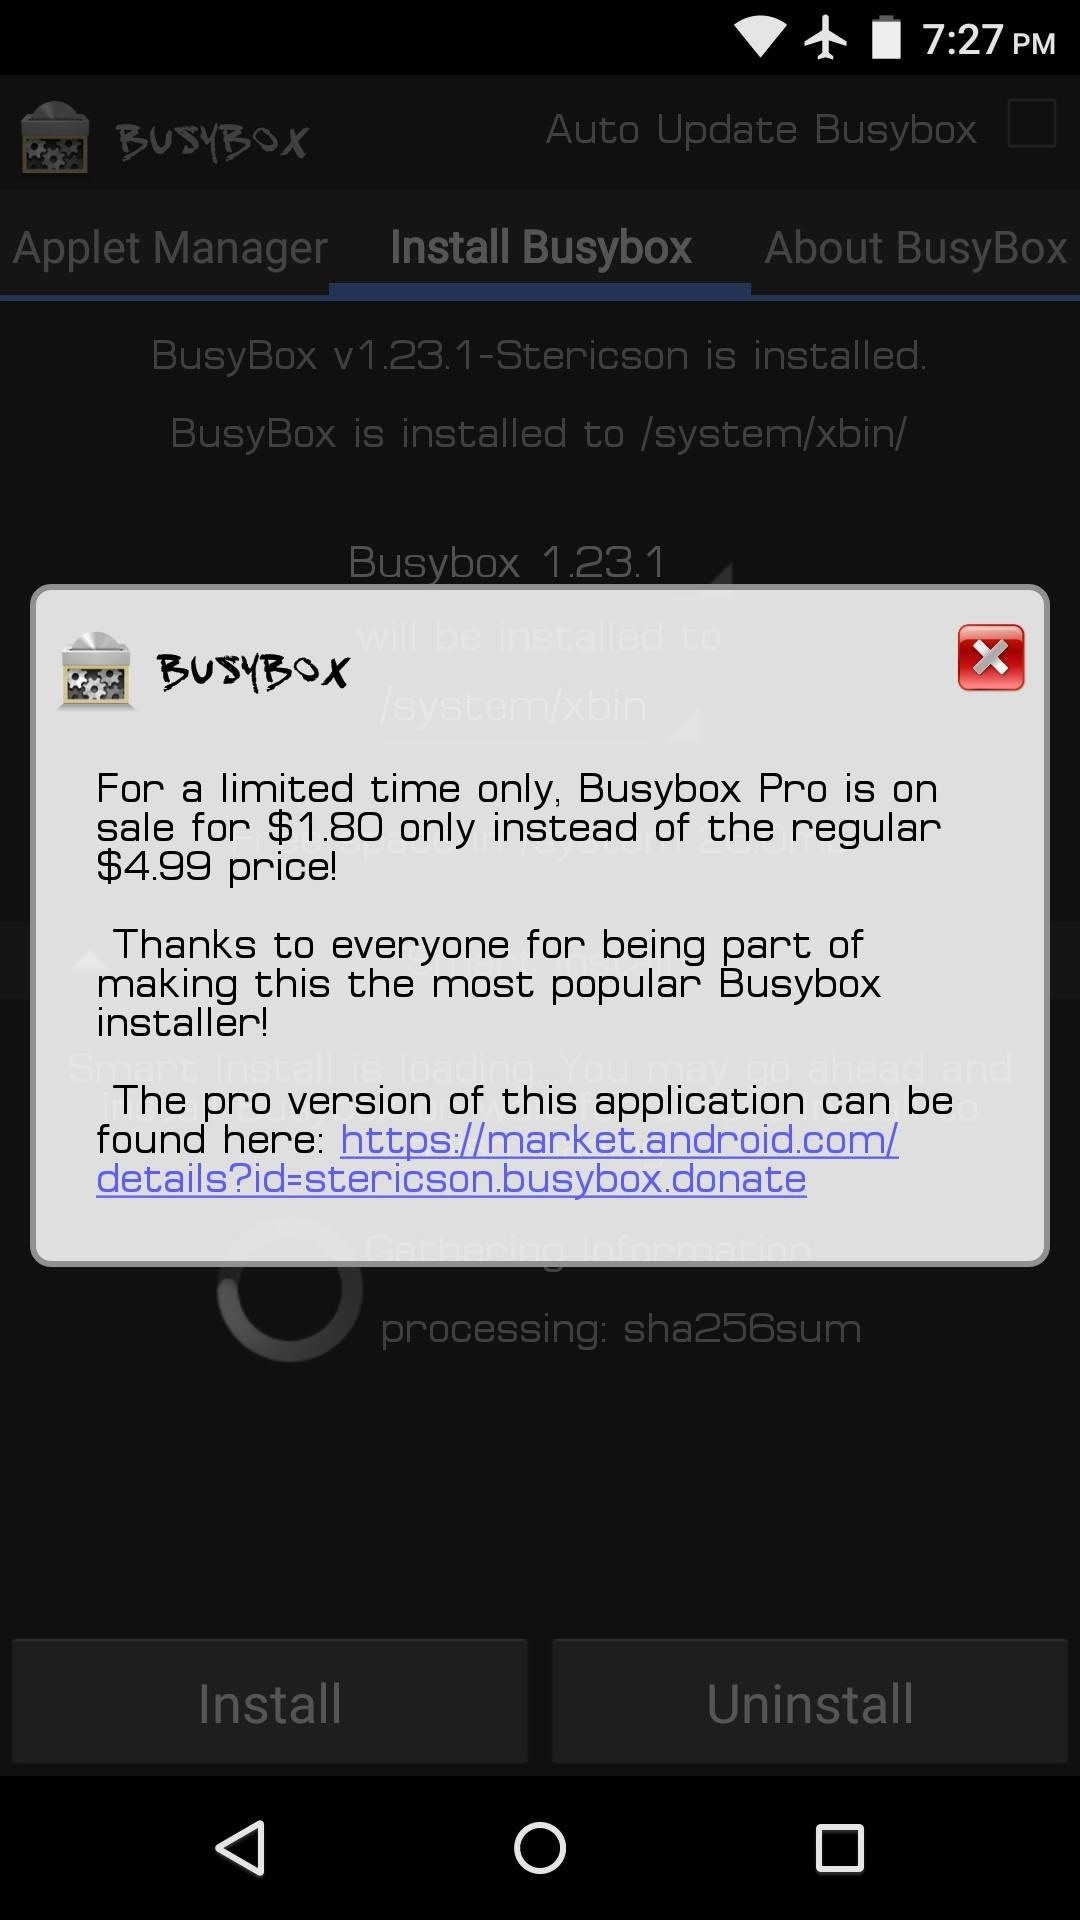
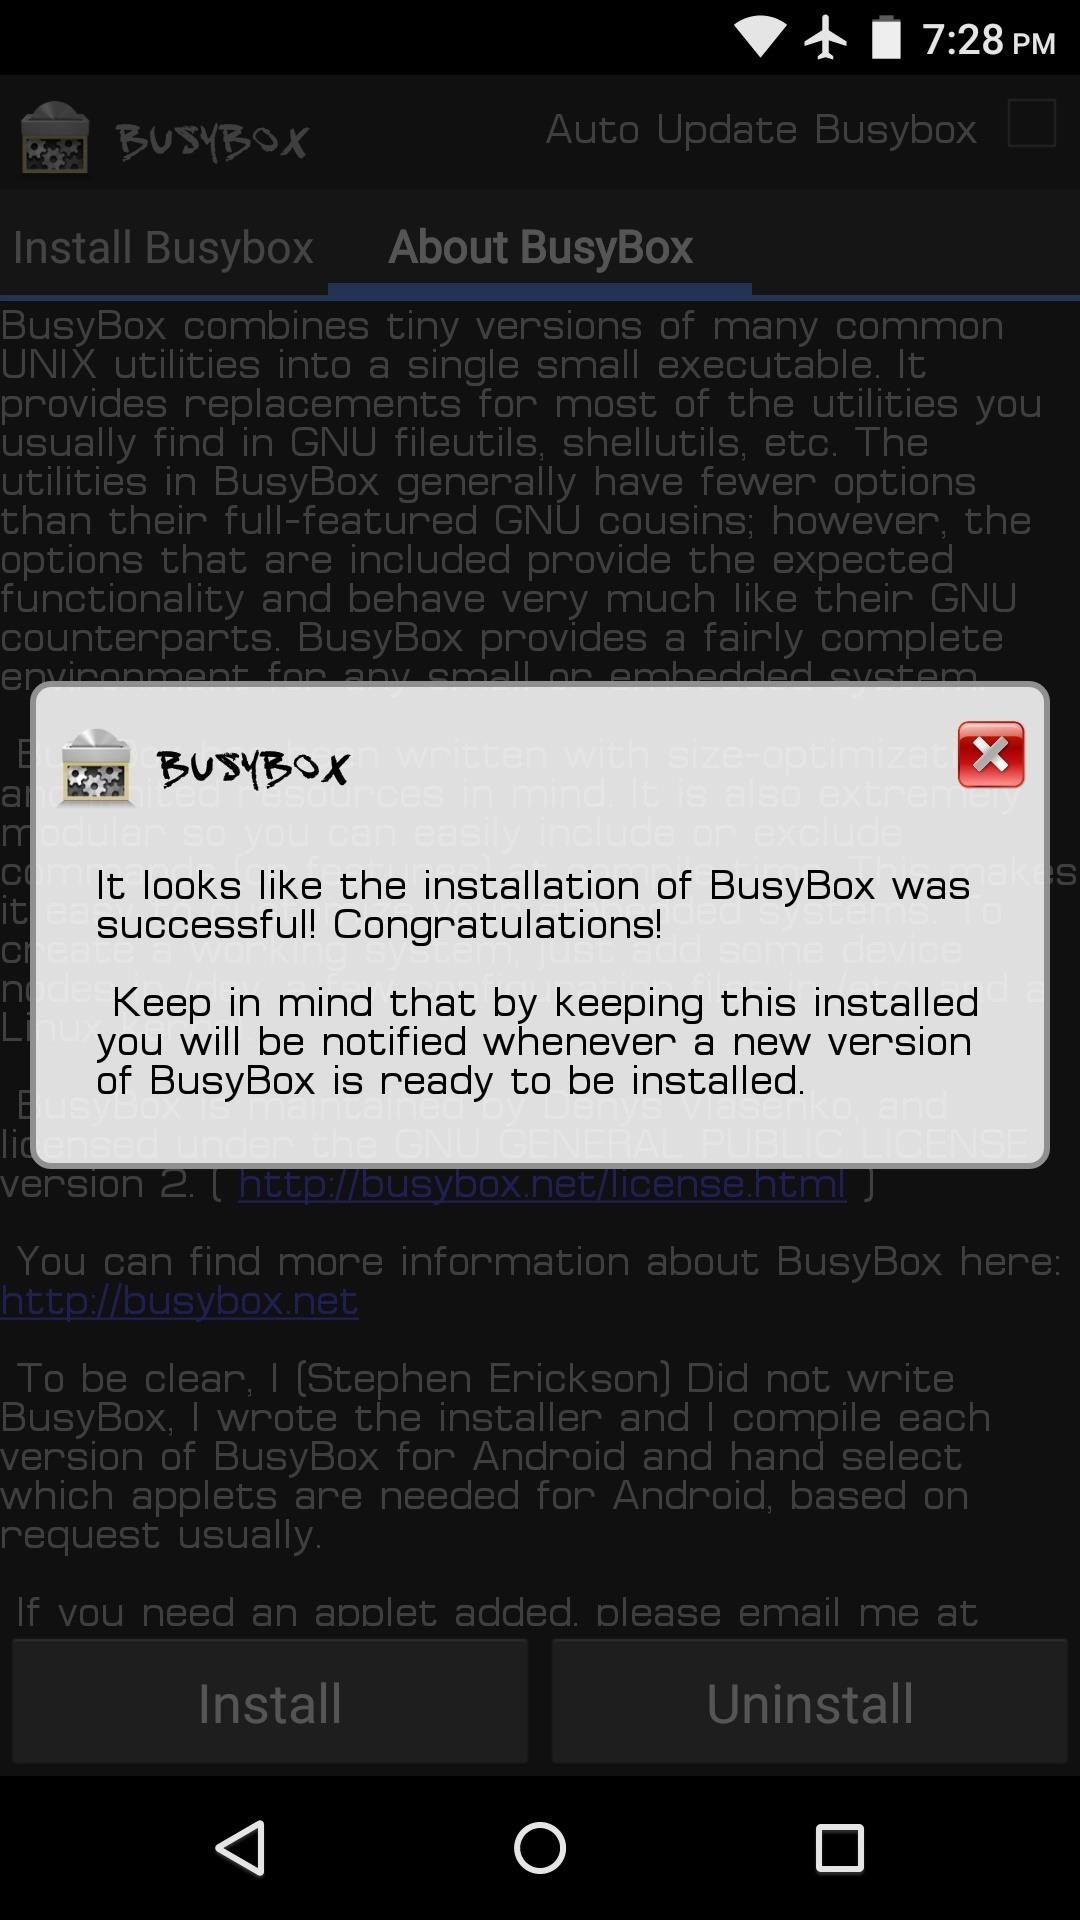
From here, tap the "Install" button in the bottom-left corner to install the BusyBox commands on your device. After about 10 seconds, you should see a message informing you that the commands were successfully installed on your device.
And that's all there is to it. You can now run more complex root mods that require the BusyBox commands to be installed, so your rooted device just got a bit more powerful.
What root mods have you encountered that required the BusyBox commands to be installed on your device? Let us know in the comment section below, or drop us a line on Android Hacks' Facebook or Twitter, or on Gadget Hacks' Facebook, Google+, or Twitter.
Who needs a wand? Unlock your magical powers and transform yourself from a Muggle into a Wizard or Witch just by using your Android phone. See how:


1 Comment
Lucky Patcher wanted to try it out but apparently it needs busybox to function
Share Your Thoughts