
NANDroid backups are one of the best reasons to root your Android device and install a custom recovery. They're essentially a snapshot of your phone's entire operating system and all installed apps, so if you ever screw something up when installing a flashable ZIP or custom ROM, you can restore your NANDroid backup to get everything back to normal.
But performing a NANDroid backup is such a pain that we rarely do it, so a lot of times, the backups we have are extremely outdated. To help curb this issue, developer kantjer created a set of Tasker profiles that will automate this whole process—so after a bit of setup, you can sit back, relax, and let your phone back itself up on a set schedule.
What You'll Need
- Rooted Android device
- Custom recovery installed
- Tasker (free trial version available here)
- File explorer app capable of extracting ZIPs
Step 1: Download & Extract the Tasker Profiles & Tasks
First up, you'll need to grab kantjer's Tasker profiles. To begin, point your device's web browser to this link, and a ZIP file containing the profiles should begin downloading immediately.
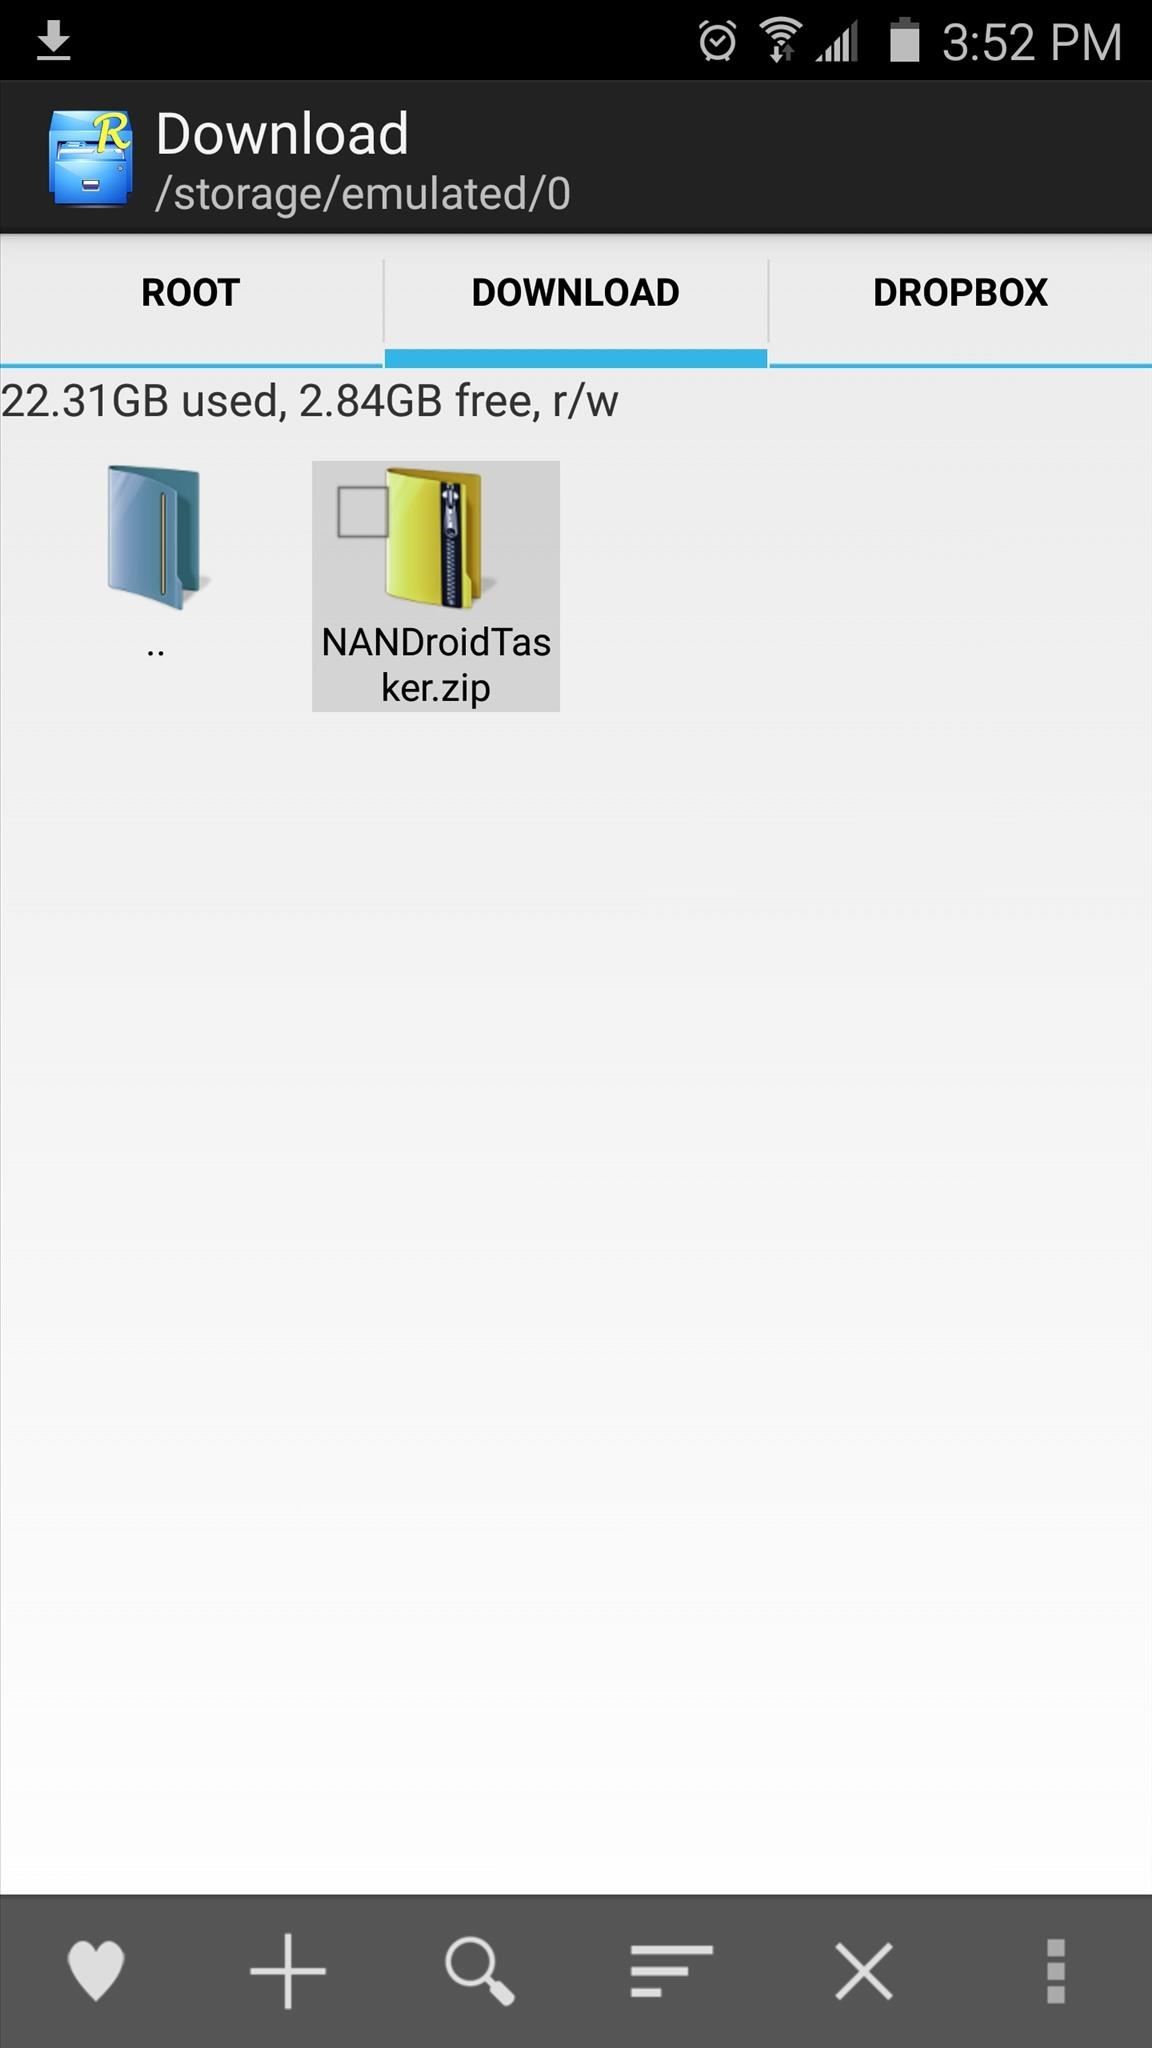
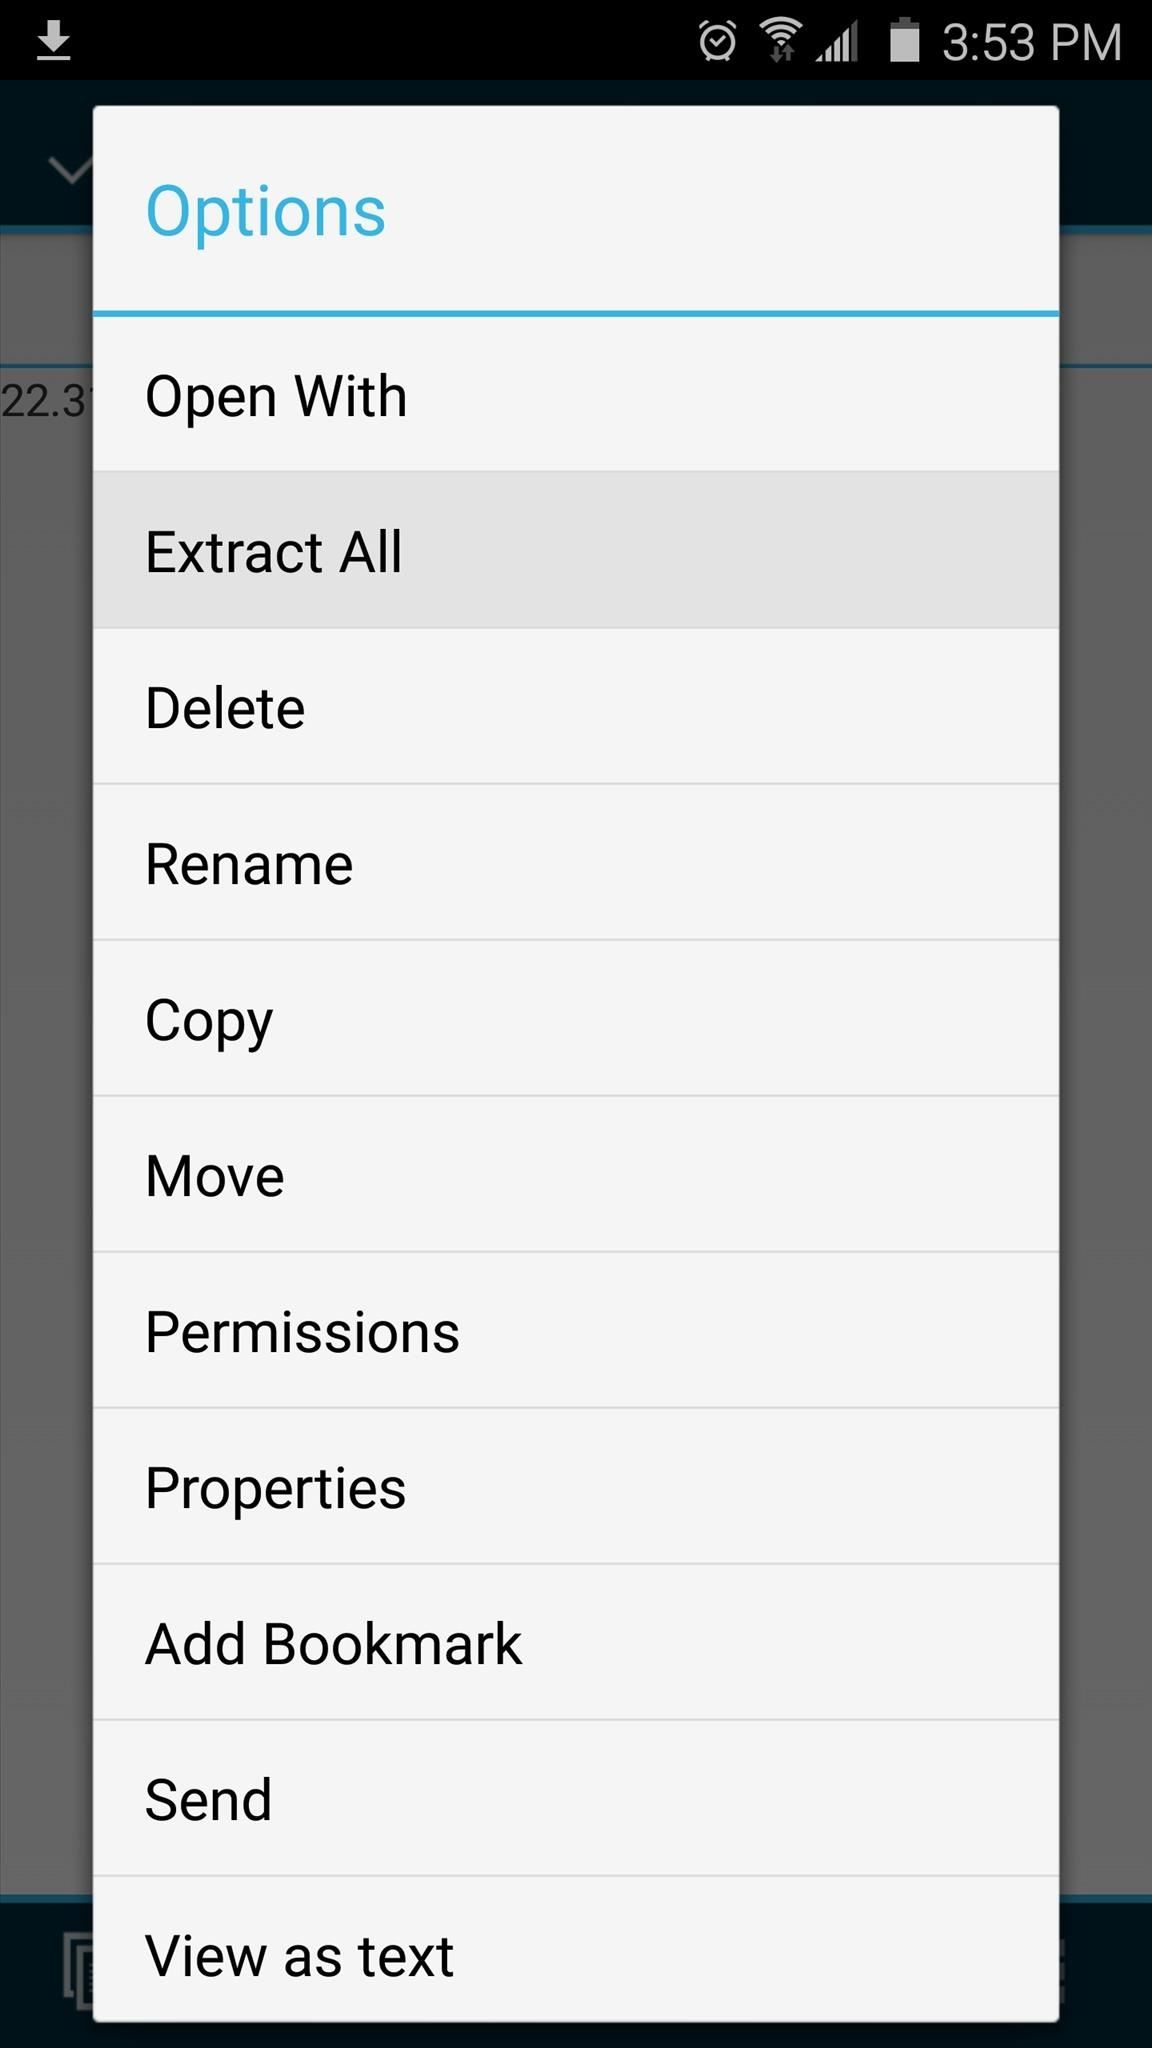
Once you've done that, open your favorite file browser app with ZIP-extracting capabilities, then navigate to your device's download folder. From here, long-press the NANDroidTasker.zip file, then choose "Extract." Make note of the location where the files have been extracted, as this will come in handy later.
Step 2: Import the Profiles into Tasker
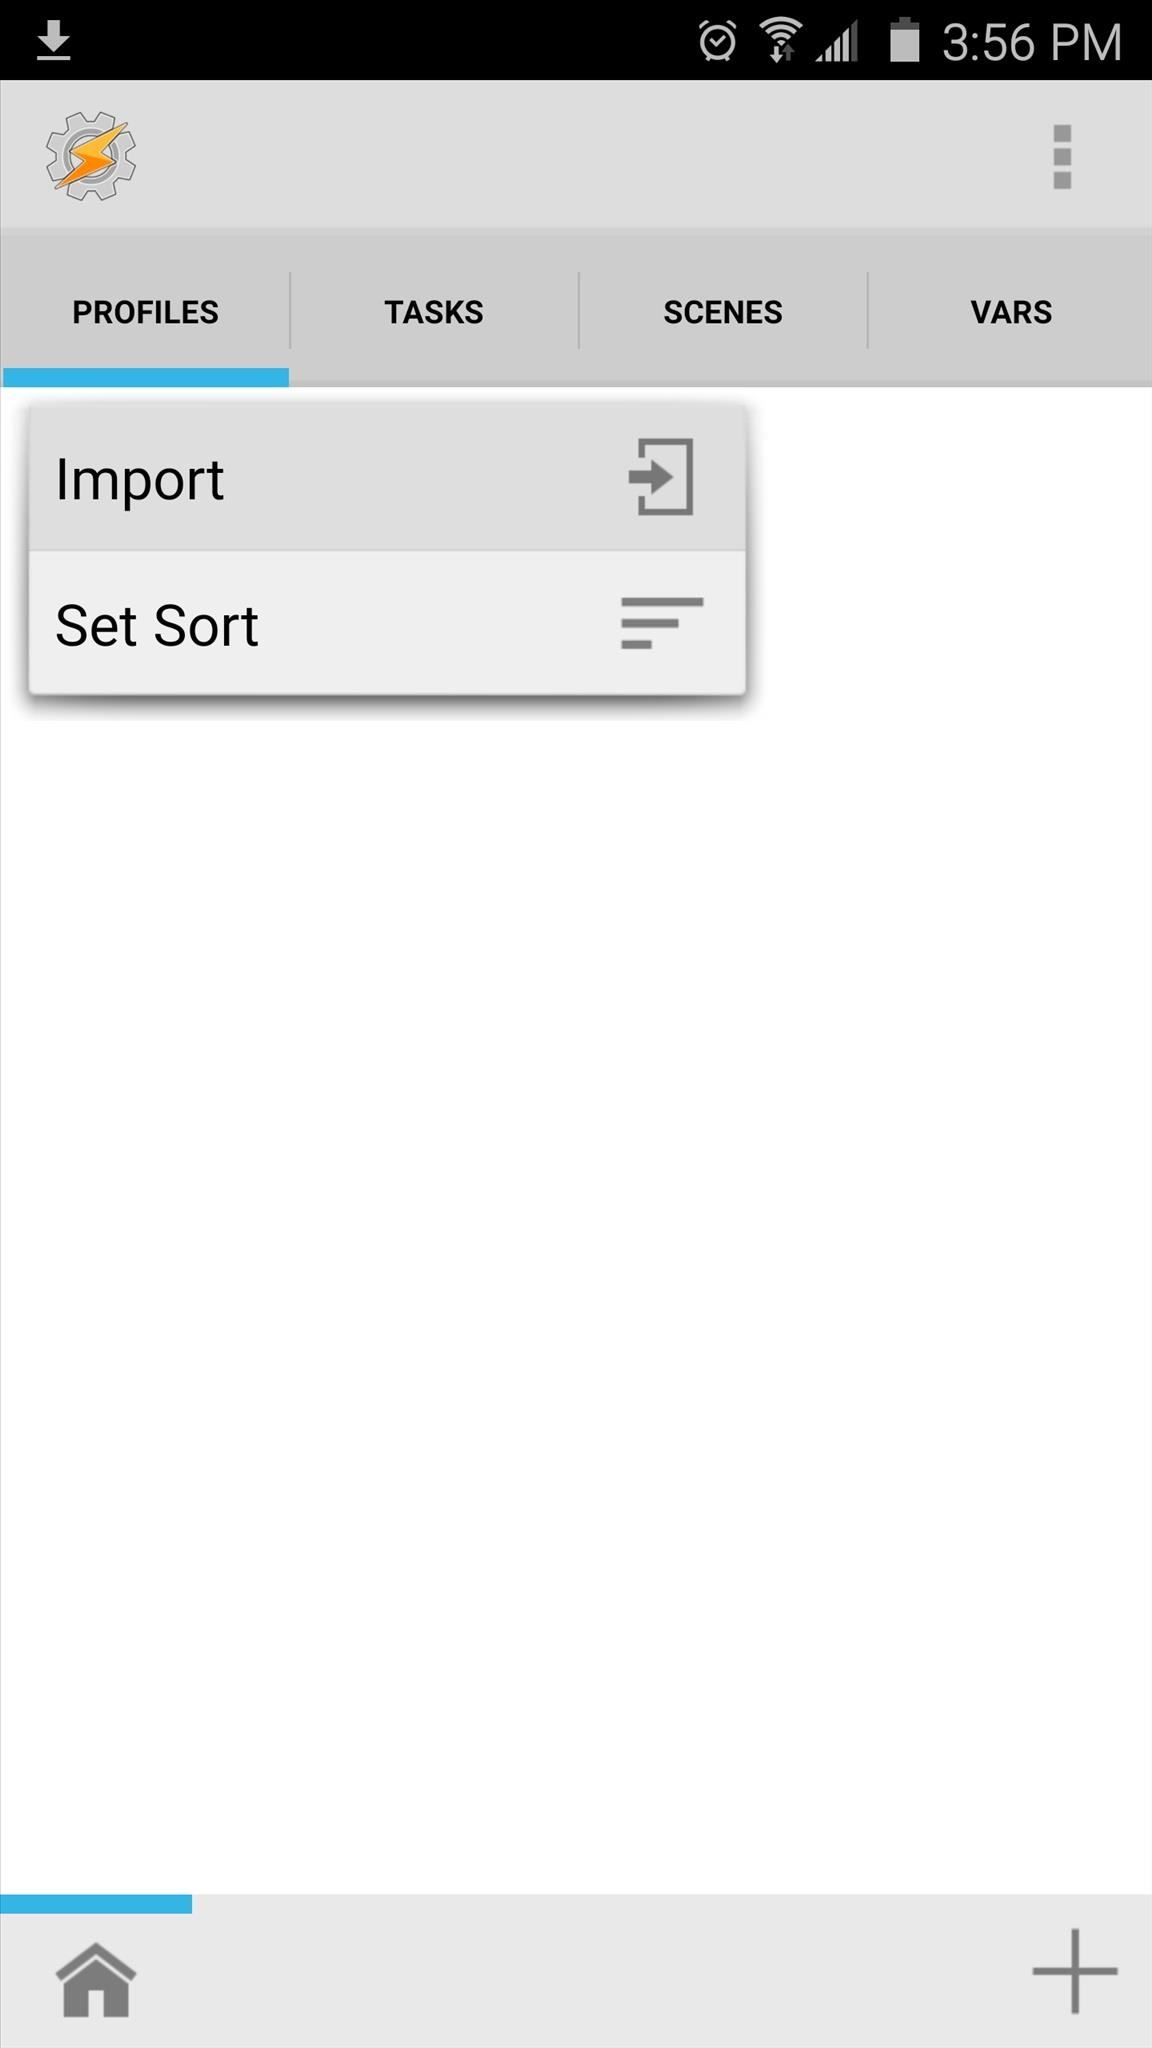
Next, it's time to import the profiles you just downloaded. Starting at Tasker's main menu, tap the Profiles tab, then choose "Import" to begin. From here, tap the back button in the top-right corner of the screen twice to navigate to your main internal storage partition, then locate and select the first profile you extracted earlier.

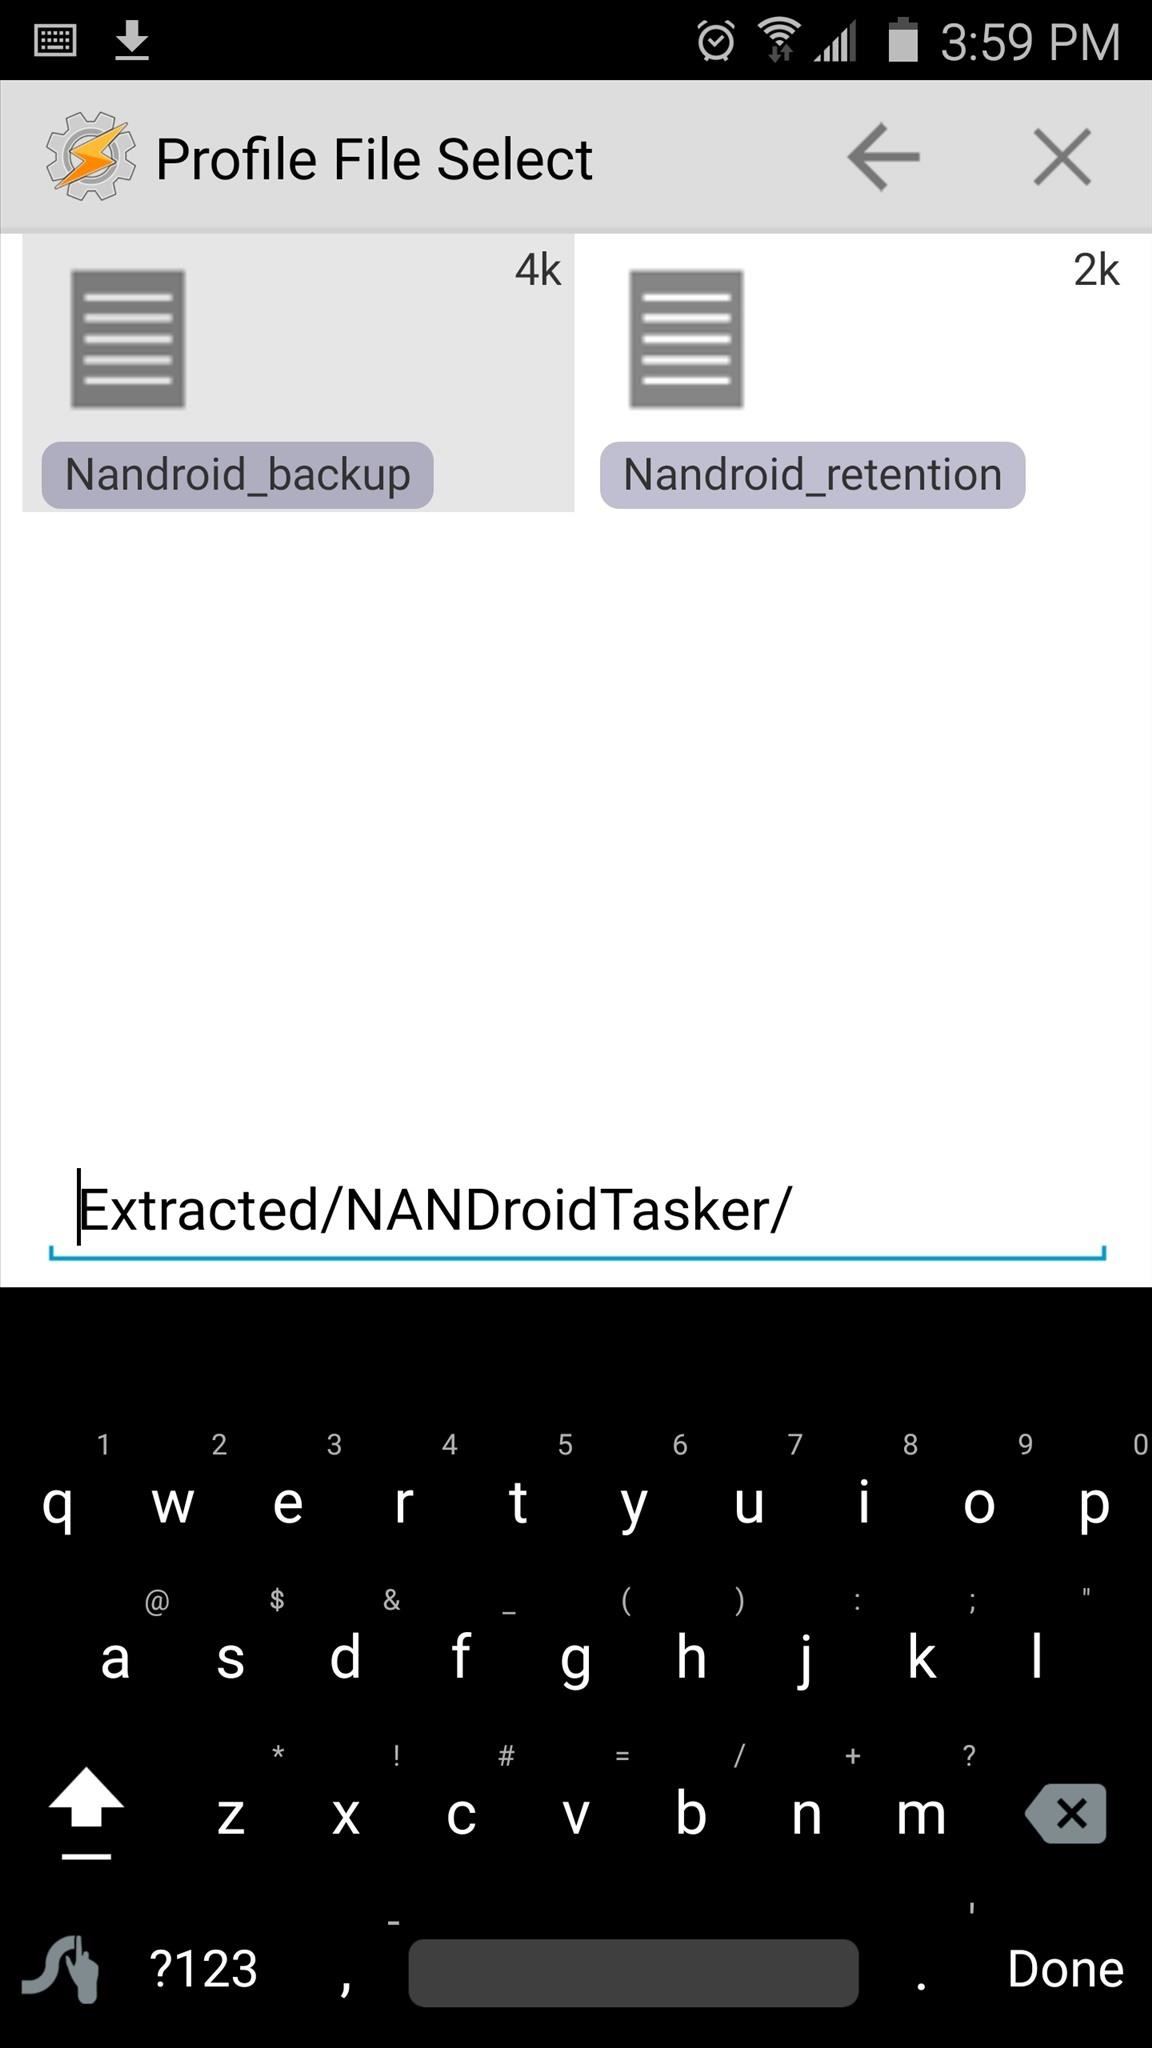
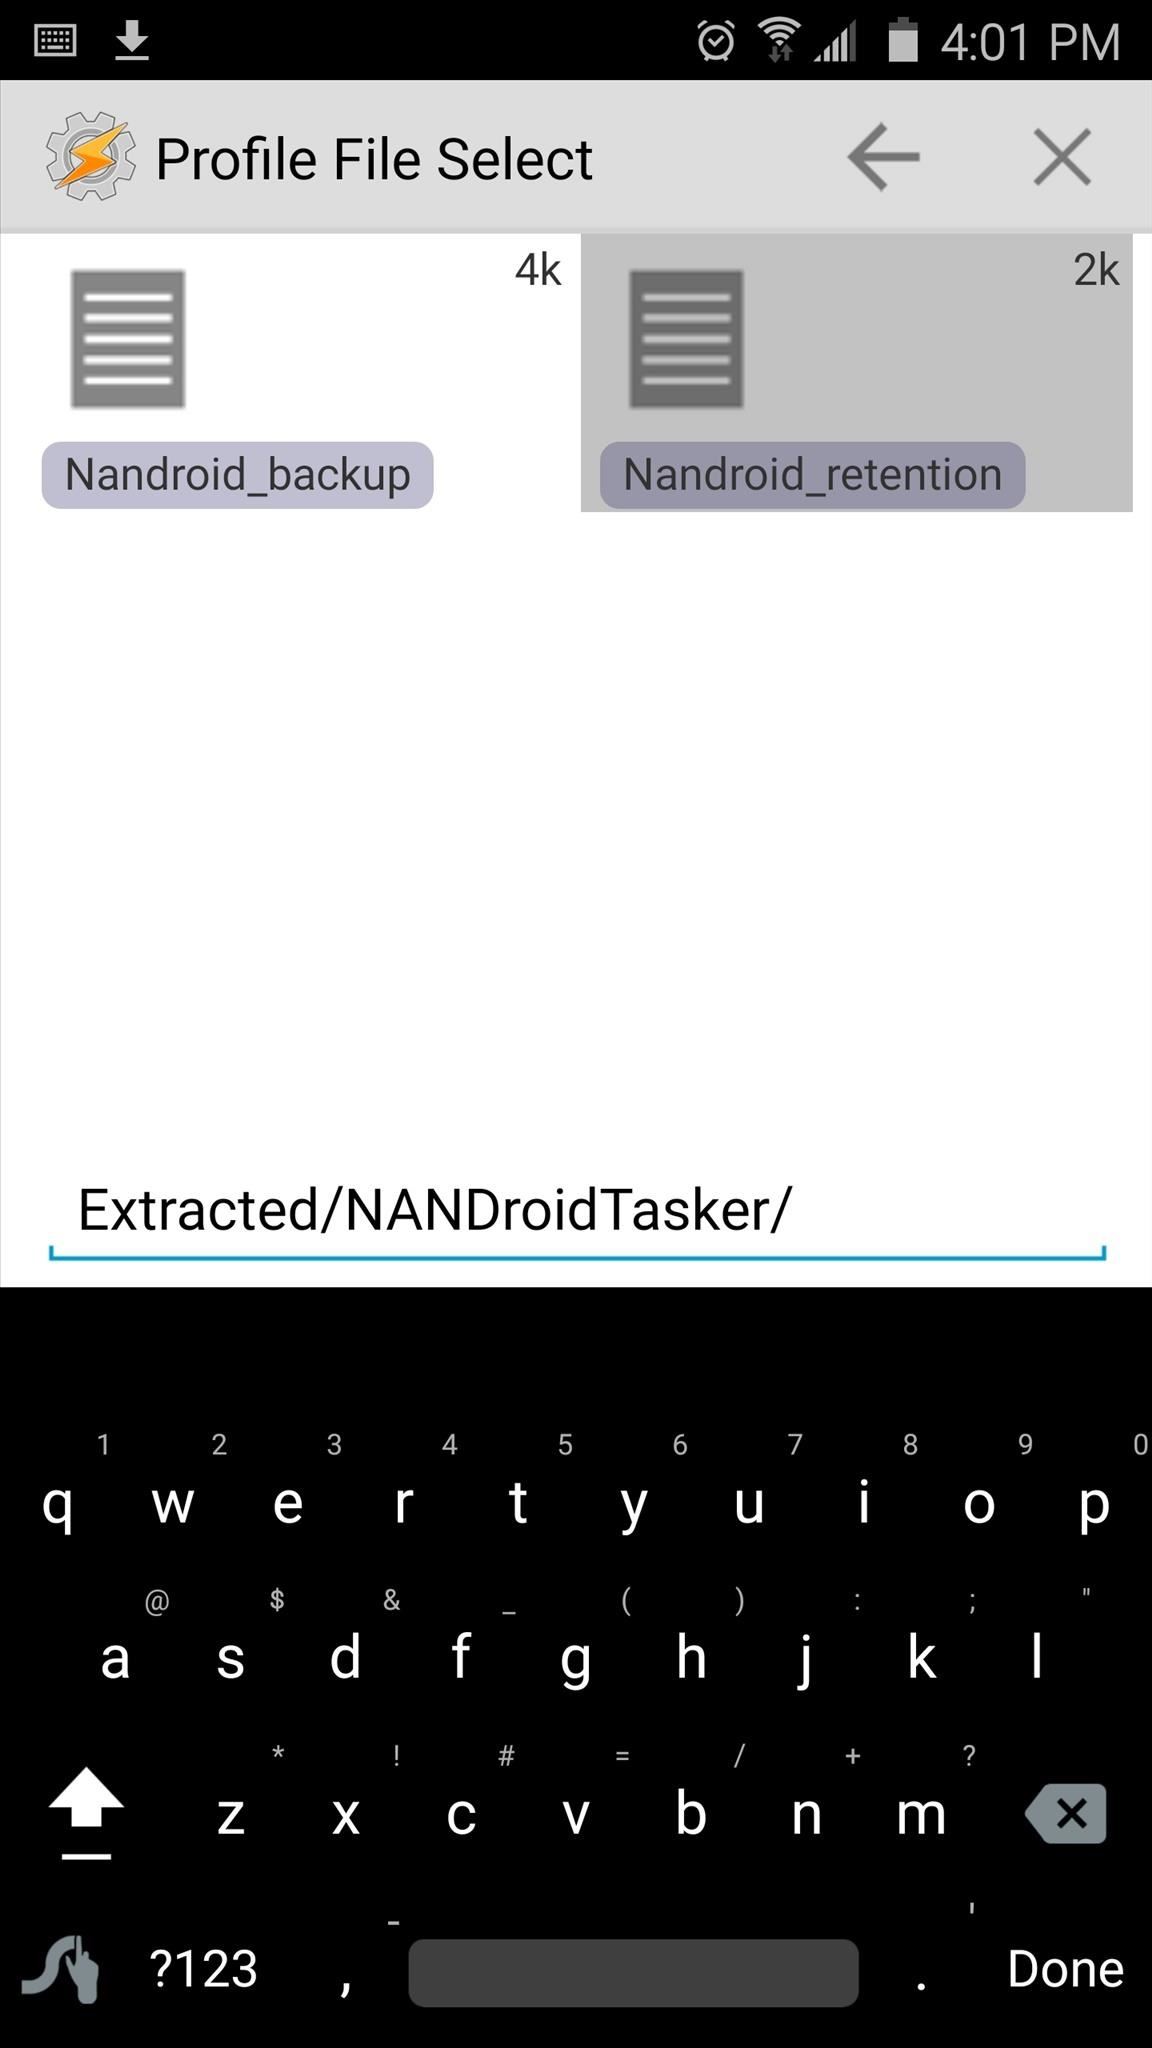
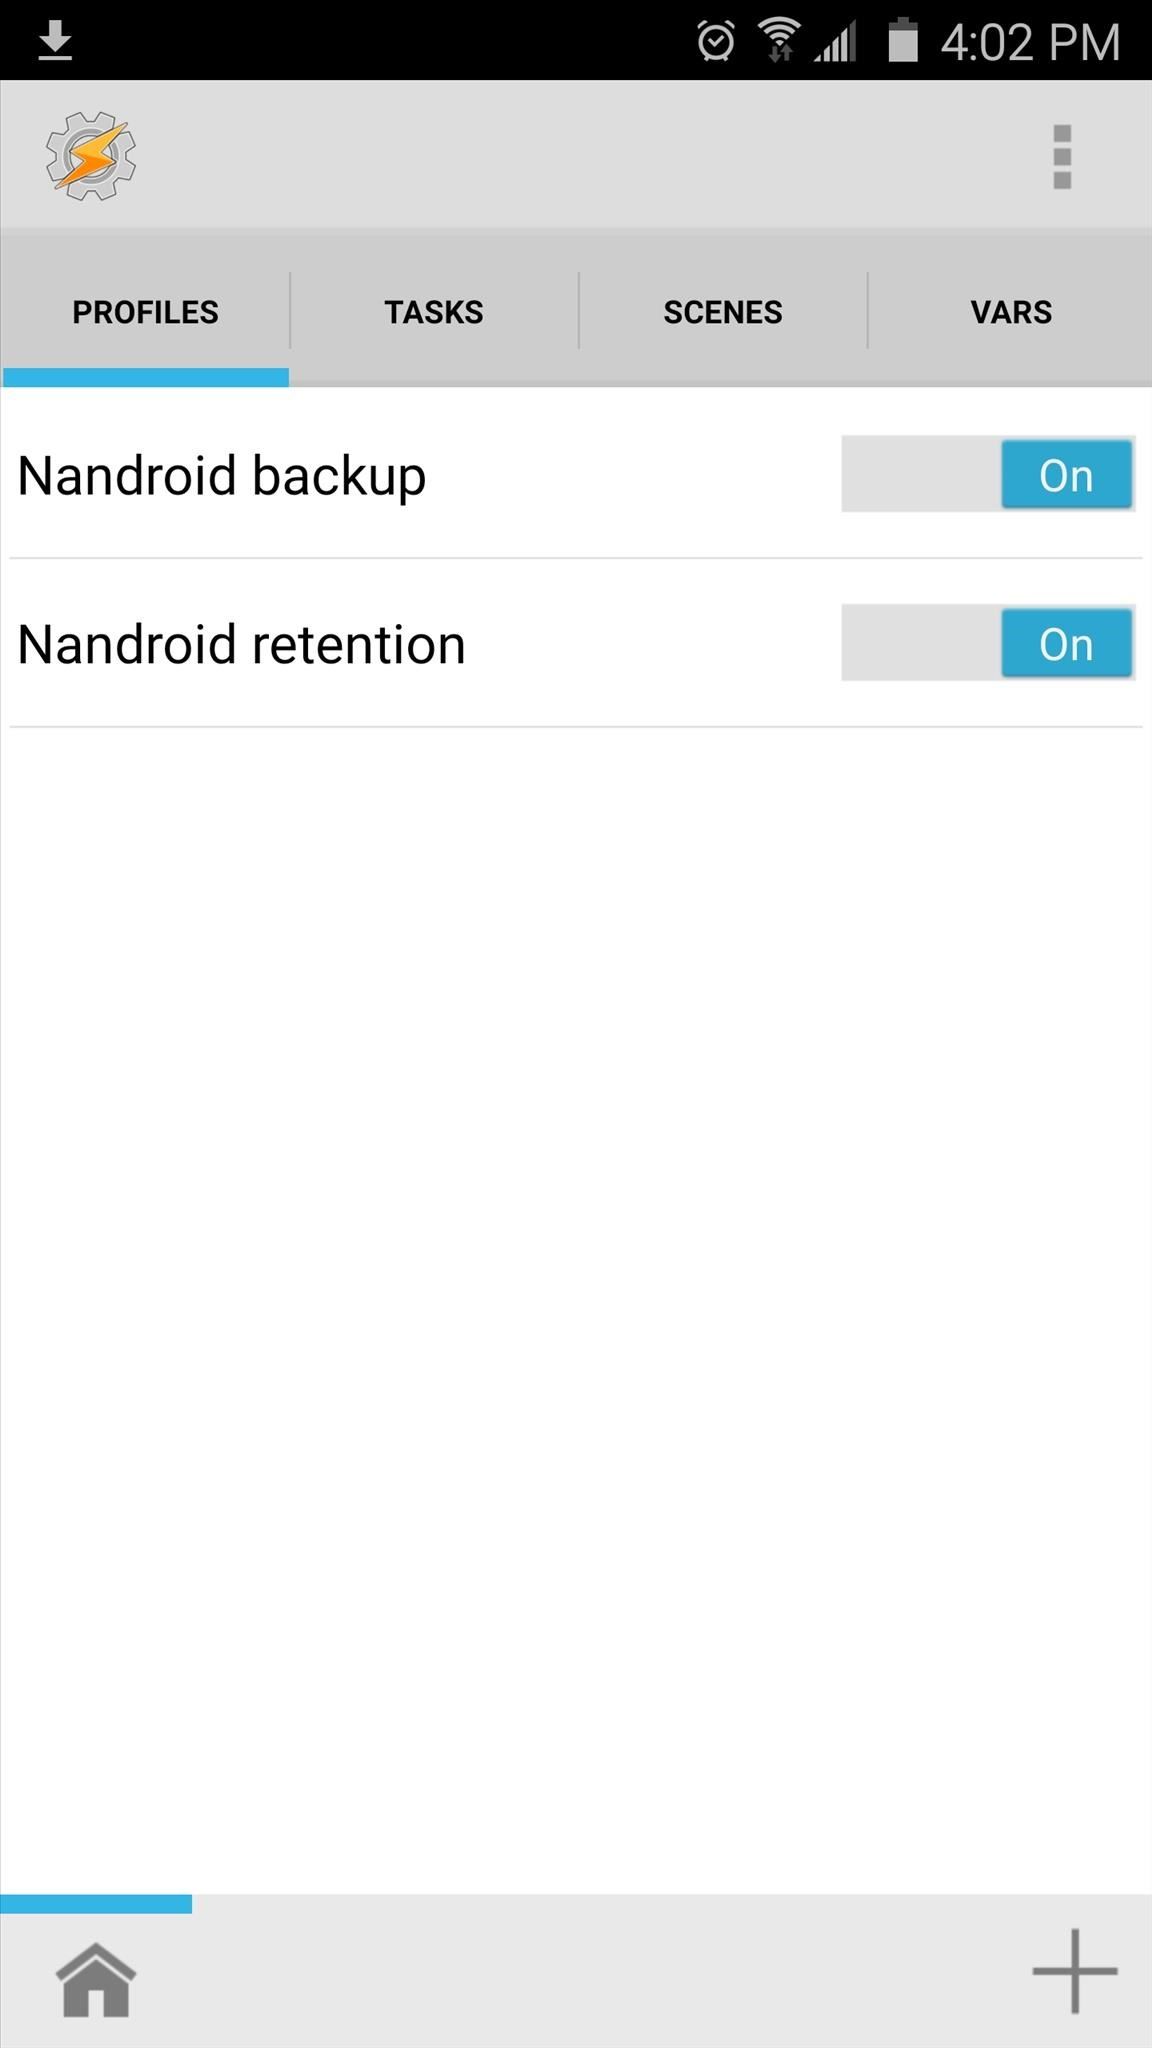
From here, repeat this same process for the second profile, and in the end, you should have two new profiles listed in Tasker's main menu. One is named "Nandroid backup" and the other is named "Nandroid retention."
Step 3: Change Backup Schedules (Optional)
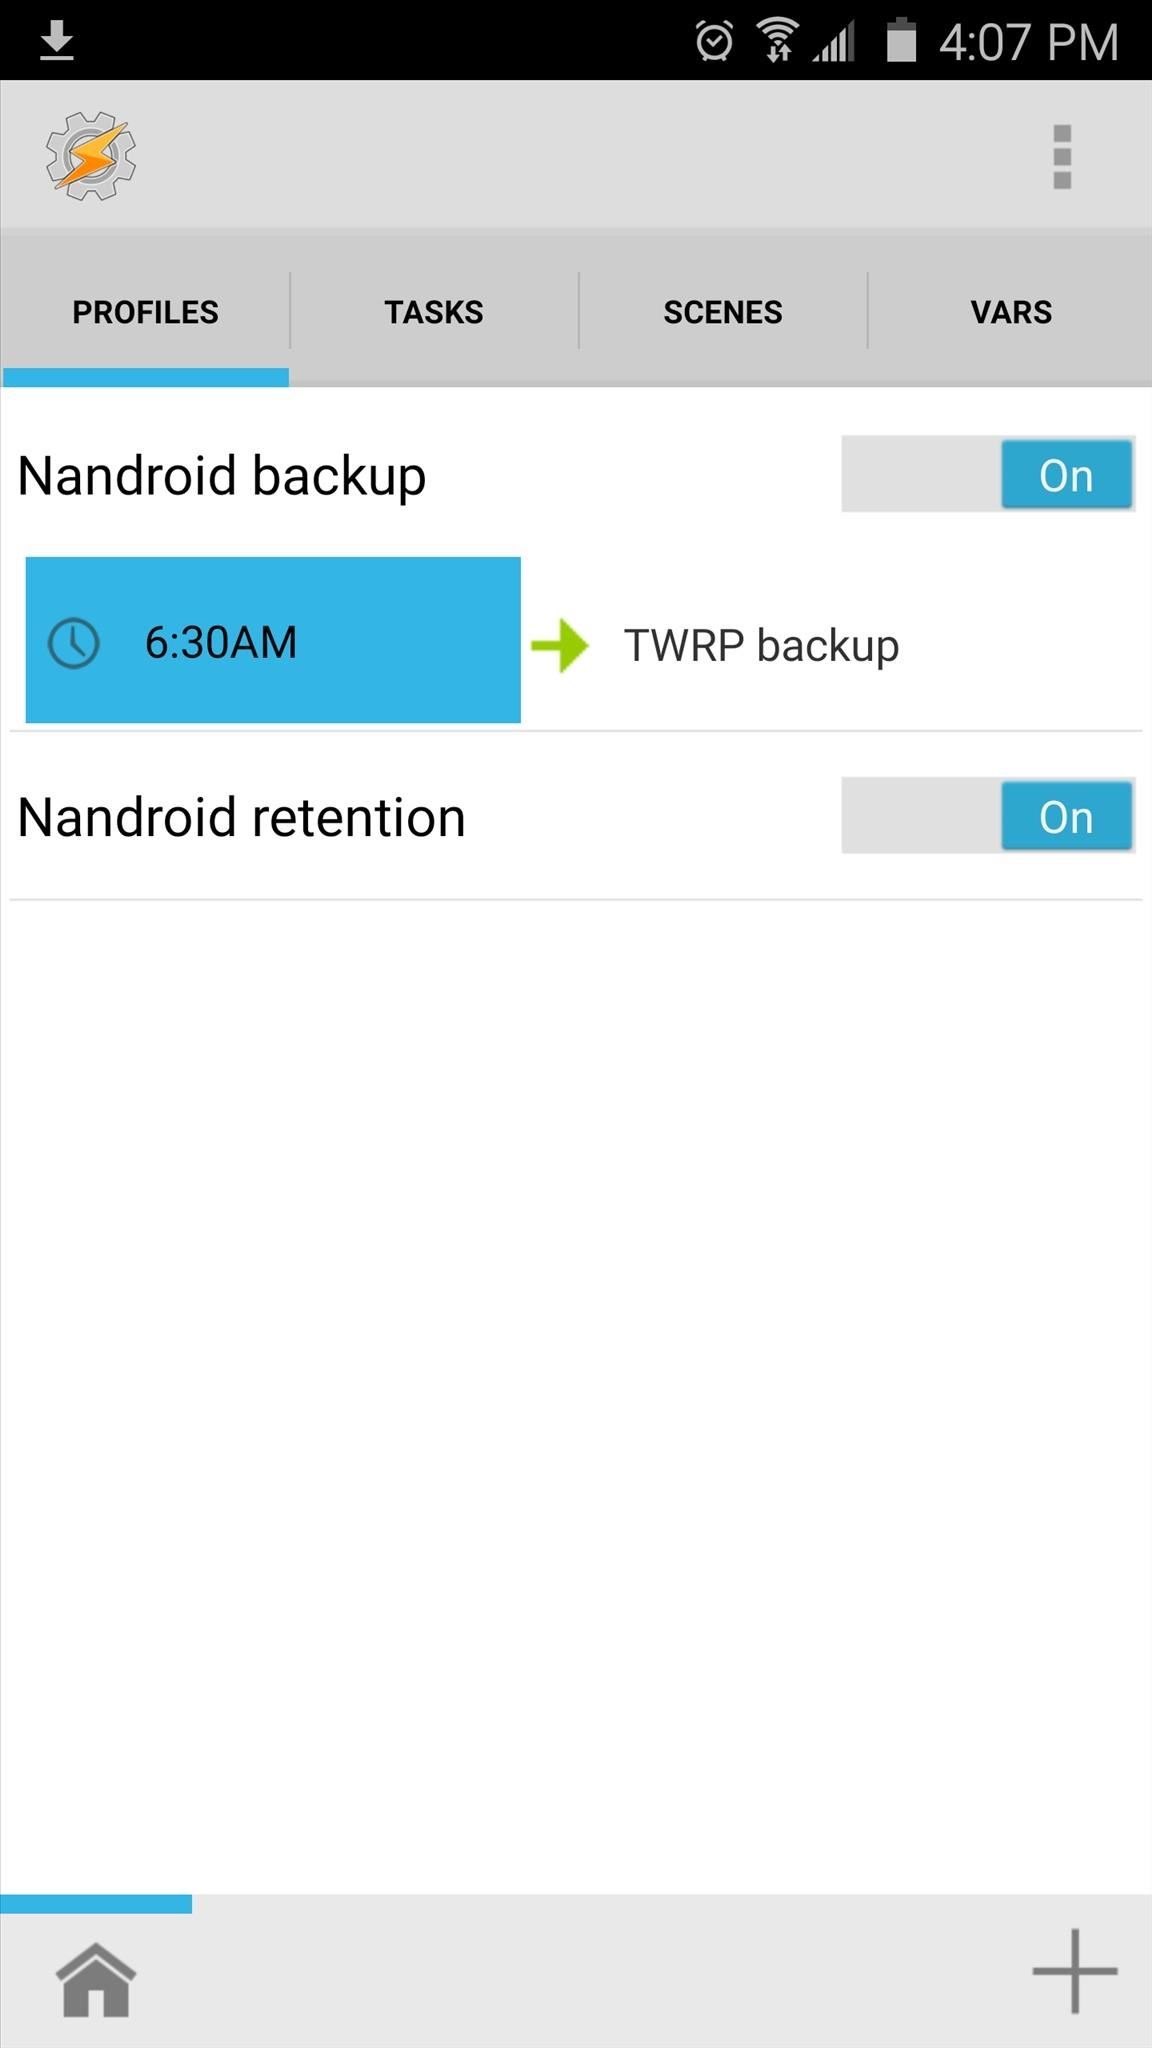
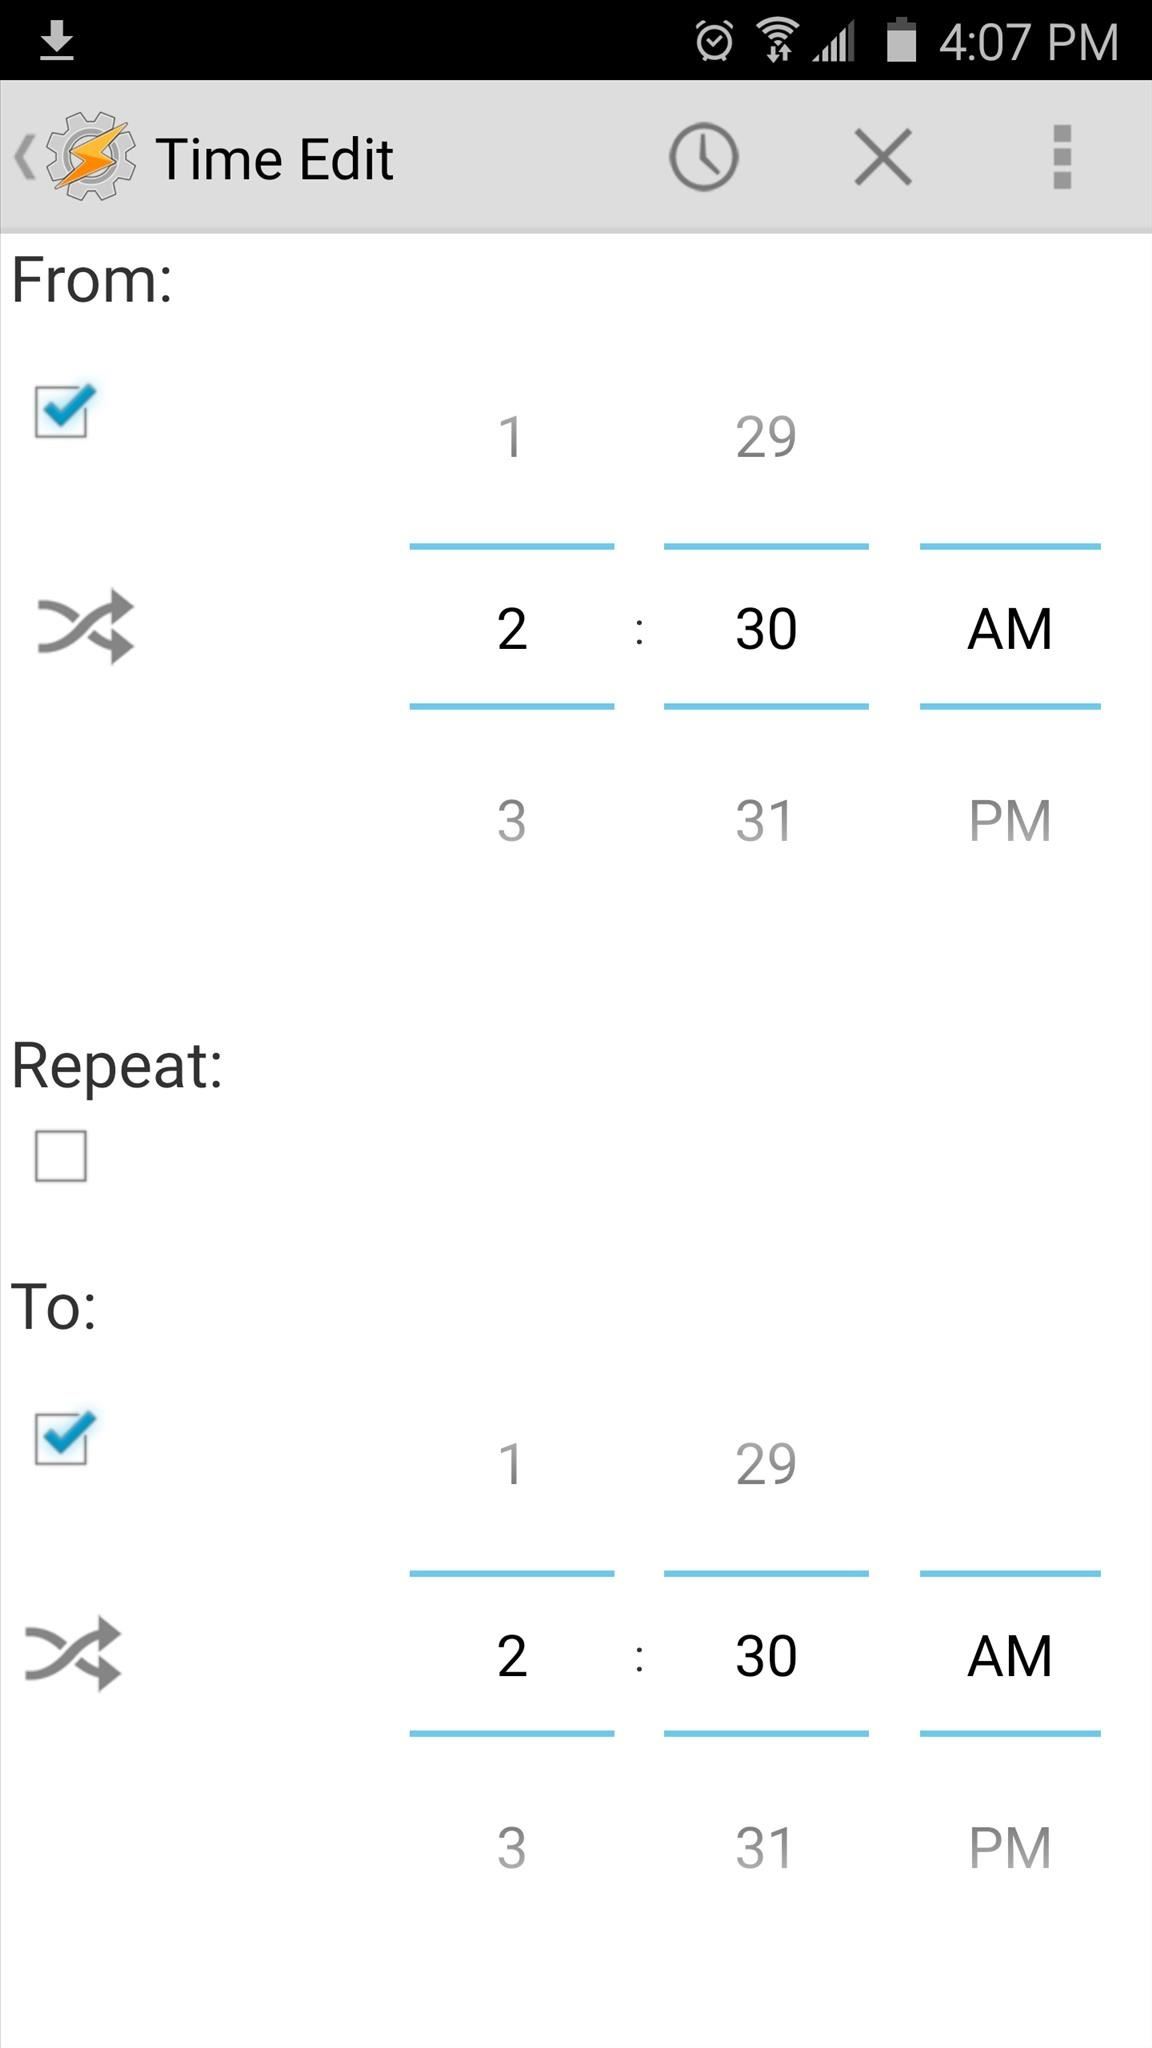
By default, the scheduled NANDroid backups will take place every 3 days at 6:30 in the morning, and the profiles will automatically delete any backups that are older than the most recent three.
If you'd like to change this, start by tapping the "Nandroid backup" profile in Tasker's main menu to fully expand it, then tap the "6:30AM" portion. From here, use the provided menu to set the time at which your scheduled backups will be performed.
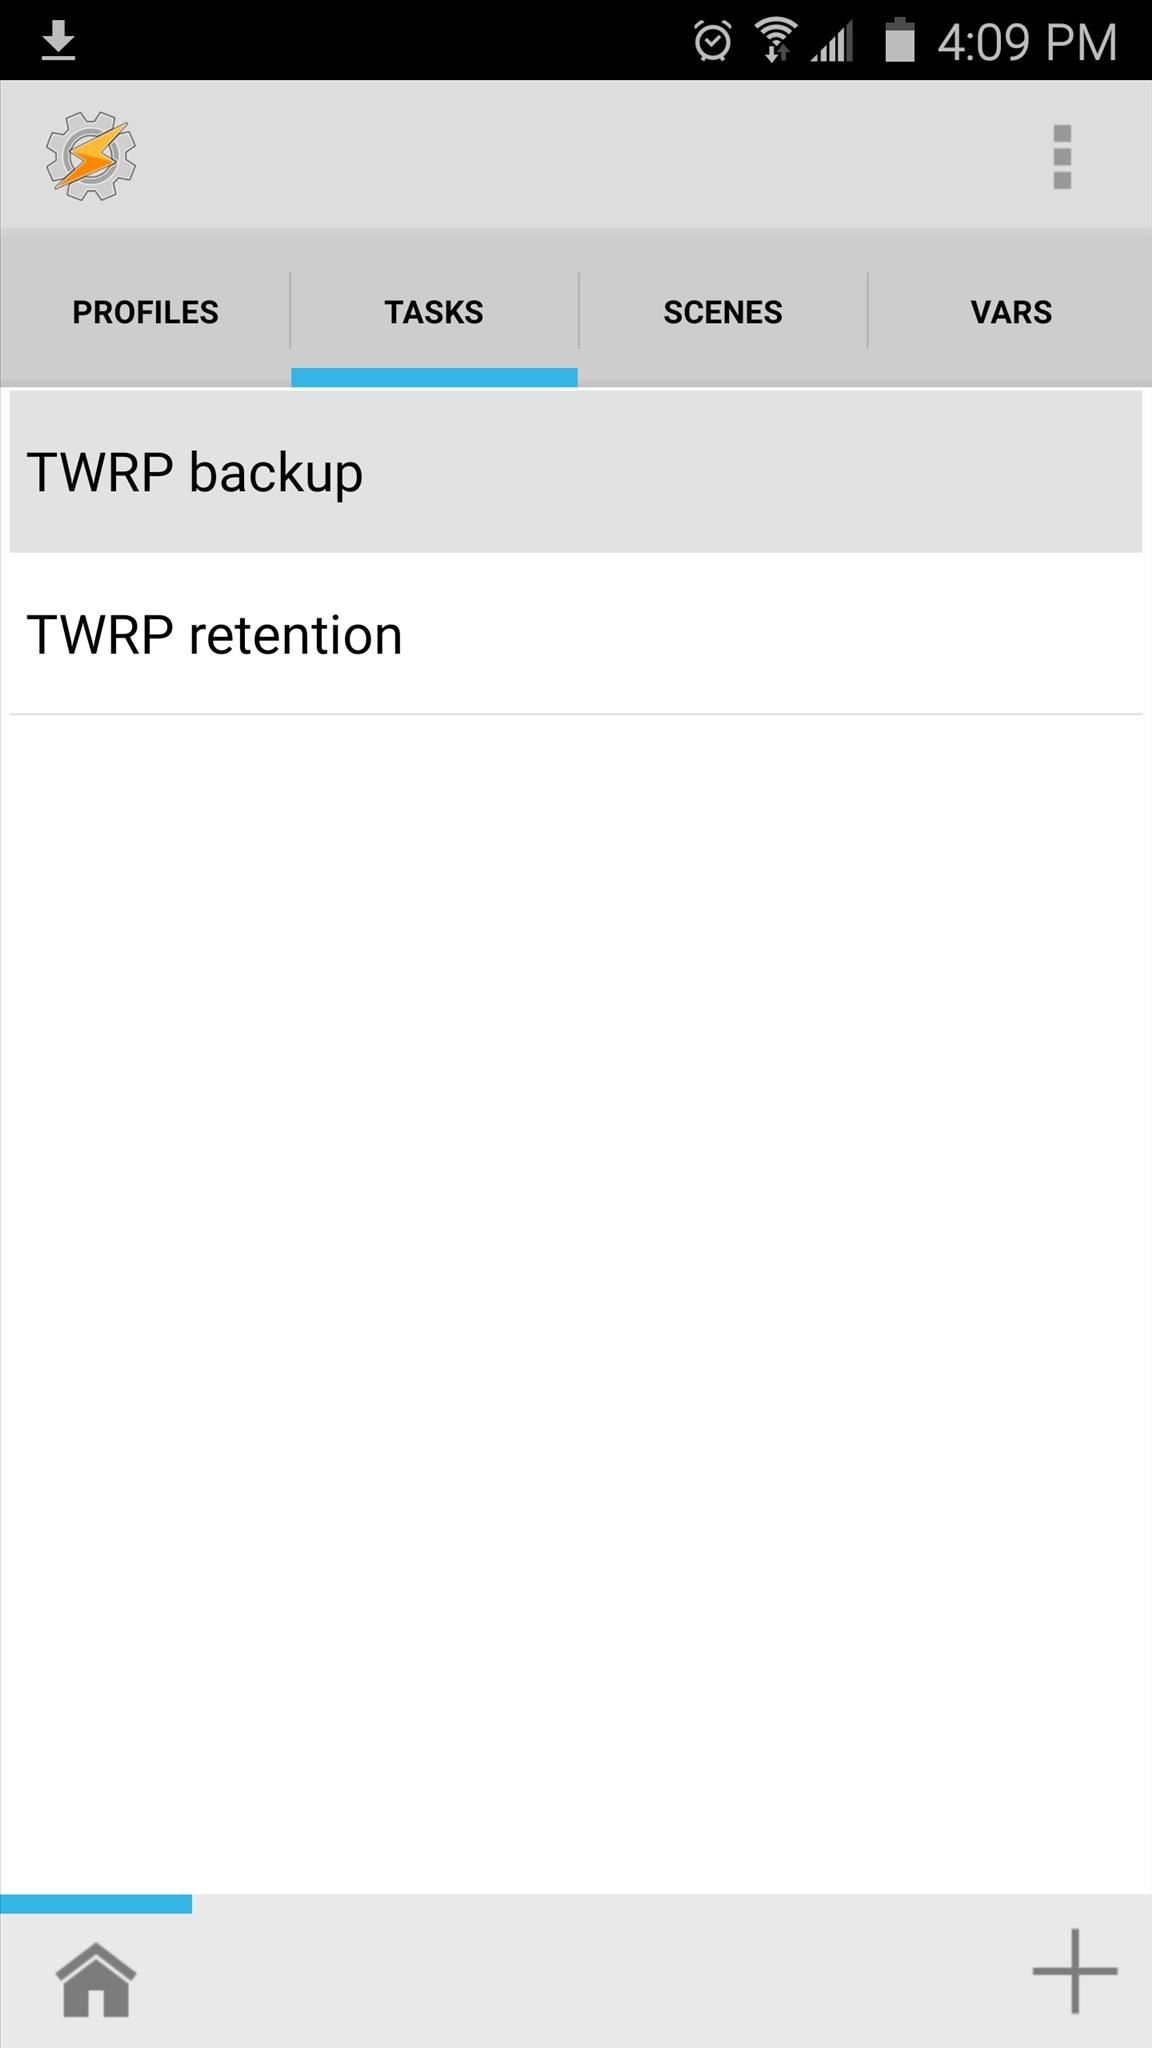
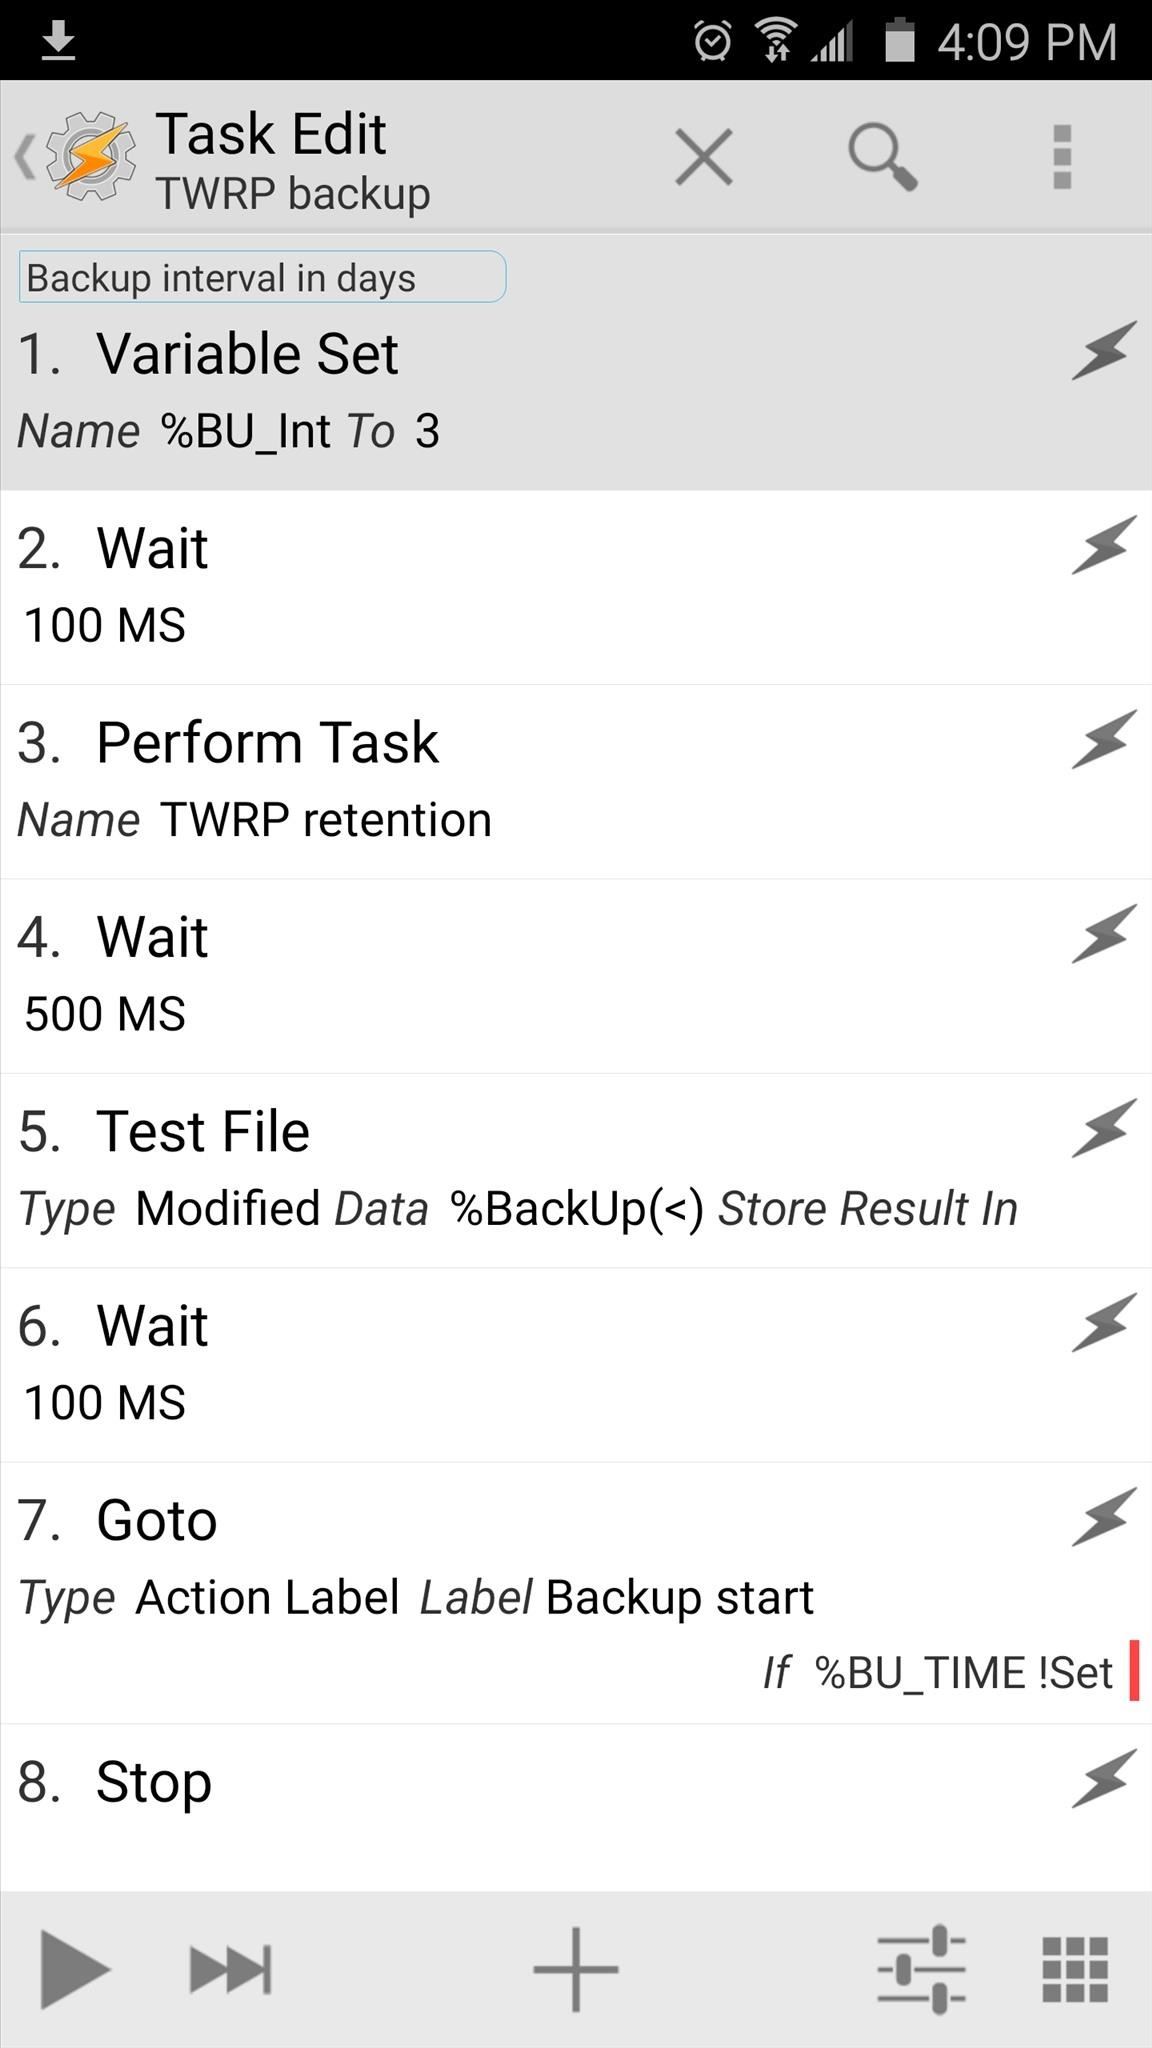
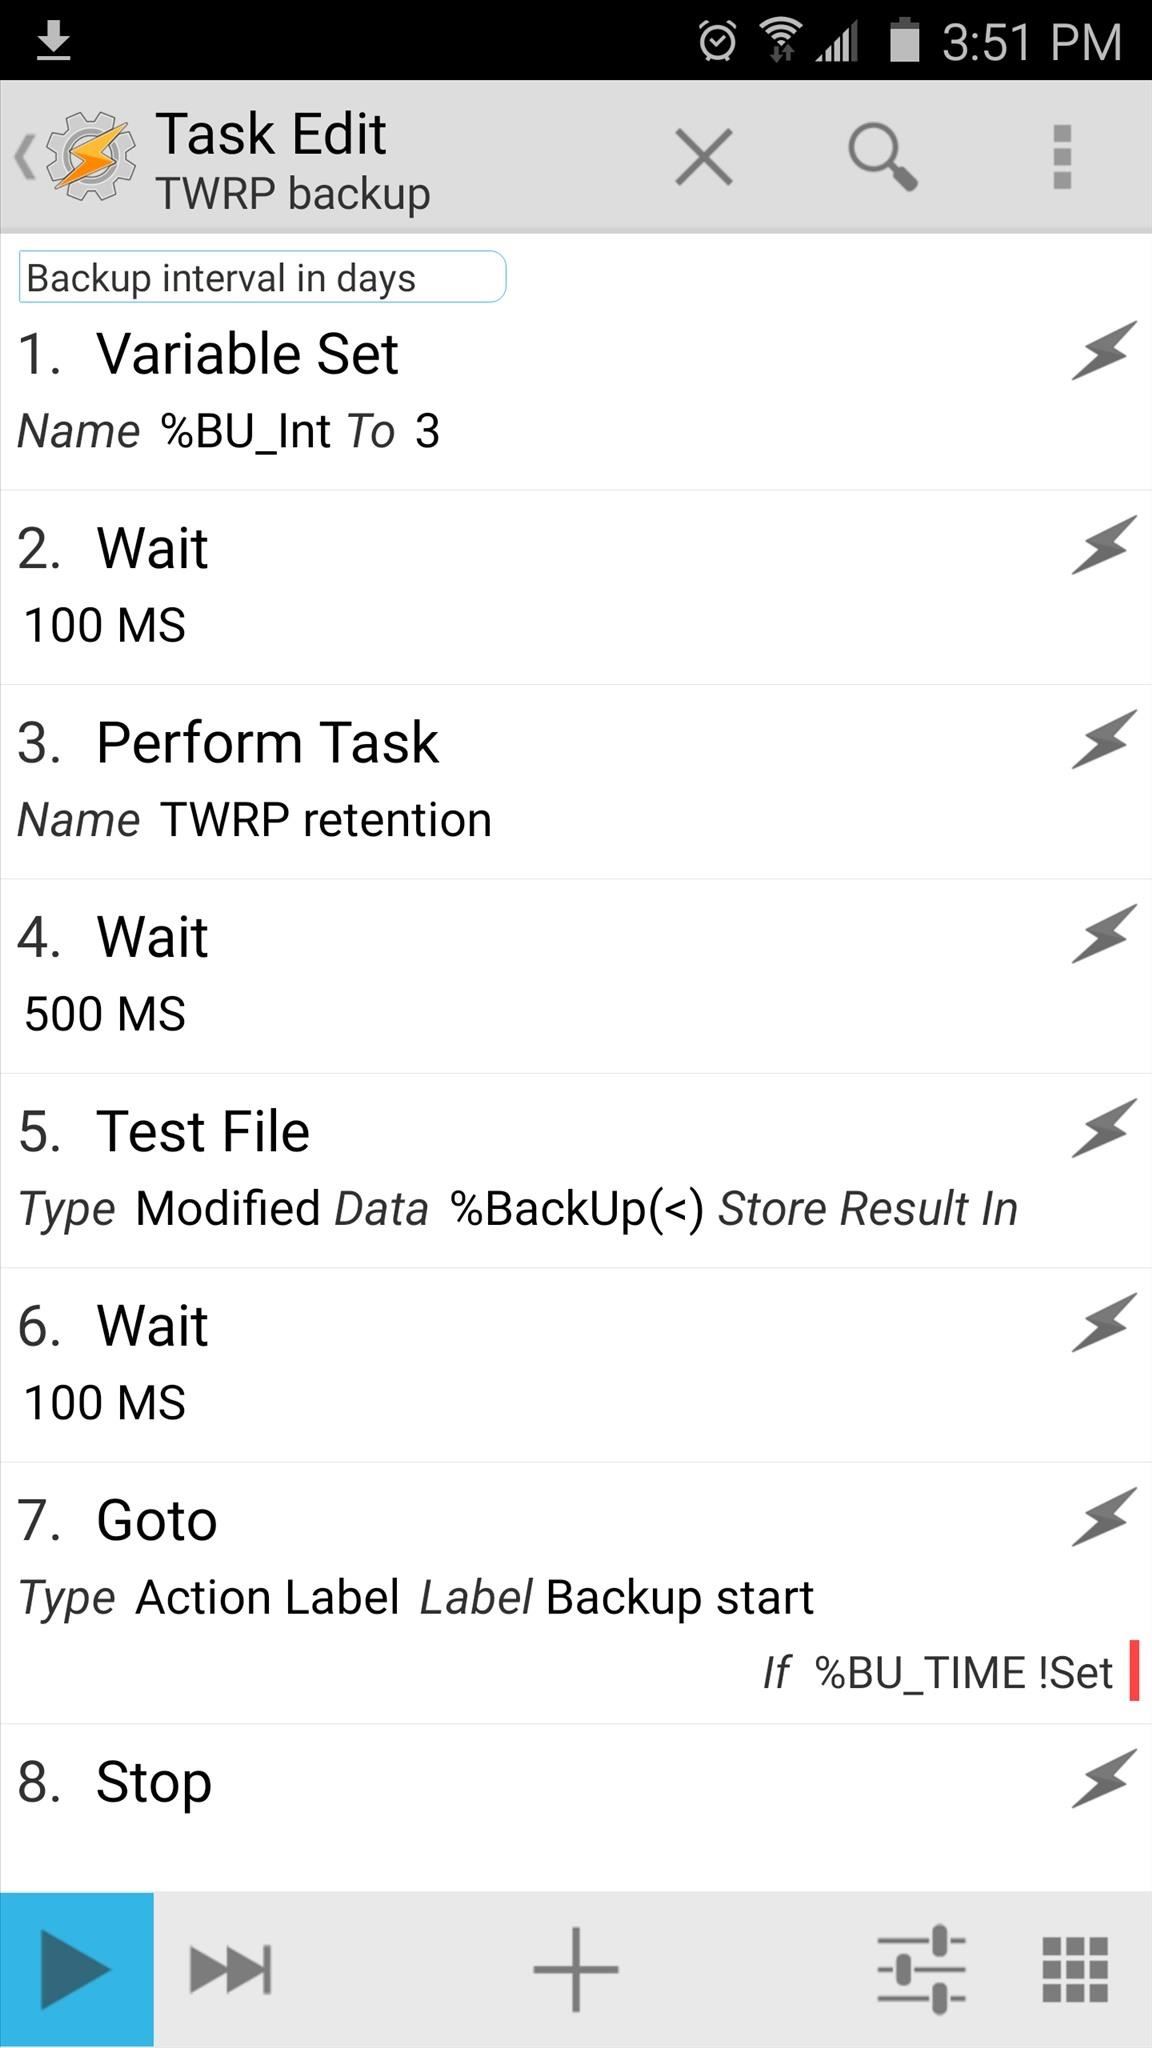
From here, if you'd like to change the interval between scheduled backups, head over to the Tasks tab from Tasker's main menu. Next, select the "TWRP backup" task, then tap the #1 action in the task. From here, change the value in the To field to the number of days you would like to wait in between scheduled backups.
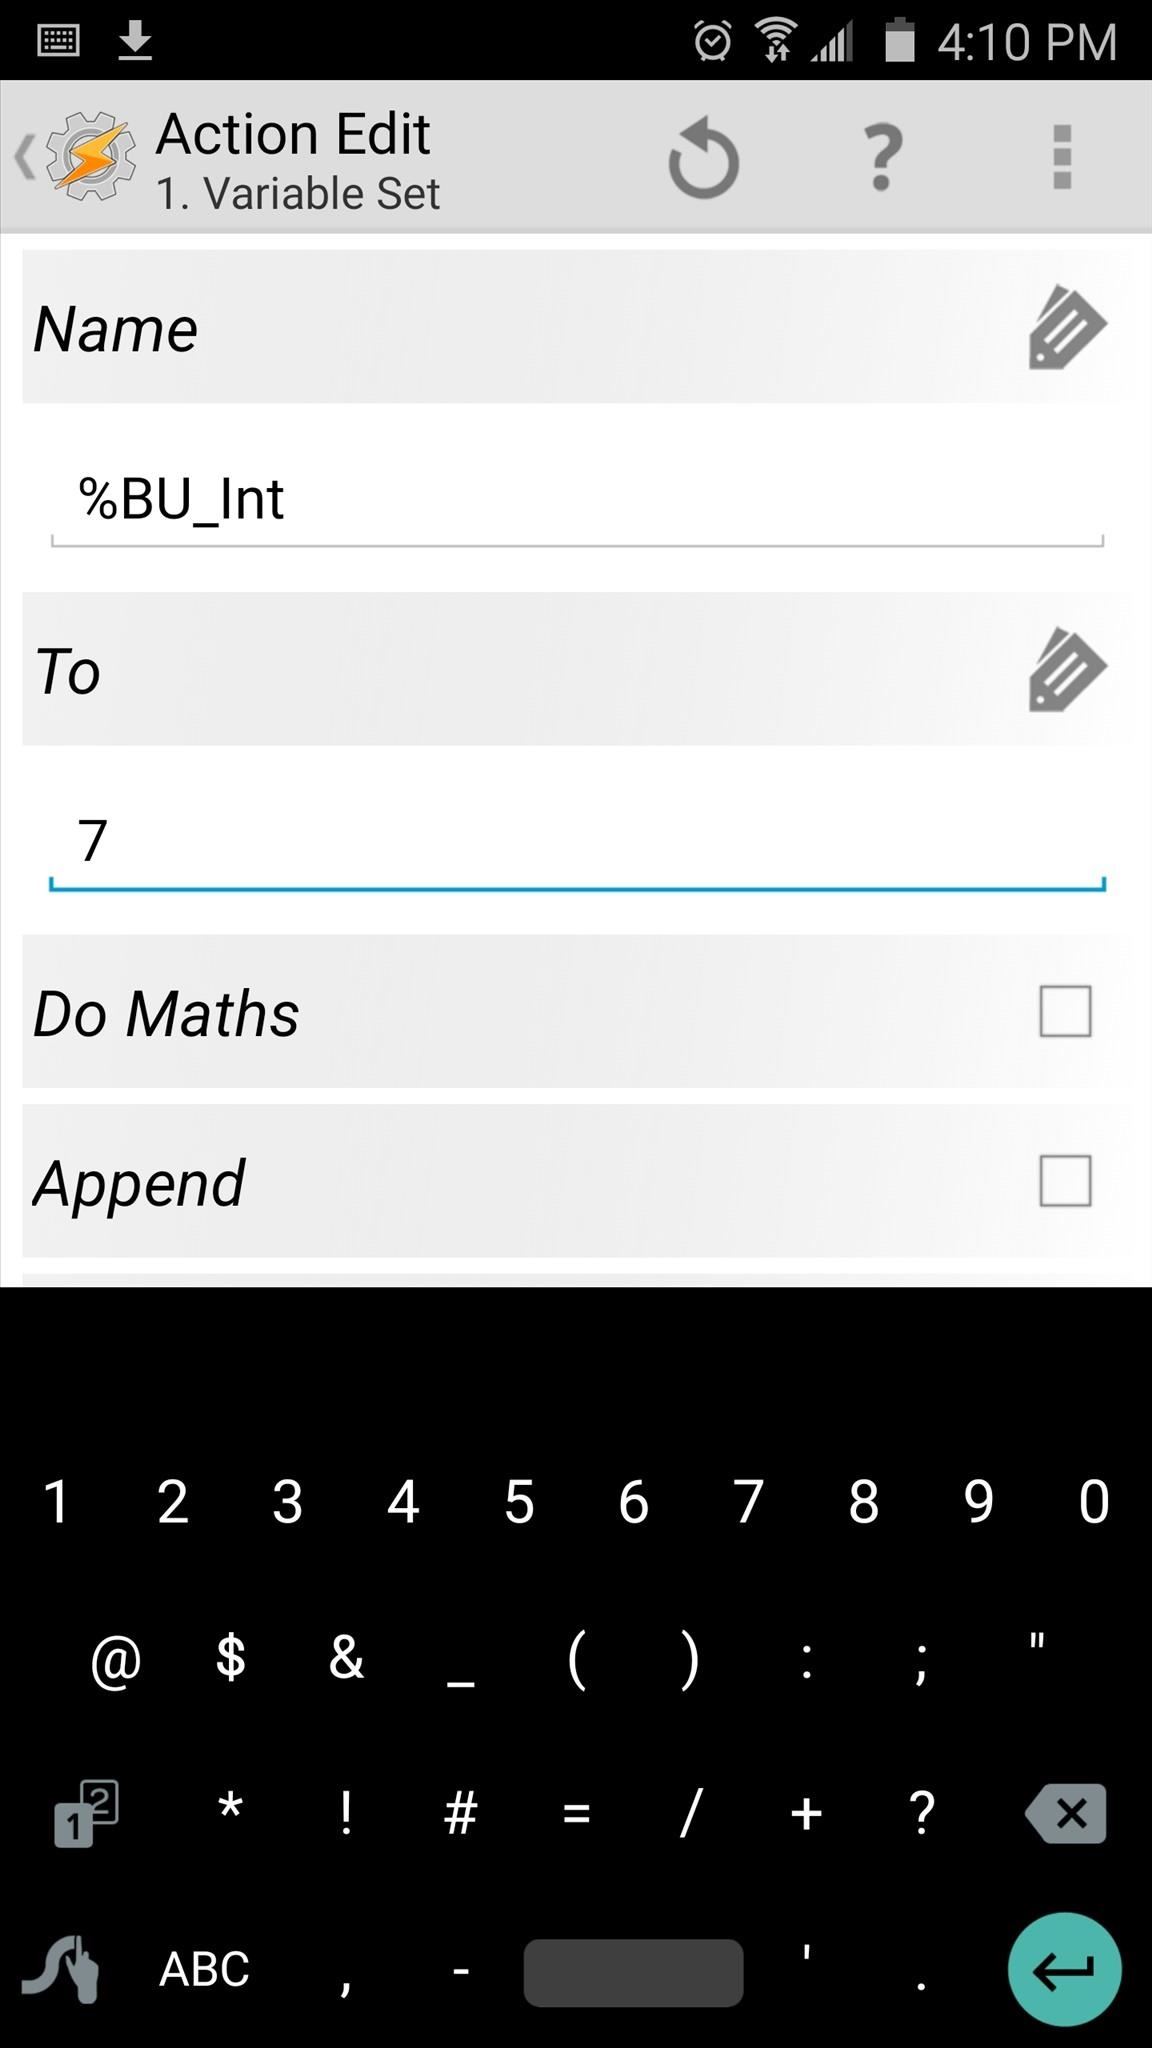
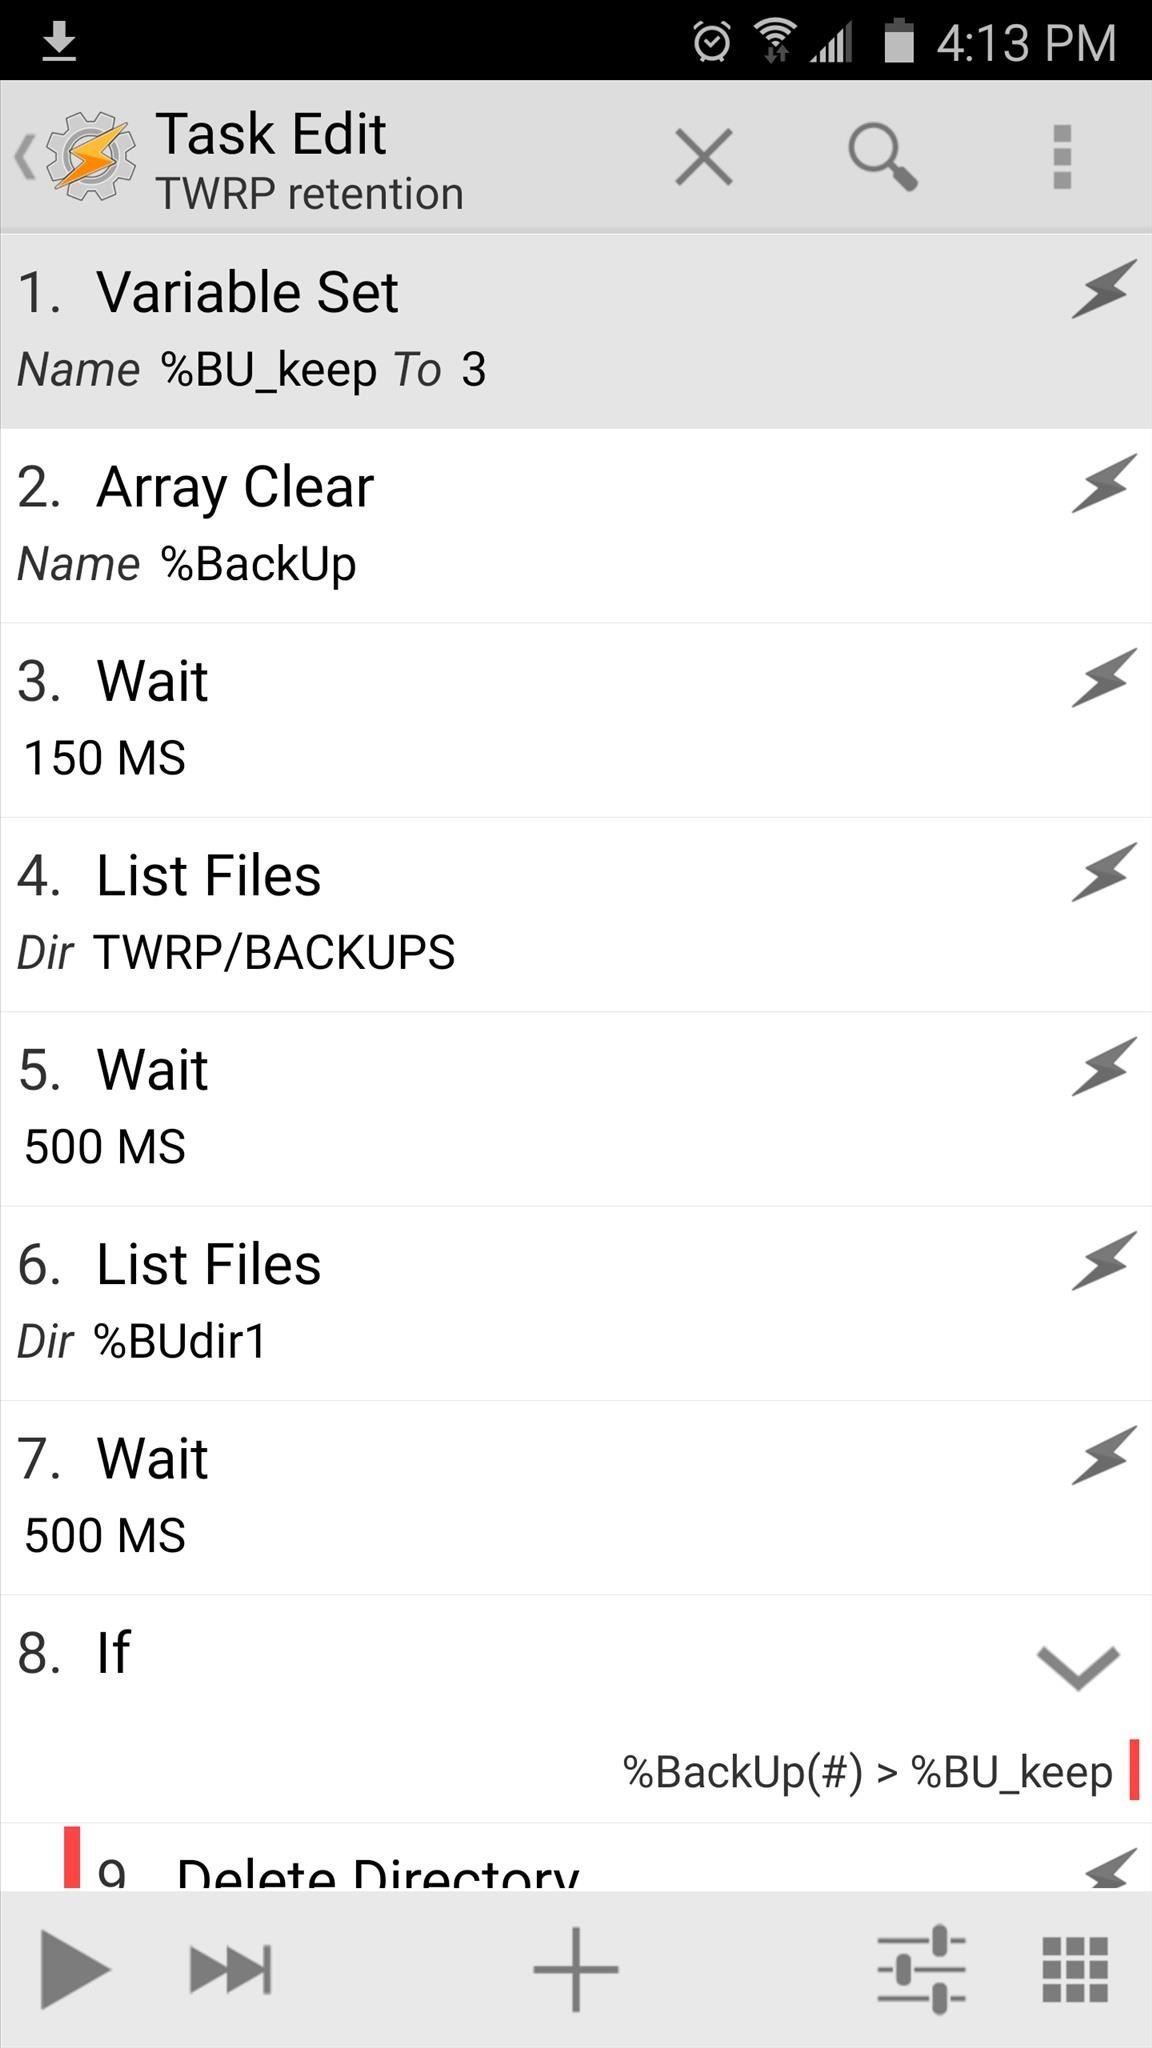
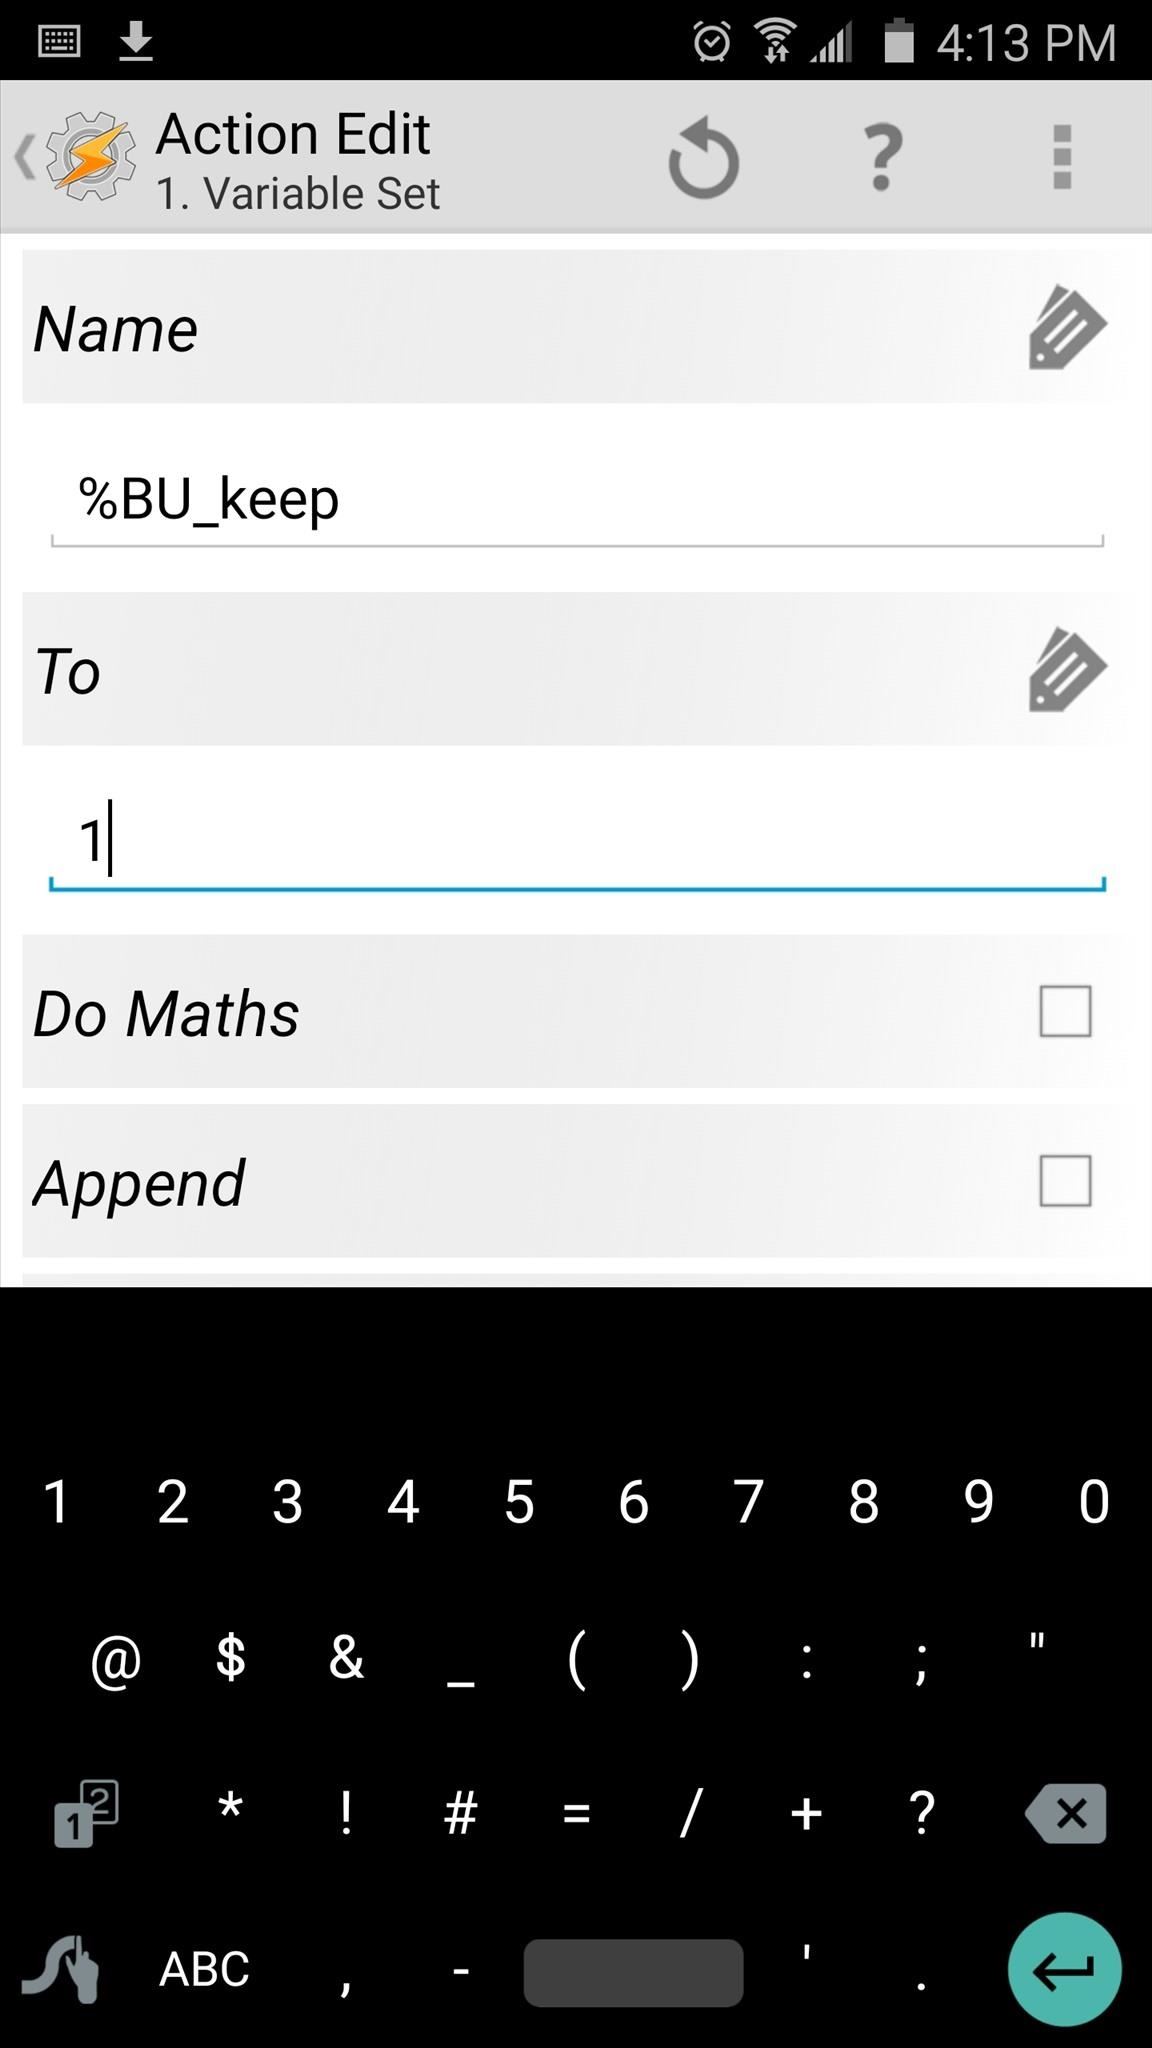
Finally, if you'd like to change the number of NANDroid backups to keep before the profiles automatically delete the old ones, tap the "TWRP retention" task. From here, tap the #1 action in the task again, then change the number in the To field to represent the number of NANDroid backups you would like to keep at any given time.

Step 4: Perform Your First Backup & Grant Tasker Superuser Access
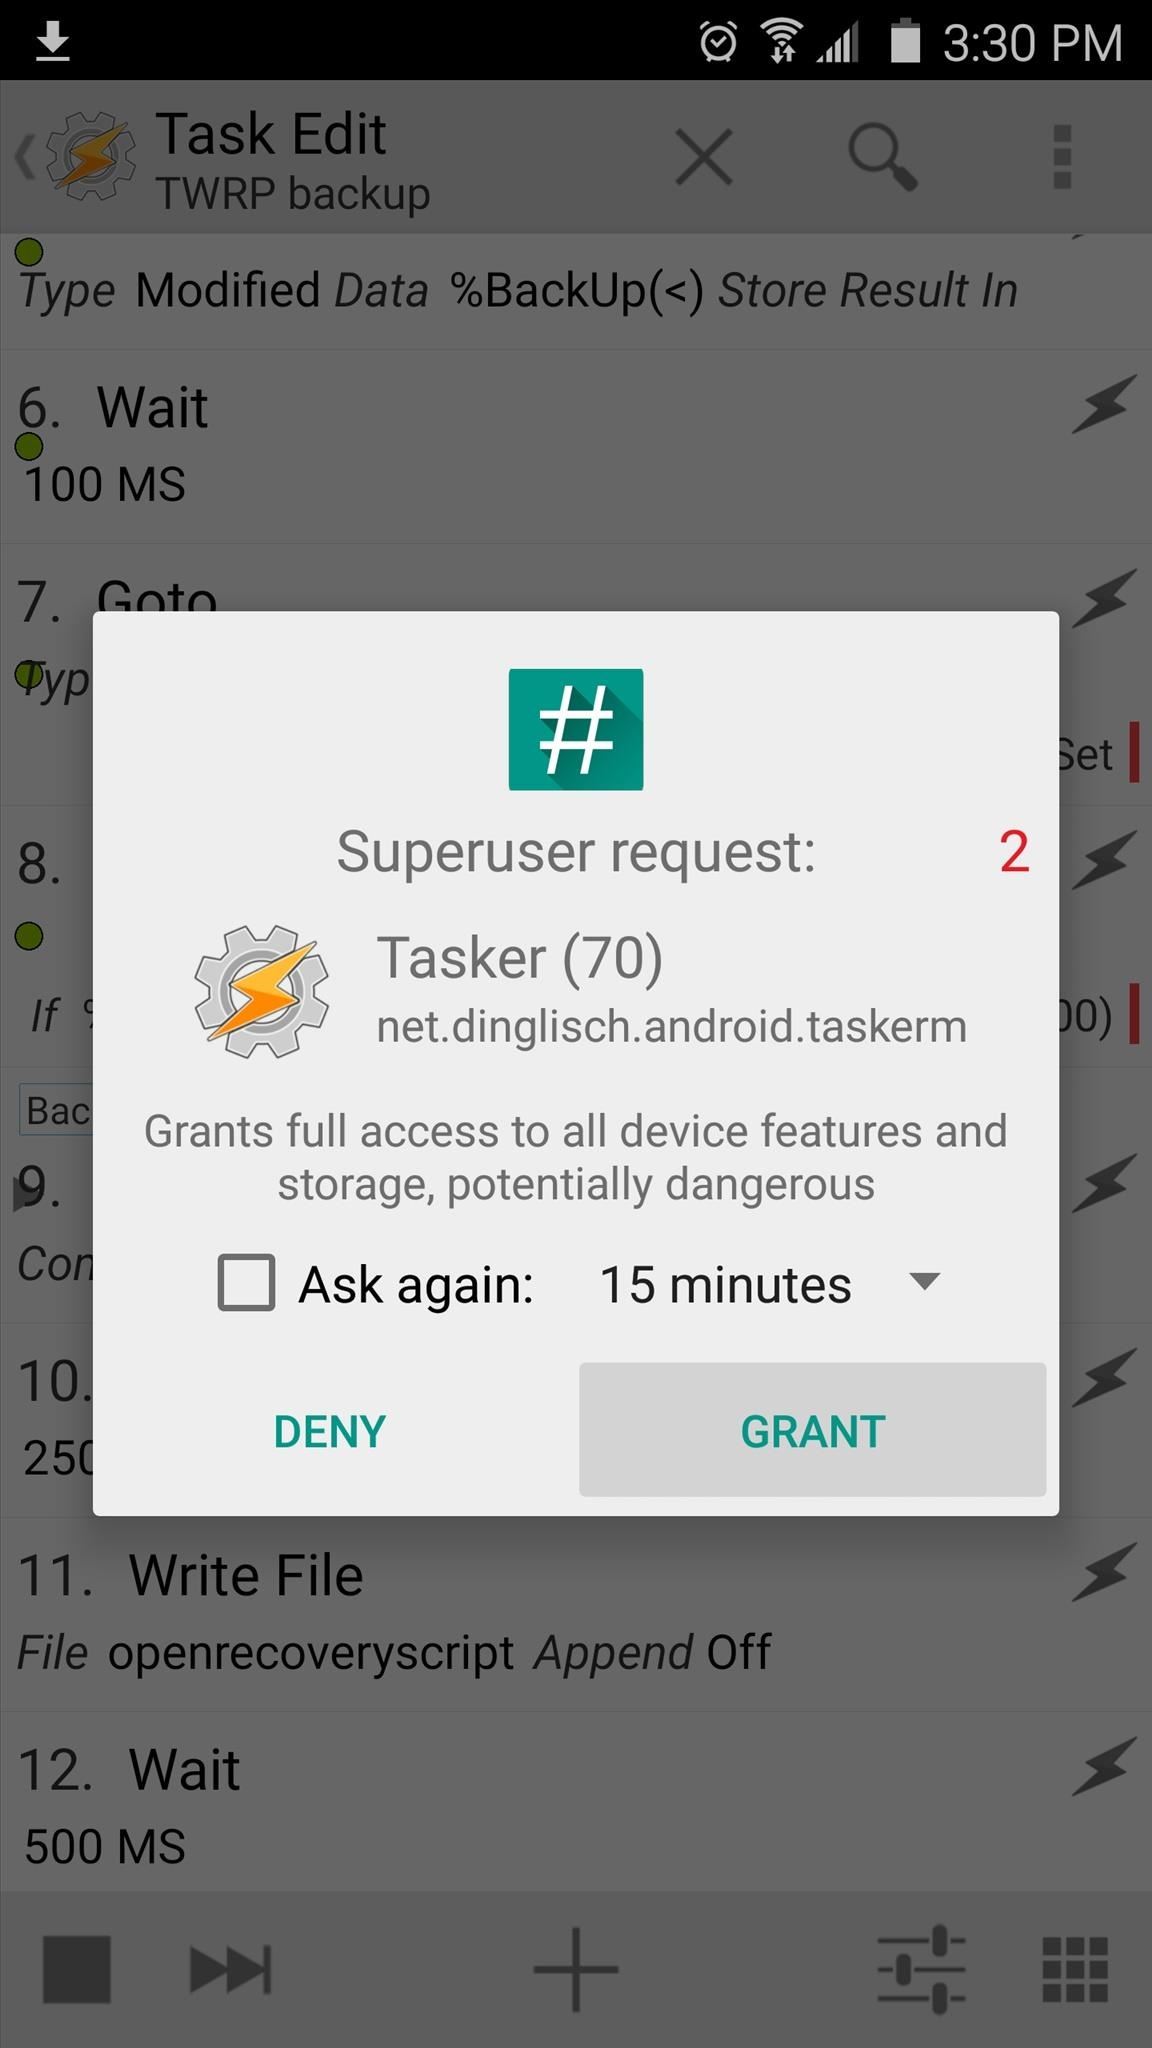
Now that you have everything set up, you'll just need to run the TWRP backup task one time to make sure it's all working properly. From the Tasks tab in Tasker's main menu, tap the "TWRP backup" task, then press the play button in the bottom-left corner of the screen. Within a few seconds, Tasker should ask for Superuser access (if you haven't granted it already), so tap "Grant" on the popup.
From here, your first automated NANDroid backup will start, and when it's done, your phone will automatically reboot. In the future, this will all happen automatically, so there's no need to come back into Tasker and hit that play button again.
What intervals did you use for your scheduled NANDroid backup? How many backups did you decide to keep? Let us know in the comment section below, or drop us a line on Android Hacks' Facebook or Twitter, or Gadget Hacks' Facebook, Google+, or Twitter.
Who needs a wand? Unlock your magical powers and transform yourself from a Muggle into a Wizard or Witch just by using your Android phone. See how:


1 Comment
Hello, first of all, thank you for the script.
i followed you tut and it cannot go wrong here.. But, when i hit the play button the script stops at point 3 with the message 'task doesn't exist: TWRP retention.'
Although it is there, i even checked spelling.
What did i do wrong??
I made some manual changes.
I manually 'reconnected' the task TWRP retention.
That worked for me.
Then i got the message that the openrecovery was a directory. I manually coppied the file and delete the 3 'tasks' that were involved (copy, wait, delete) and now i am running a backup. :D
Share Your Thoughts