

Over the course of the past year, a lot of Android apps have added pull-to-refresh functionality. It's a very useful and intuitive gesture, because all you have to do to refresh the page you're viewing is scroll to the top of the screen, then slide your finger down one more time.
This is one overscroll gesture, but what if you could add your own custom actions to the other overscroll directions—left, right, and down? Well, thanks to an awesome new Xposed module from developer Takagi Katsuyuki, now you can.
To put it simply, the module lets you pull to refresh in any direction once you scroll past the edge of the screen. And to sweeten the deal, it even lets you launch apps and perform all sorts of custom actions, so it's not just limited to refreshing the page.
Requirements
Note that this will only work in apps that already have existing pull-to-refresh functionality built in.
Step 1: Install Overscroll Action
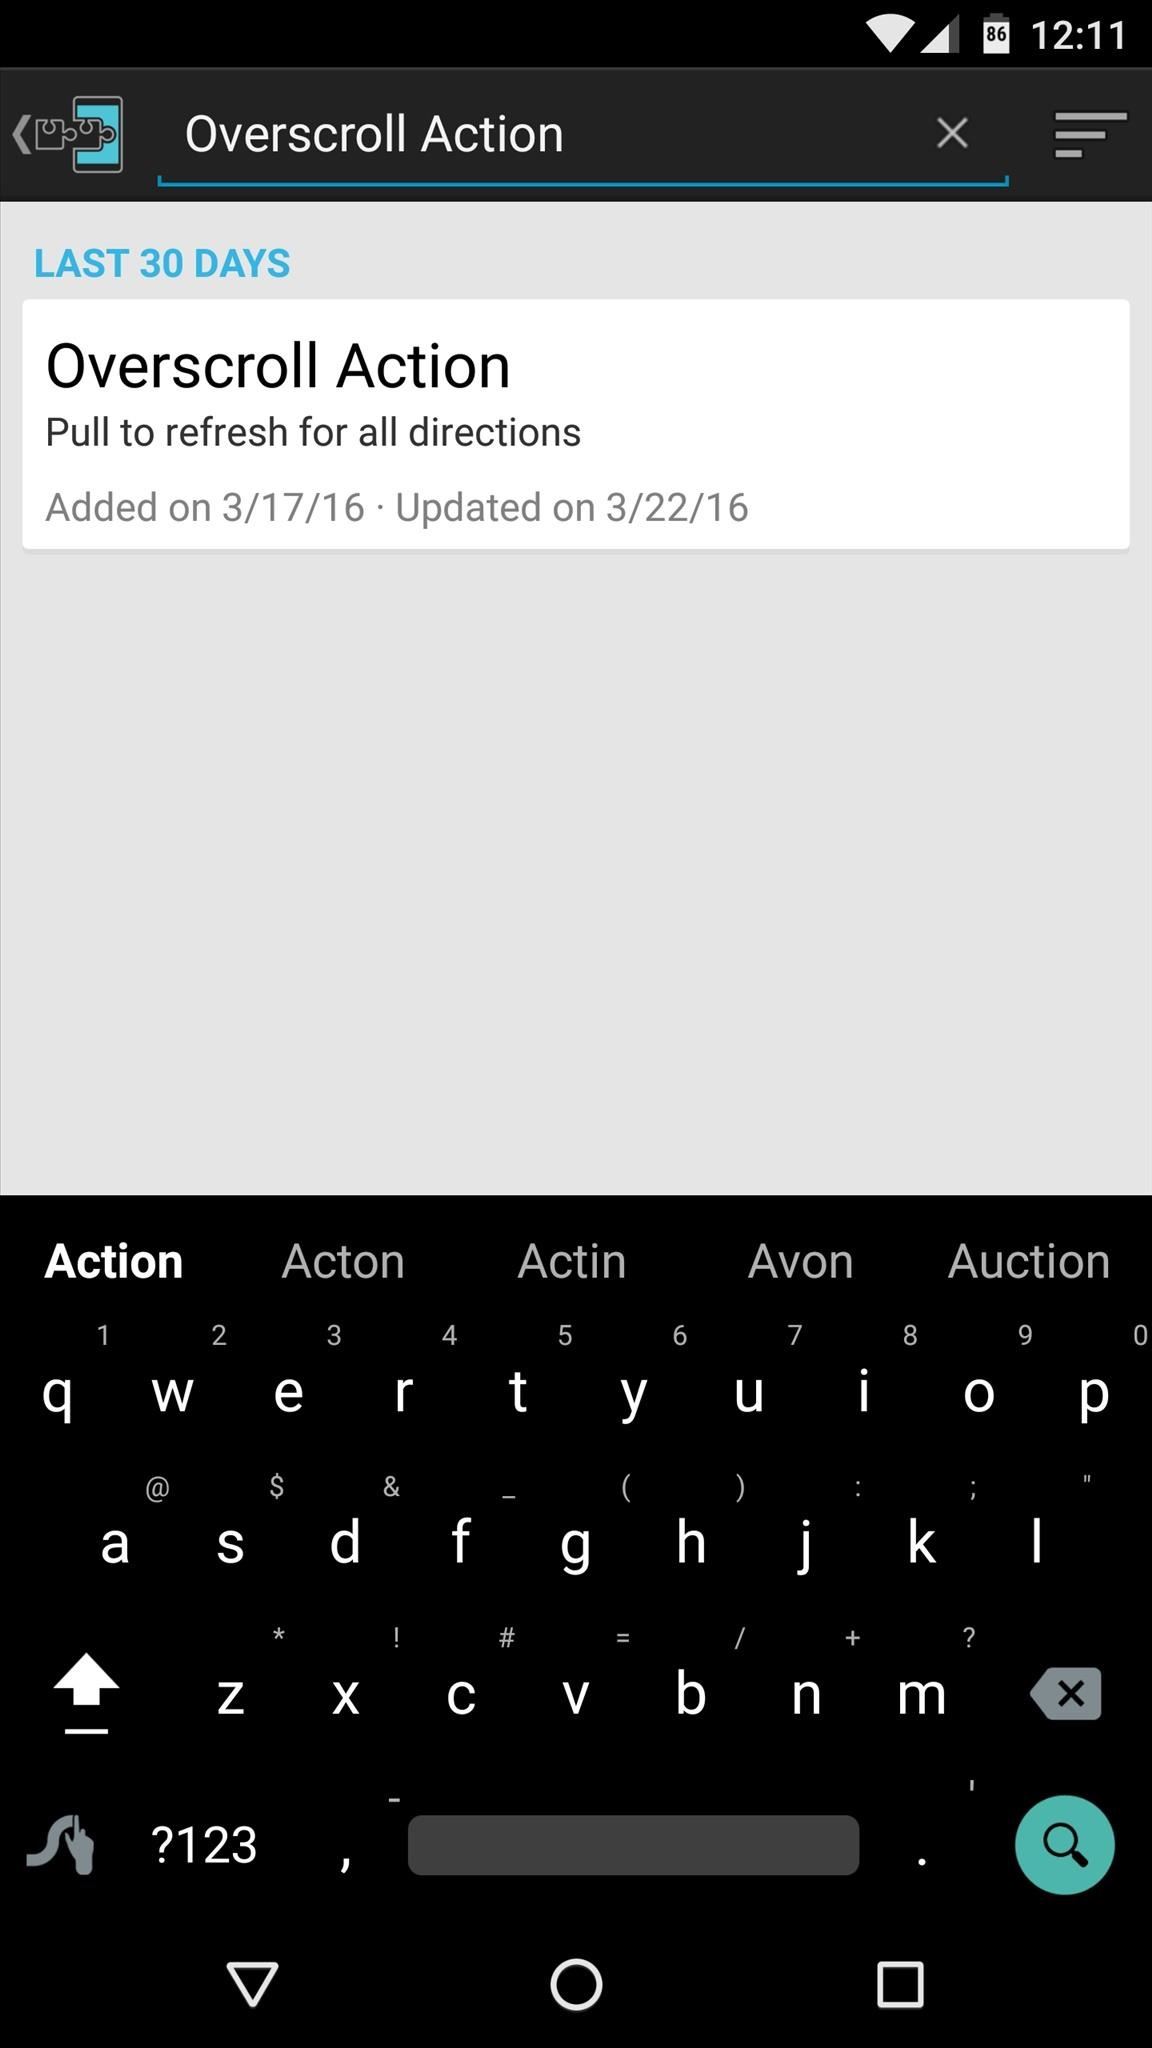
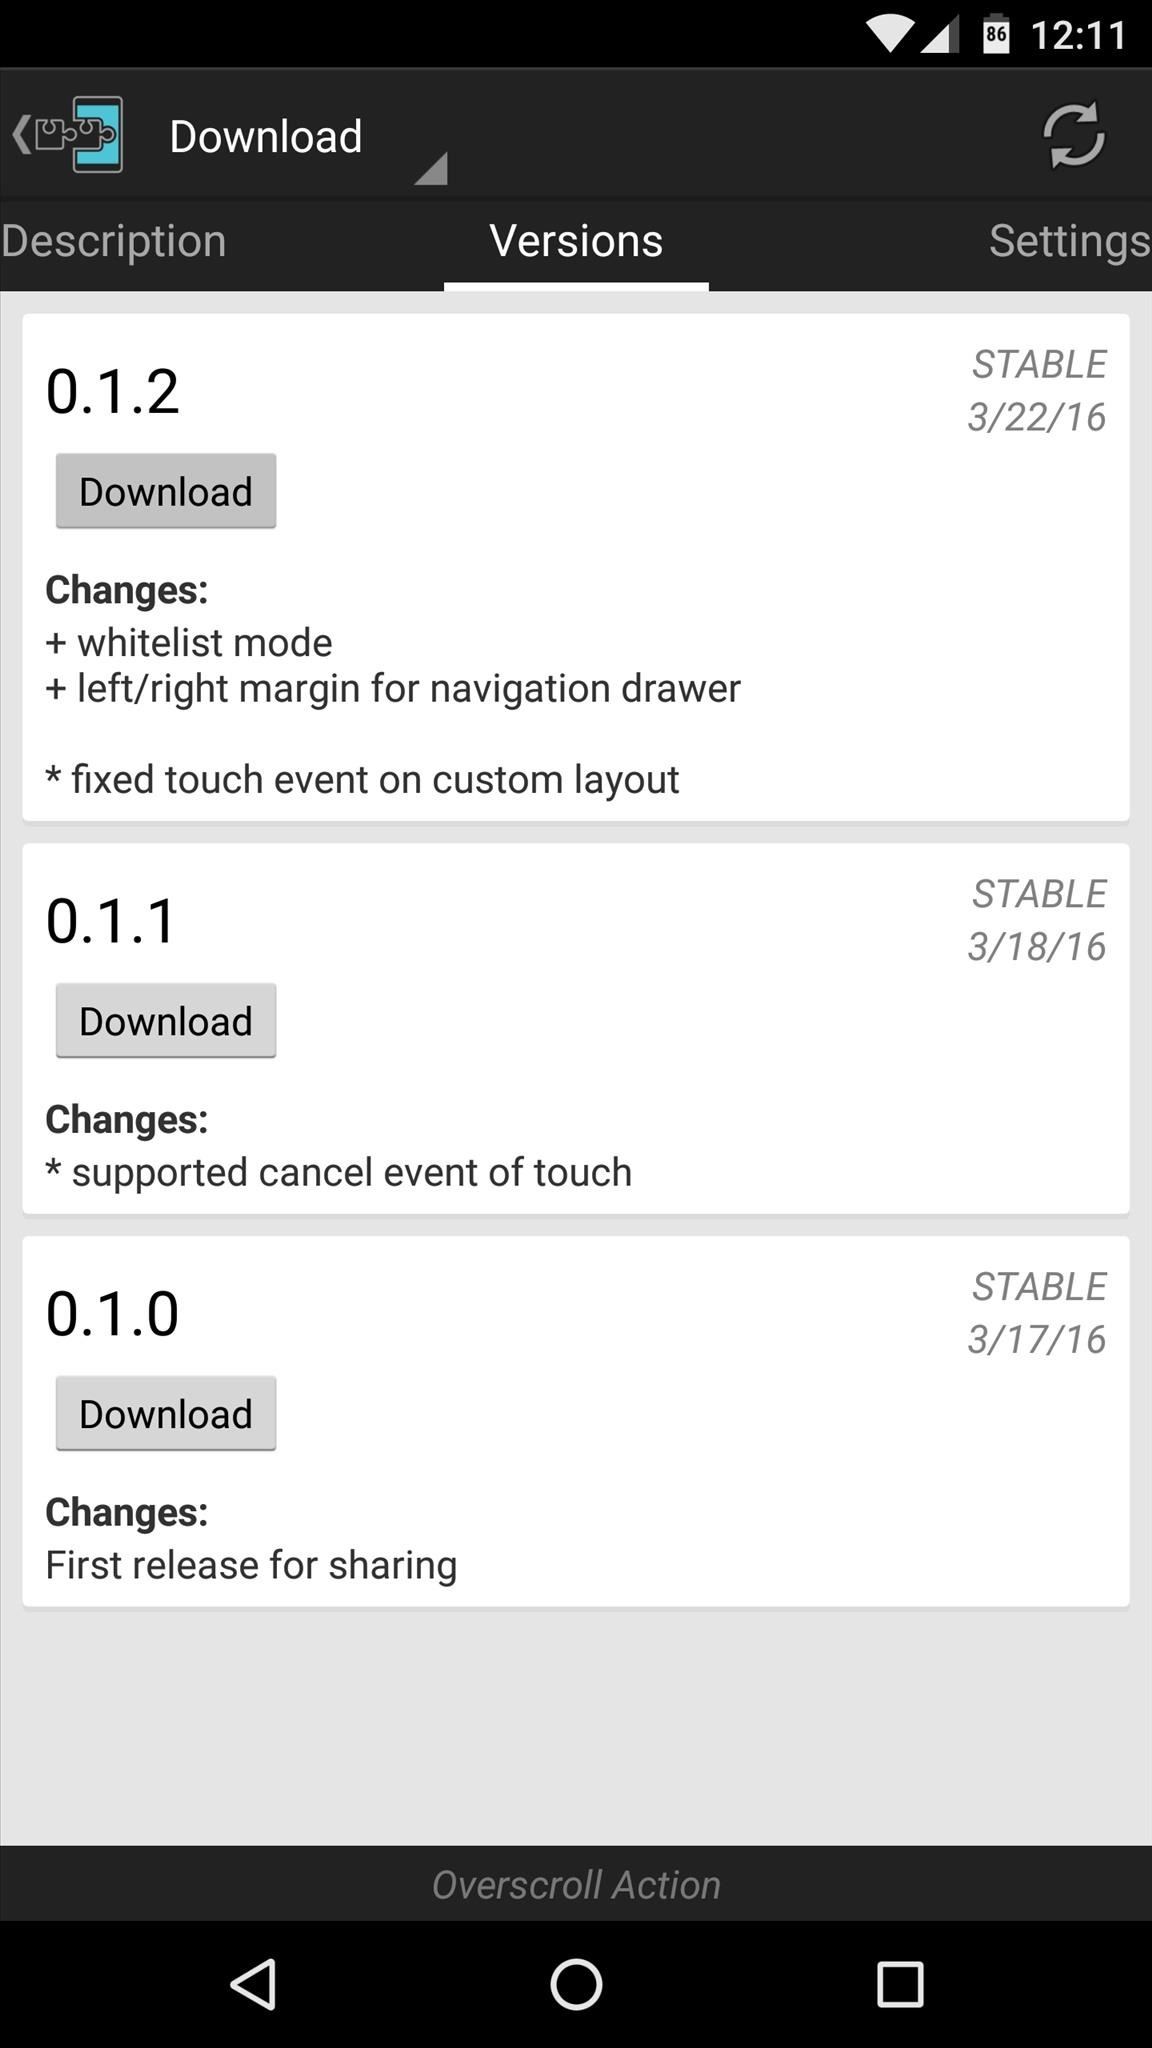
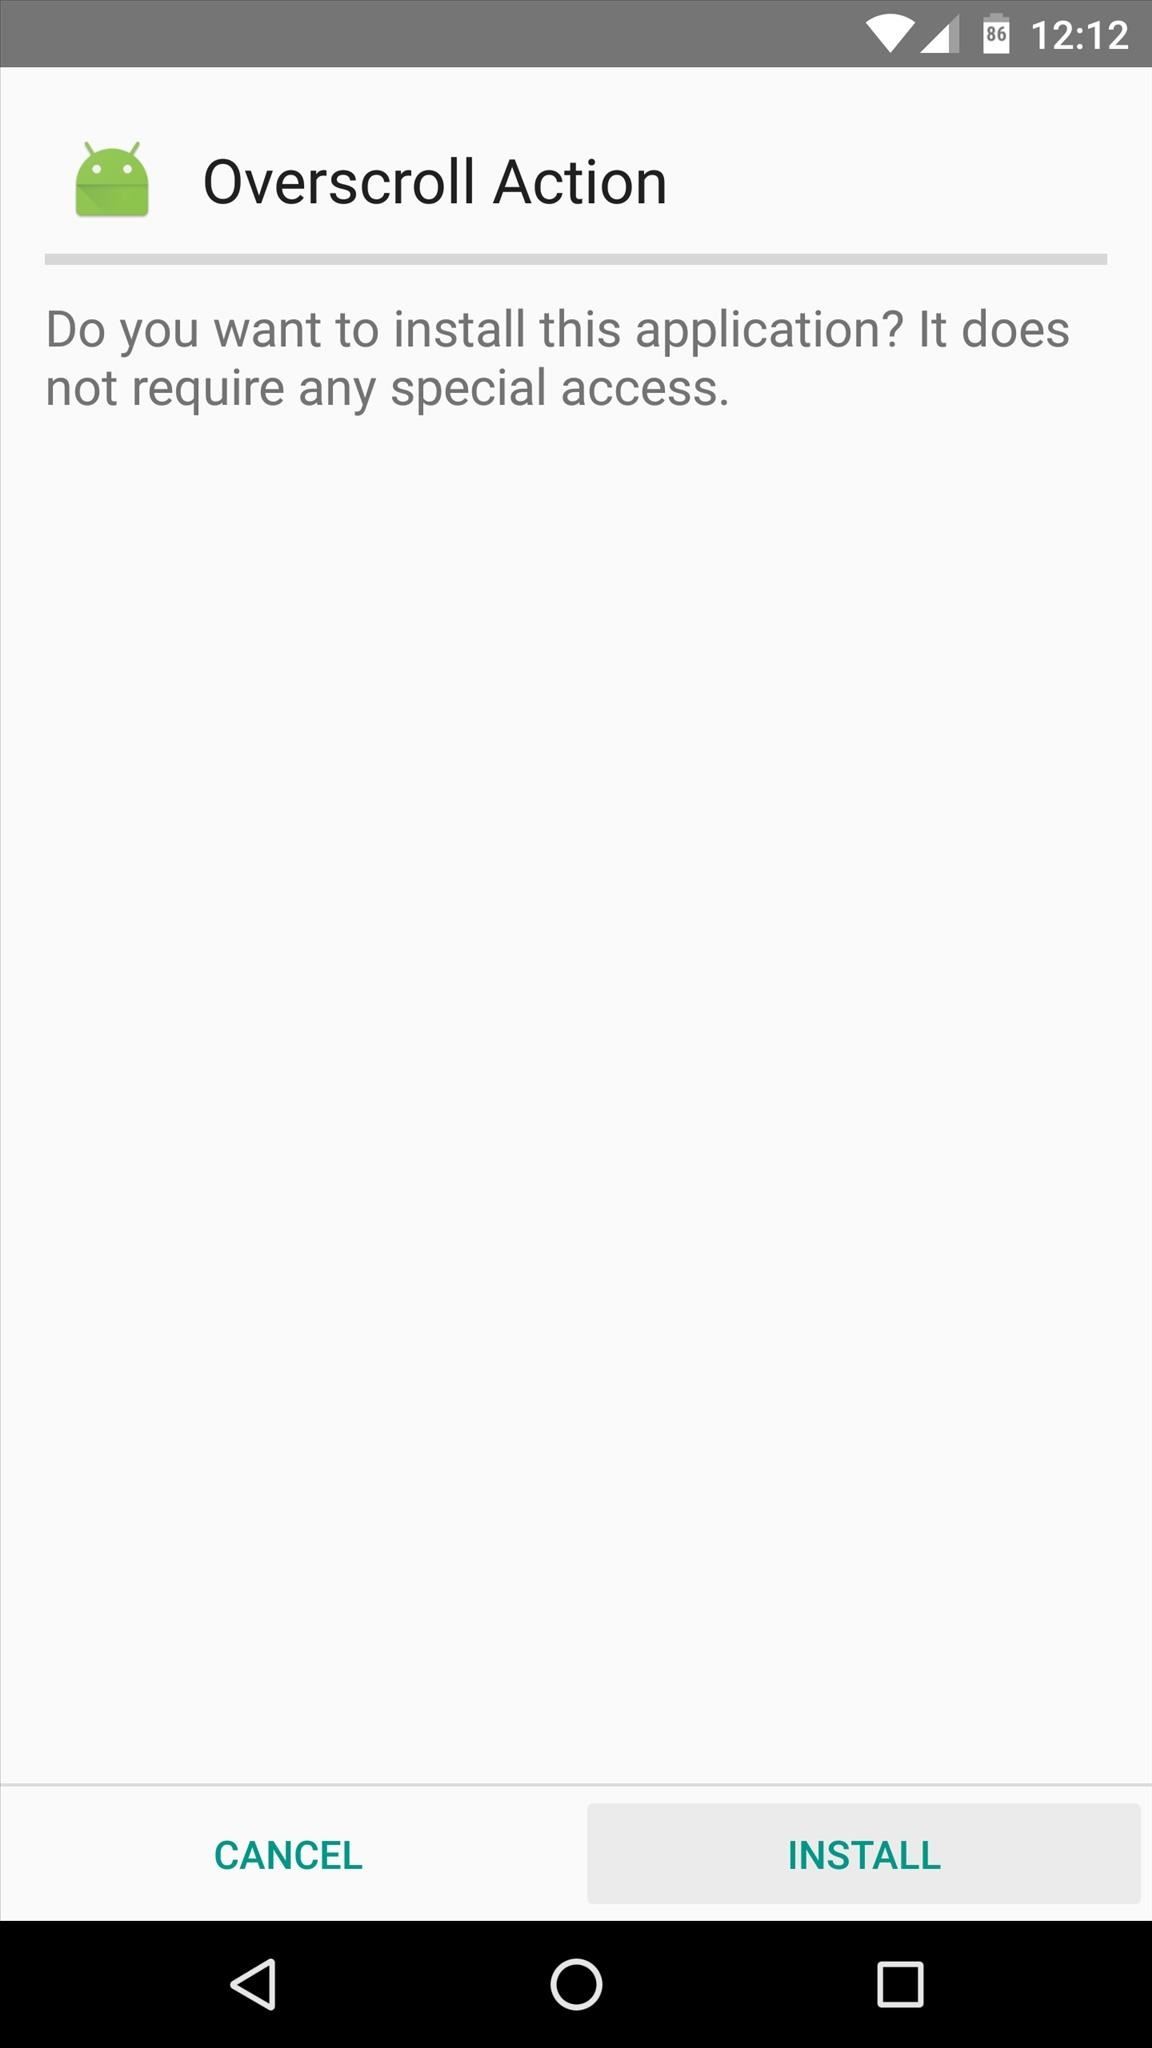
To begin, head to the Download section of your Xposed Installer app and search for "Overscroll Action," then tap the top result. From here, swipe over to the Versions tab, then hit the "Download" button next to the most recent entry. Within a few seconds, Android's installer interface should come up, so tap "Install" on this screen.
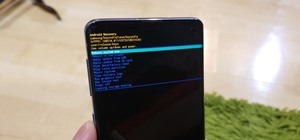
Finally, once the module has been installed successfully, make sure to activate and reboot before proceeding.
Step 2: Assign Default Actions to Each Overscroll Direction
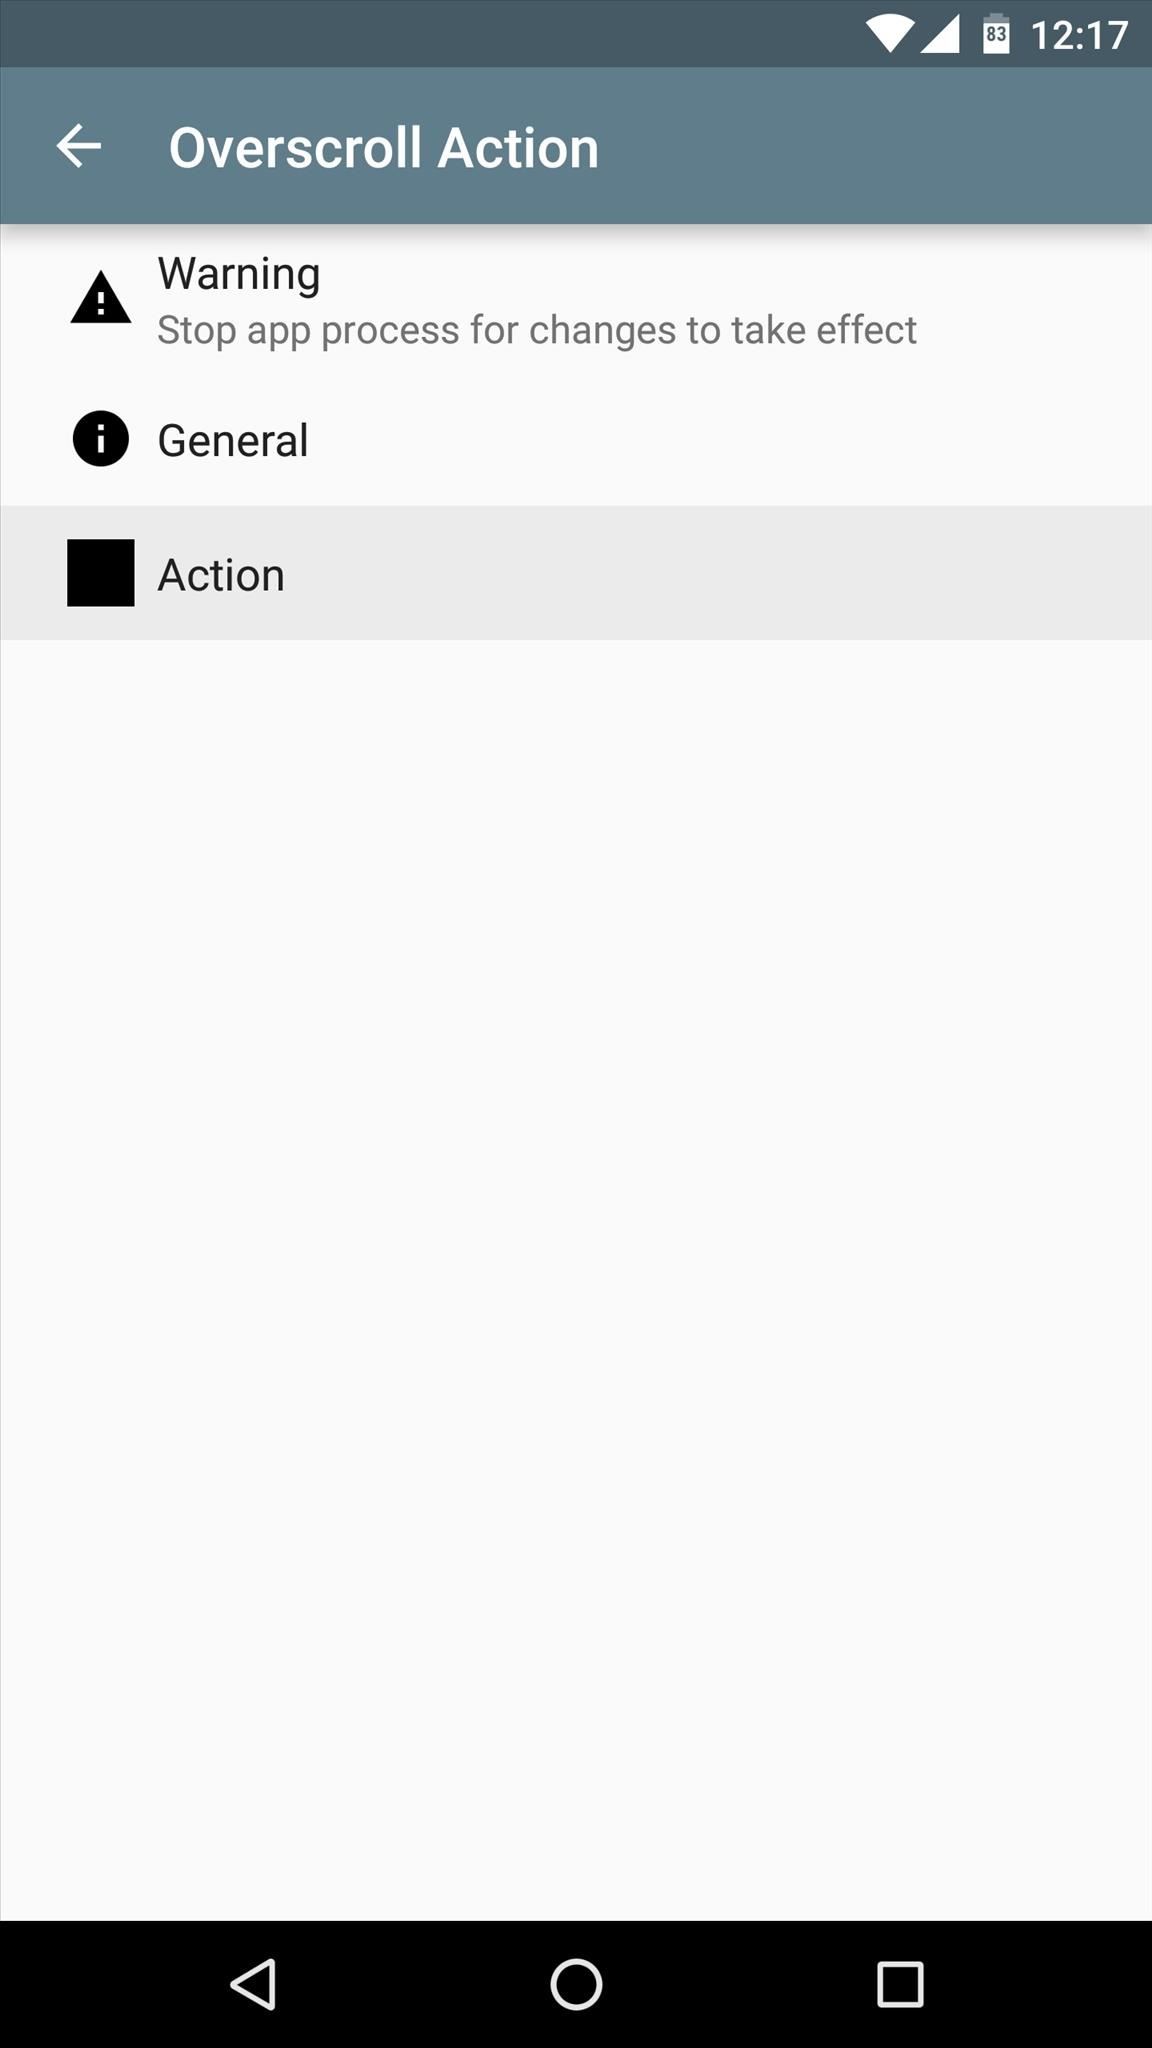
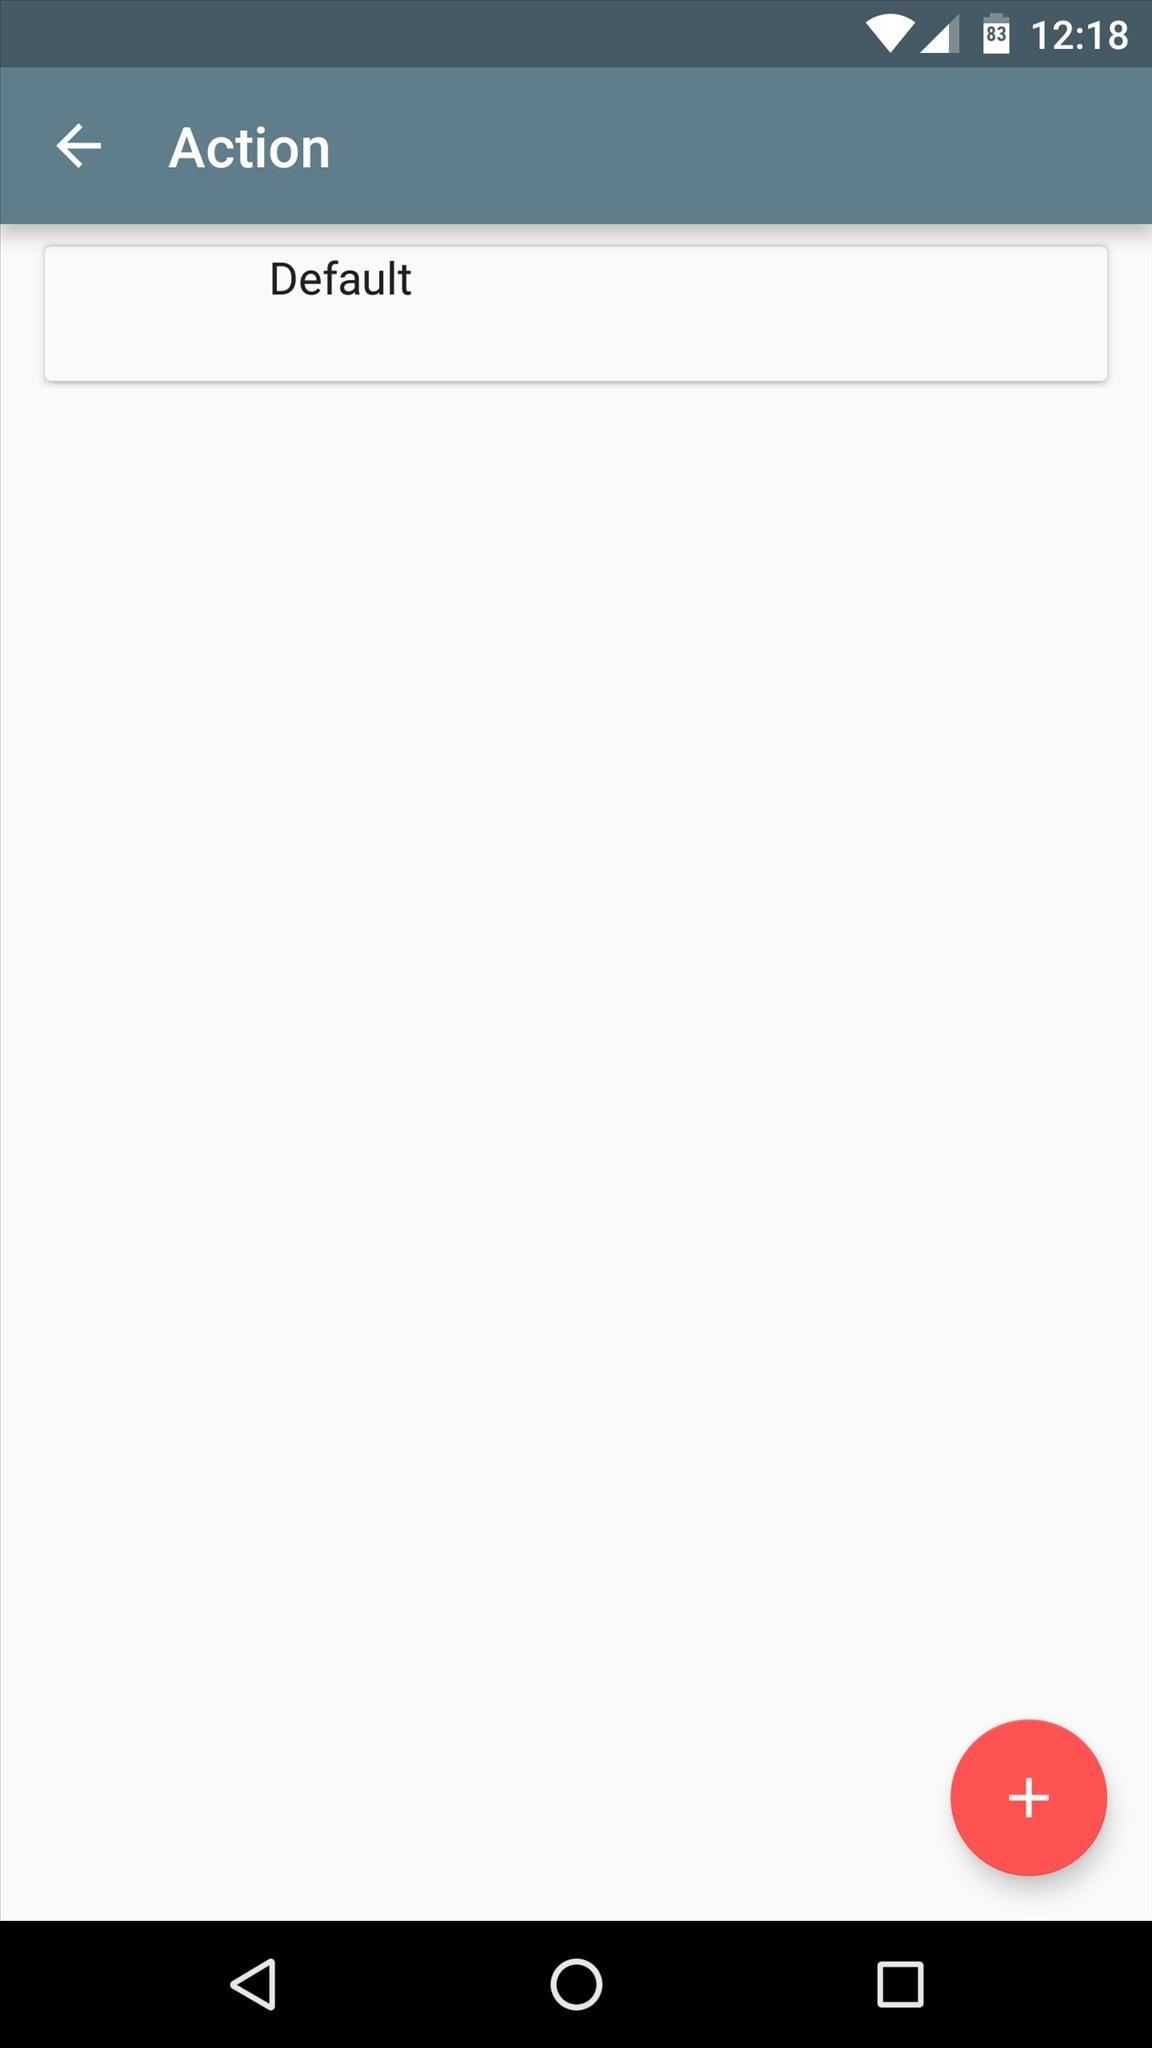
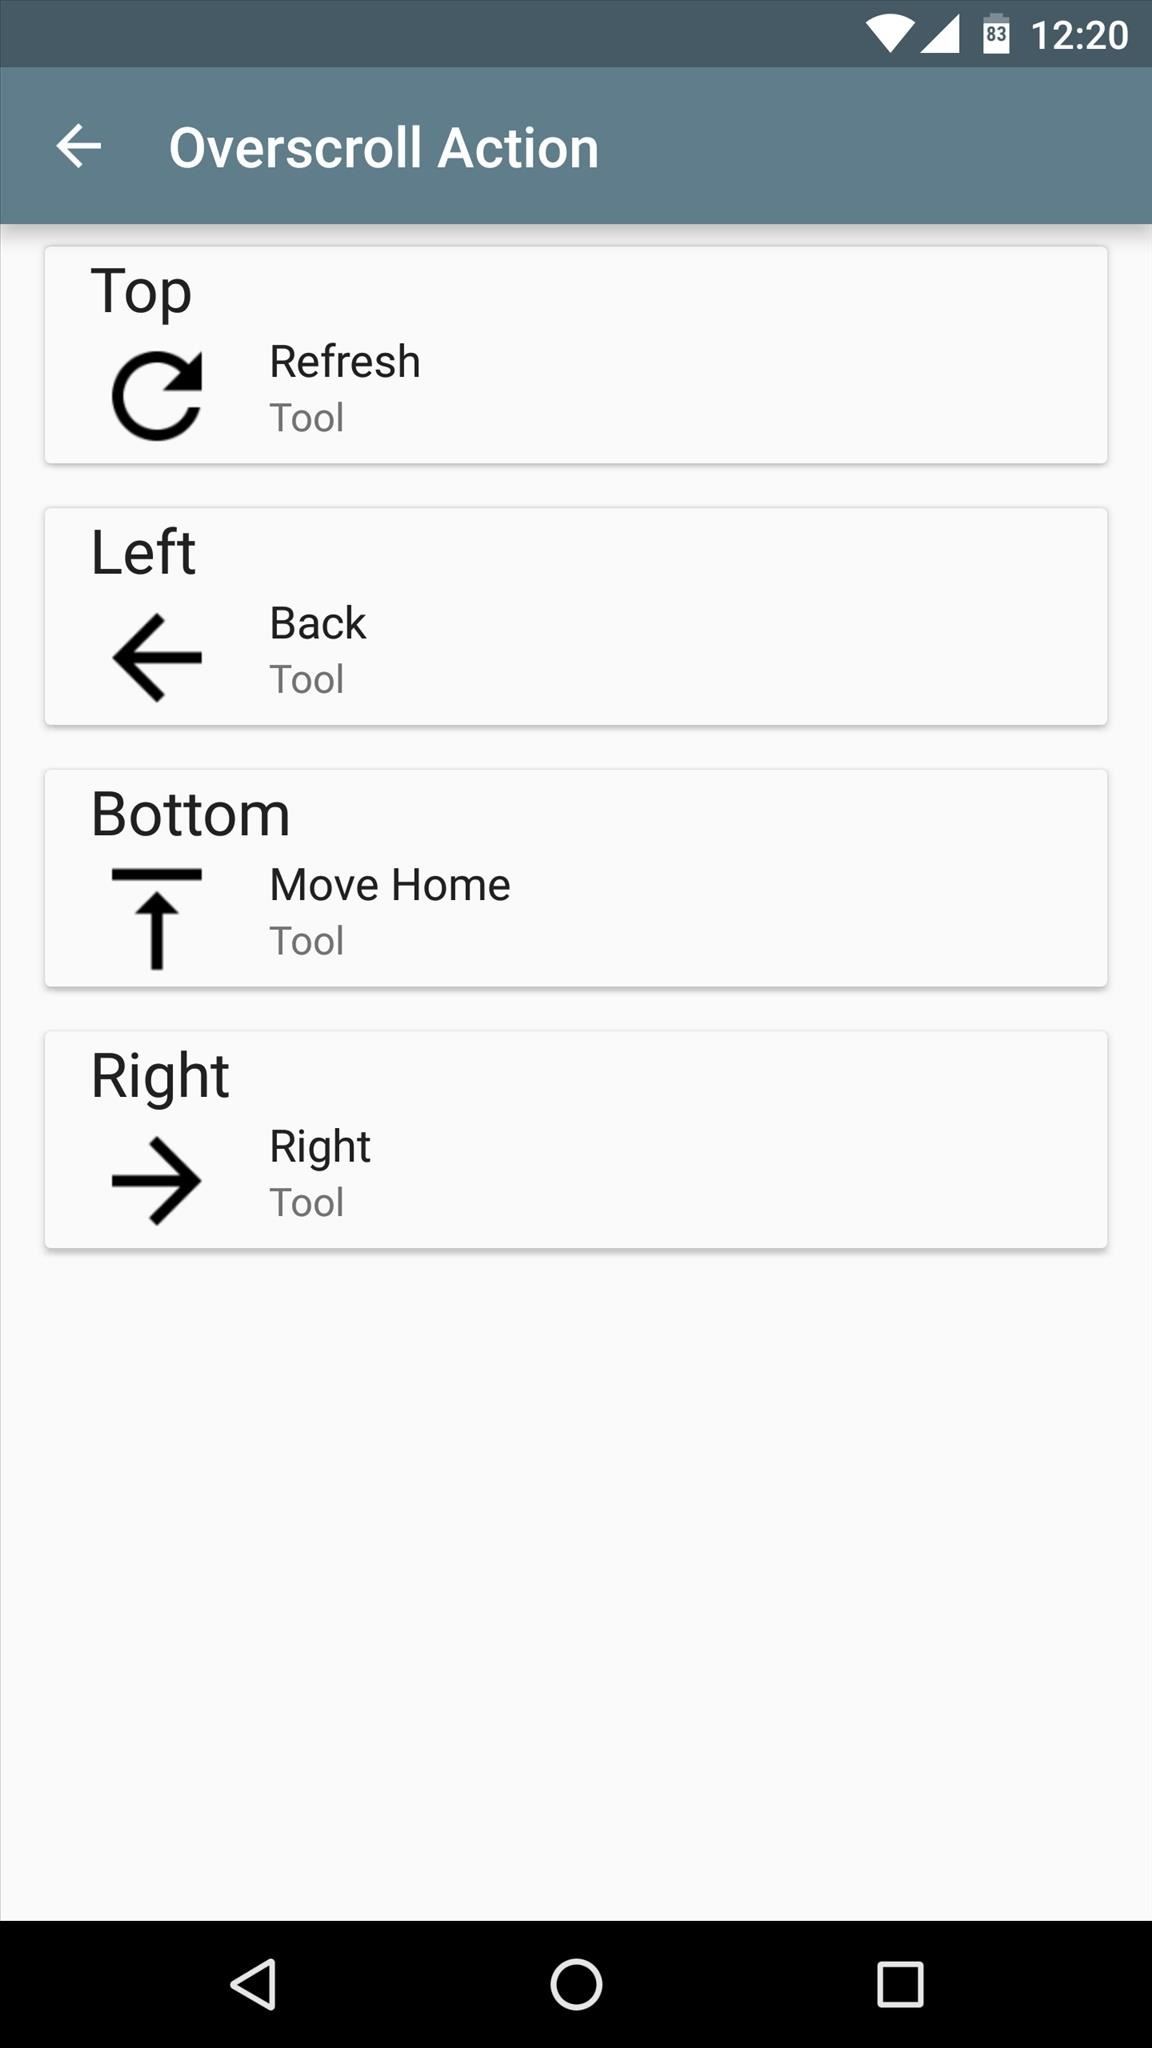
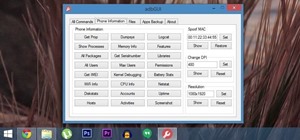
When you get back up, go ahead and open the Overscroll Action app, which you should find in your app drawer. From here, head to the "Action" section, then tap "Default." On the following screen, you can assign a custom action for each overscroll direction—in other words, you can pick what will happen when you scroll past the edge of the screen in each direction.
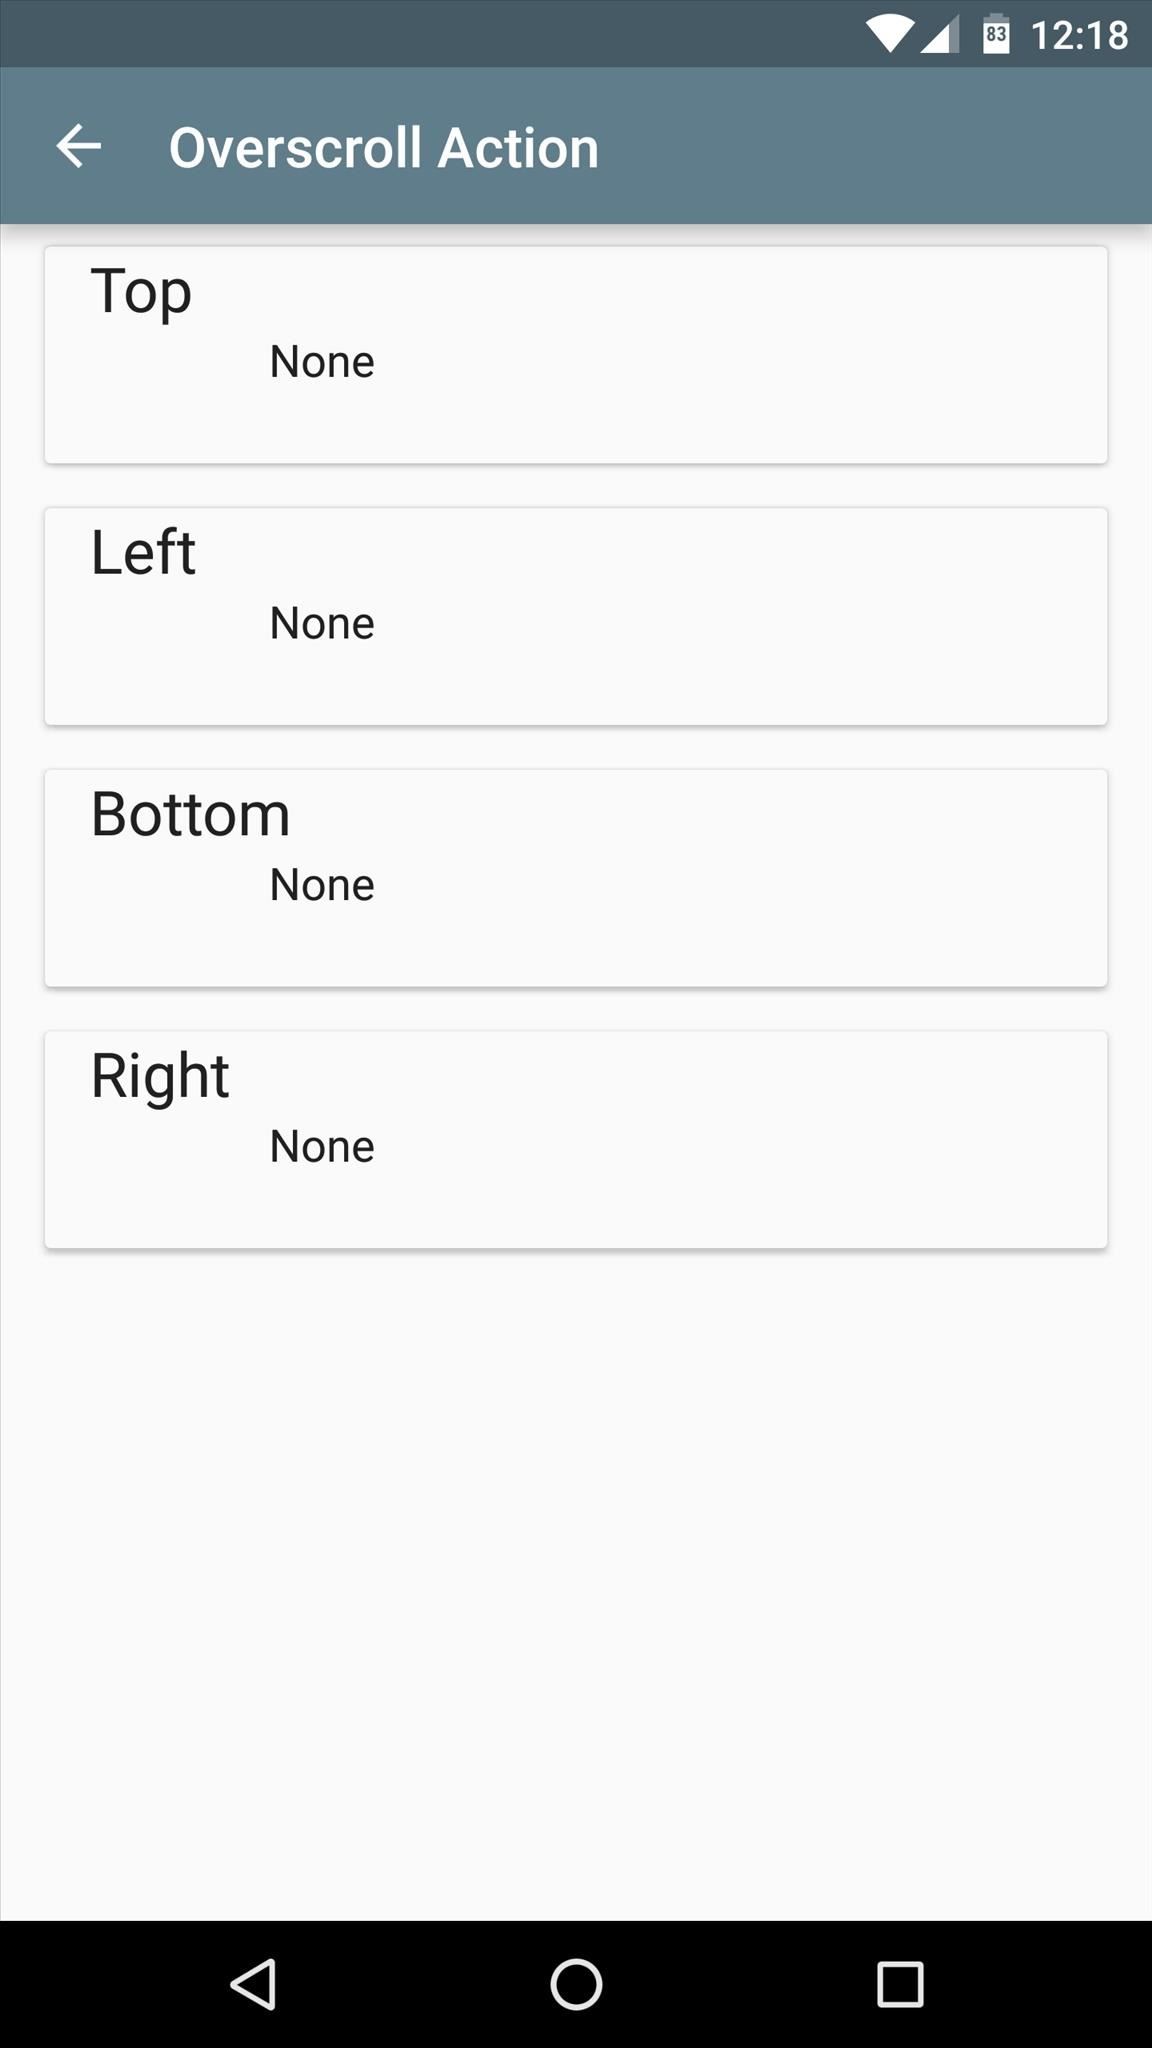
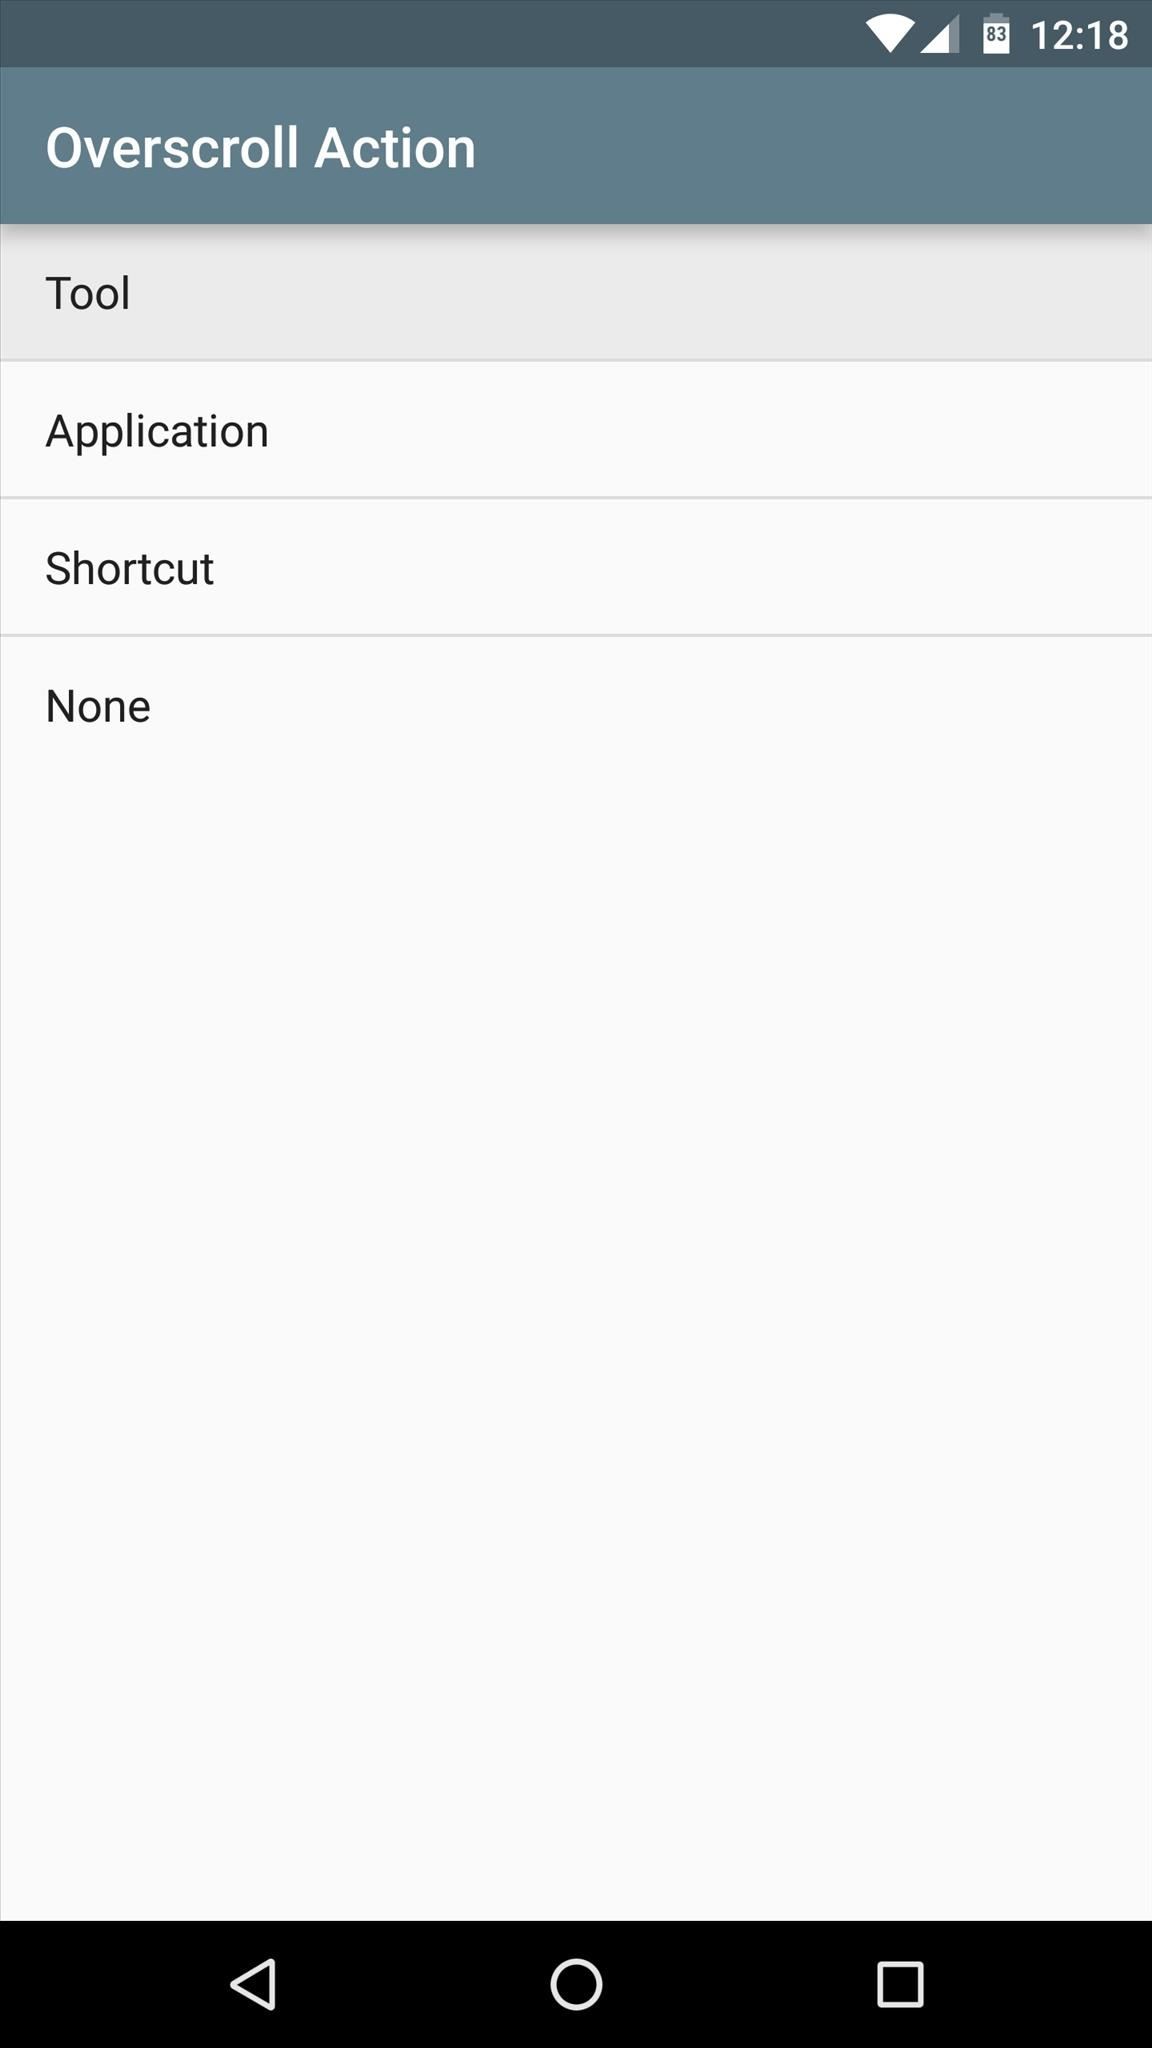
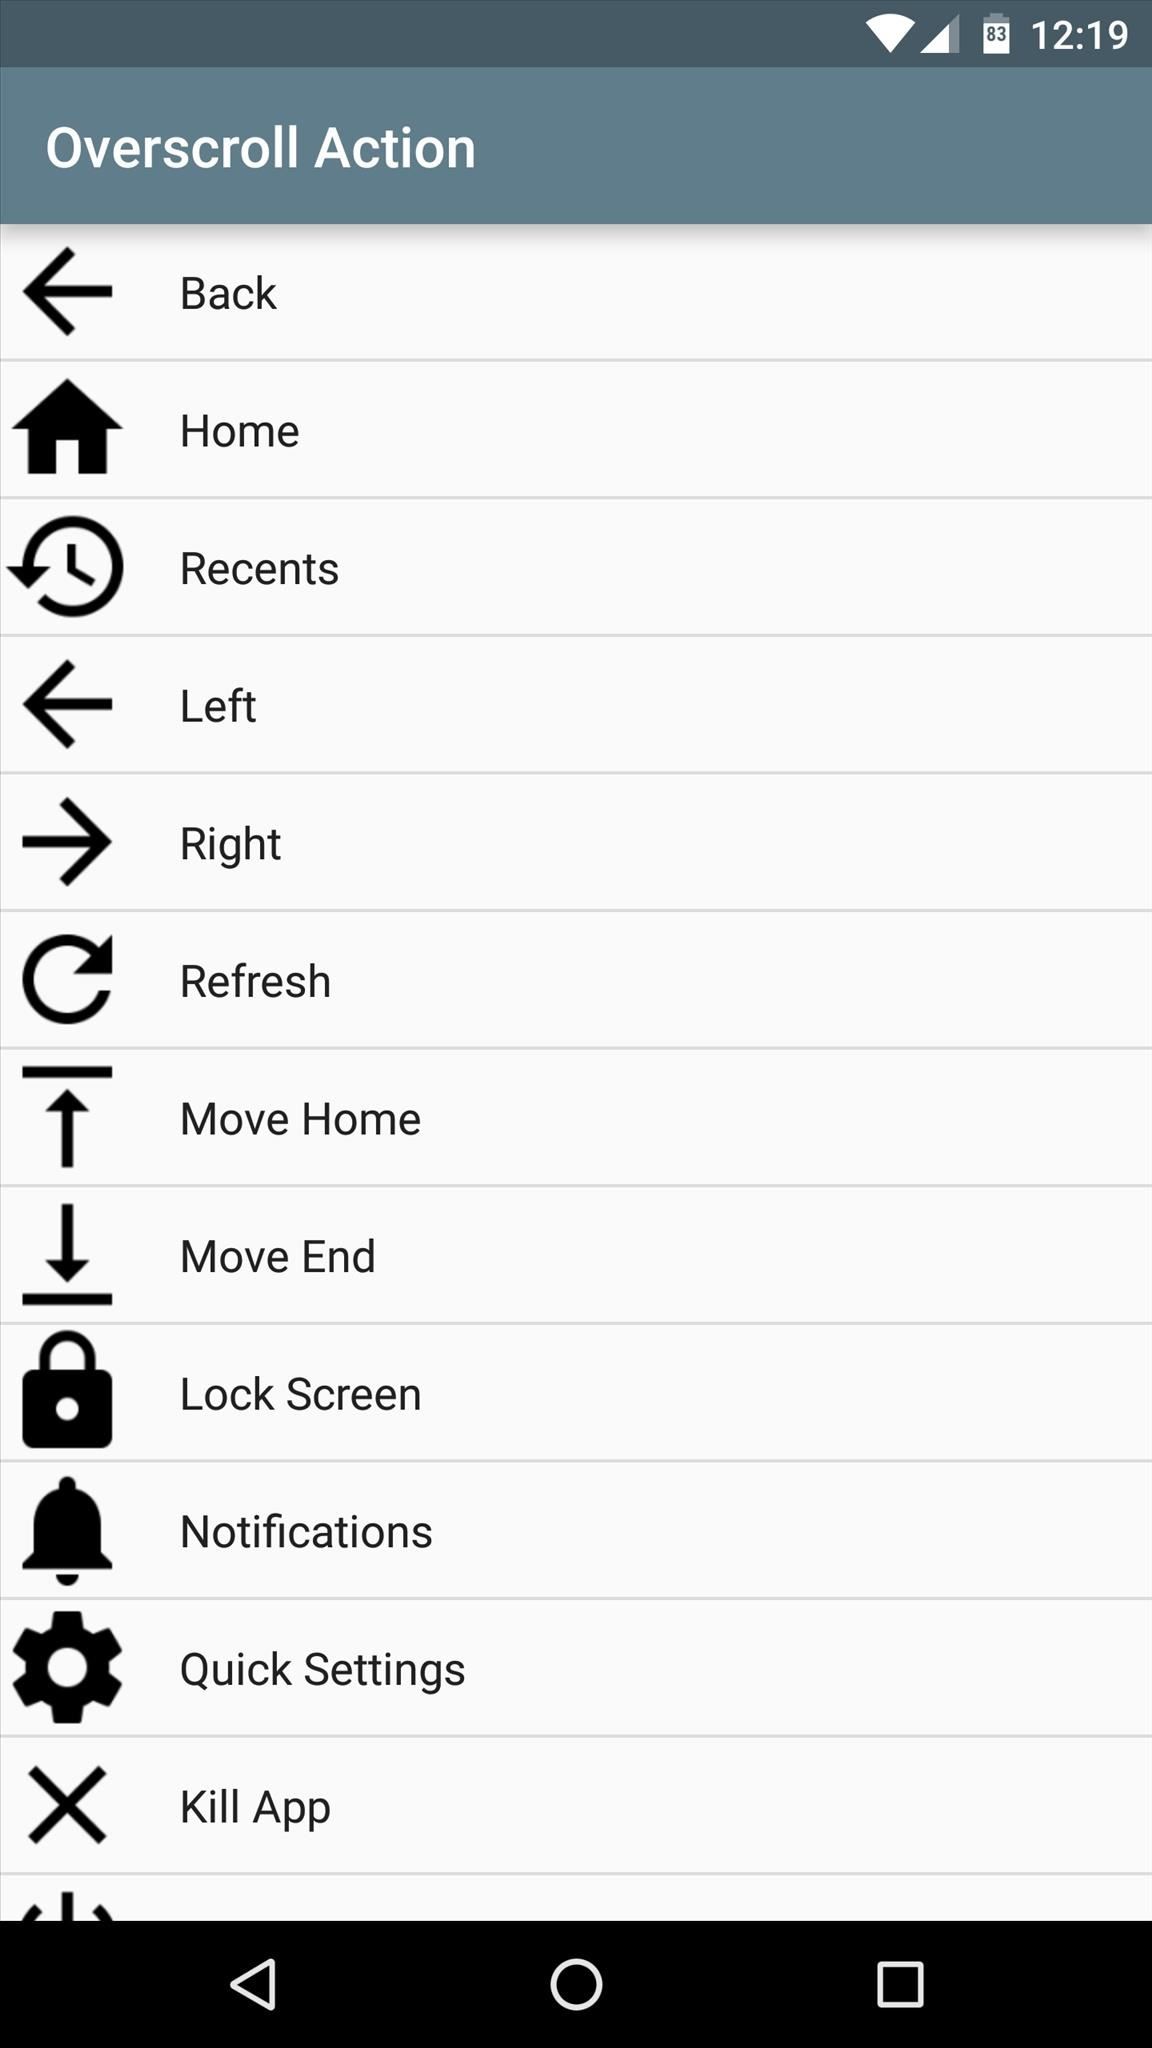
To start customizing your overscroll gestures, choose any direction. From here, you can have it set to launch an application or shortcut if you'd like, but I'd suggest choosing "Tool" from this menu. Next simply choose an action for this overscroll direction, then repeat this same process for the other overscroll directions.
Step 3: Set Overscroll Actions on a Per-App Basis (Optional)
Now that you've set default actions for each of your overscroll directions, you may want to consider taking the customization a step further.
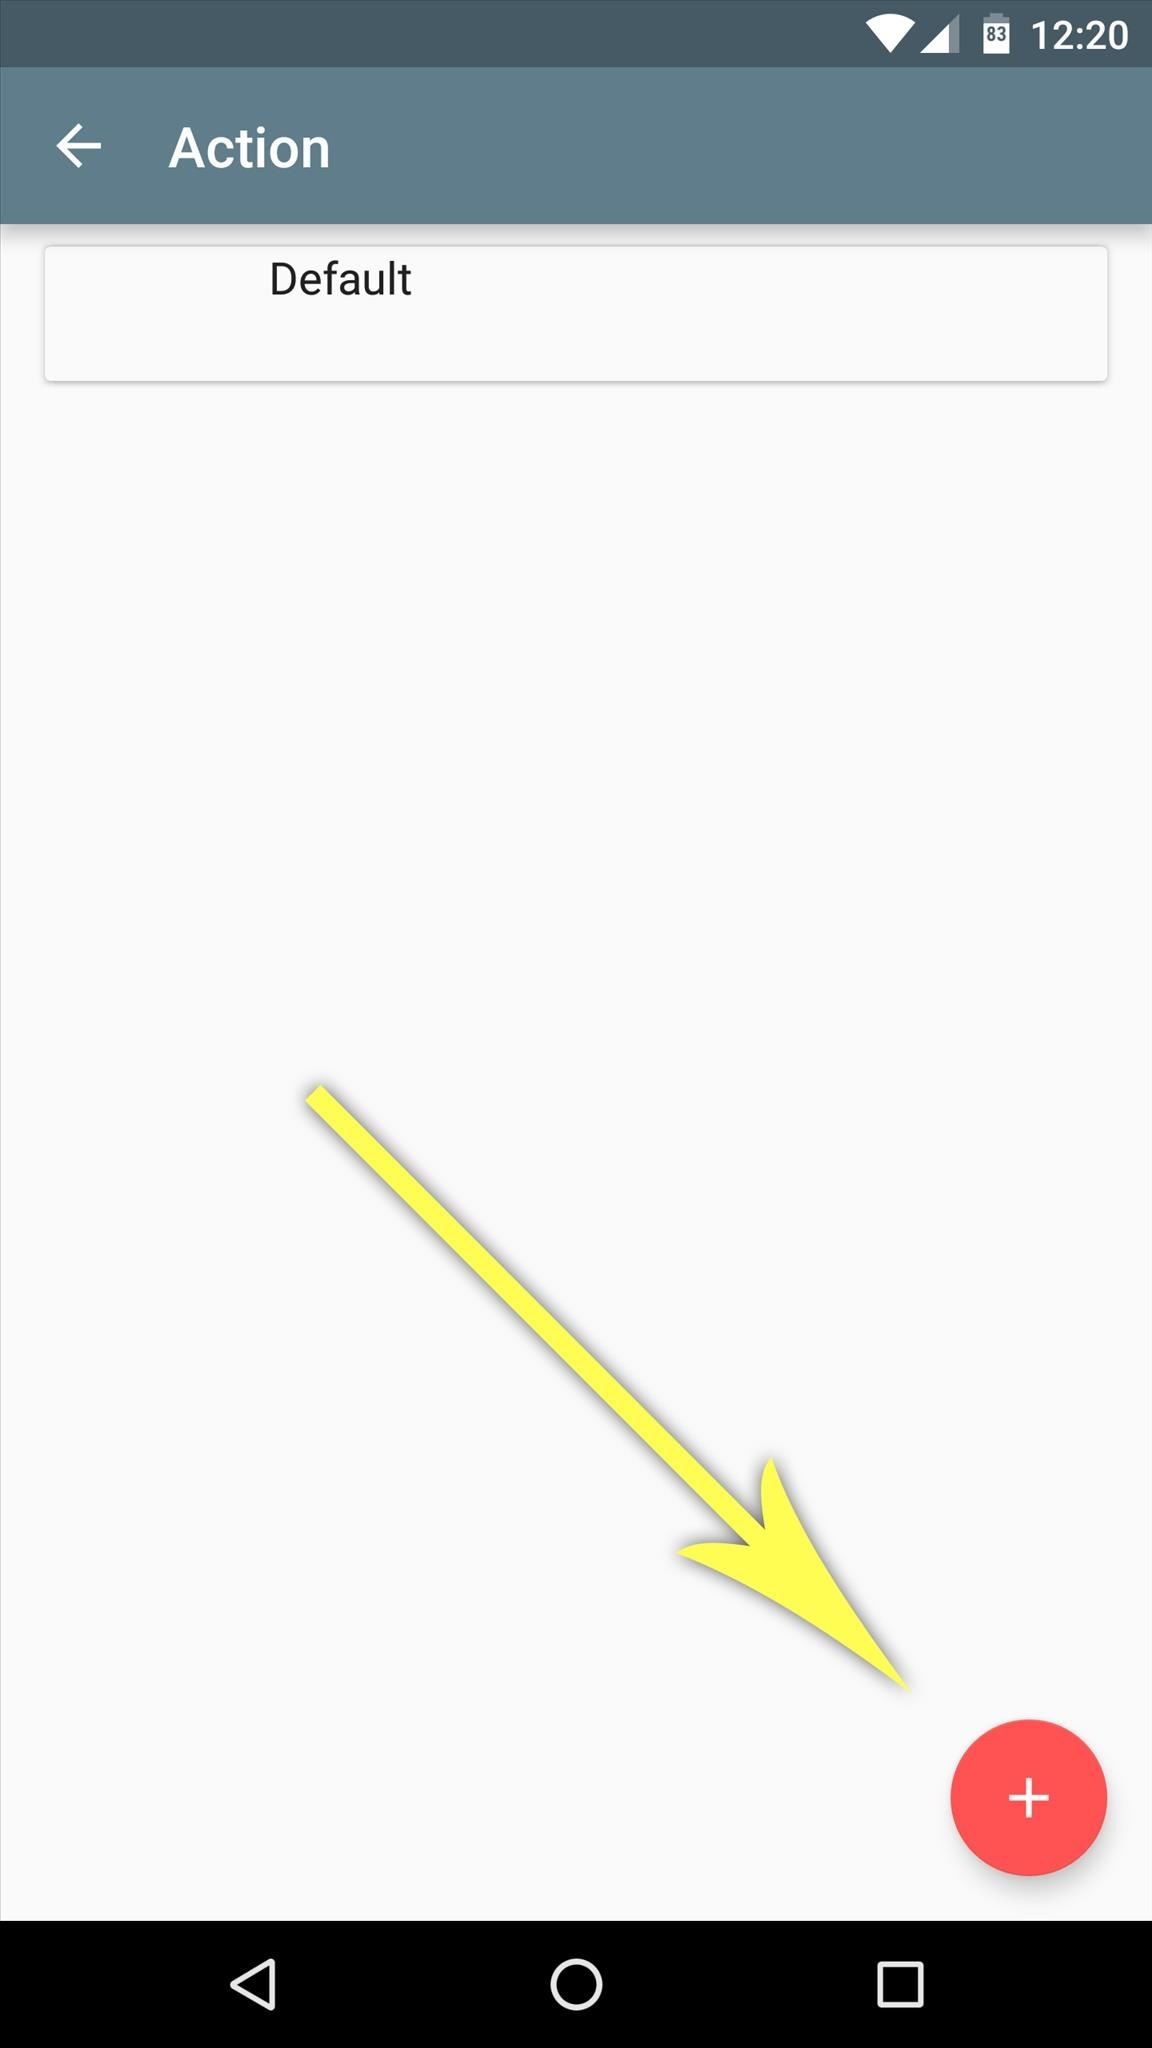
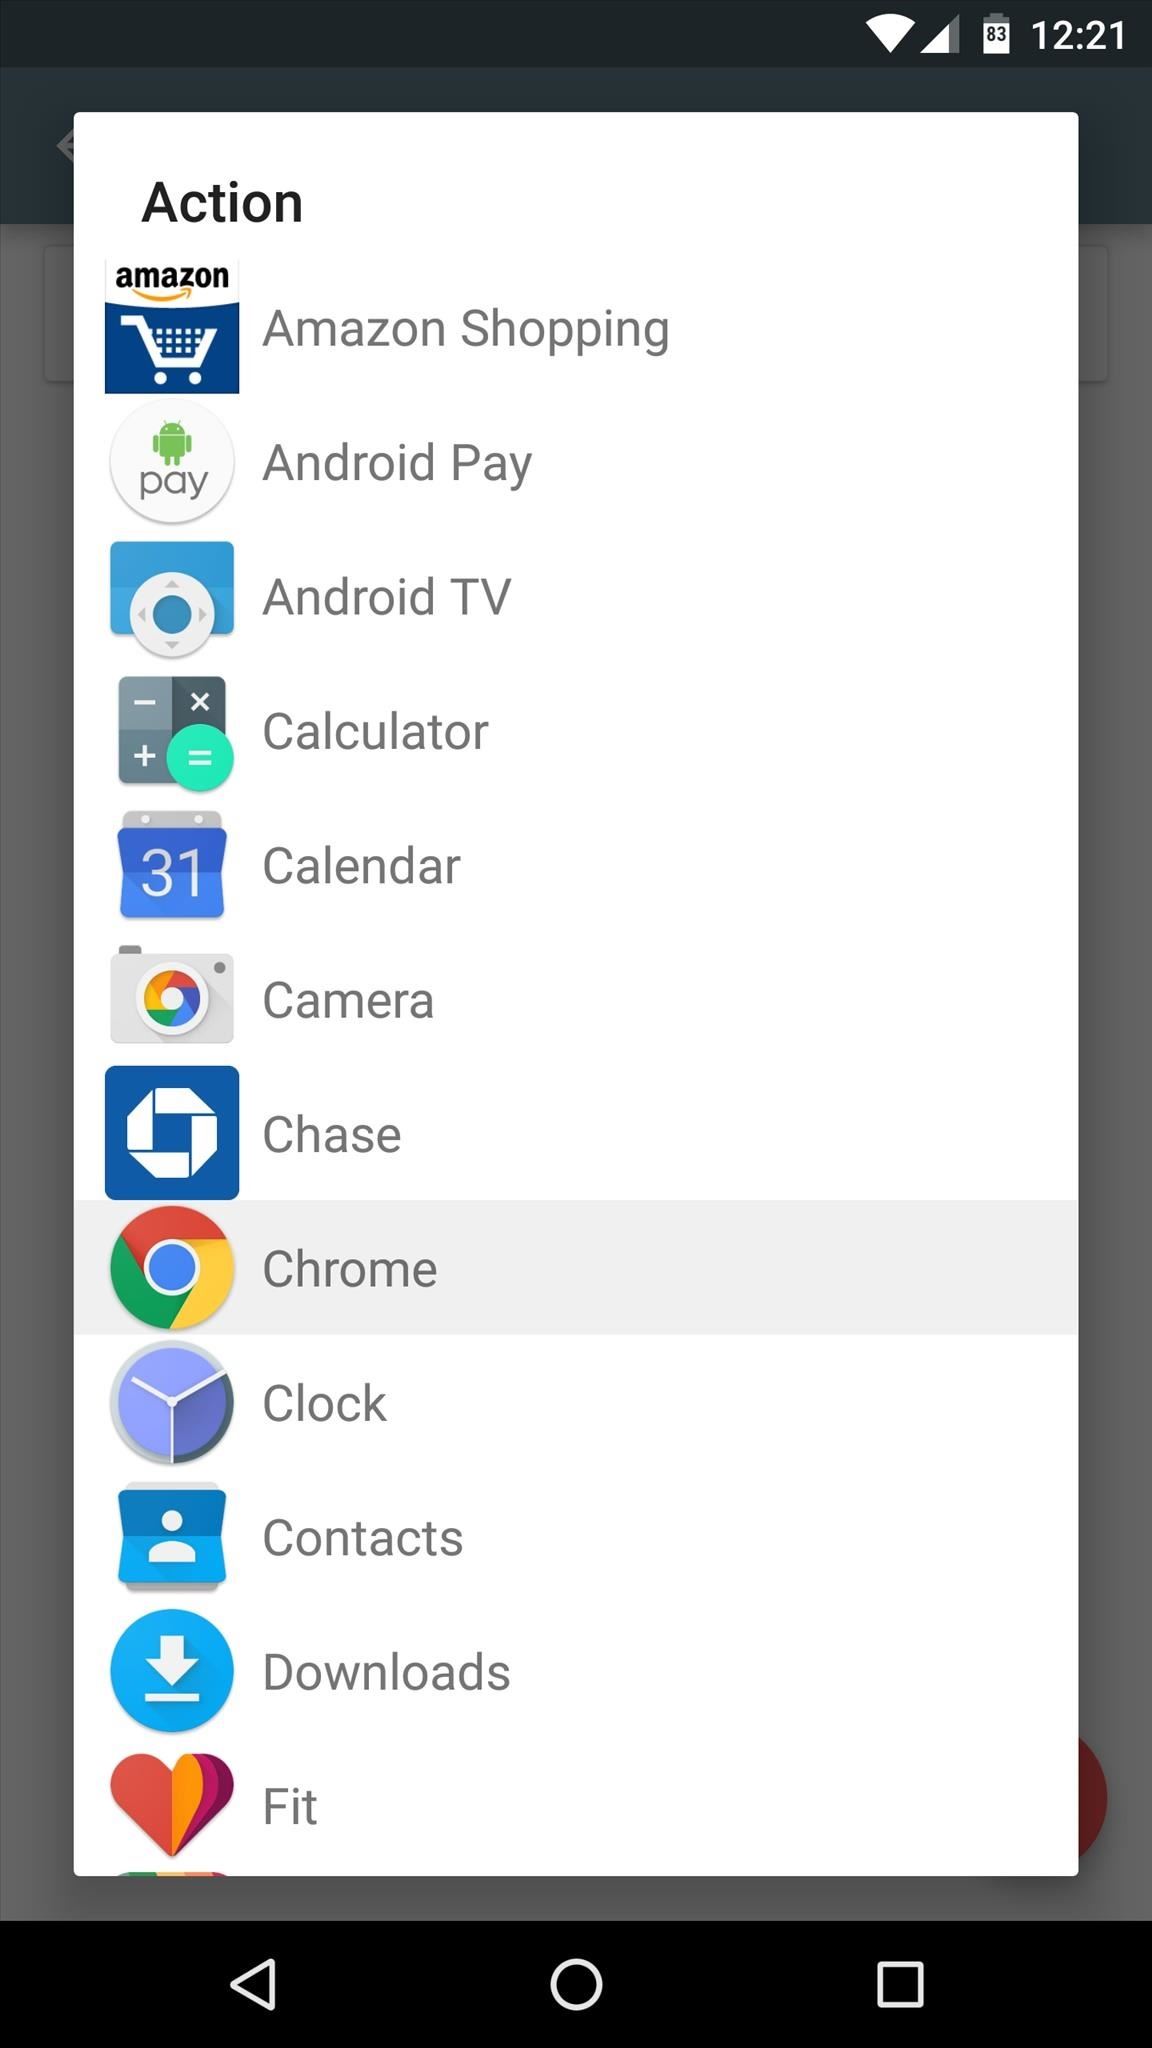
If you'd like, tap the + button from the Action menu, then choose an app. This will let you configure another set of custom overscroll actions that will only be triggered when you're in the particular app you chose, and the set-up process is the same as in Step 2.
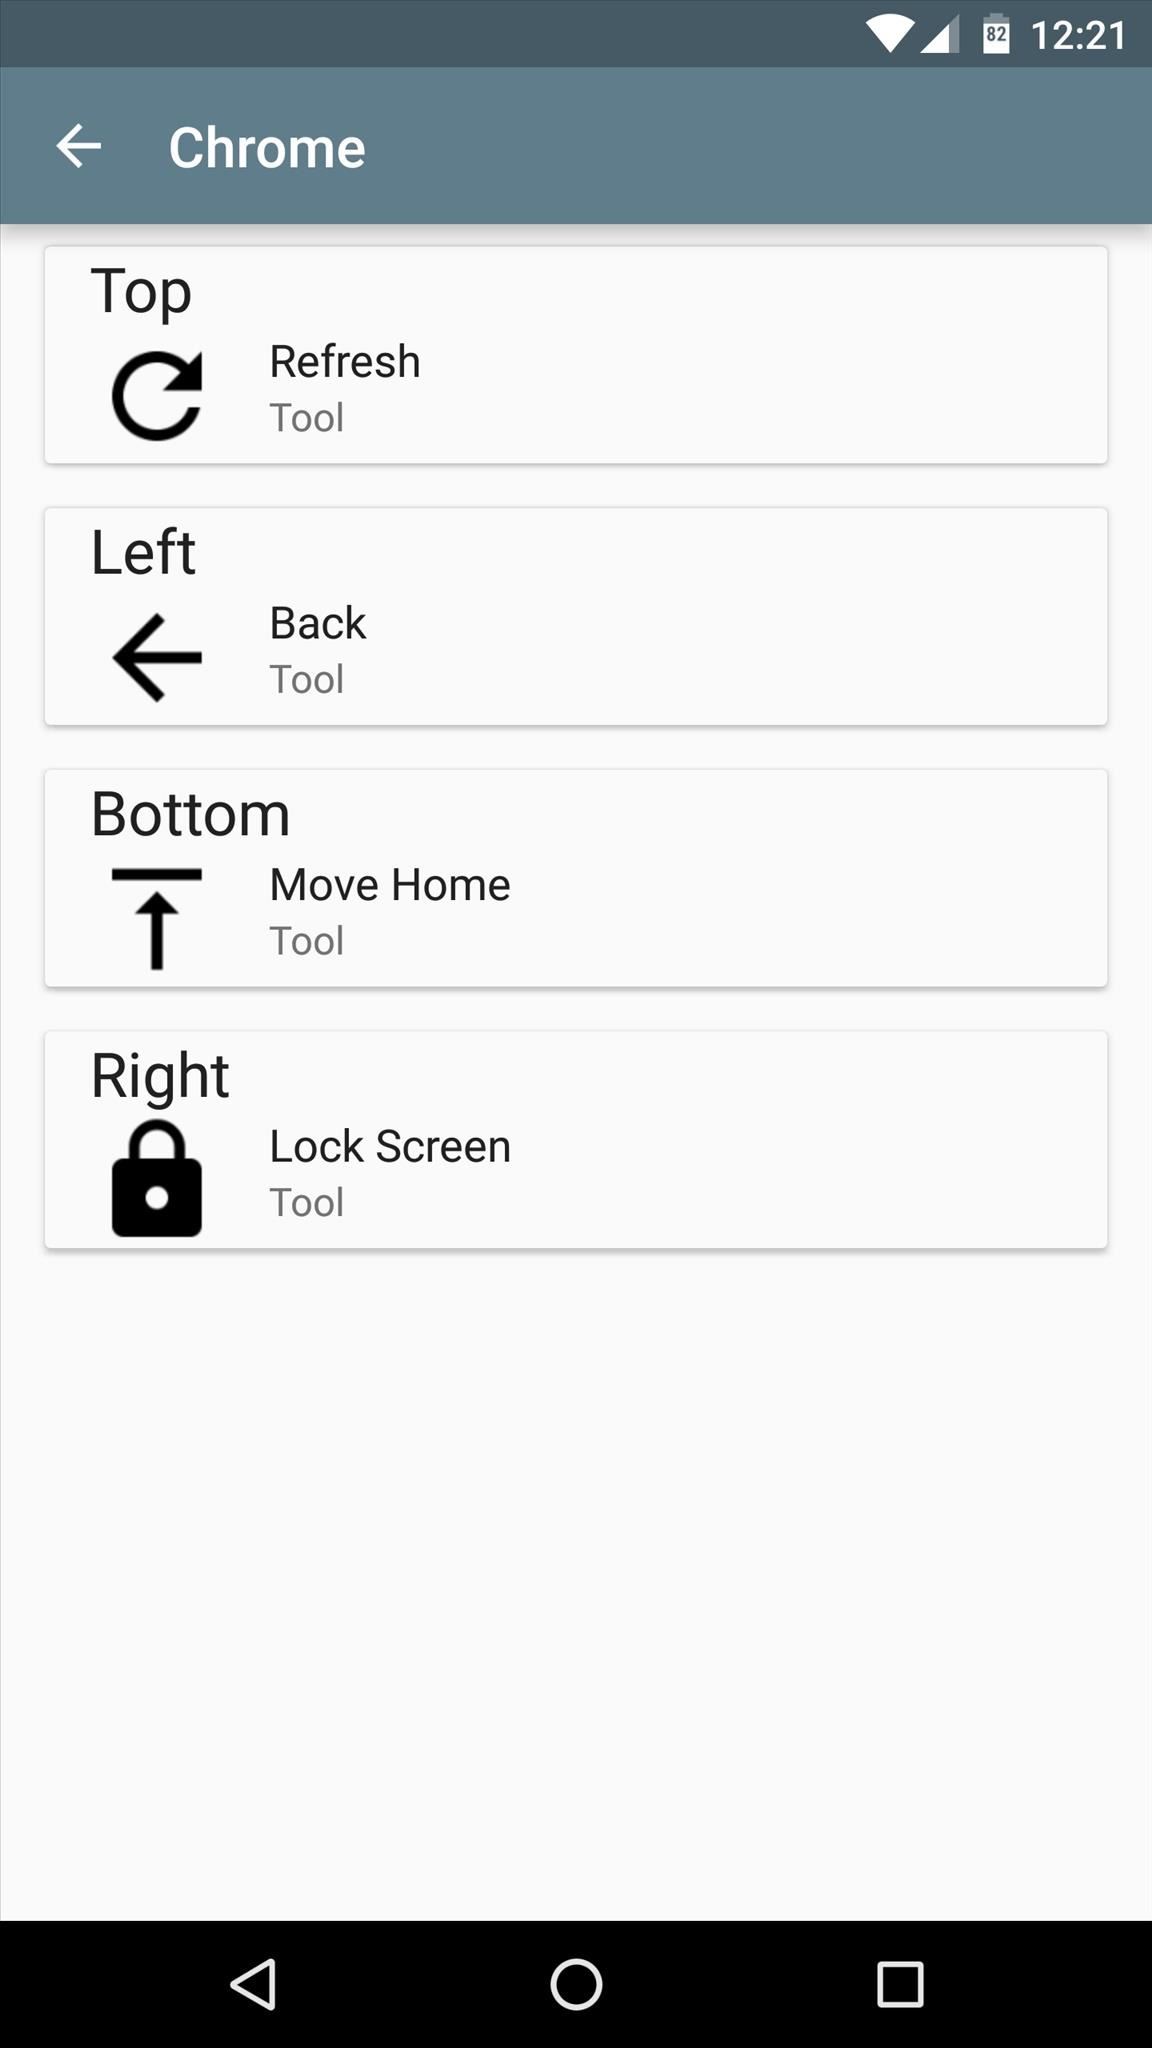
In my example above, I used Chrome and kept its normal pull-to-refresh option up top, and added return to the previous page (Left), move home (Bottom), and lock screen (Right) gestures.
Step 4: Reboot & Try It Out
When you've got all of the overscroll actions set up to your liking, you'll have to reboot your phone so that the changes can take effect. Once that's taken care of, though, you'll be ready to try out your new custom gestures.
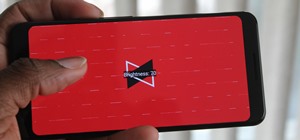
As long as the app you're using had existing pull-to-refresh functionality to begin with, all you have to do to trigger your gesture is scroll to any edge of your screen, then scroll just a little bit more. It works in all directions—top, bottom, left, or right—so you basically just added 4 custom gestures to almost all of your apps.


Who needs a wand? Unlock your magical powers and transform yourself from a Muggle into a Wizard or Witch just by using your Android phone. See how:


Be the First to Comment
Share Your Thoughts