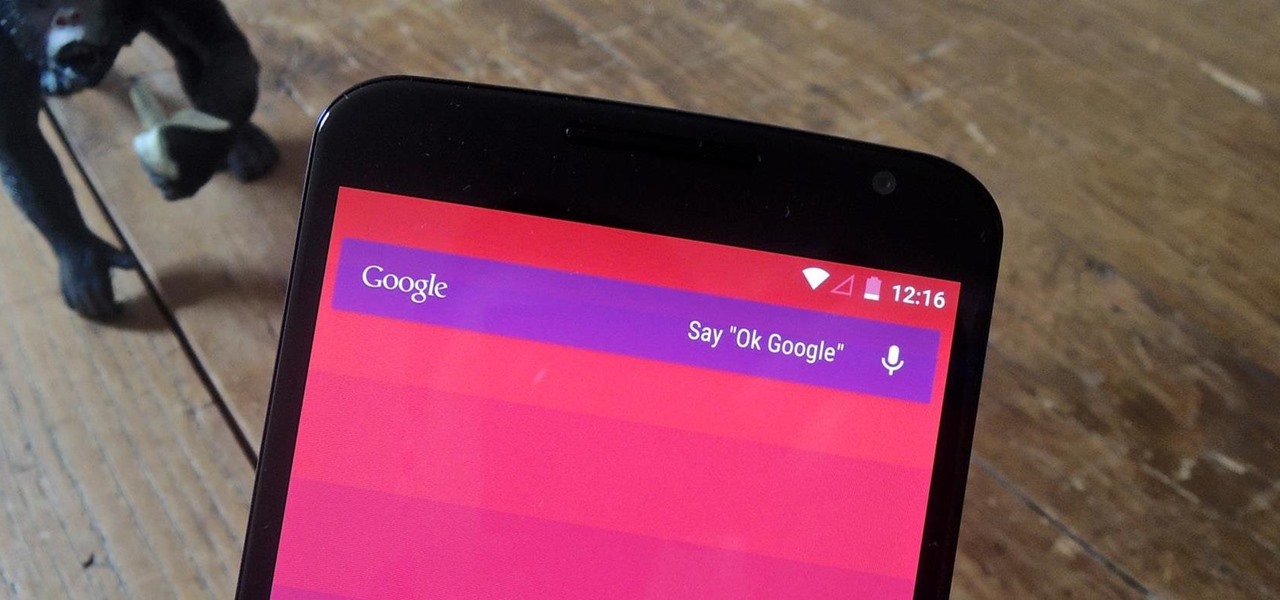

With the release of the Nexus 5 back in 2013 came the Google Now Launcher, which has become the go-to choice for many Android users, especially those who prefer the Nexus line. With its integration of the Google Now page and the always-listening hotword detection, you'd be hard-pressed to find a more complete and useful launcher.
Yet as advantageous as it is, Google seems to lay some strict rules when it comes to customizing their launcher, the simplest of which being the ability to opt out of the persistent Google Search widget, a permanent fixture on every home screen page.
In the past, we've given you a broad overview of the Xposed GEL Settings mod and how you can use it to add swipe gestures to the launcher, but today I'll be going over the various search bar options it has, including removing the bar completely.
Step 1: Get Your Device Ready
This process will indeed work for Android 5.0 Lollipop. With that being said, you will also need to be rooted. If you're unsure on how to root, then just take a look at our easy-to-follow Android root guide.
After rooting your device, be sure to install the Xposed Framework so that the application we're installing can work. For those of you running Lollipop, check out the Xposed Framework guide for Lollipop.
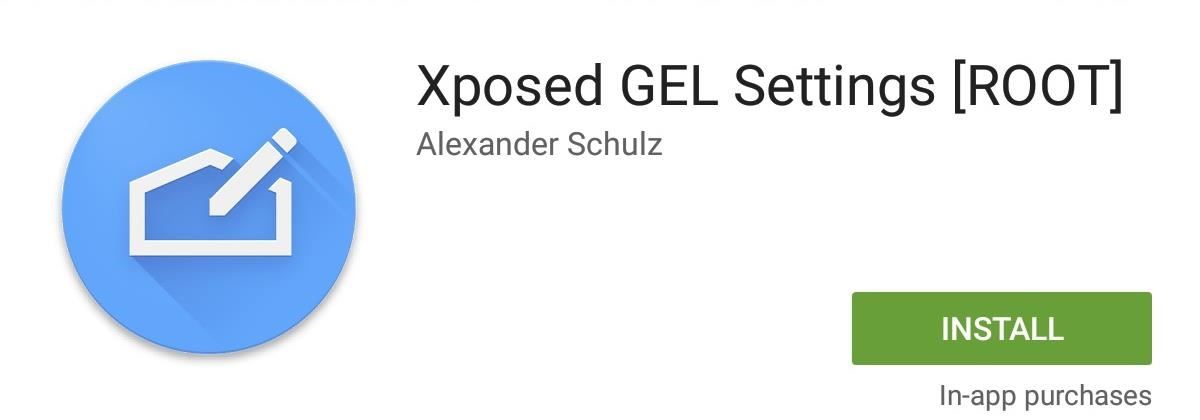
Step 2: Install Xposed GEL Settings
Head over to the Google Play Store to install Xposed GEL Settings, then make sure to properly activate the module.
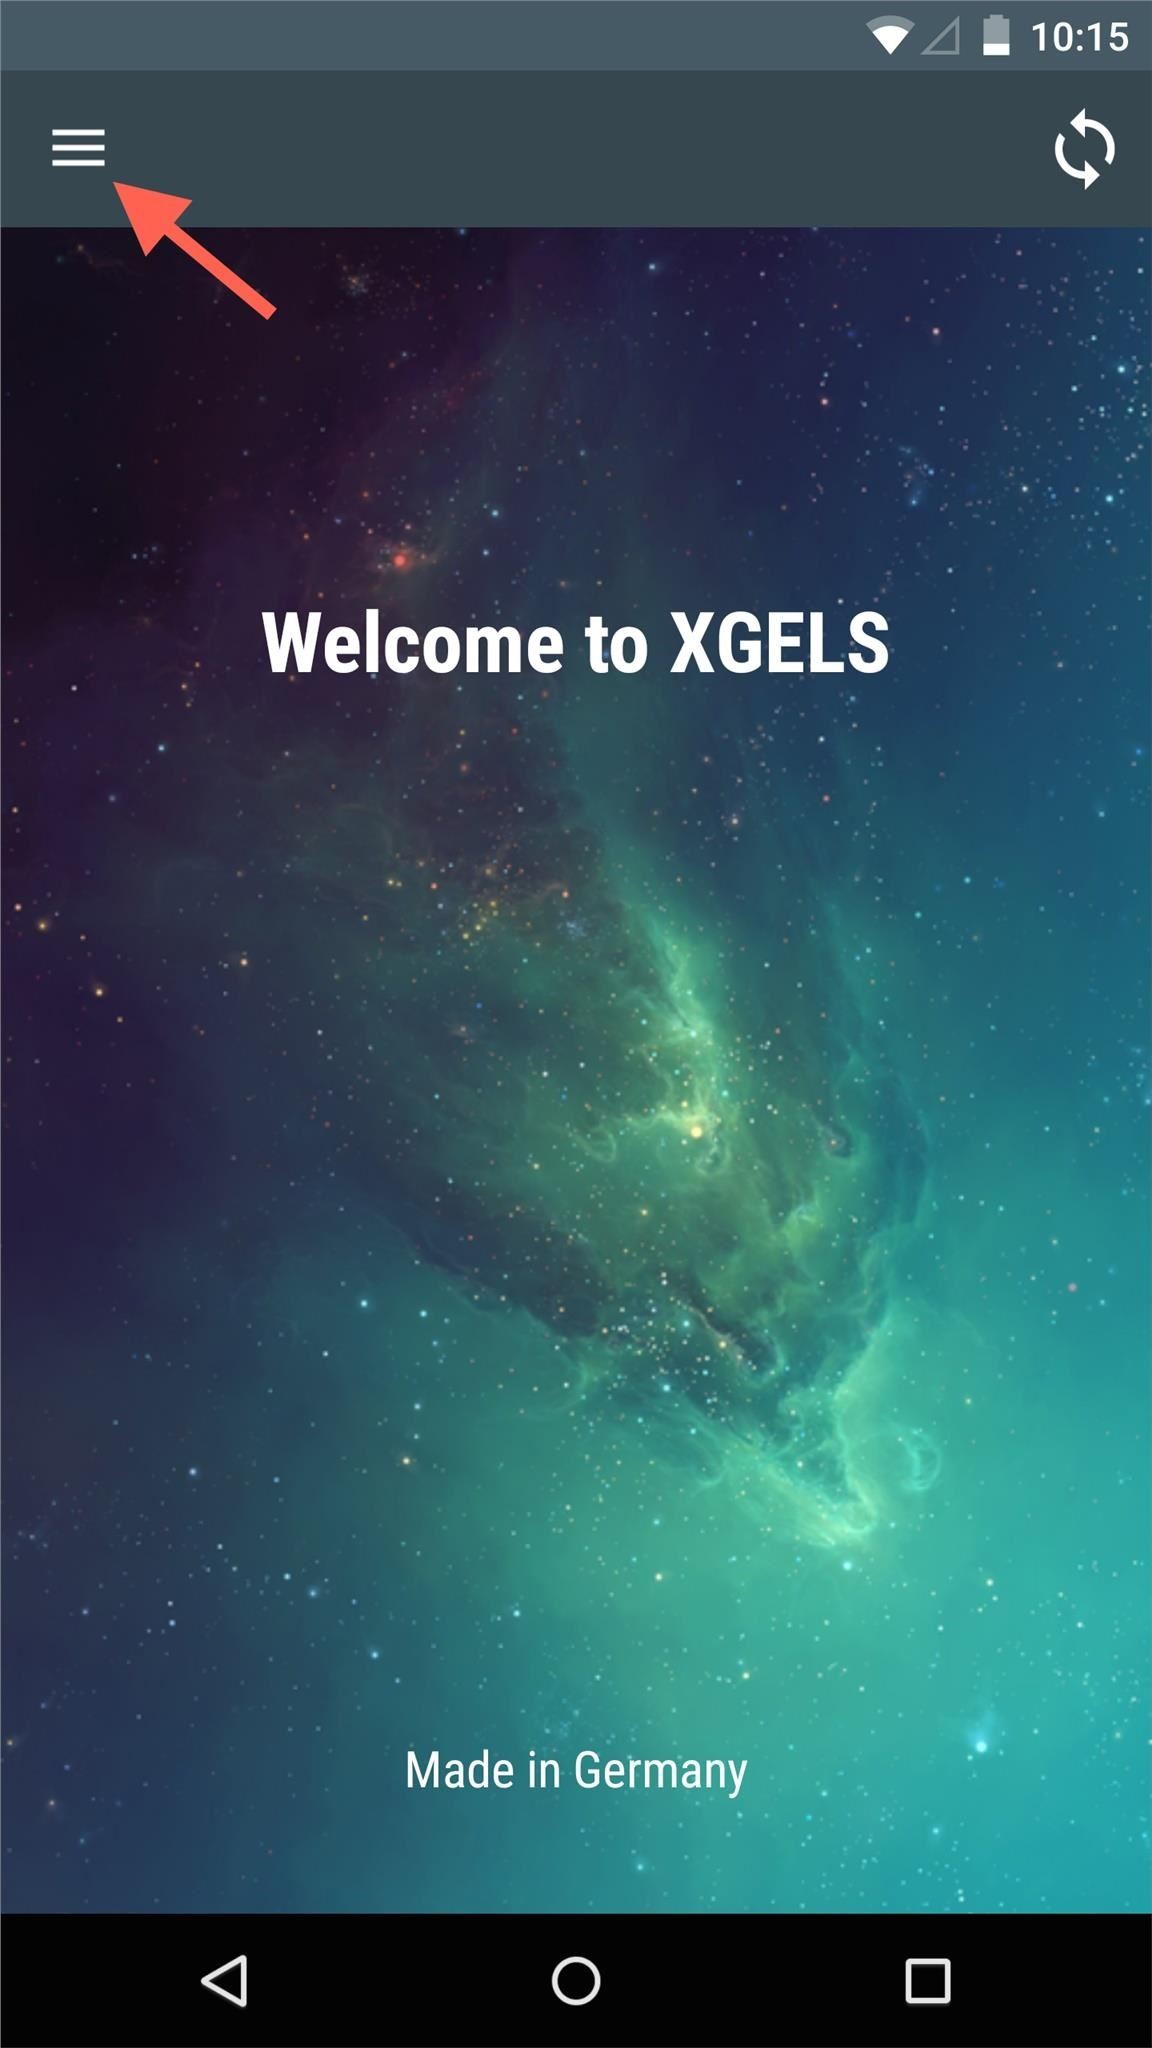
Step 3: Customize Your Search Bar
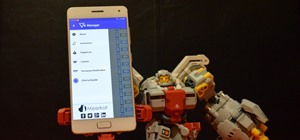
Upon opening the application, access the side menu panel and select "Google Search Bar" from the various options.

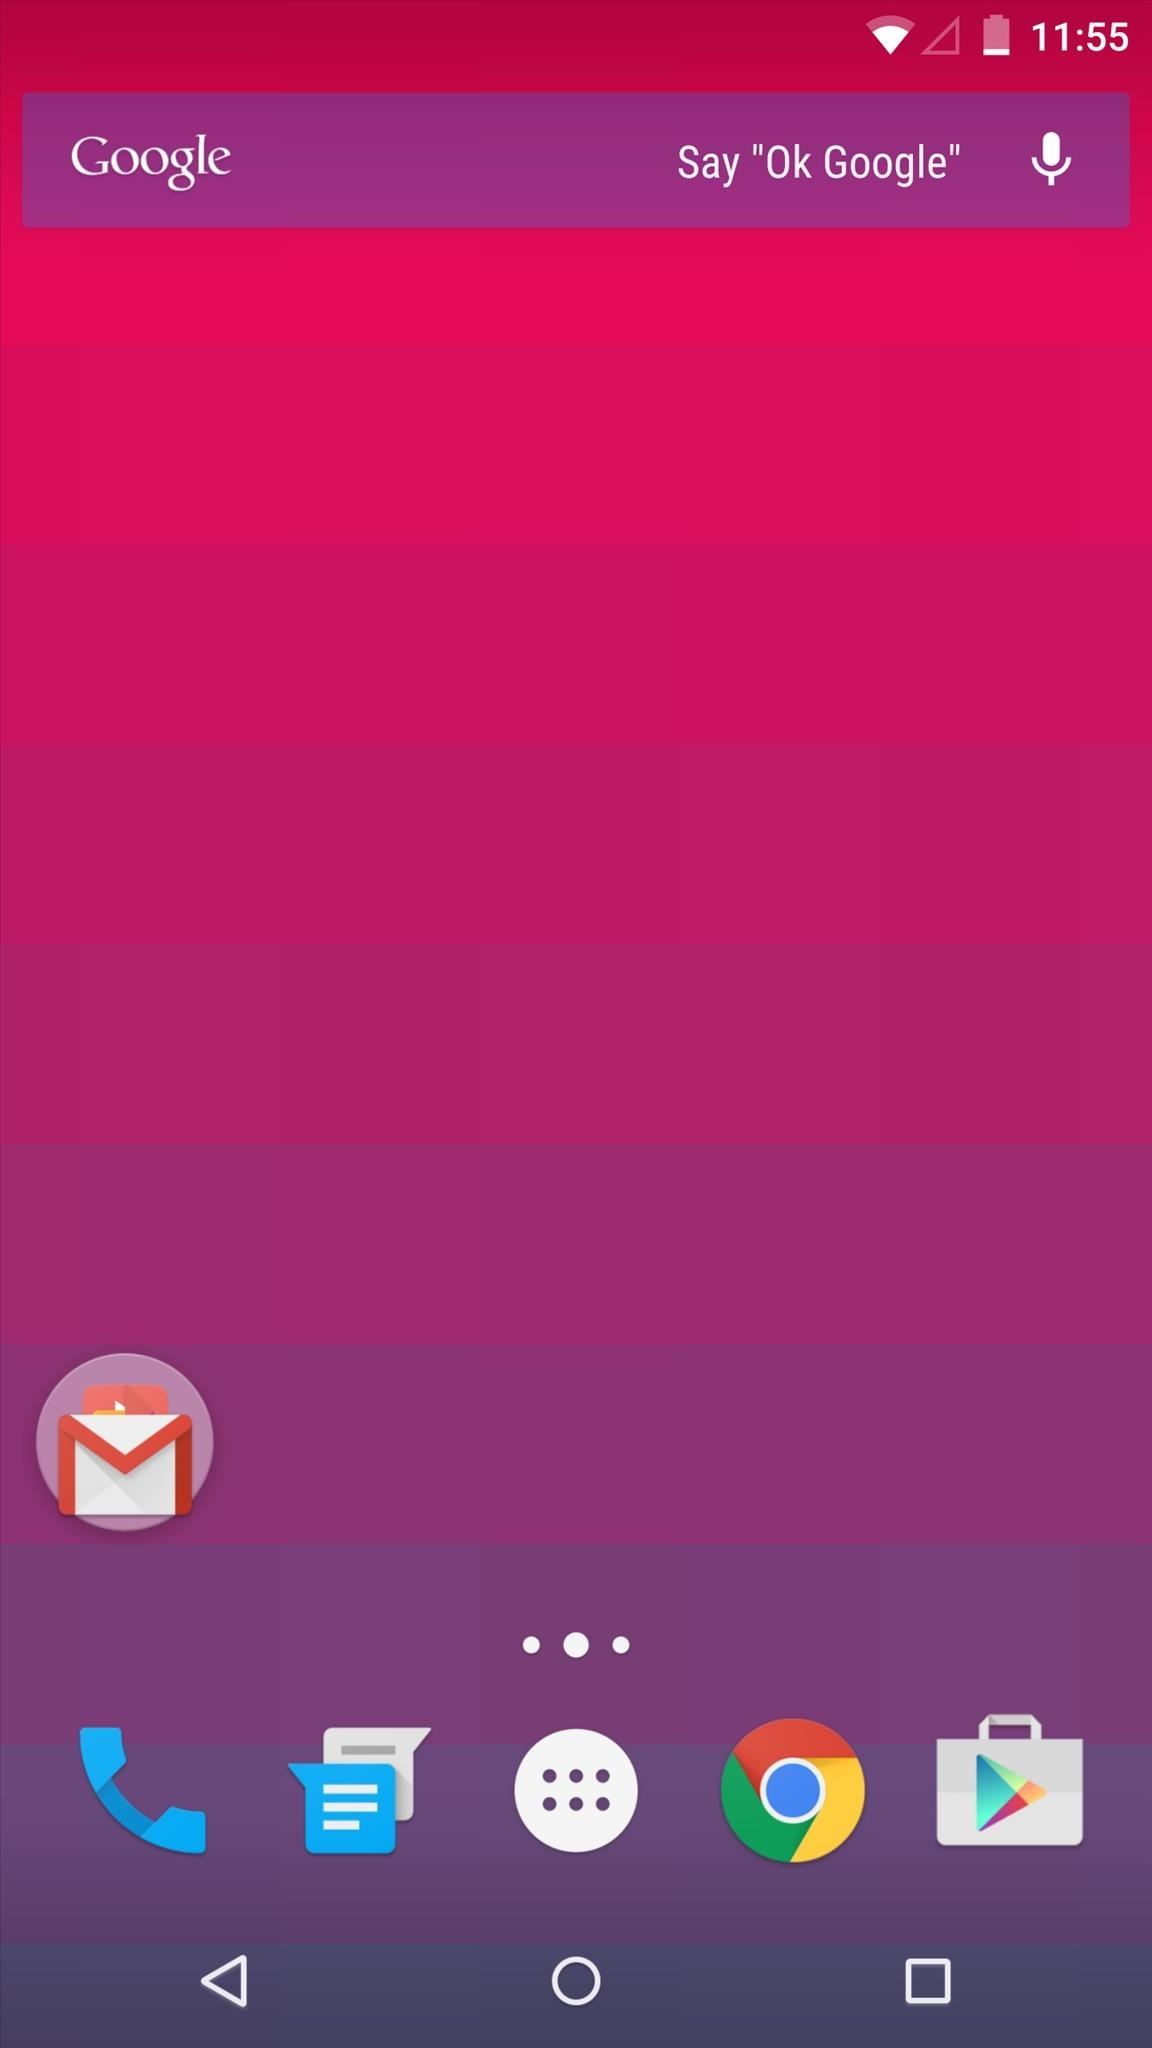
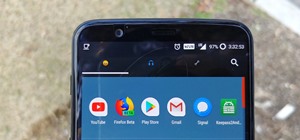
From within these settings, you can remove the search bar altogether, make it visible only on the main home page, or strictly on the Google Now page if you choose to do so.
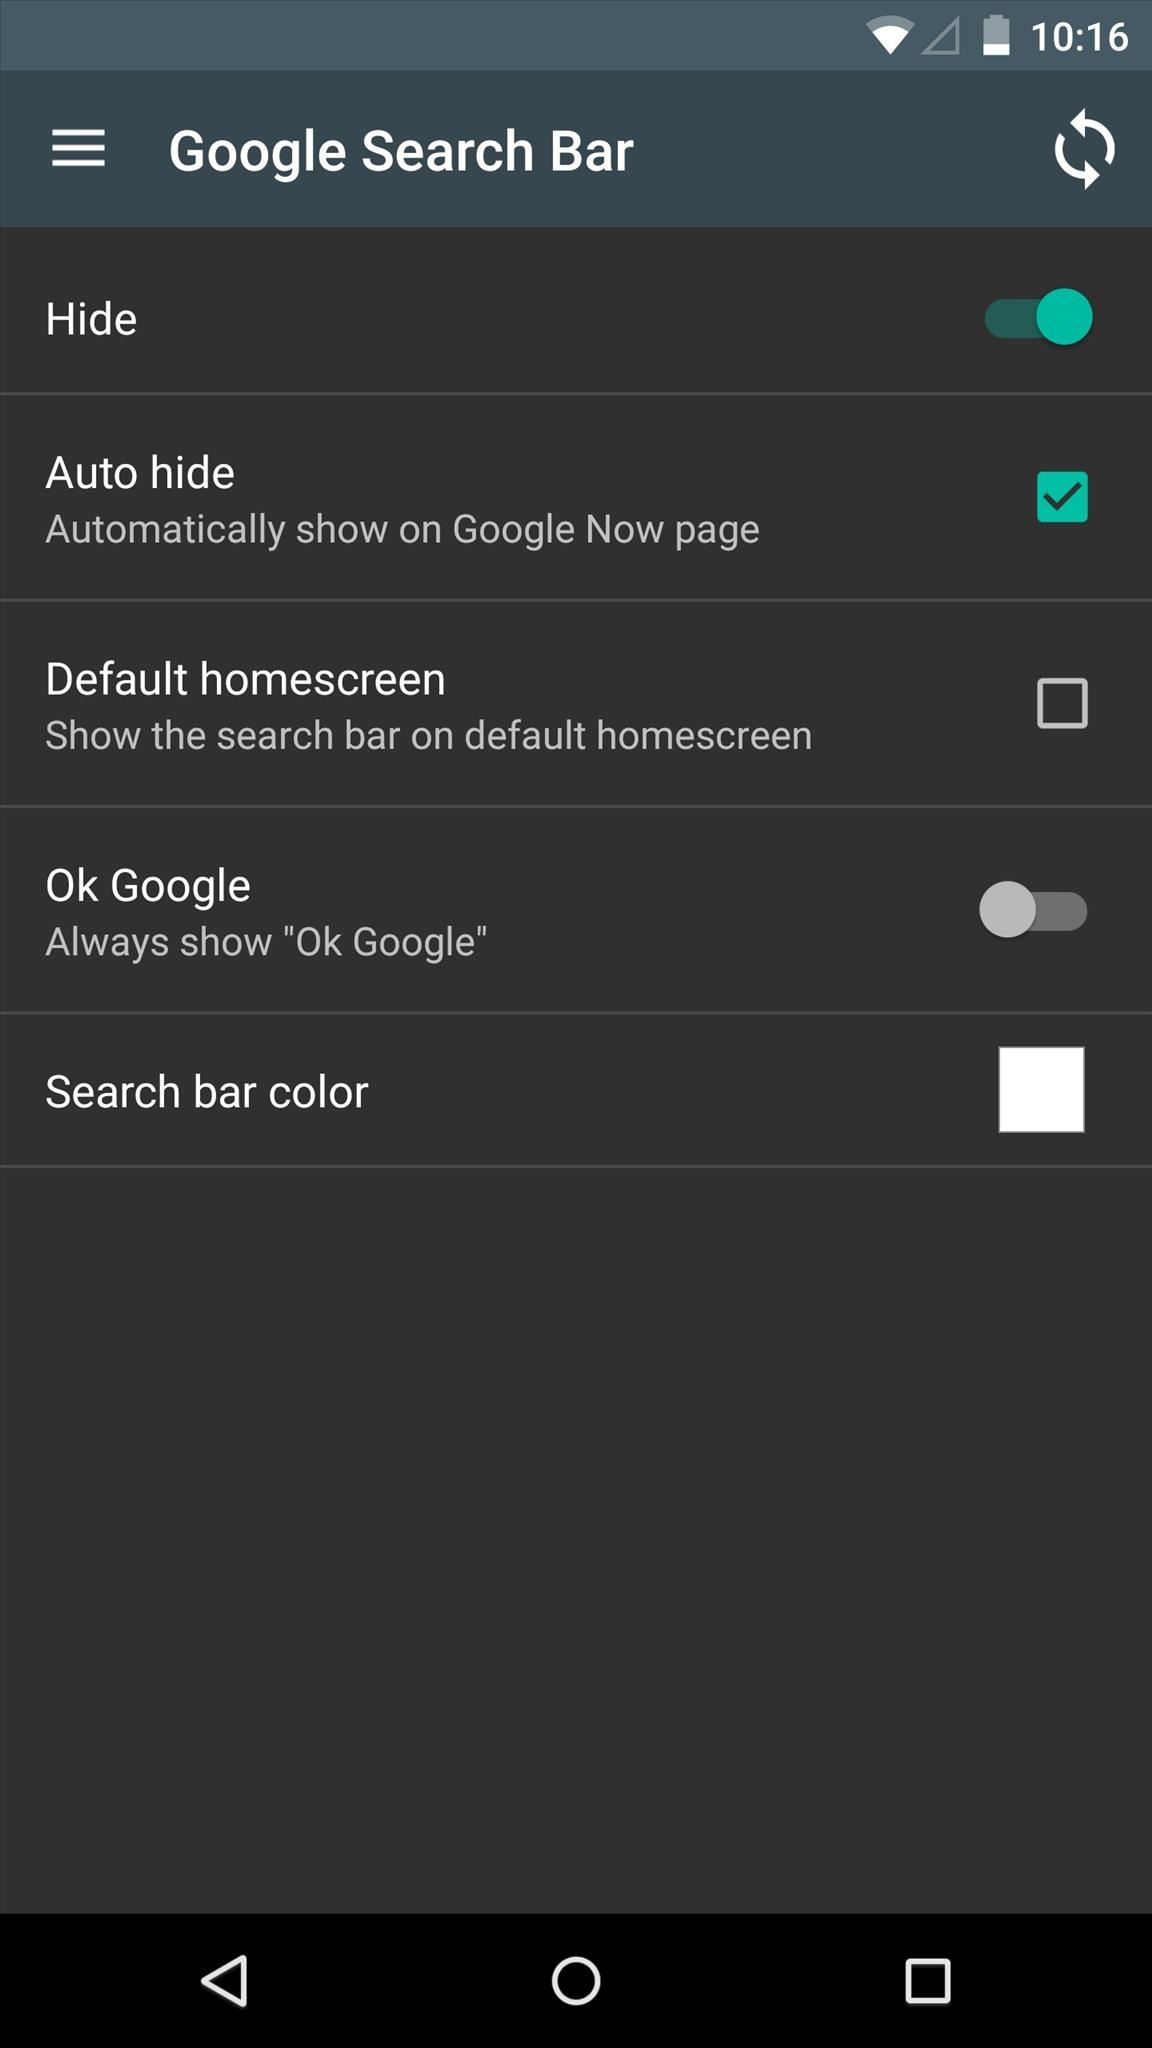

If you like the bar and just want to add some character to it, try applying a custom color. You can make it any color you want and also adjust the transparency level.
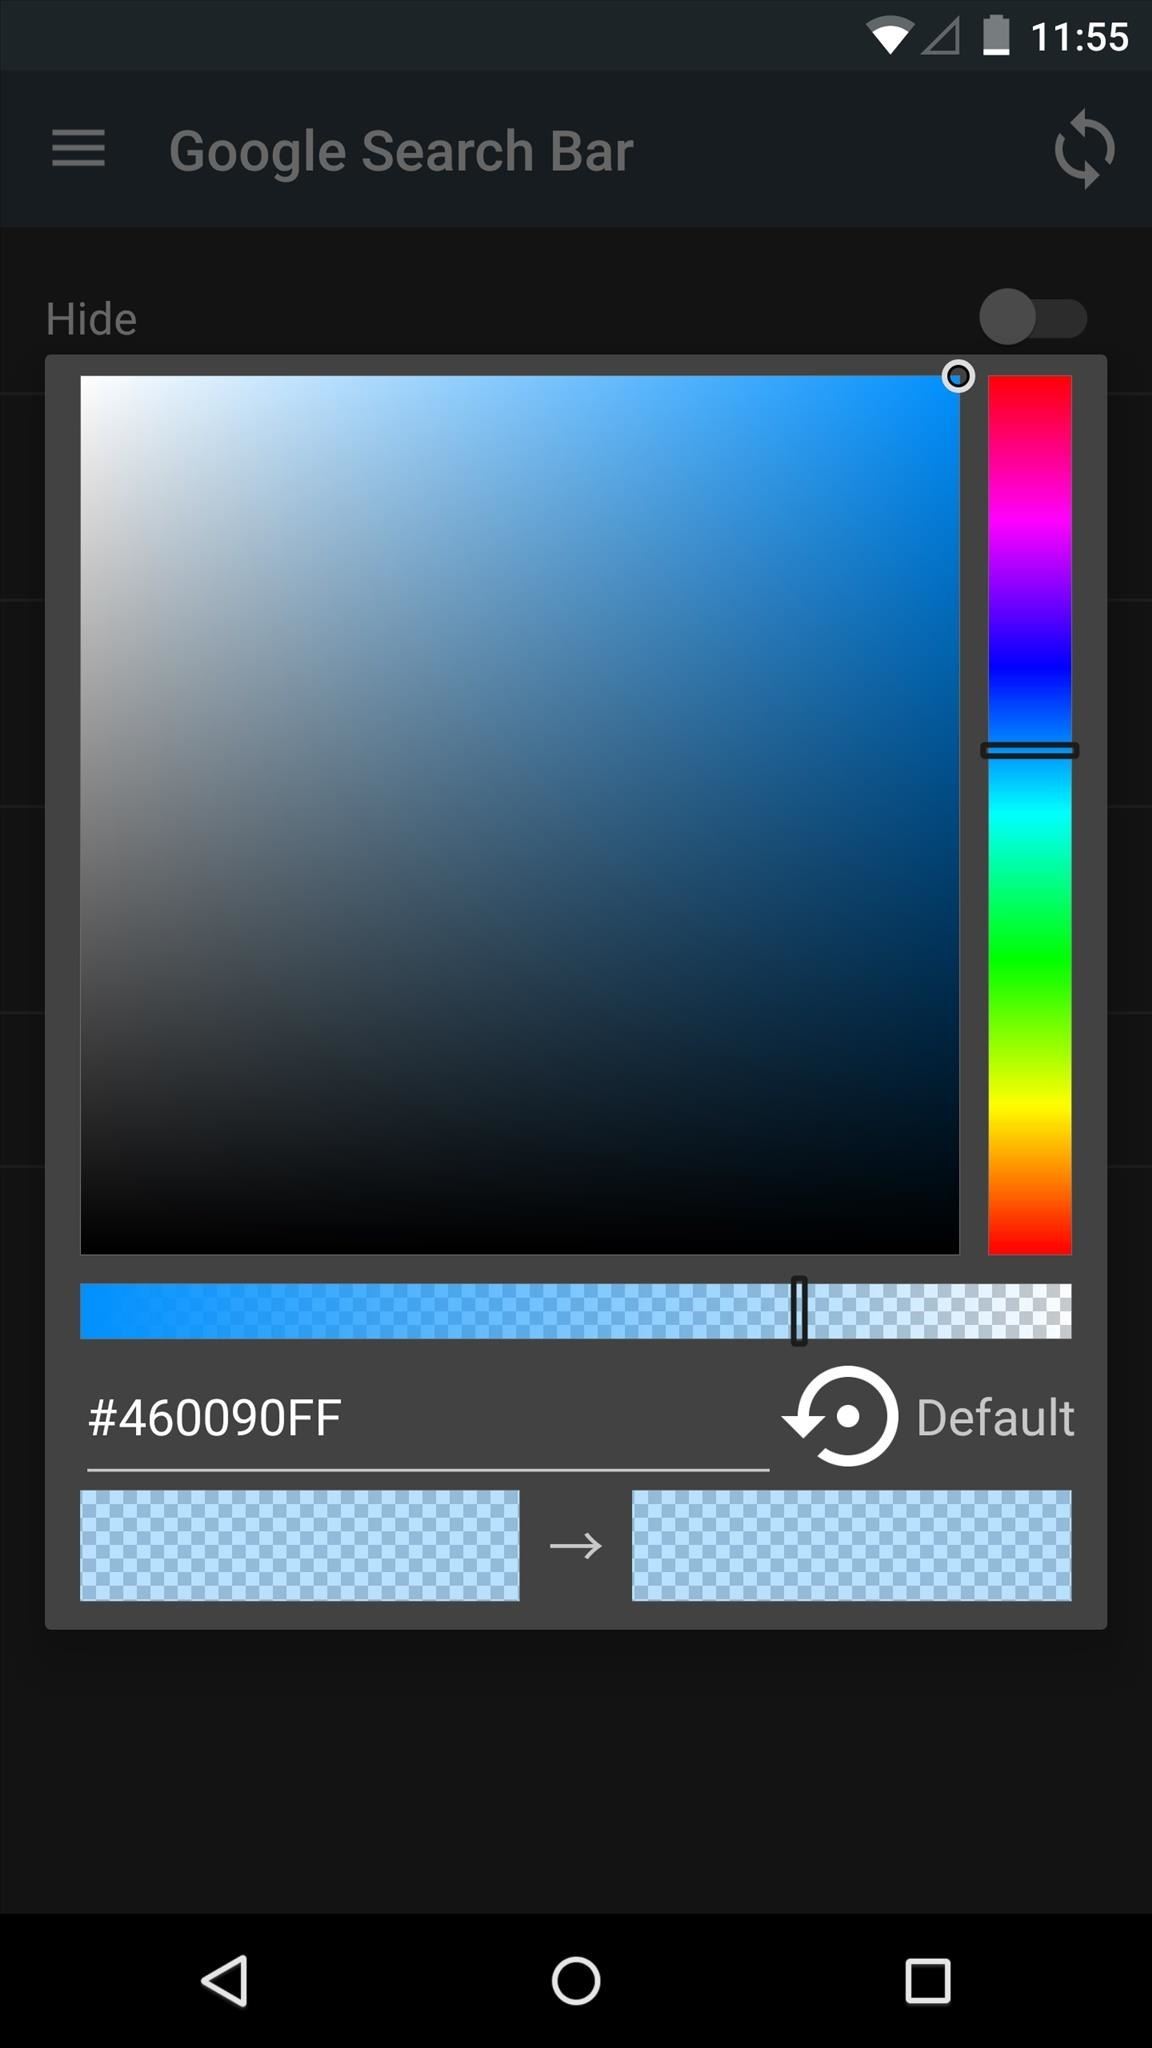
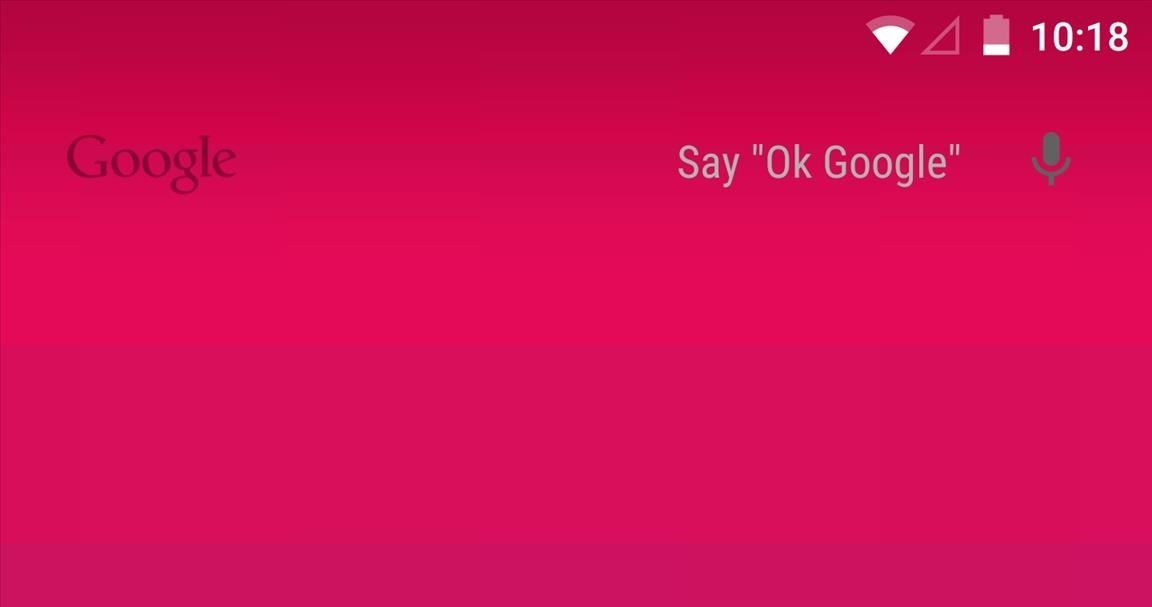
I'd also suggest trying the full-on transparent look, so it's less conspicuous on your display while still being able to utilize the feature.
Because I refuse to claim defeat and install a third-party launcher with customization options, GEL Settings is definitely a godsend. Try it out and let us know what you think in the comments below.
Make sure to follow Android Hacks over on Facebook and Twitter, or Gadget Hacks over on Facebook, Google+, and Twitter, for more Android tips.
Who needs a wand? Unlock your magical powers and transform yourself from a Muggle into a Wizard or Witch just by using your Android phone. See how:


2 Comments
I've been using Xposed GEL settings for a few days now, but am still having trouble doing exactly what I want, which is making the Google search bar transparent while allowing the Google lettering and microphone graphic to remain visible. The last pic in this article looks close to what I want to achieve. How did you do that?
In the above screen shot, where I'm choosing the bar color, use the slider at the bottom to make it completely transparent.
Share Your Thoughts