
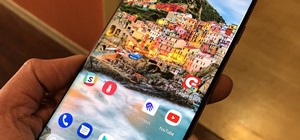
Smartphone displays are getting bigger every year, and Samsung devices are at the forefront of that trend. But, from a software standpoint, the icons, buttons, and other on-screen elements seem to stay at the same scale. So while phones are getting bigger, their interfaces are getting bigger as well.
A lot of users have solved this issue by adjusting their device's DPI, which allows you to shrink or enlarge on-screen elements. In the past, this has always required root access or ADB commands, but a hidden menu in newer Samsung Galaxy devices running Marshmallow will now let you adjust your display scaling in a few simple taps.
Requirements
- Samsung Galaxy S6, S6 edge, S6 edge+, Note 5, S7, or S7 edge
- Device running stock TouchWiz and Android 6.0 or higher
Step 1: Install an App That Can Launch Activities
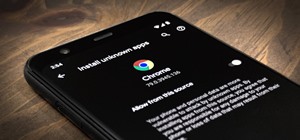
The hidden "Display Scaling" menu on newer Samsung devices can be accessed with any app that is capable of launching activities. For instance, if you have Nova Launcher installed, you already have the requisite software, and you can skip ahead to the second paragraph in Step 2 if you'd like.
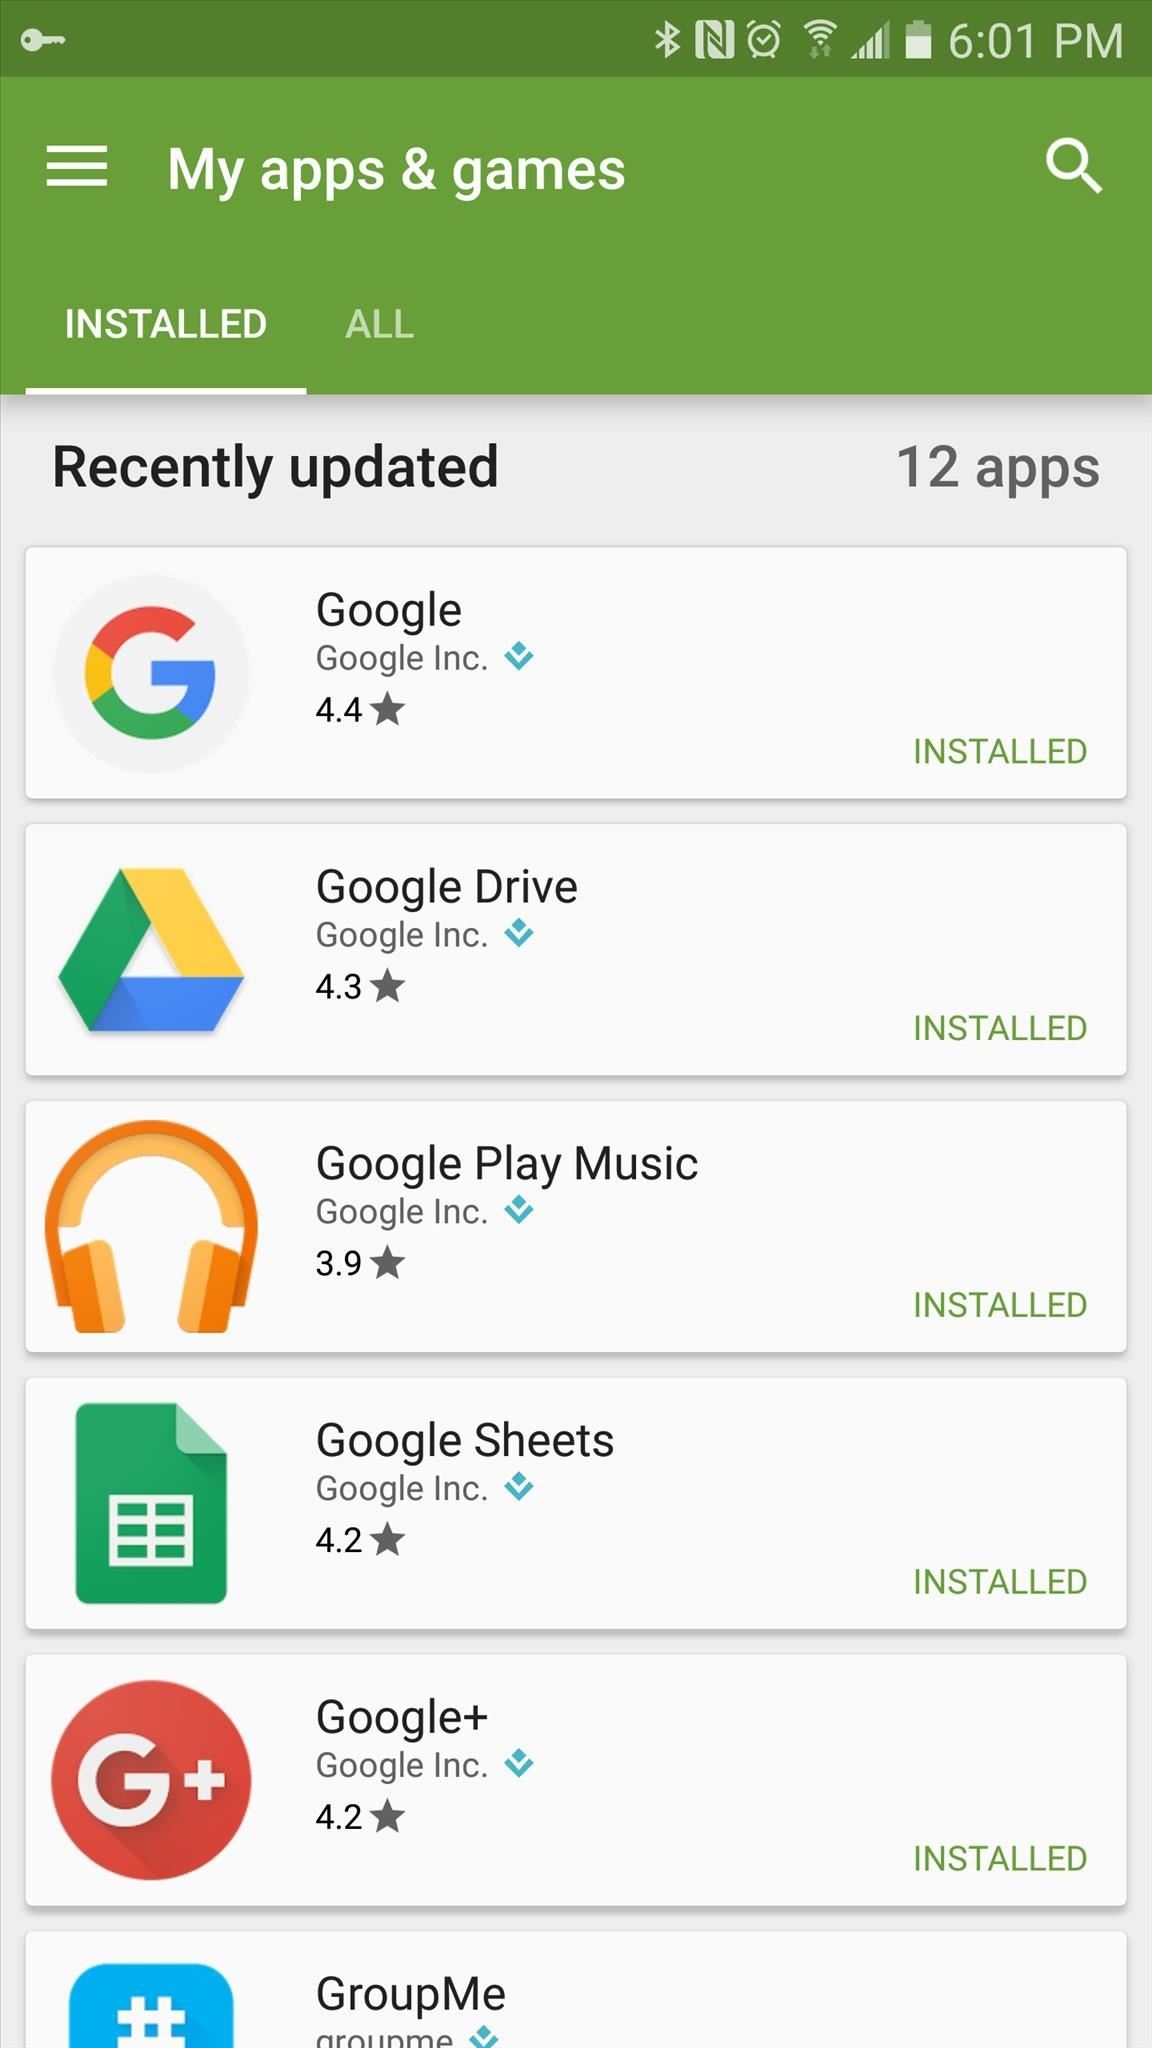
If you don't already have an app that's capable of launching activities, the easiest way to do this would be to install an app called Activity Launcher. It's available for free on the Google Play Store, so head to the link below to get it installed:
Step 2: Launch the 'Display Scaling' Settings Activity
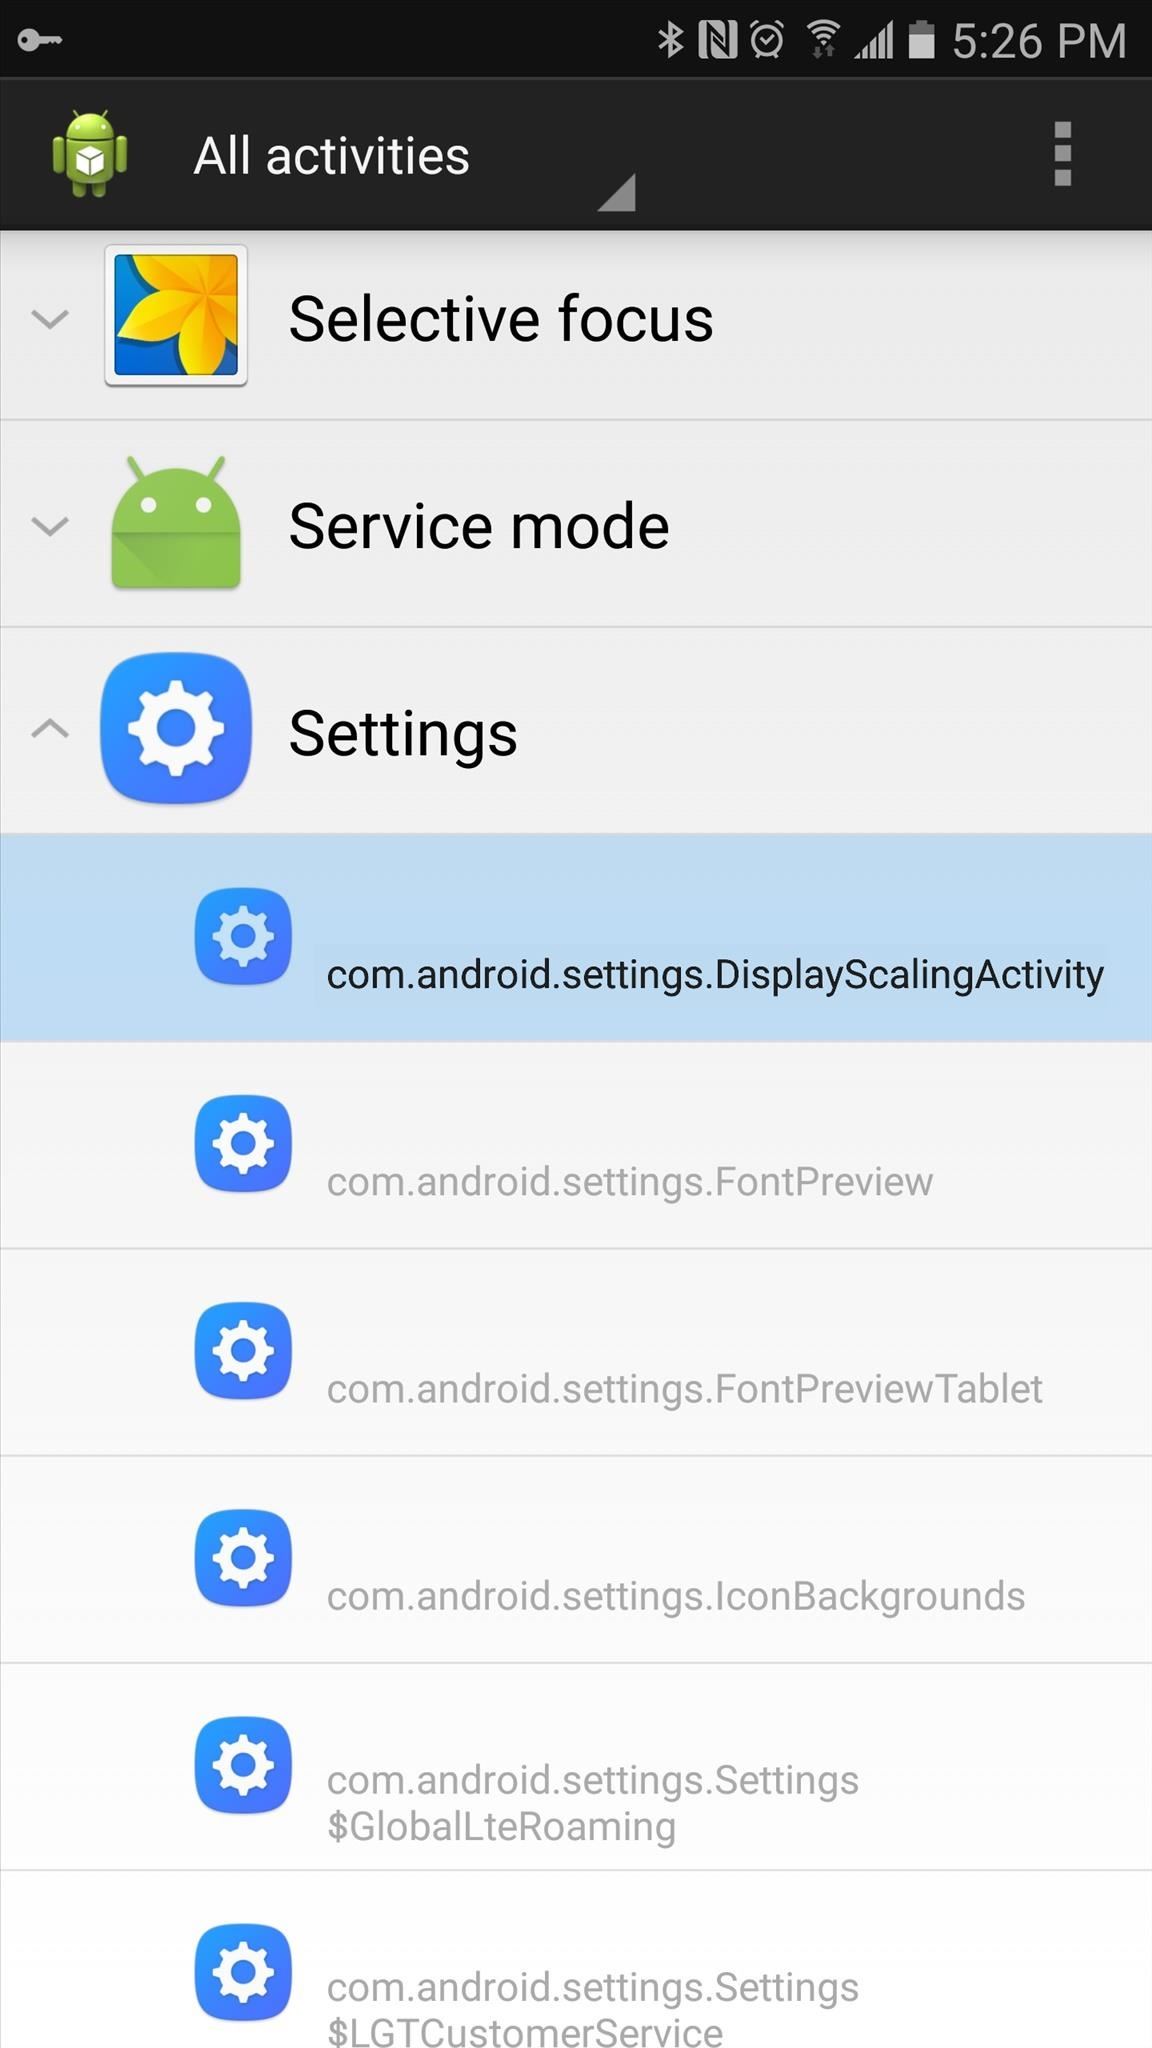
Next up, simply open Activity Launcher and use the drop-down menu at the top of the screen to select "All activities." From here, scroll down and expand the Settings activity, then tap the first entry, which is titled com.android.settings.DisplayScalingActivity.

On the other hand, if you're using Nova Launcher, start by long-pressing any empty space on your home screen, then selecting "Widgets." From here, scroll through the Nova Launcher category, then press and hold the "Activities" widget.
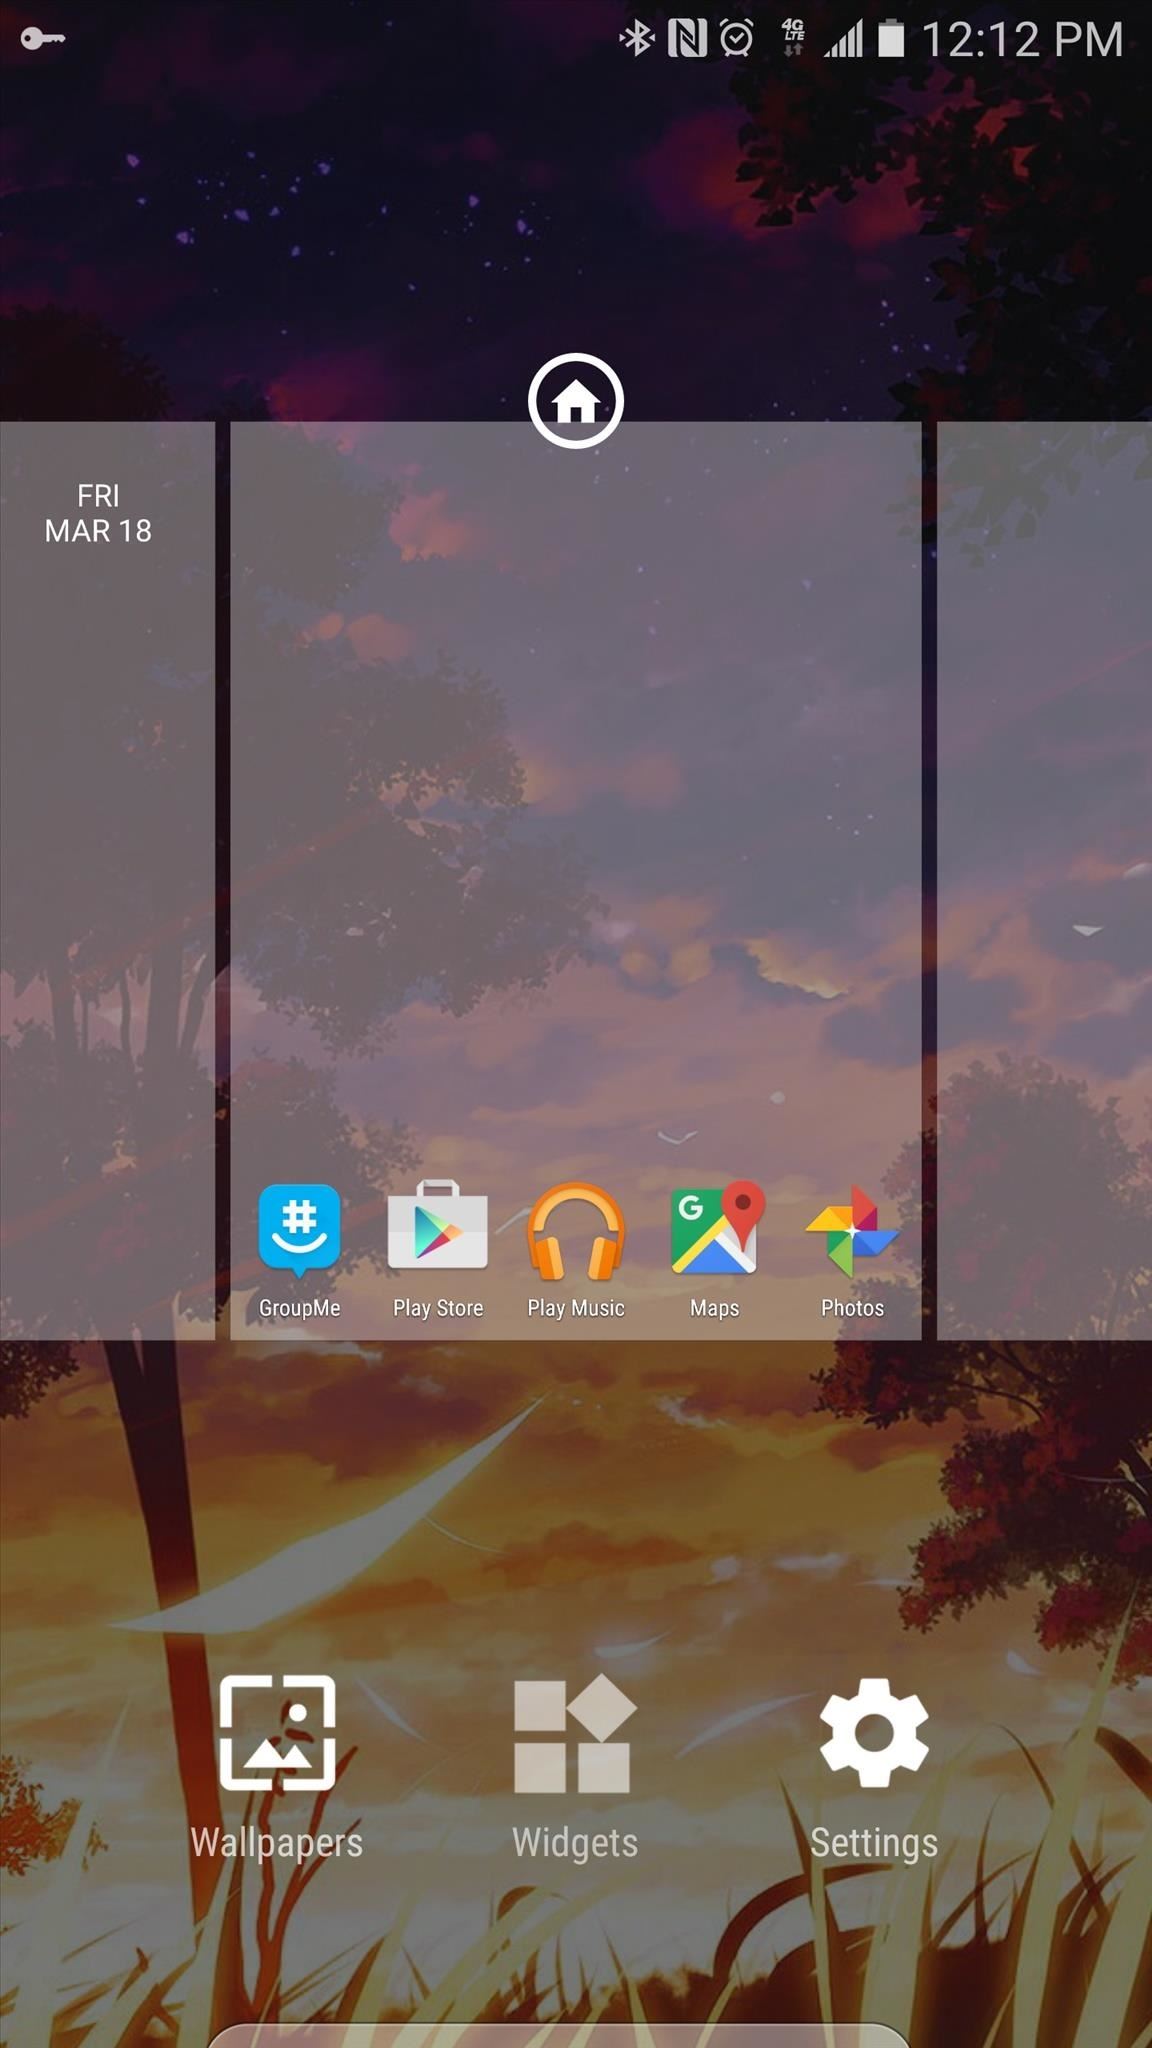
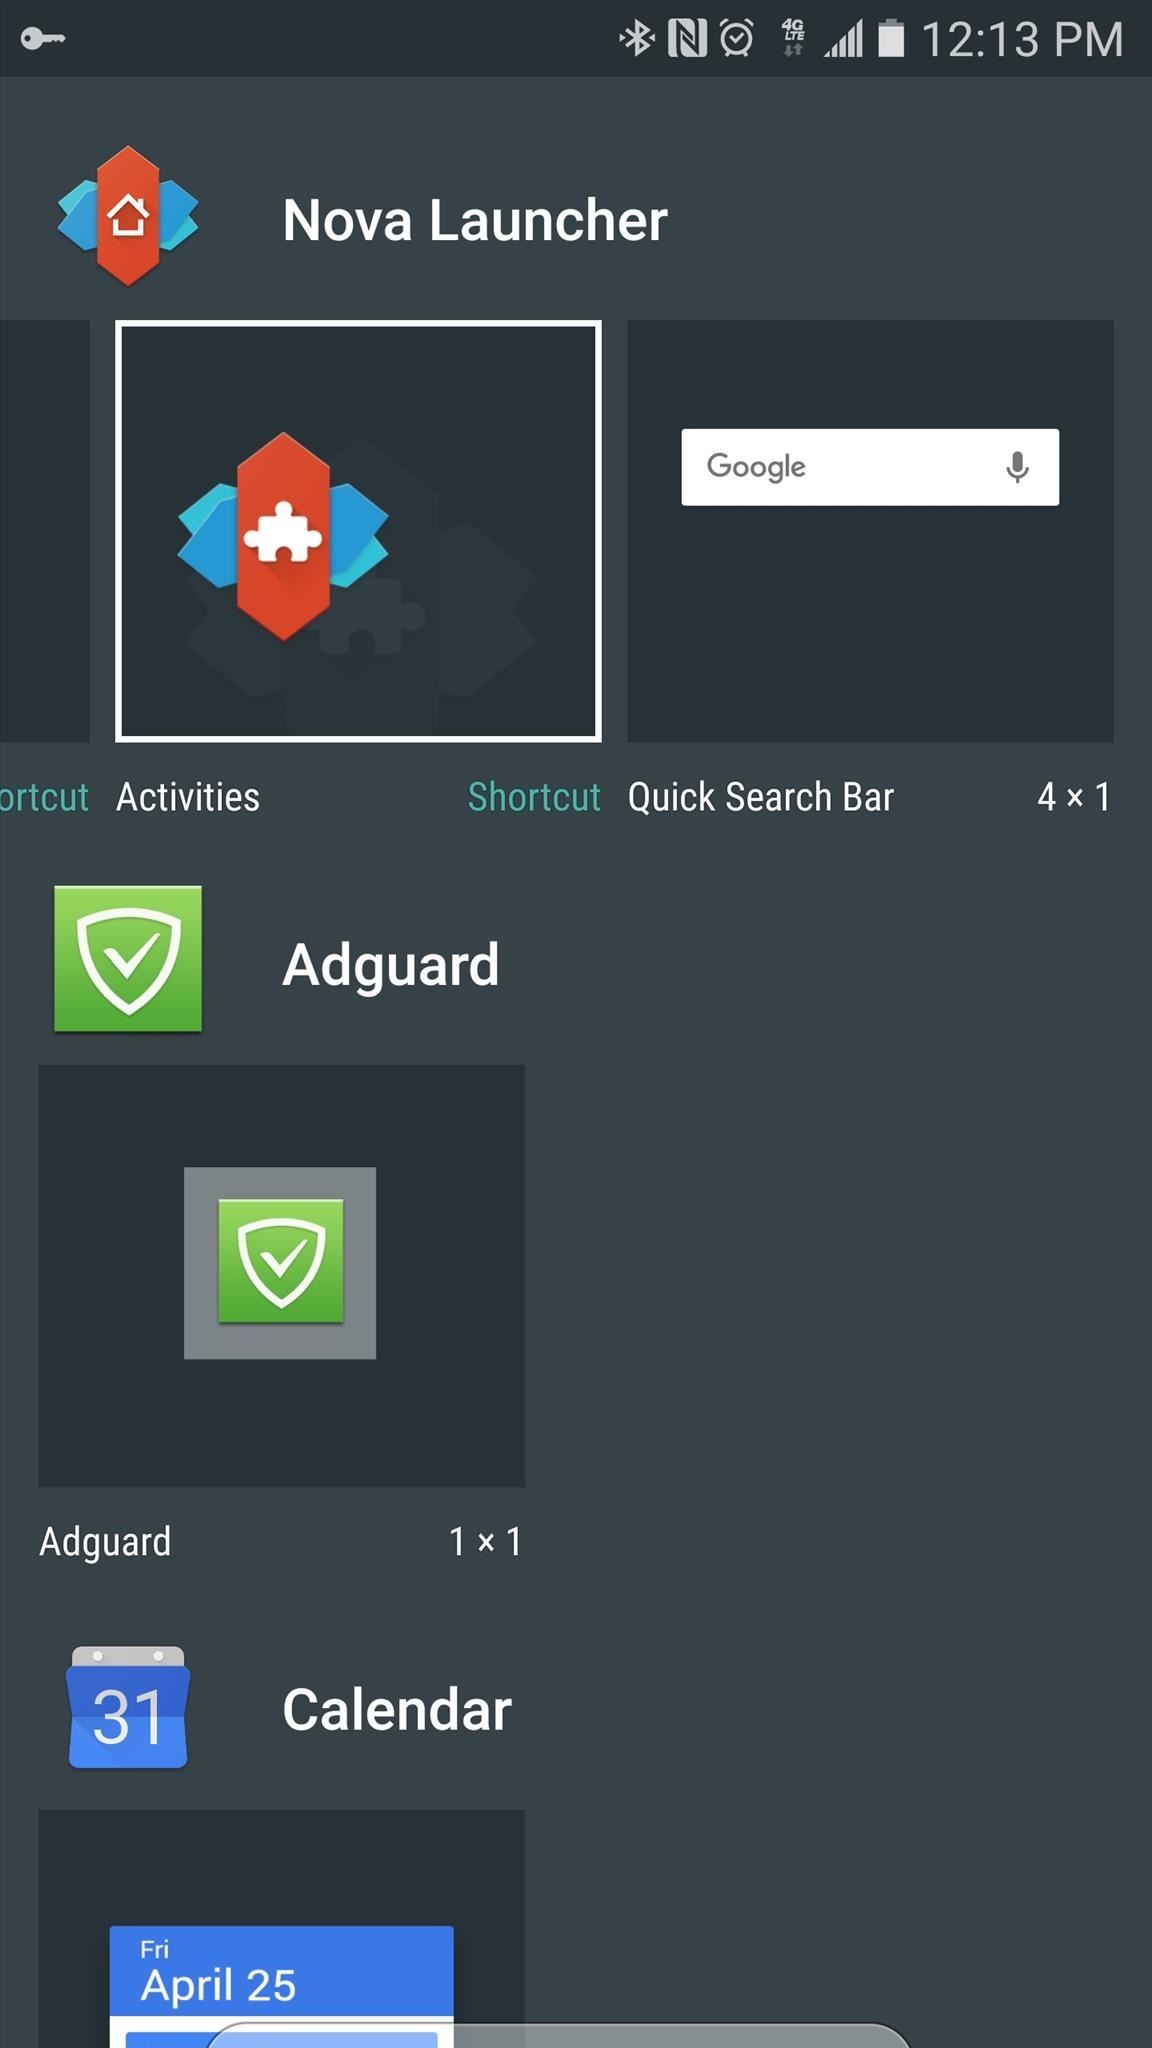
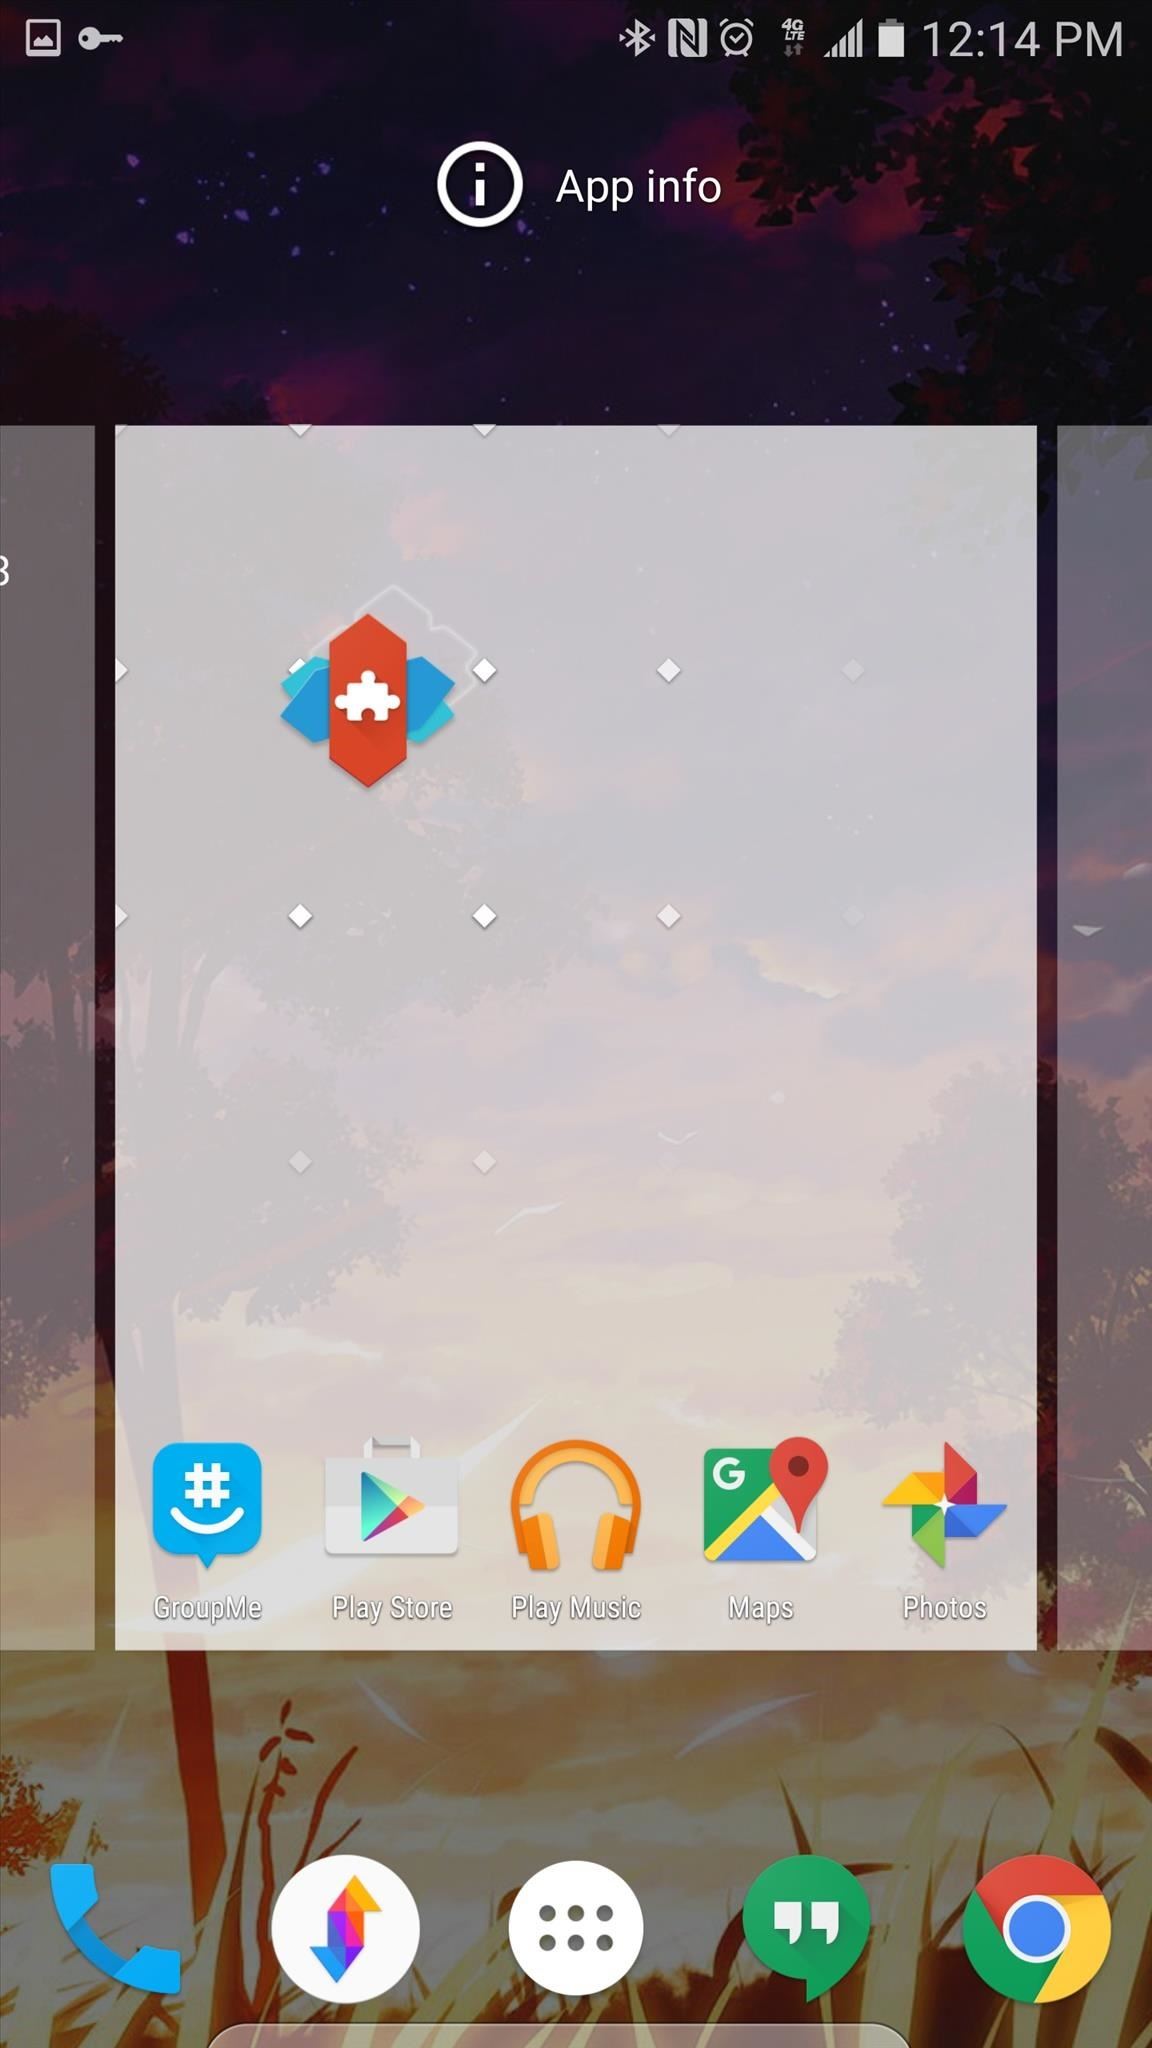
Next, drop the Activities widget anywhere on your home screen, then you'll see a menu. From here, scroll down and expand the Settings category, then select the fourth option, which is labeled DisplayScalingActivity. Once you've done that, simply tap the widget you just created on your home screen to launch the Display Scaling activity.

Step 3: Lower the Display Scale & Reboot
The hidden menu you just launched is part of the stock software on your device, so changing settings in here will not void your warranty or cause any other issues.
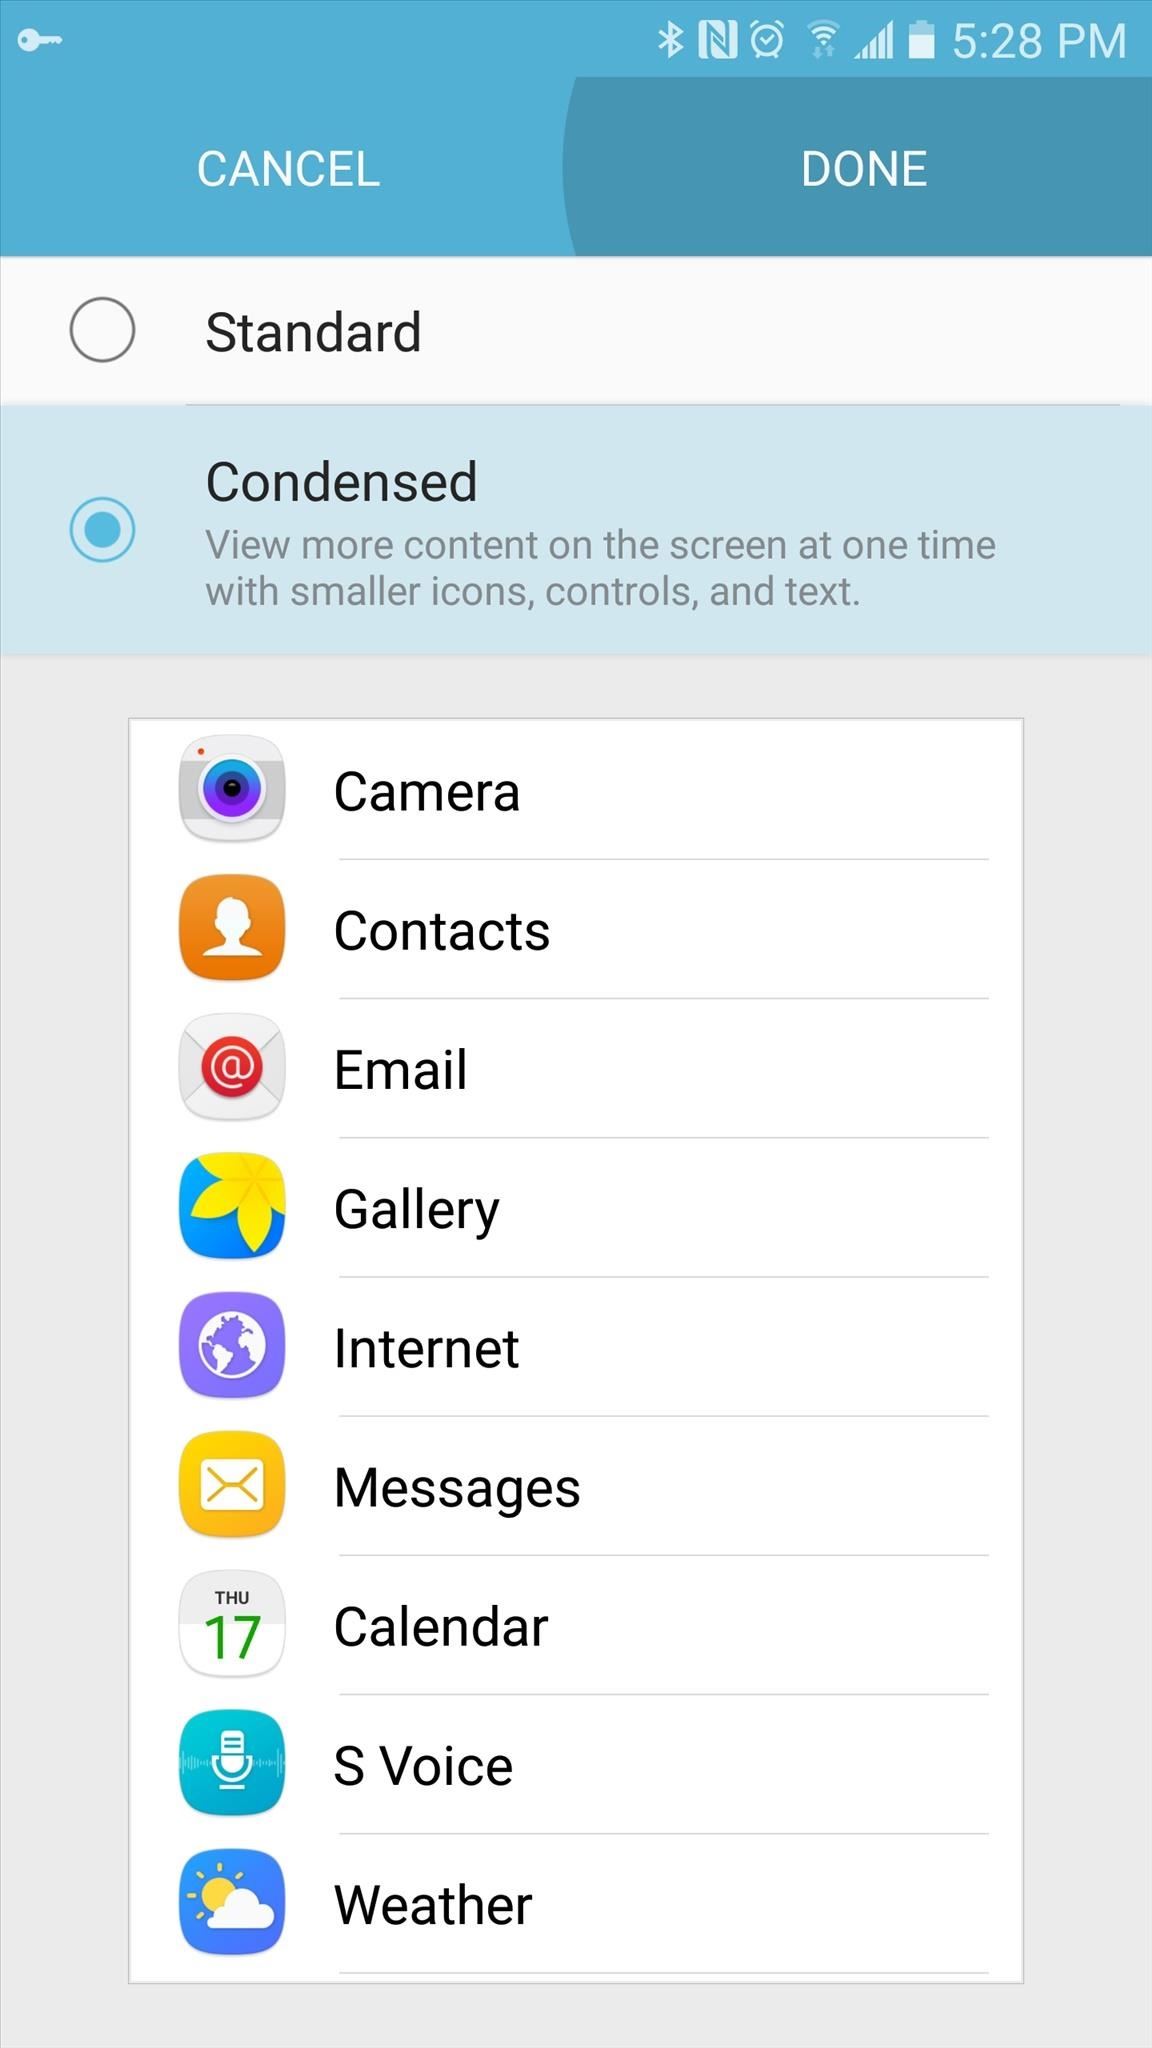
That said, there are two display scaling options—"Standard," and "Condensed." If you'd like to shrink the size of on-screen elements just a bit, choose the "Condensed" option, then press "Done." From here, you'll be asked to reboot your device, so press "Restart" on the popup.

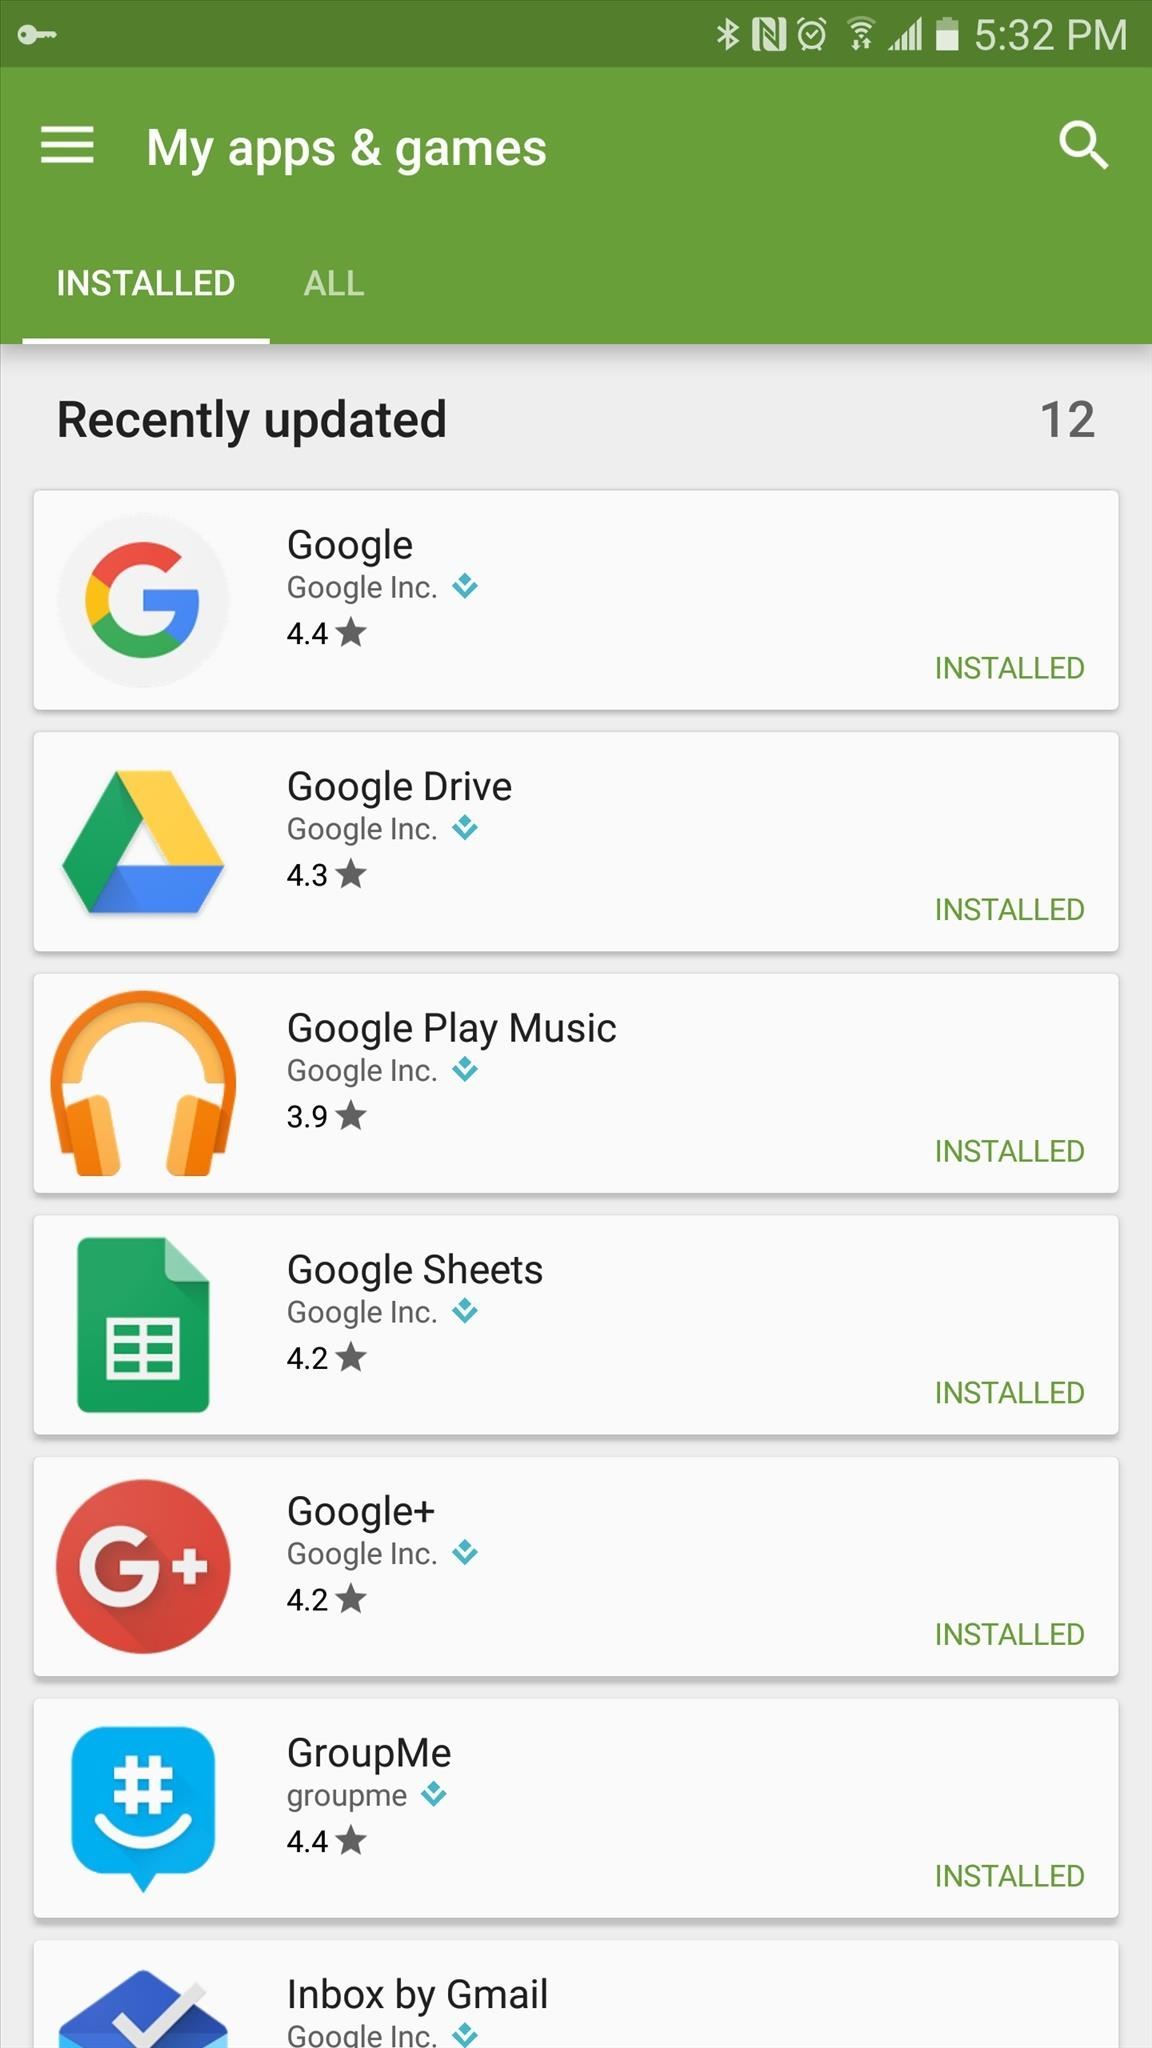
When your device finishes rebooting, you'll notice that on-screen elements such as buttons and icons have shrunk by about 10%. It's a much more appropriate scale for the larger displays these devices use, and more content will fit on your screen as a result.
Should you decide that you'd like to revert back to the stock display scaling, simply repeat these steps, but select "Standard" from the Display Scaling menu.
Follow Android Hacks on Facebook or Twitter, or Gadget Hacks on Facebook, Google+, or Twitter, for more Android tips and tricks.
Who needs a wand? Unlock your magical powers and transform yourself from a Muggle into a Wizard or Witch just by using your Android phone. See how:


Be the First to Comment
Share Your Thoughts