
No matter how far technology advances, battery life continues to be an issue. Powerful new hardware is introduced each year, but smartphone batteries only get a few extra milliamp-hours to compensate.
There are several power-saving Android apps that aim to help with this issue, but very few offer anything more than a placebo effect. However, a new Xposed module from developer Pyler is the real deal, marking one of the first true all-in-one battery saving apps with granular controls—something you'll likely never see on iPhones.
The module works a lot like Sony's Stamina Mode in some ways, but it can also function on a per-app basis to help you tame battery-hogging apps like Facebook. In addition to all of that, it can even enable Doze Mode a lot faster, so it's already one of the best battery savers out there.
Requirements
Step 1: Install Better Battery Saver
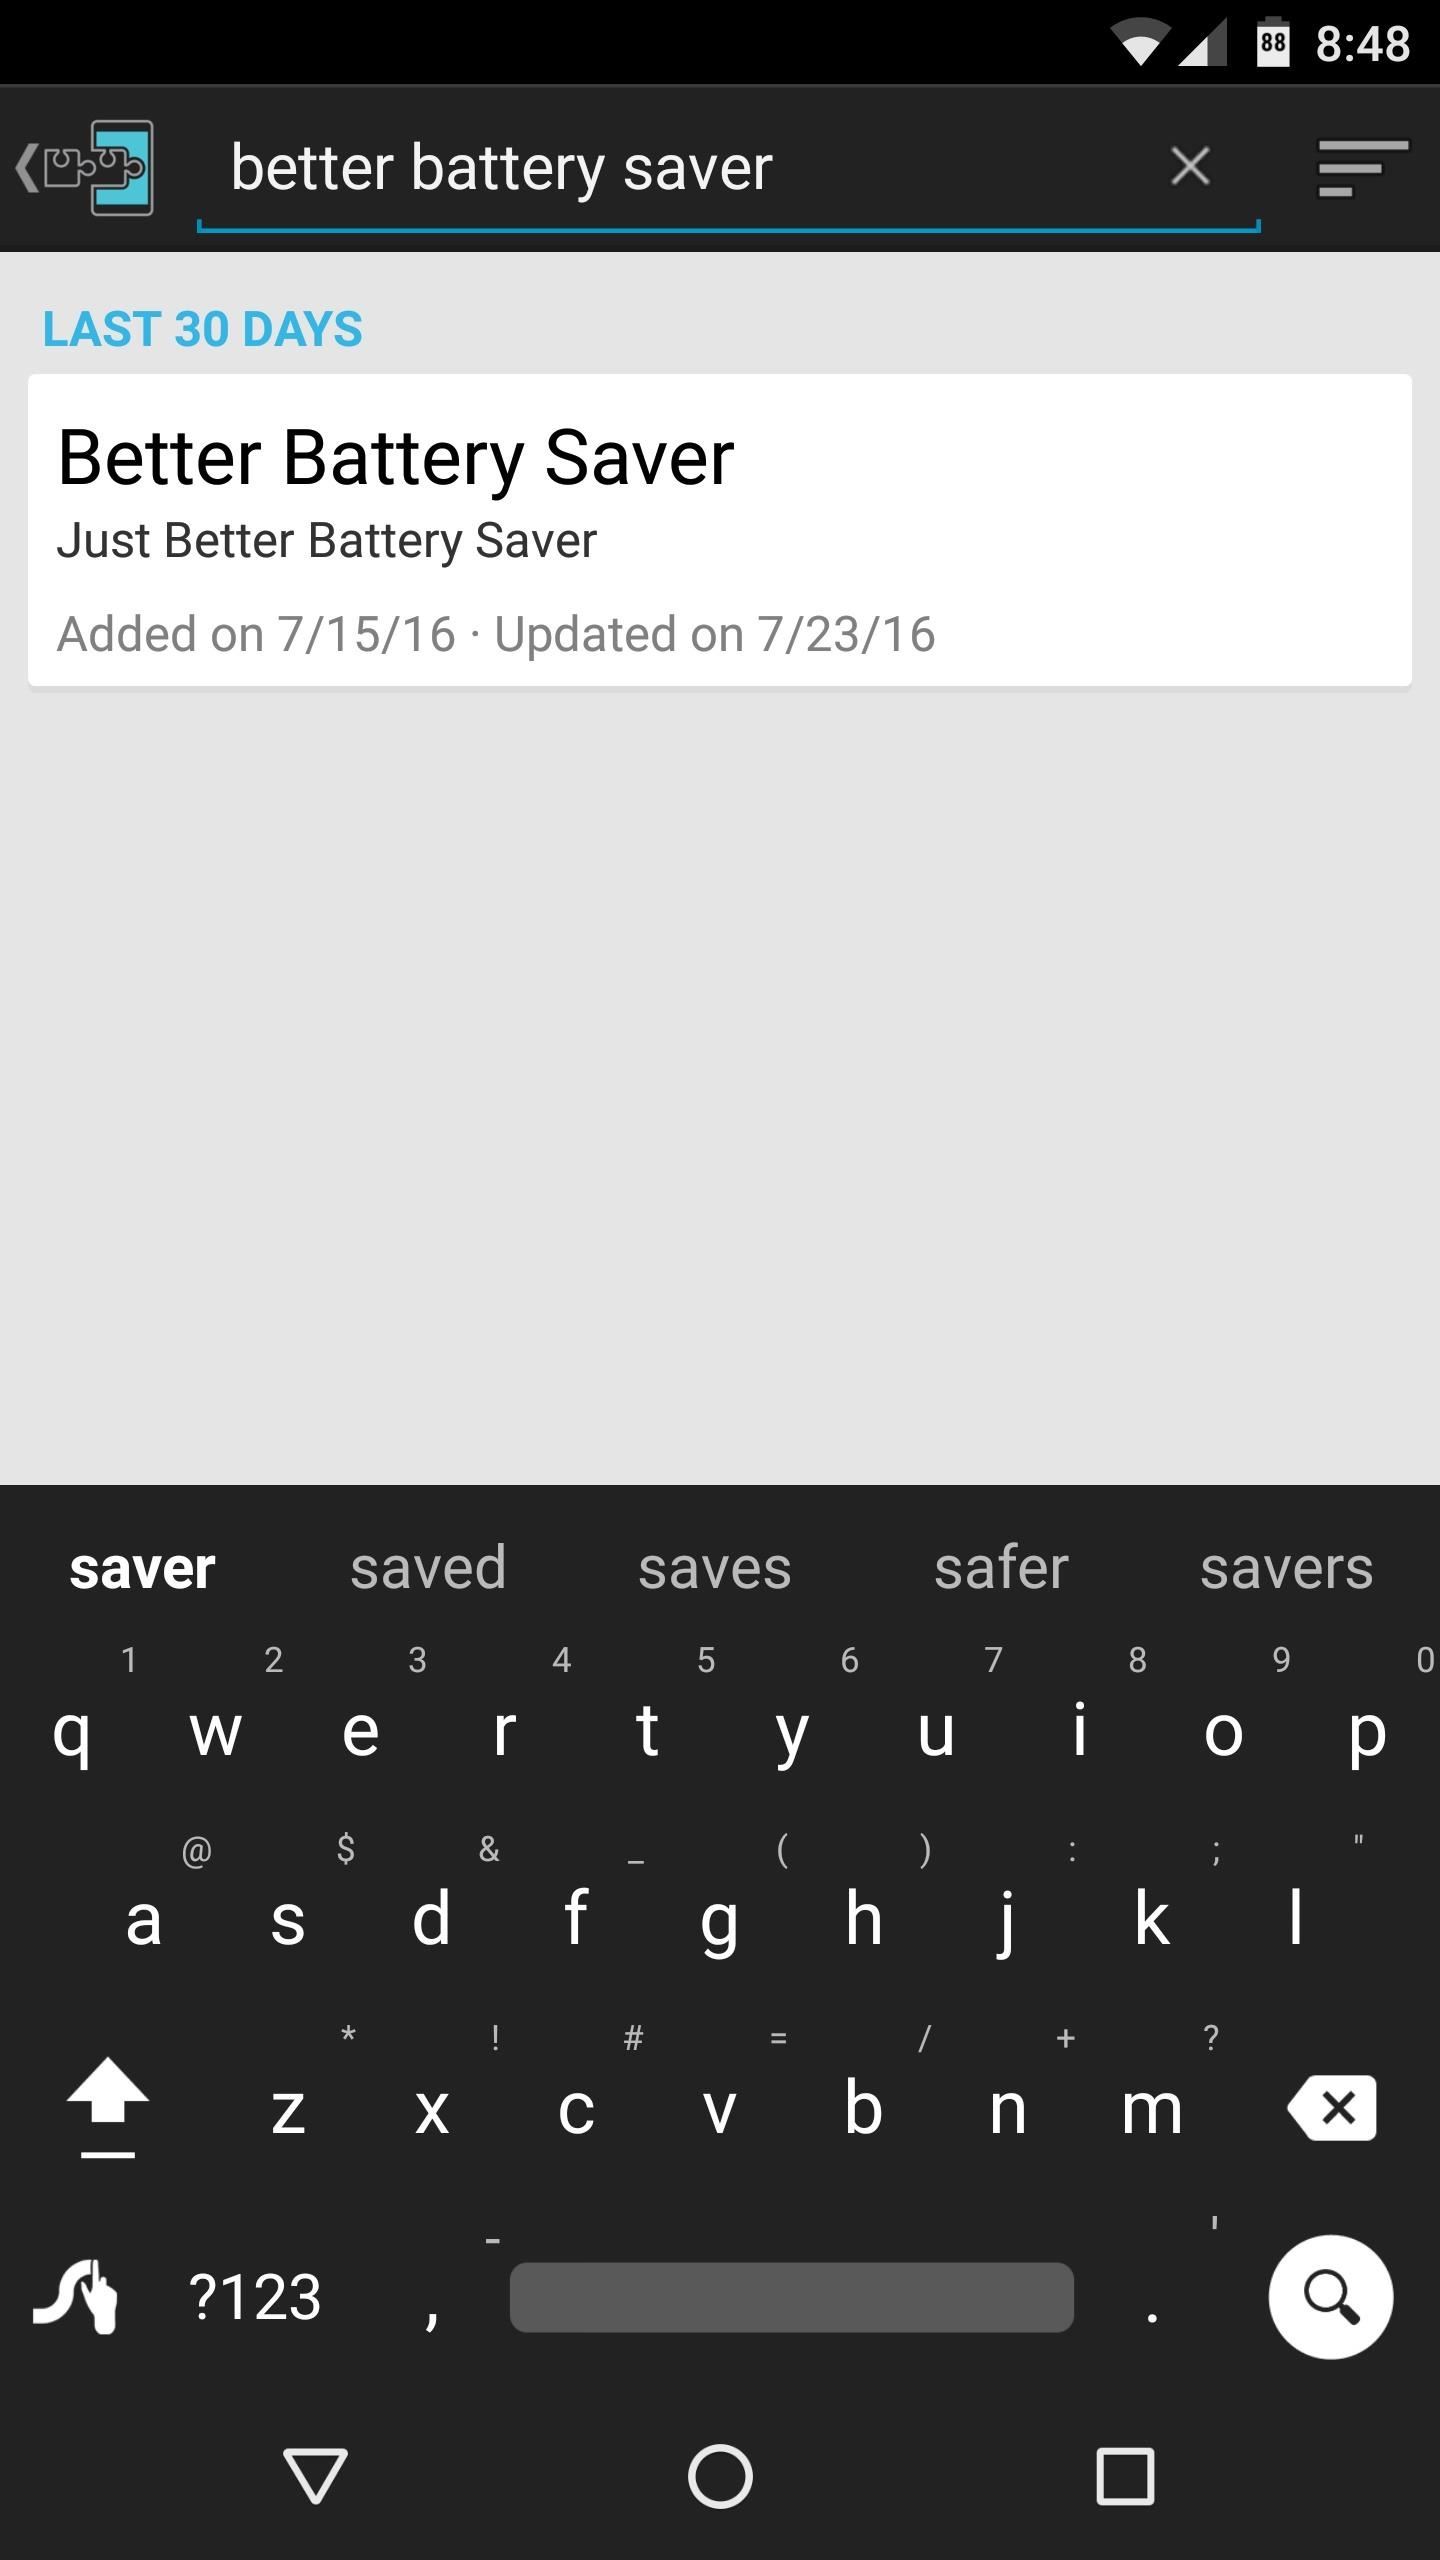
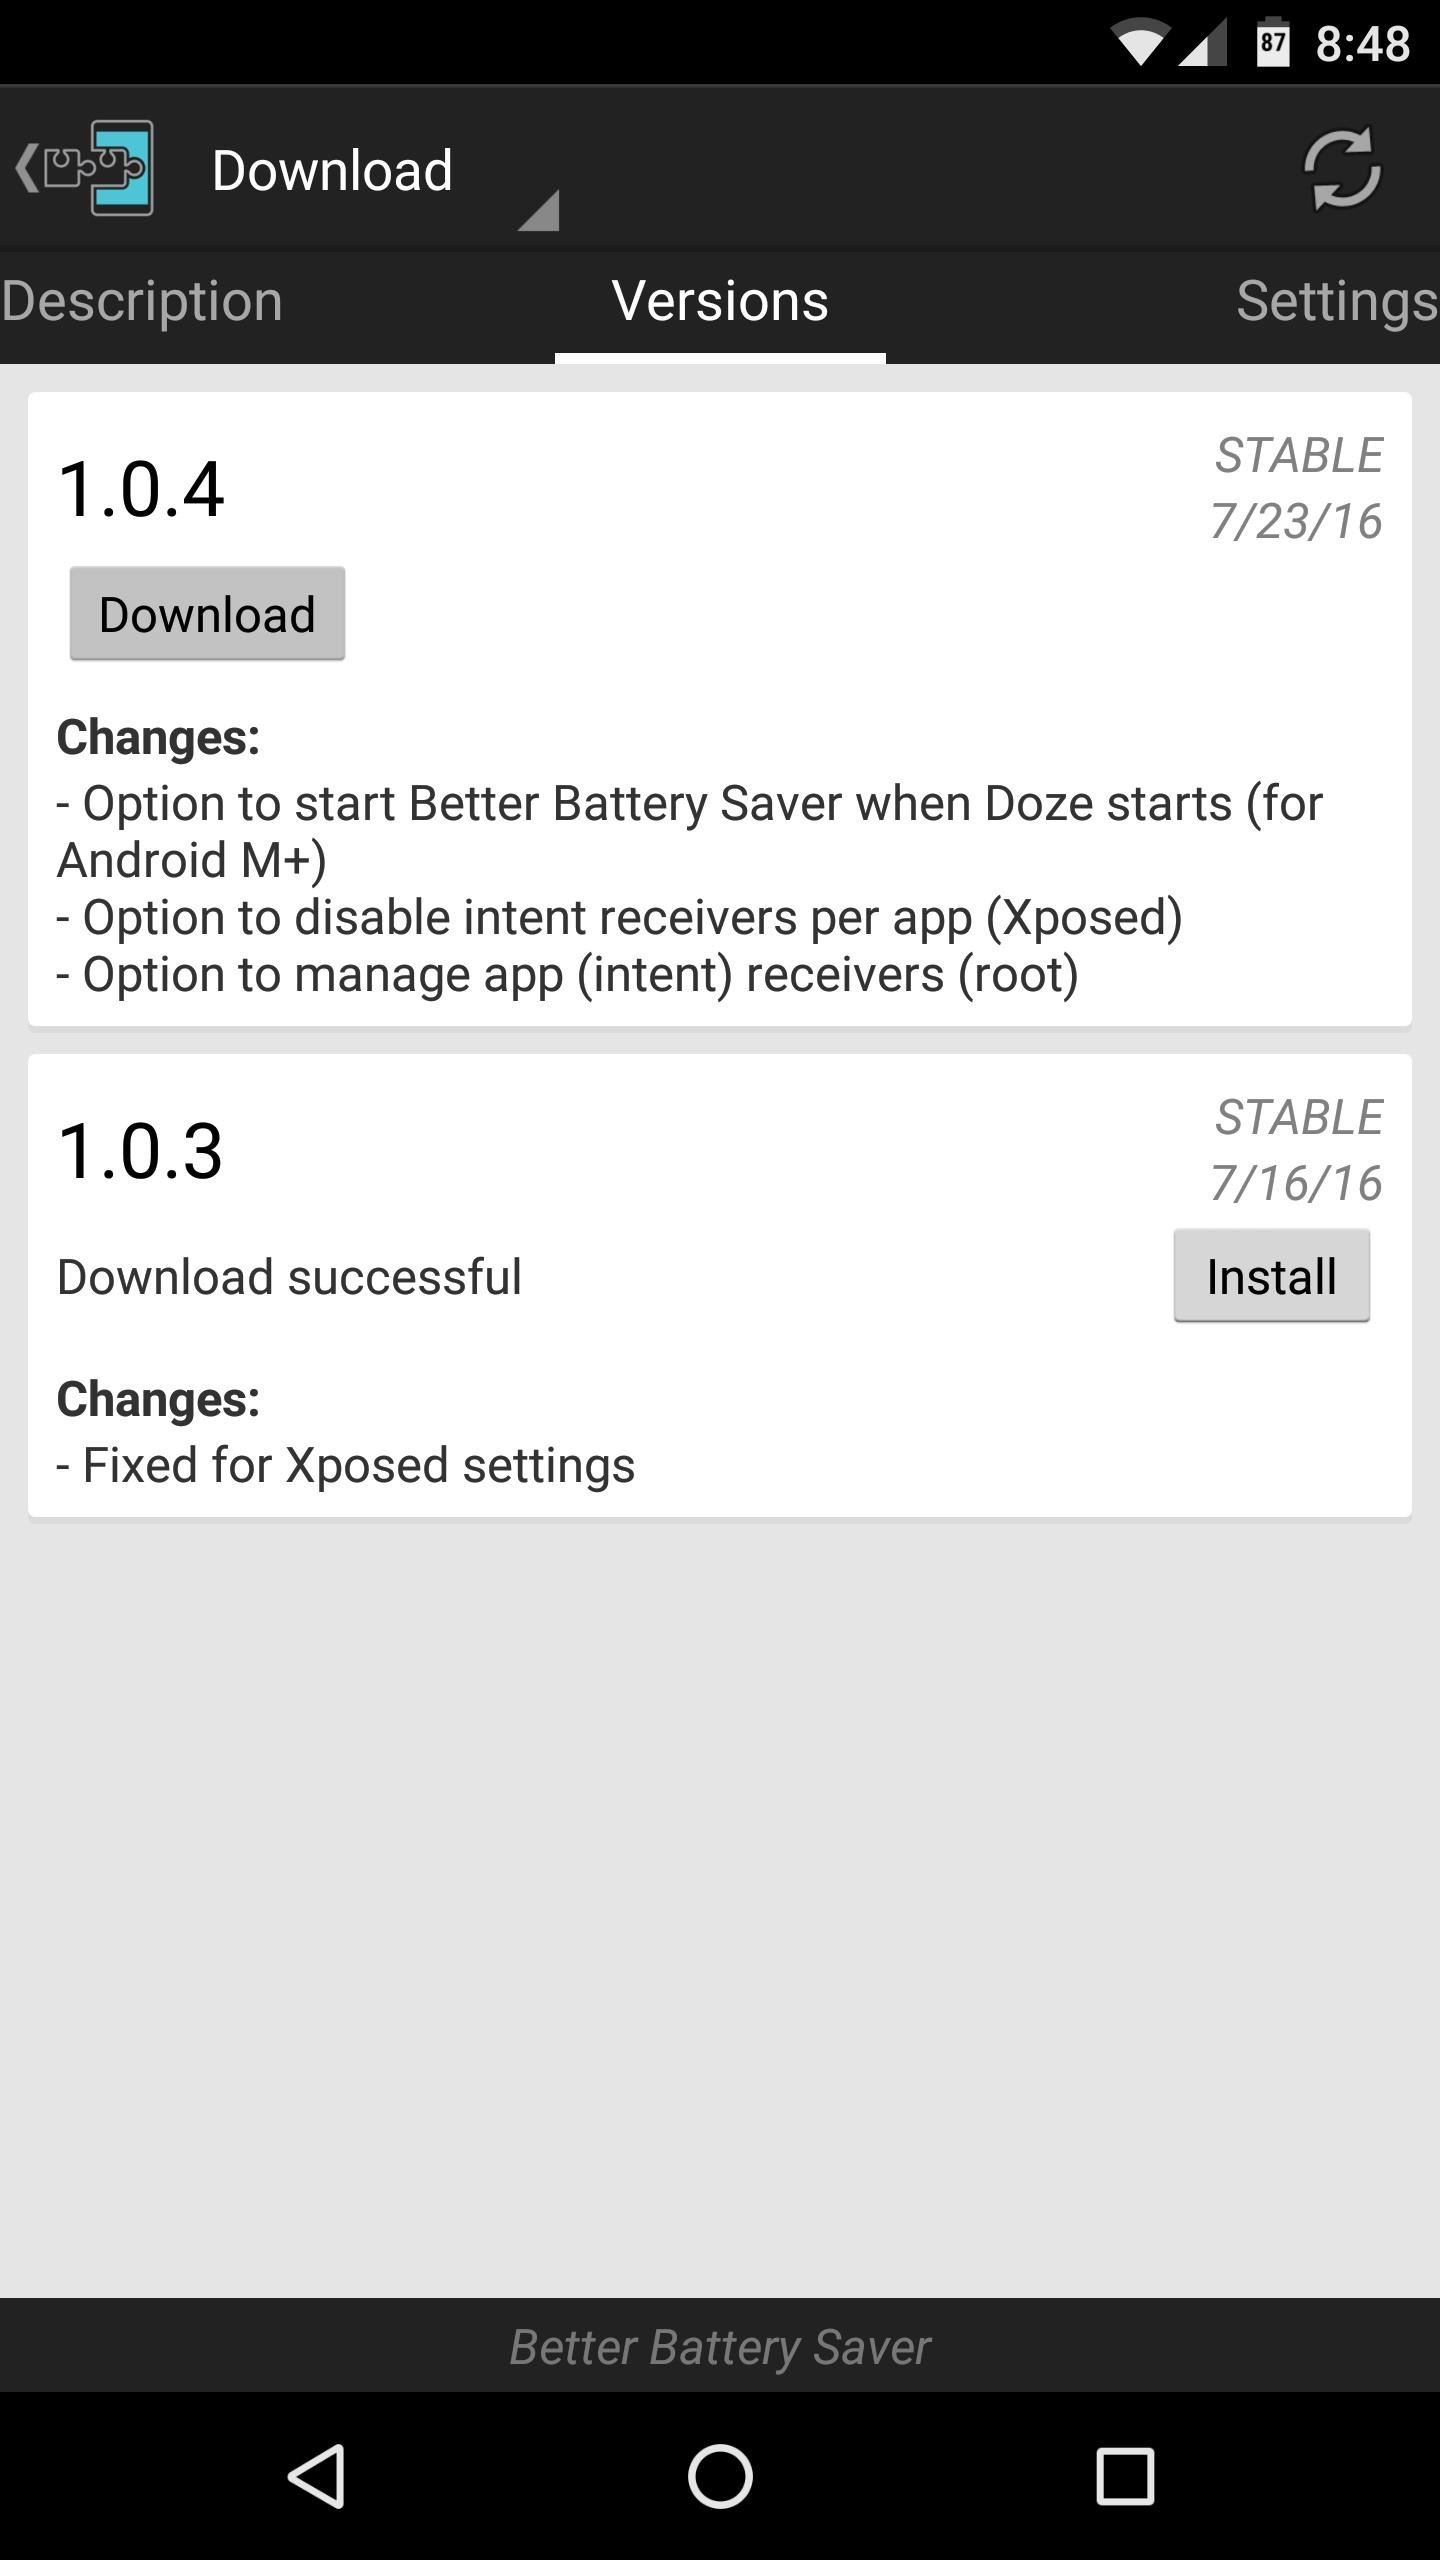
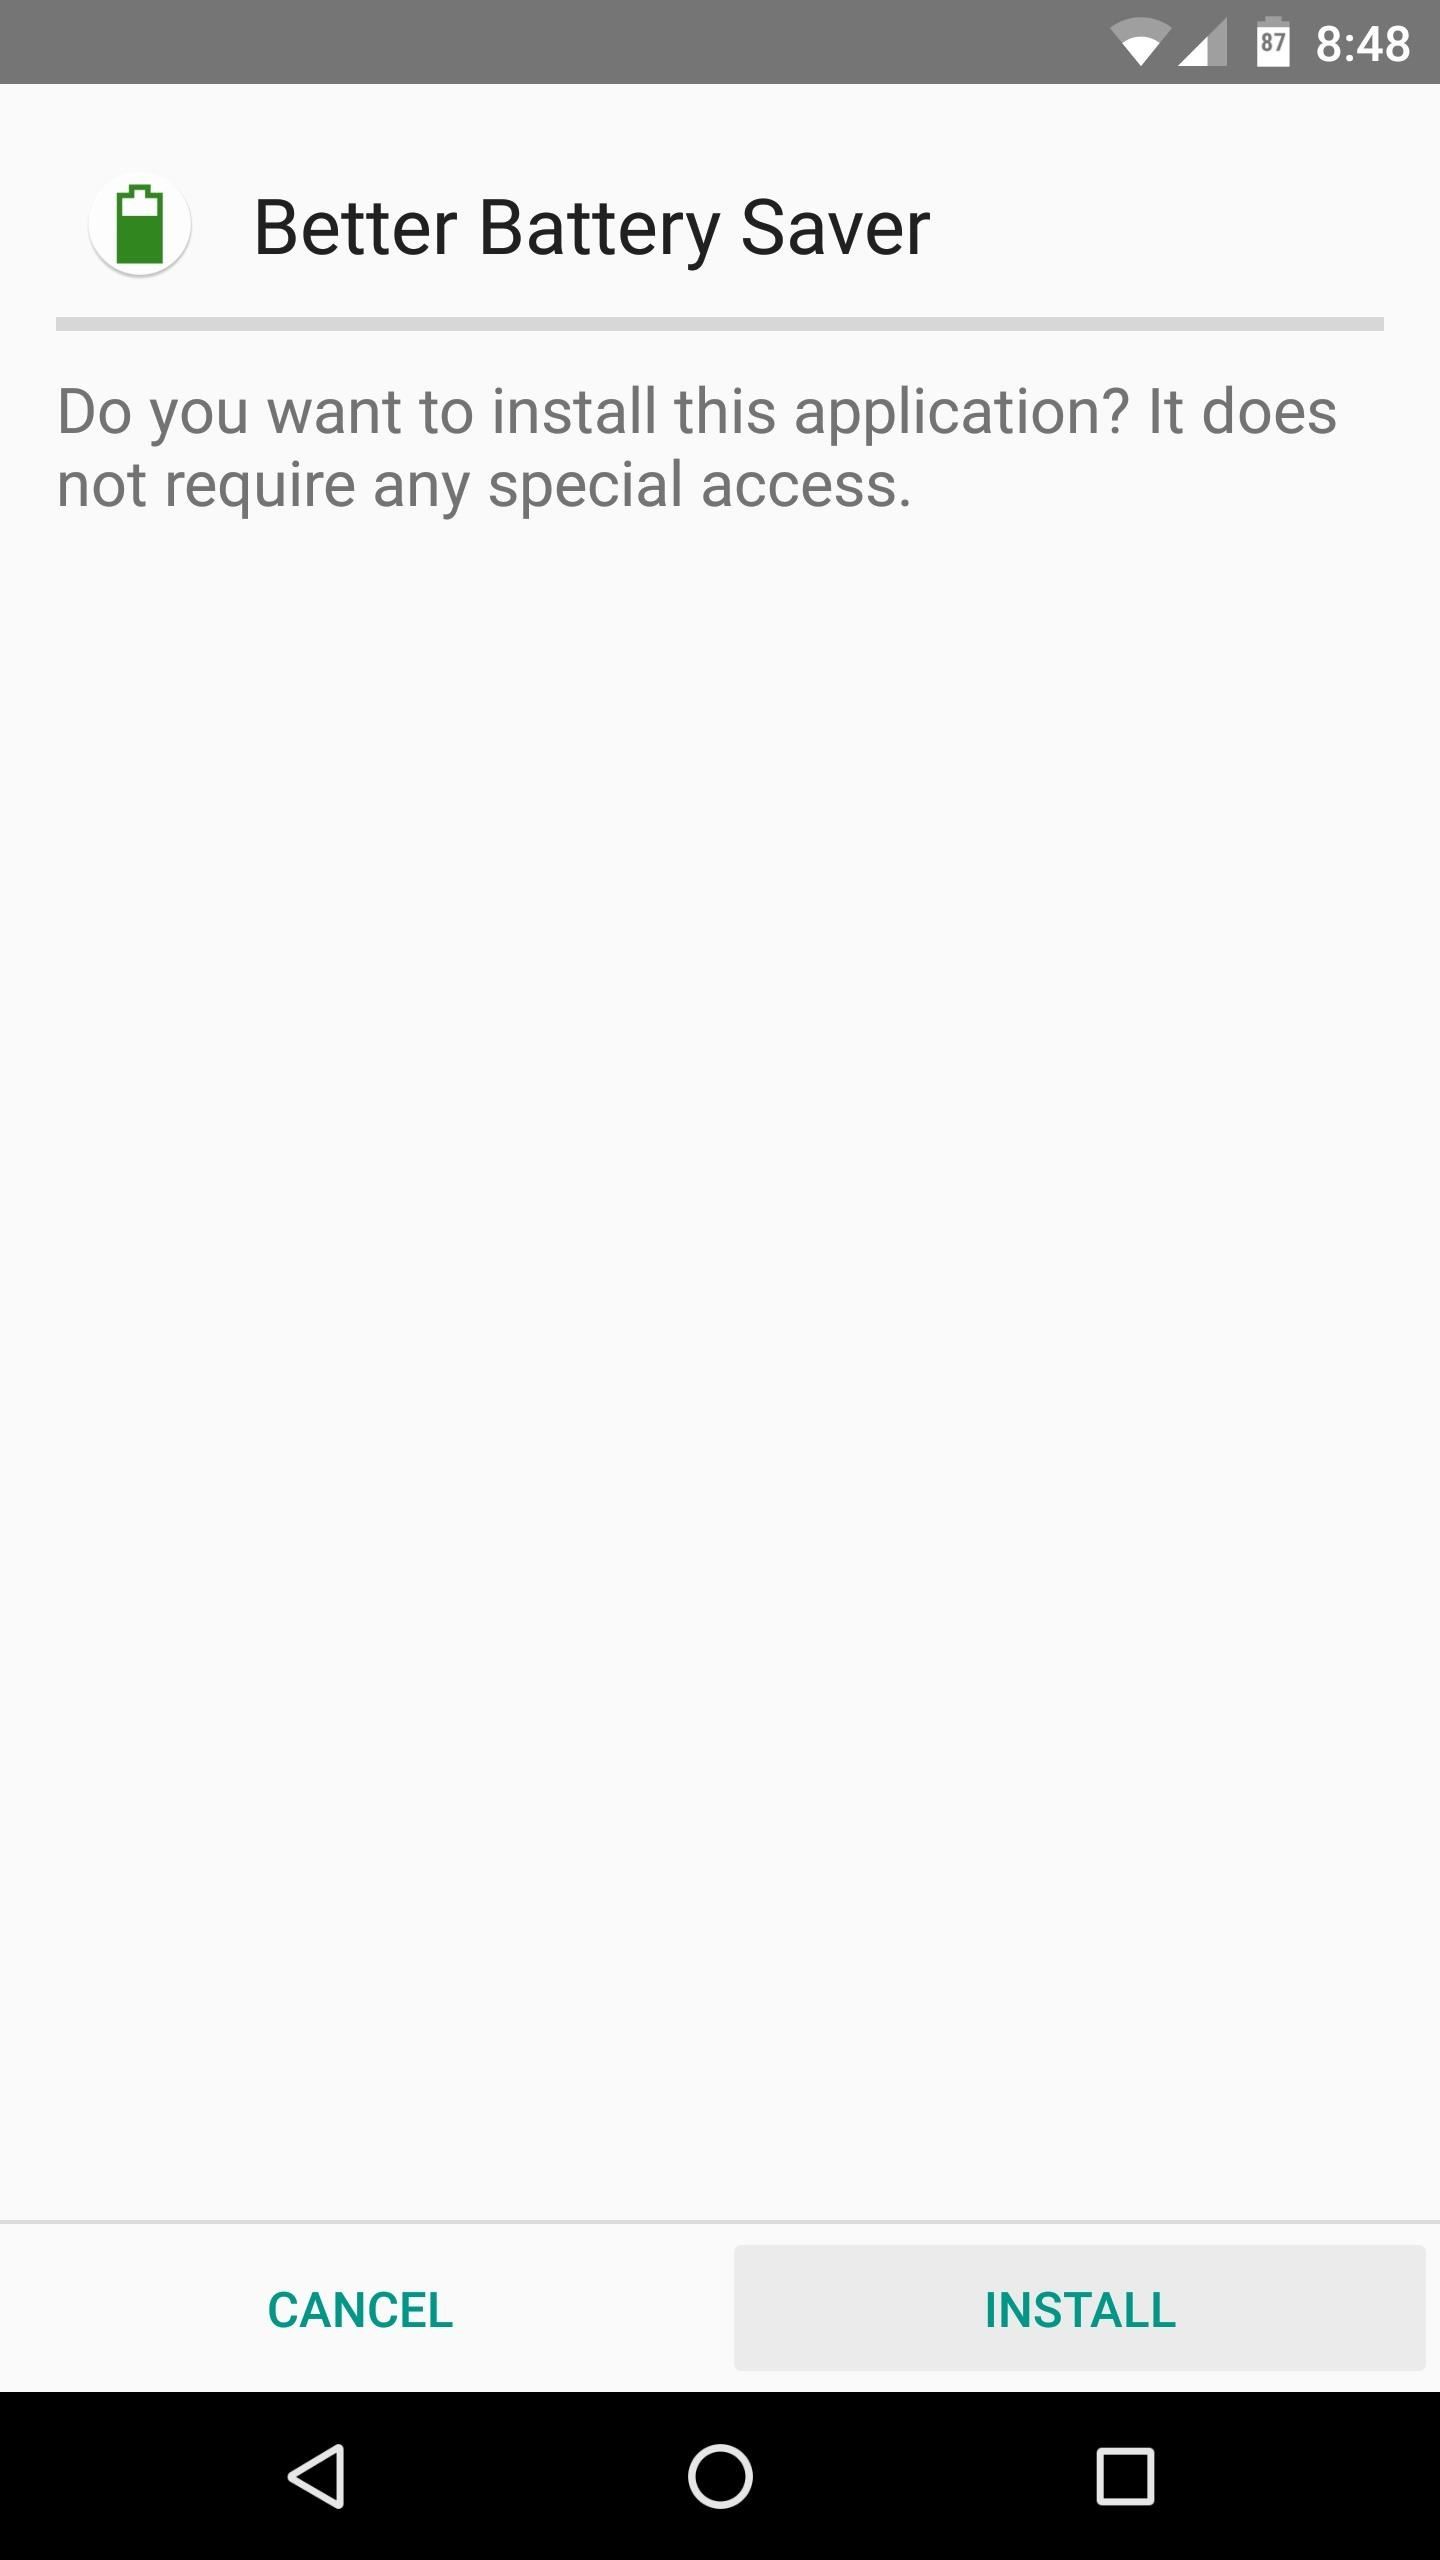
To get this one going, start by heading to the Download section in your Xposed Installer app, then search for Better Battery Saver, and tap the top result. From here, swipe over to the Versions tab, then hit the "Download" button next to the most recent entry, and press "Install" when prompted.
Once that's finished, be sure to activate the module and reboot so that your changes will take effect.
Step 2: Grant Root Access & Review Battery-Saving Options
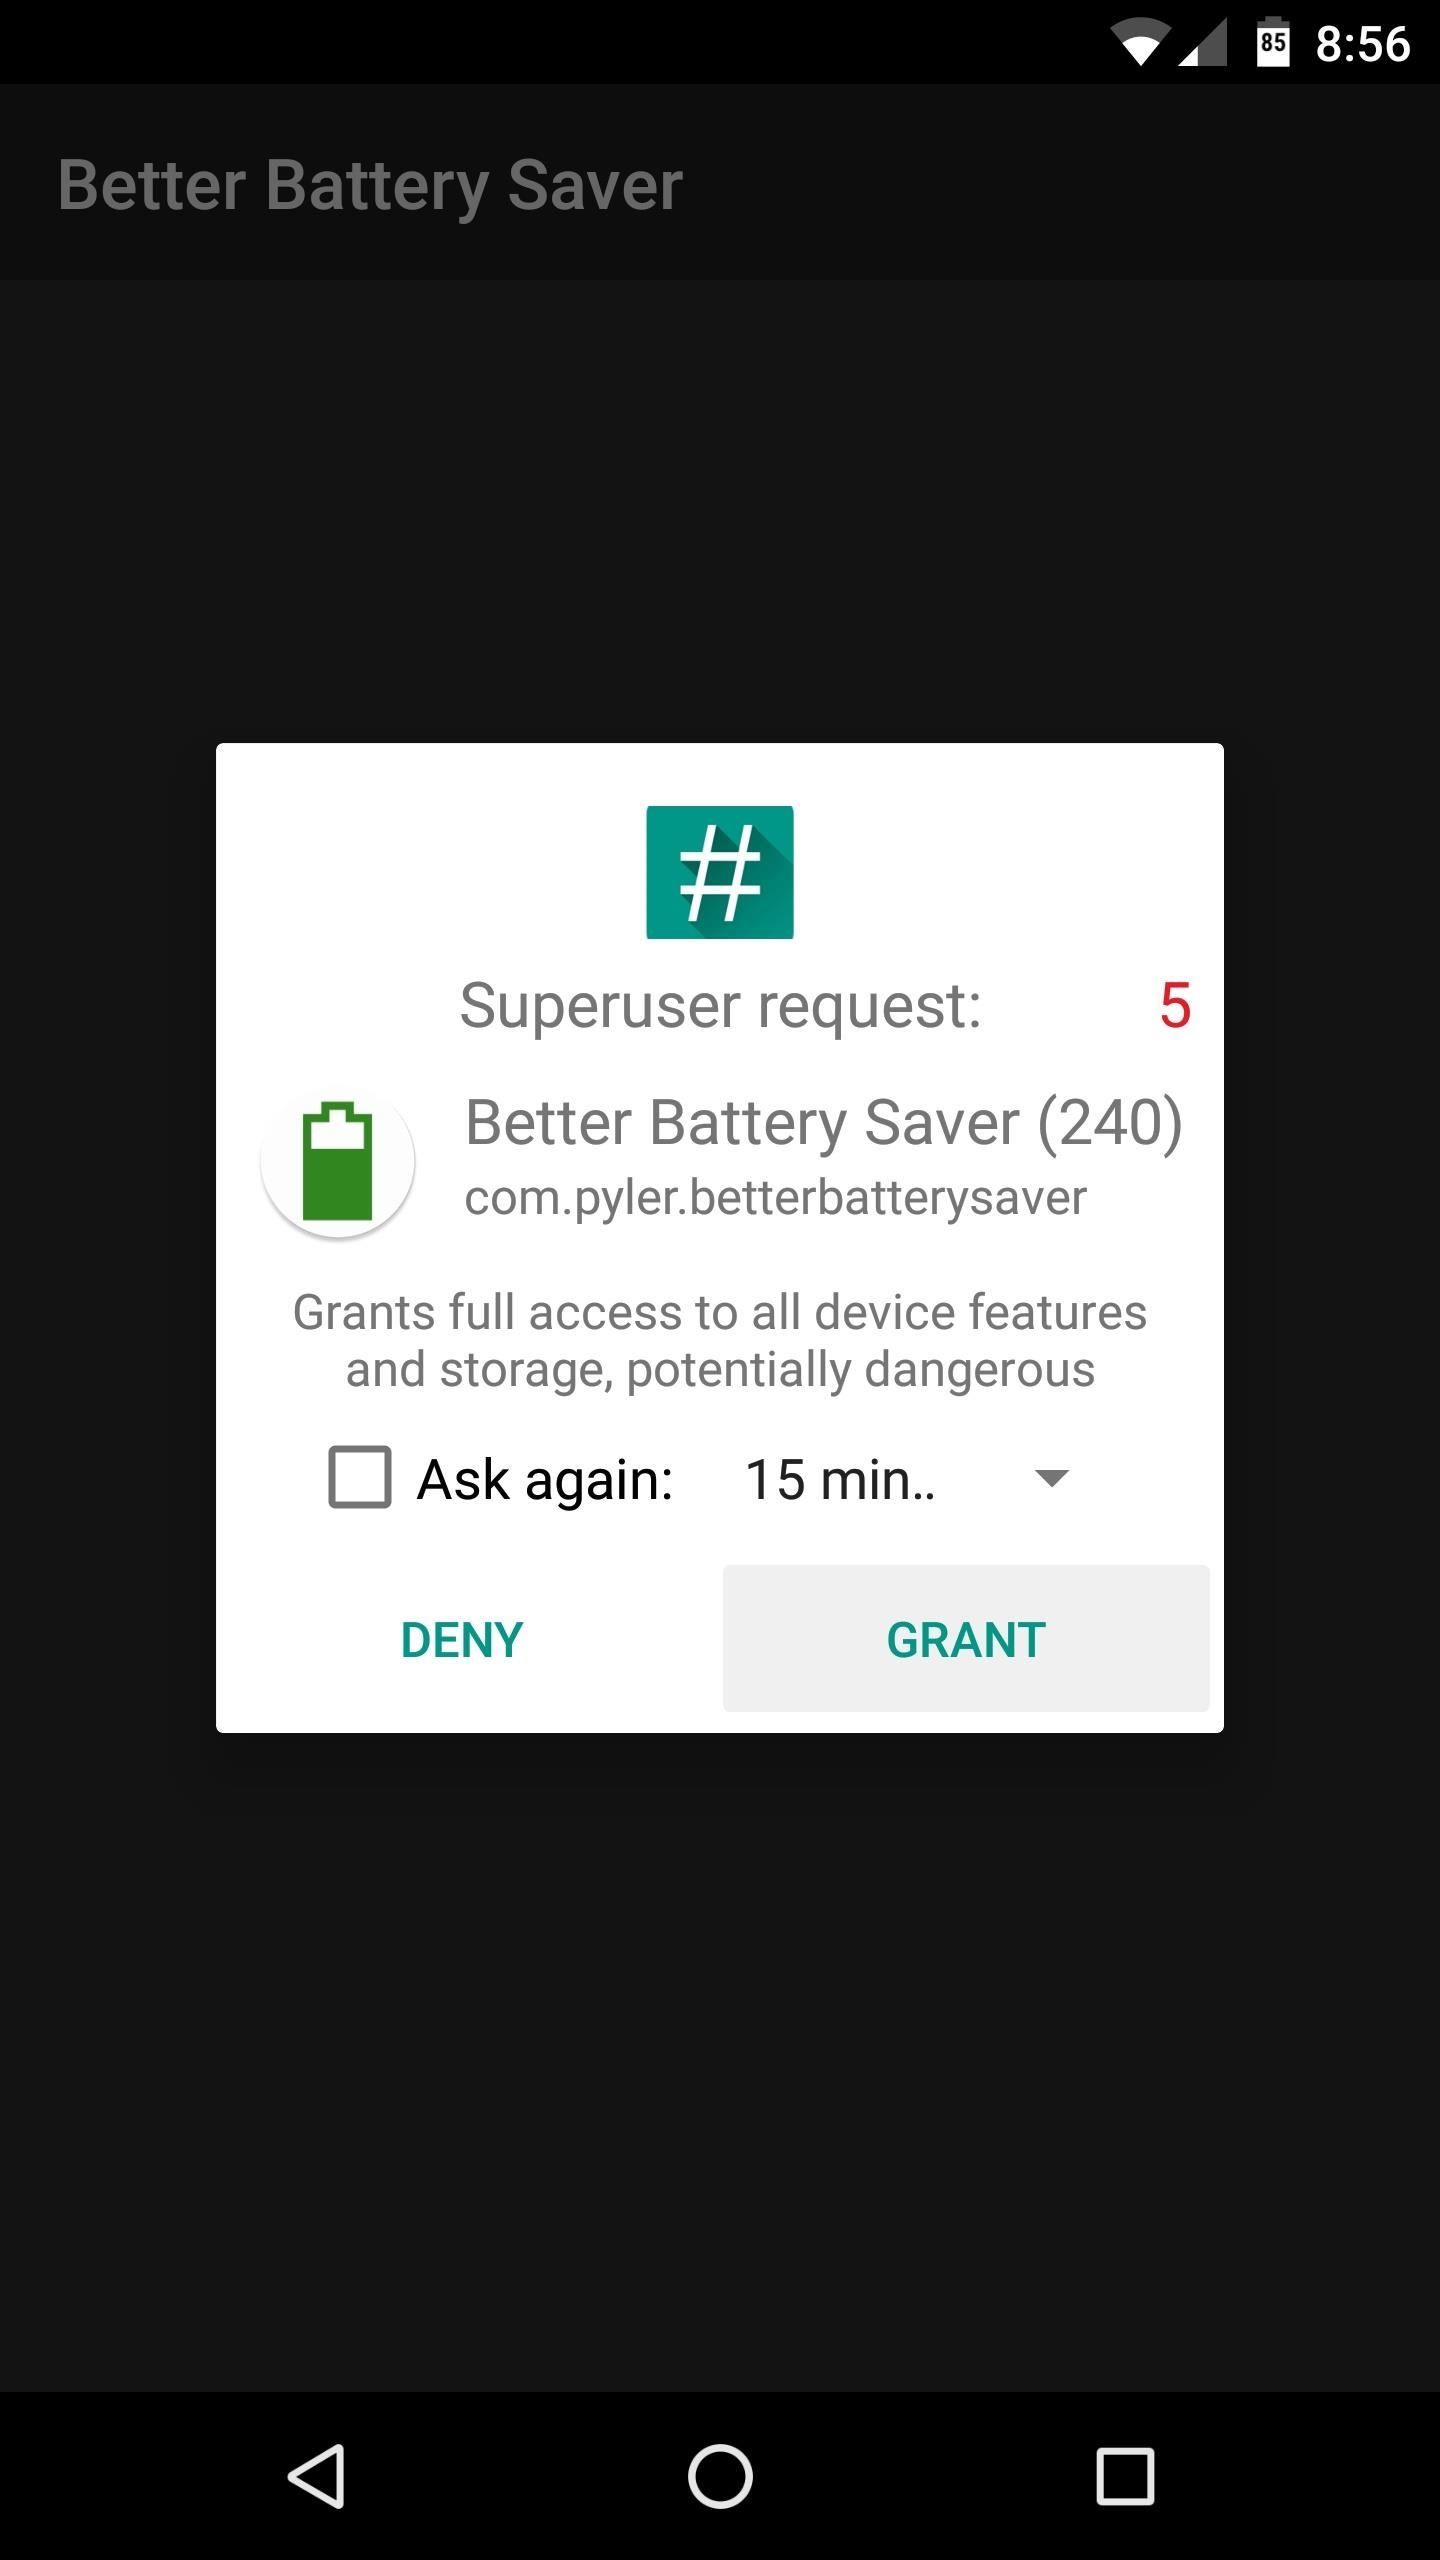
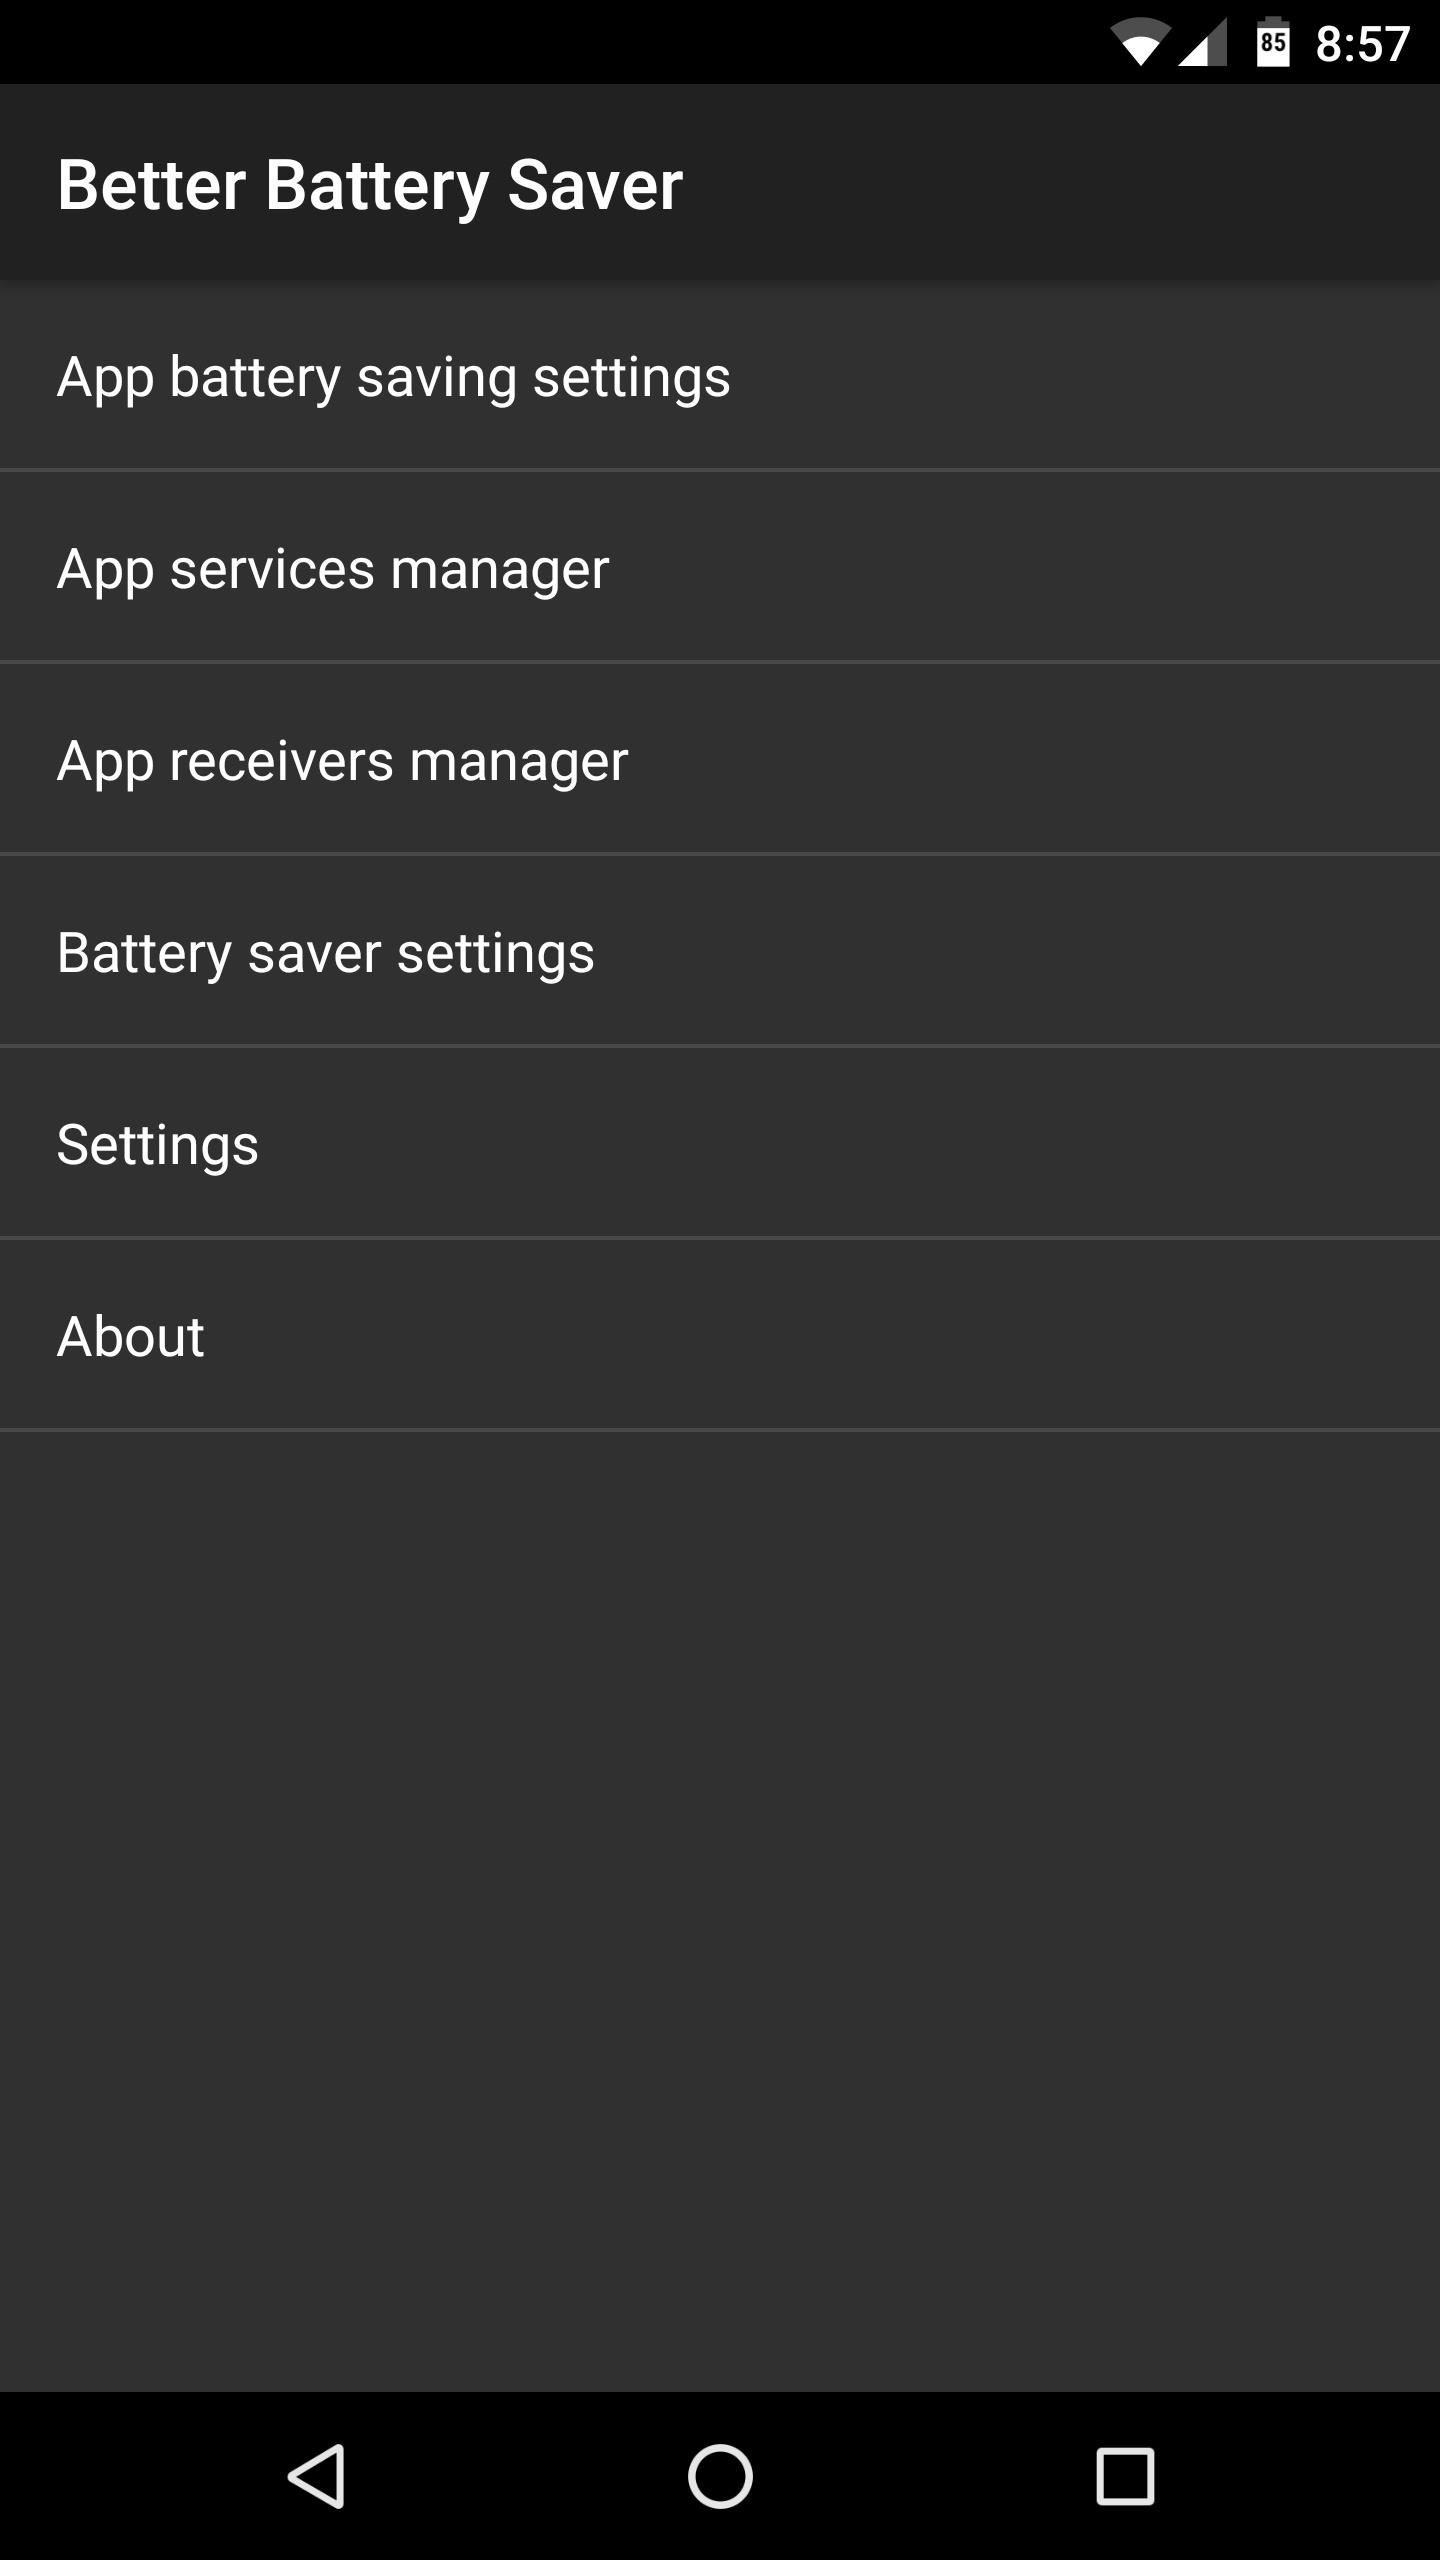
When you get back up, go ahead and launch Better Battery Saver. The app will ask for Superuser access at this point, so tap "Grant" on the popup. From here, familiarize yourself with the entries on the main menu, as there are lots of settings to tweak, and I'll be covering each section individually.
Step 3: Adjust Per-App Battery Saving Settings
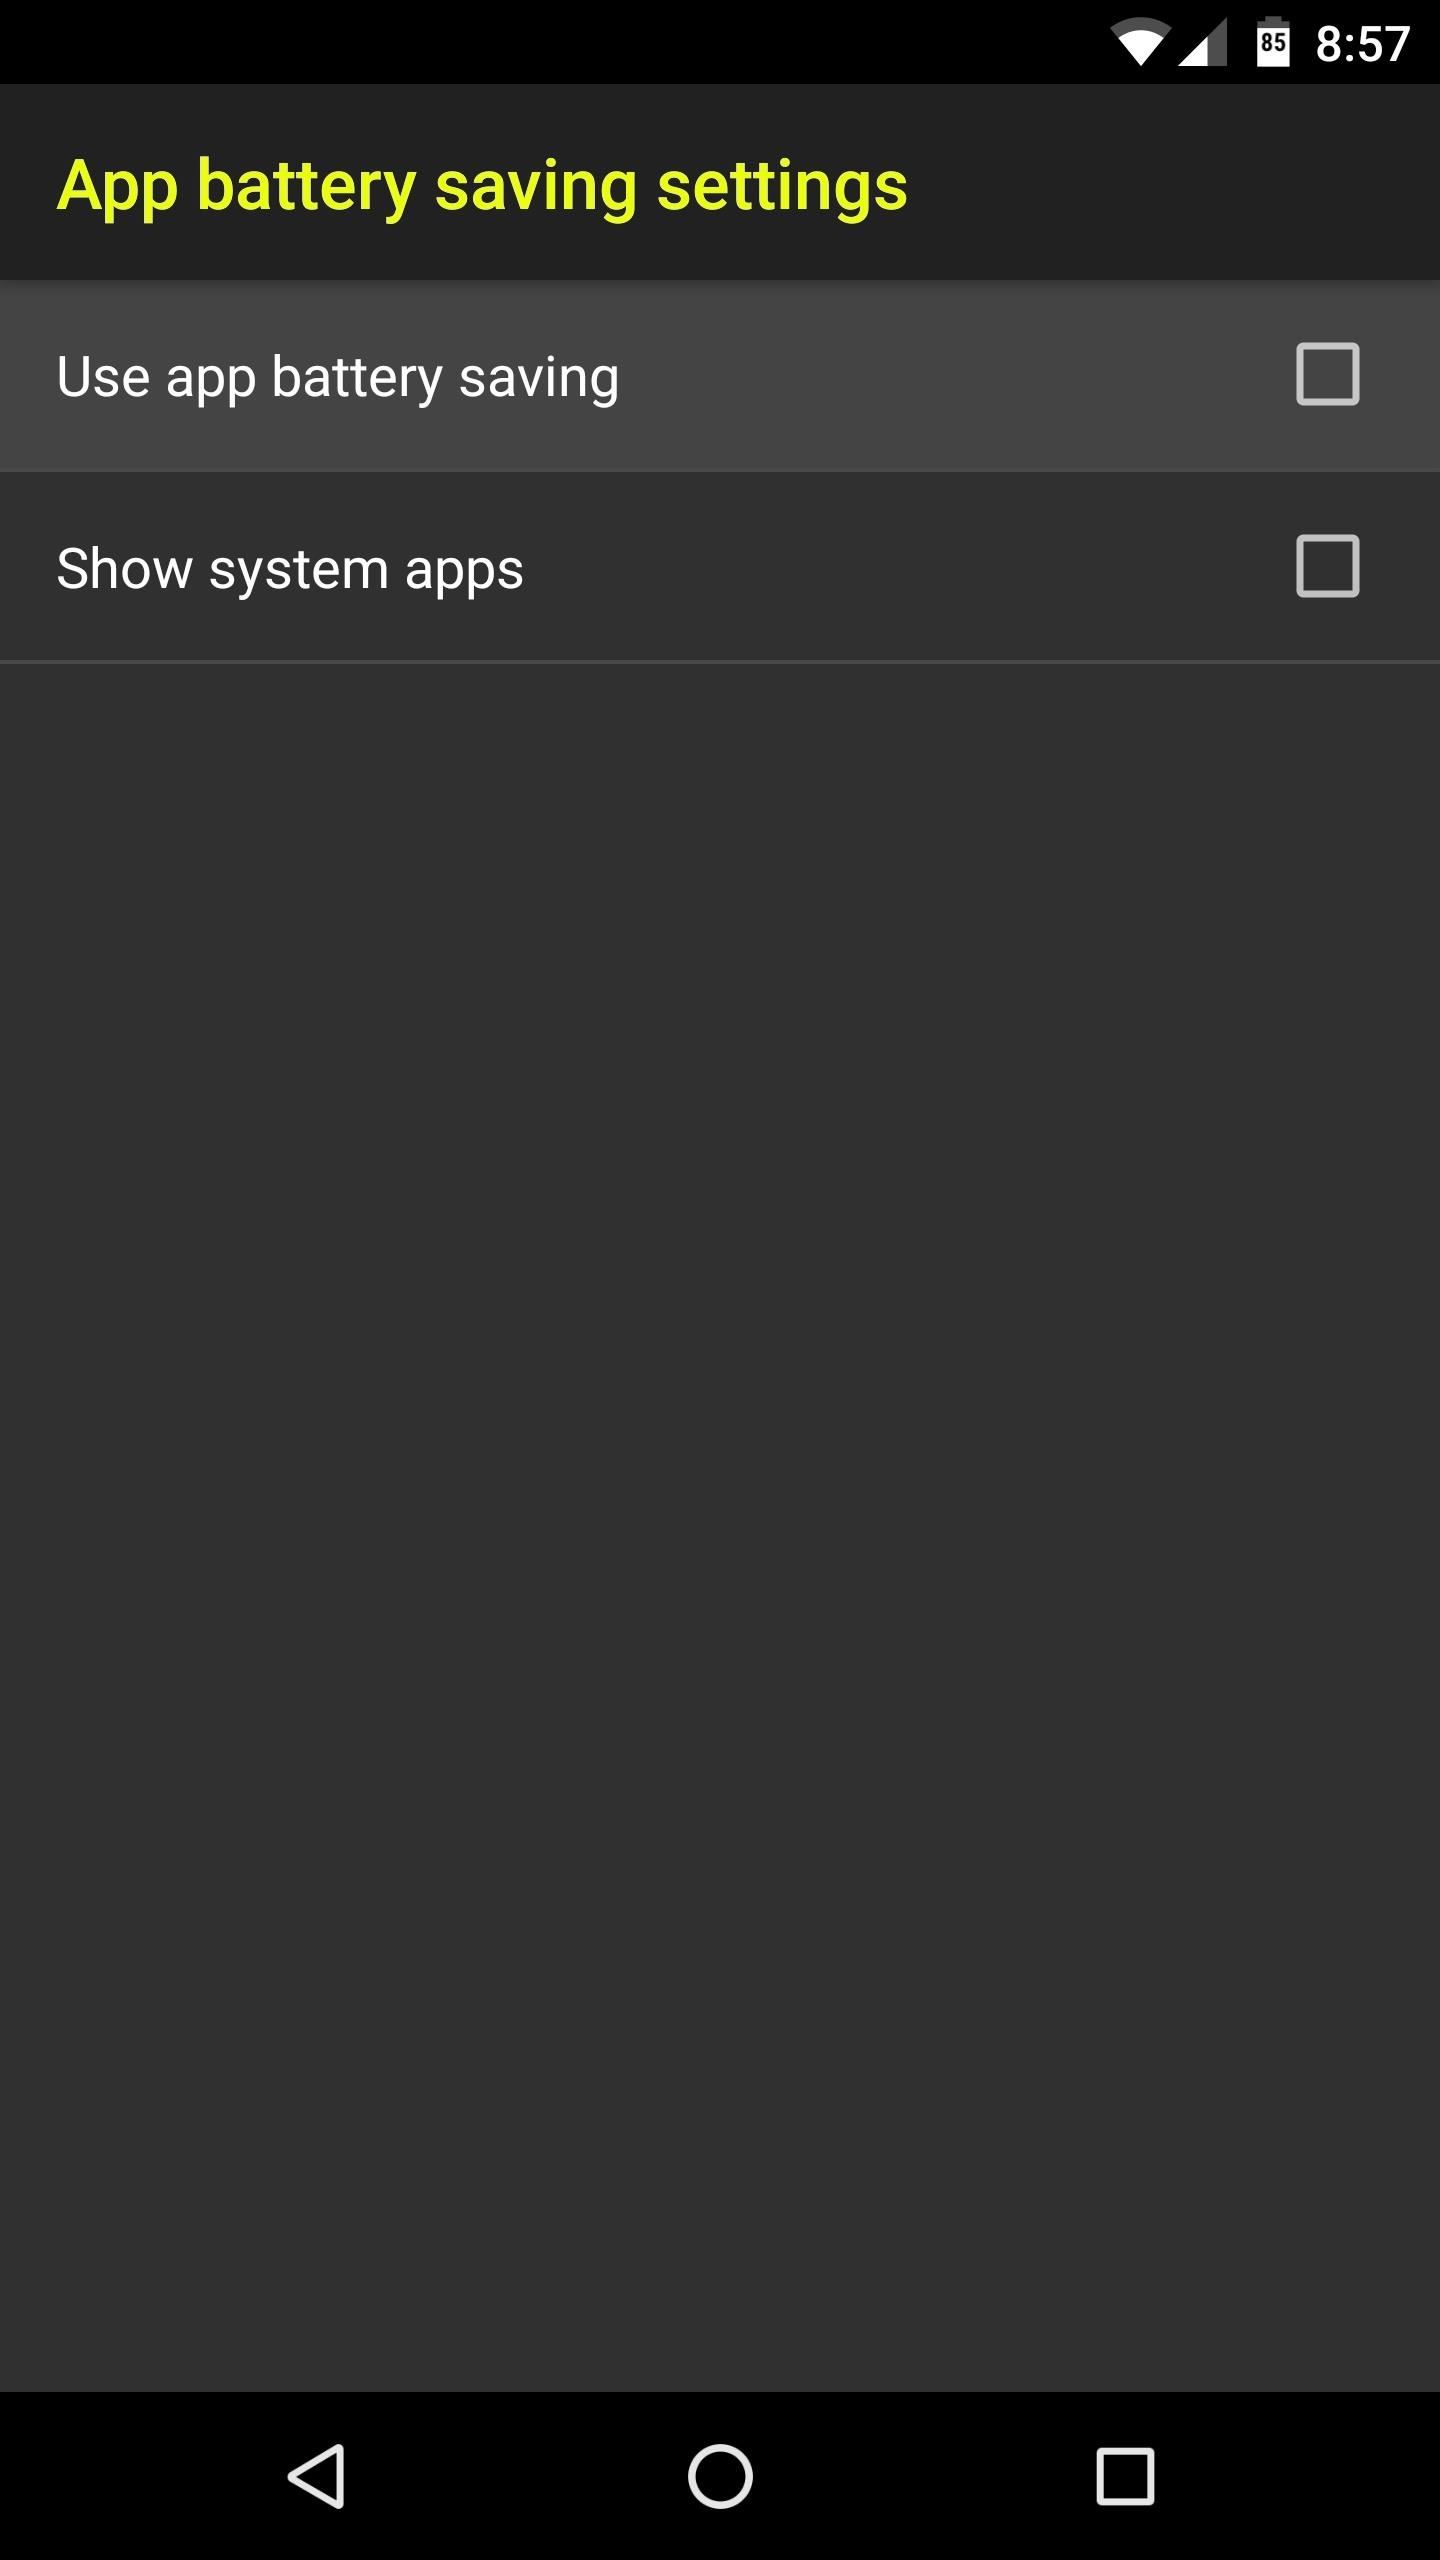
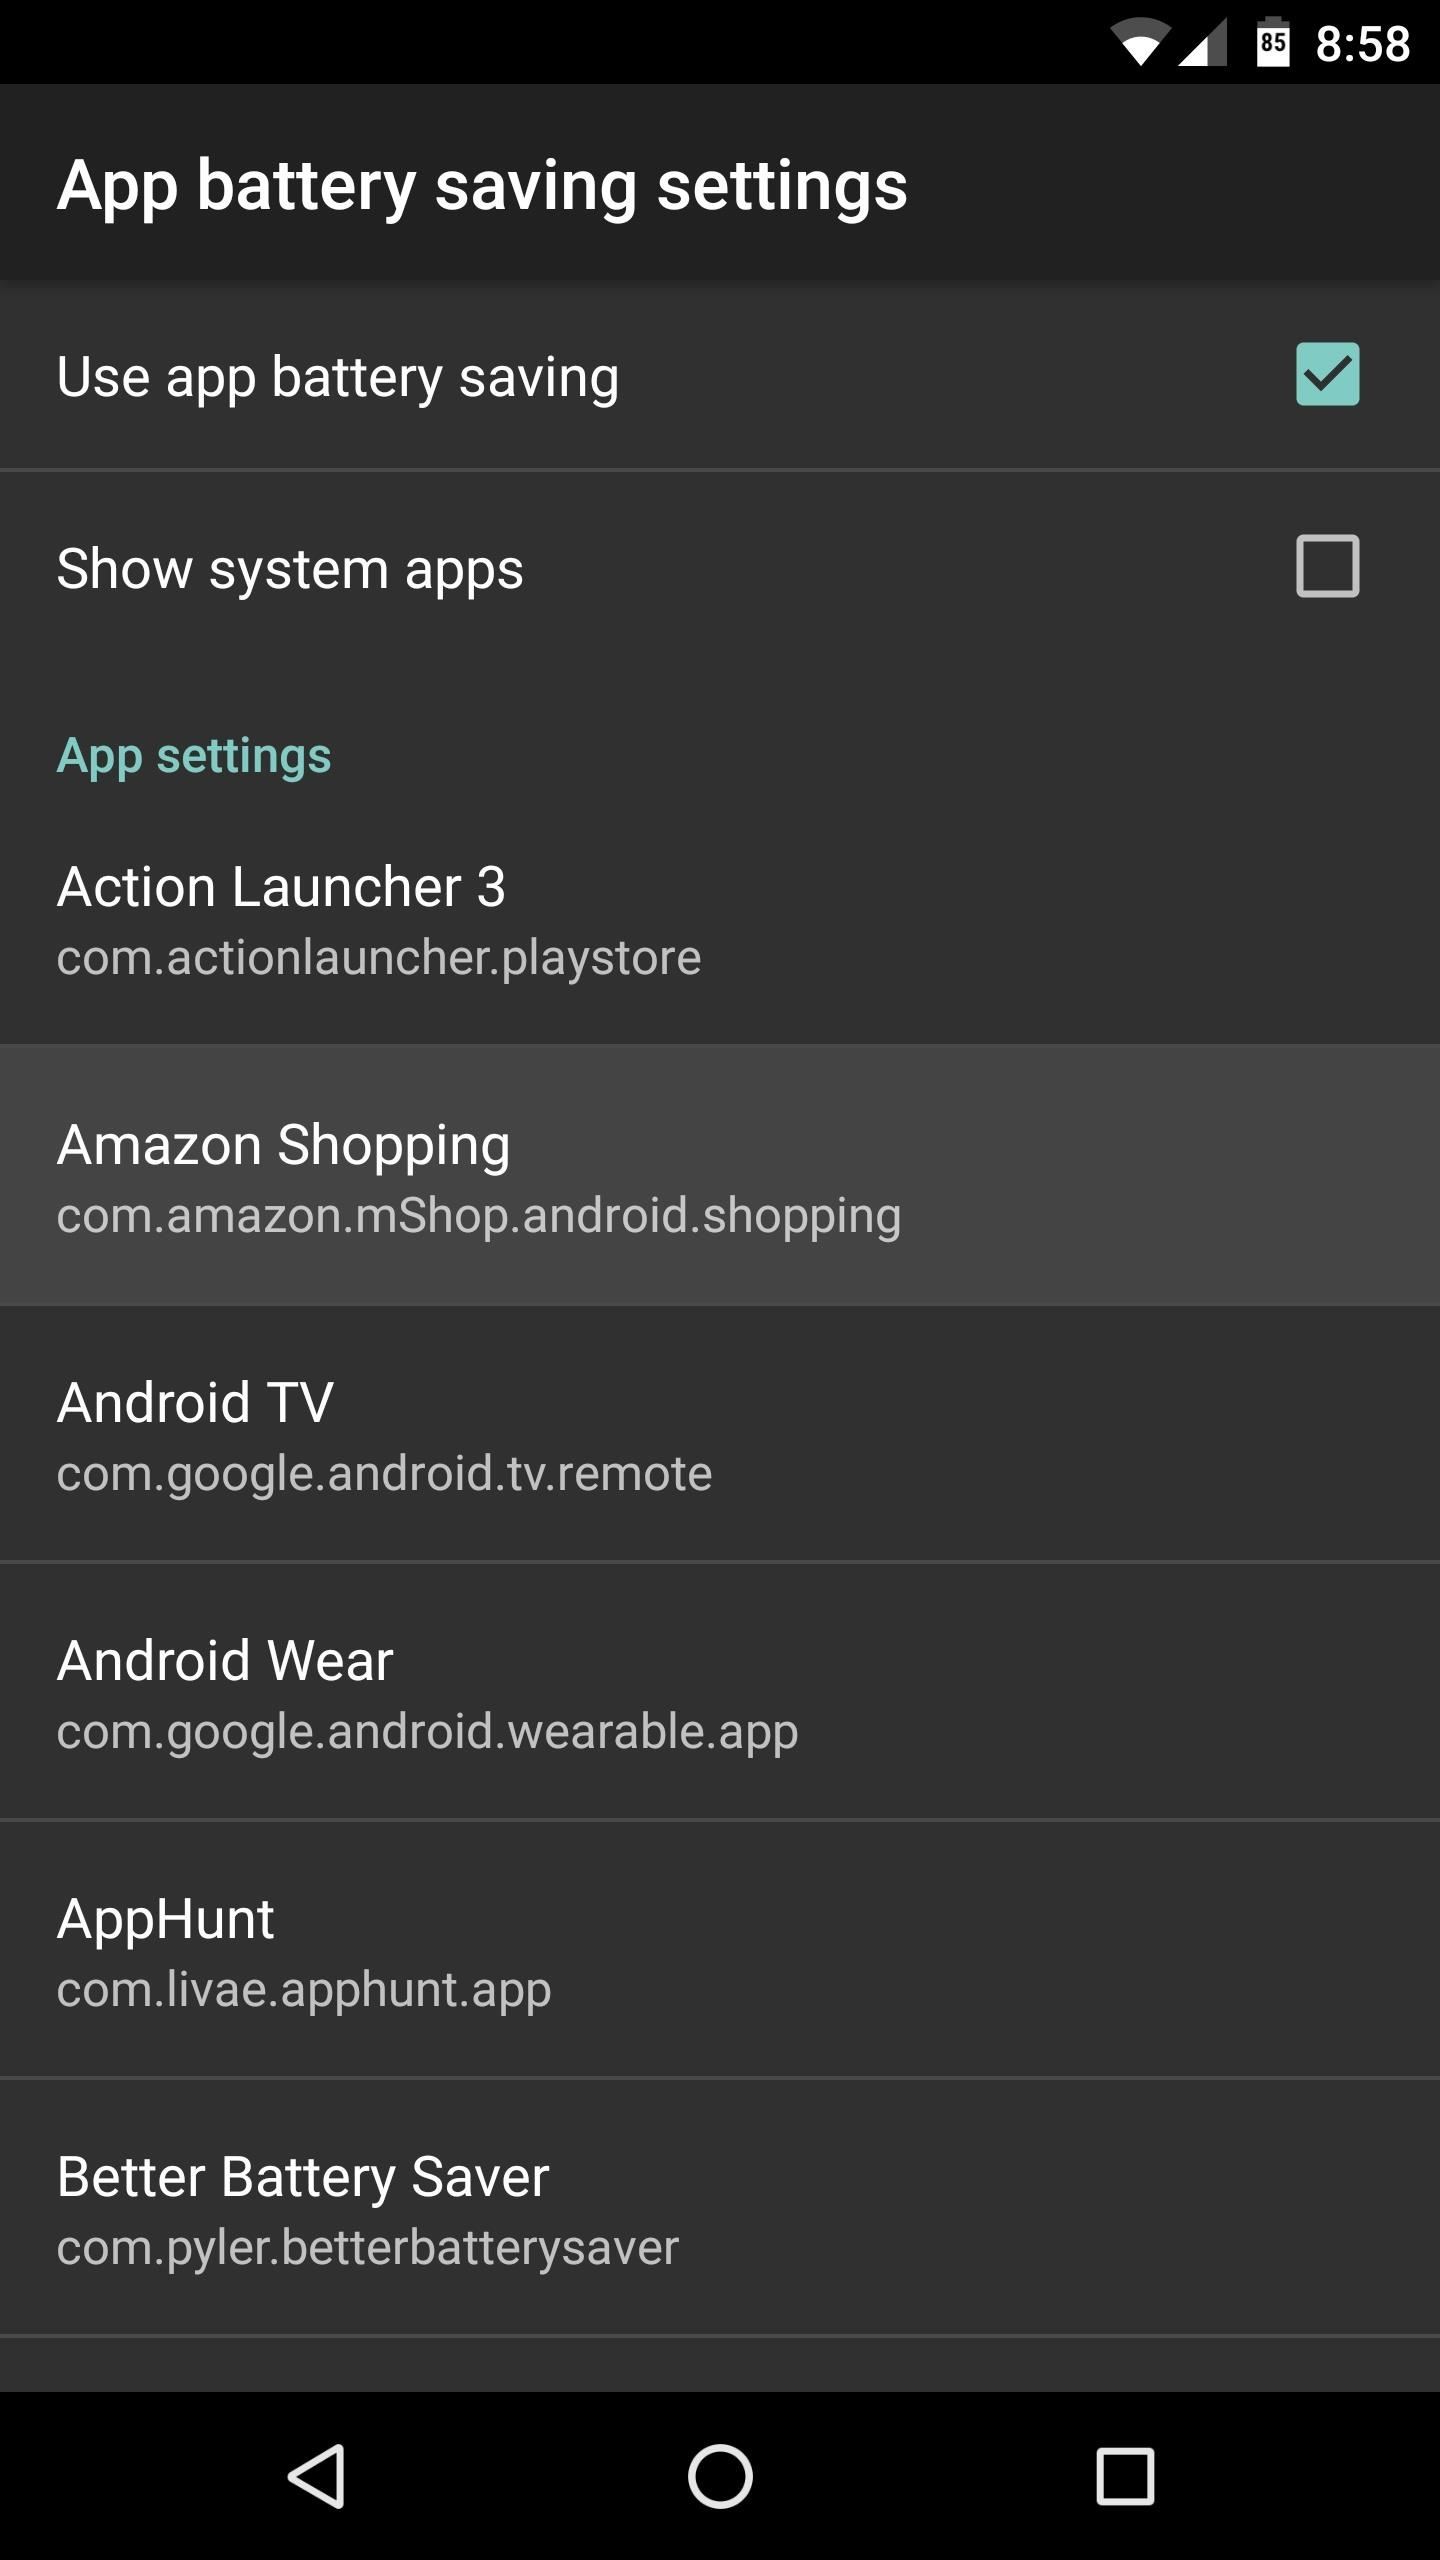
If you'd like to enable a battery-saving mode on a per-app basis, head to App battery saving settings. From here, tick the box next to "Use app battery saving," then you'll see a list of all your installed apps. You can also enable the "Show system apps" option, but I wouldn't recommend this, because the tweaks you'll be making could break some core functionality. Either way you go, start by selecting any app in the list.
Next up, enable the "Battery saving" option at the top of the screen. From here, use the Battery level threshold slider to set a percentage where the battery-saving tweaks will become active.
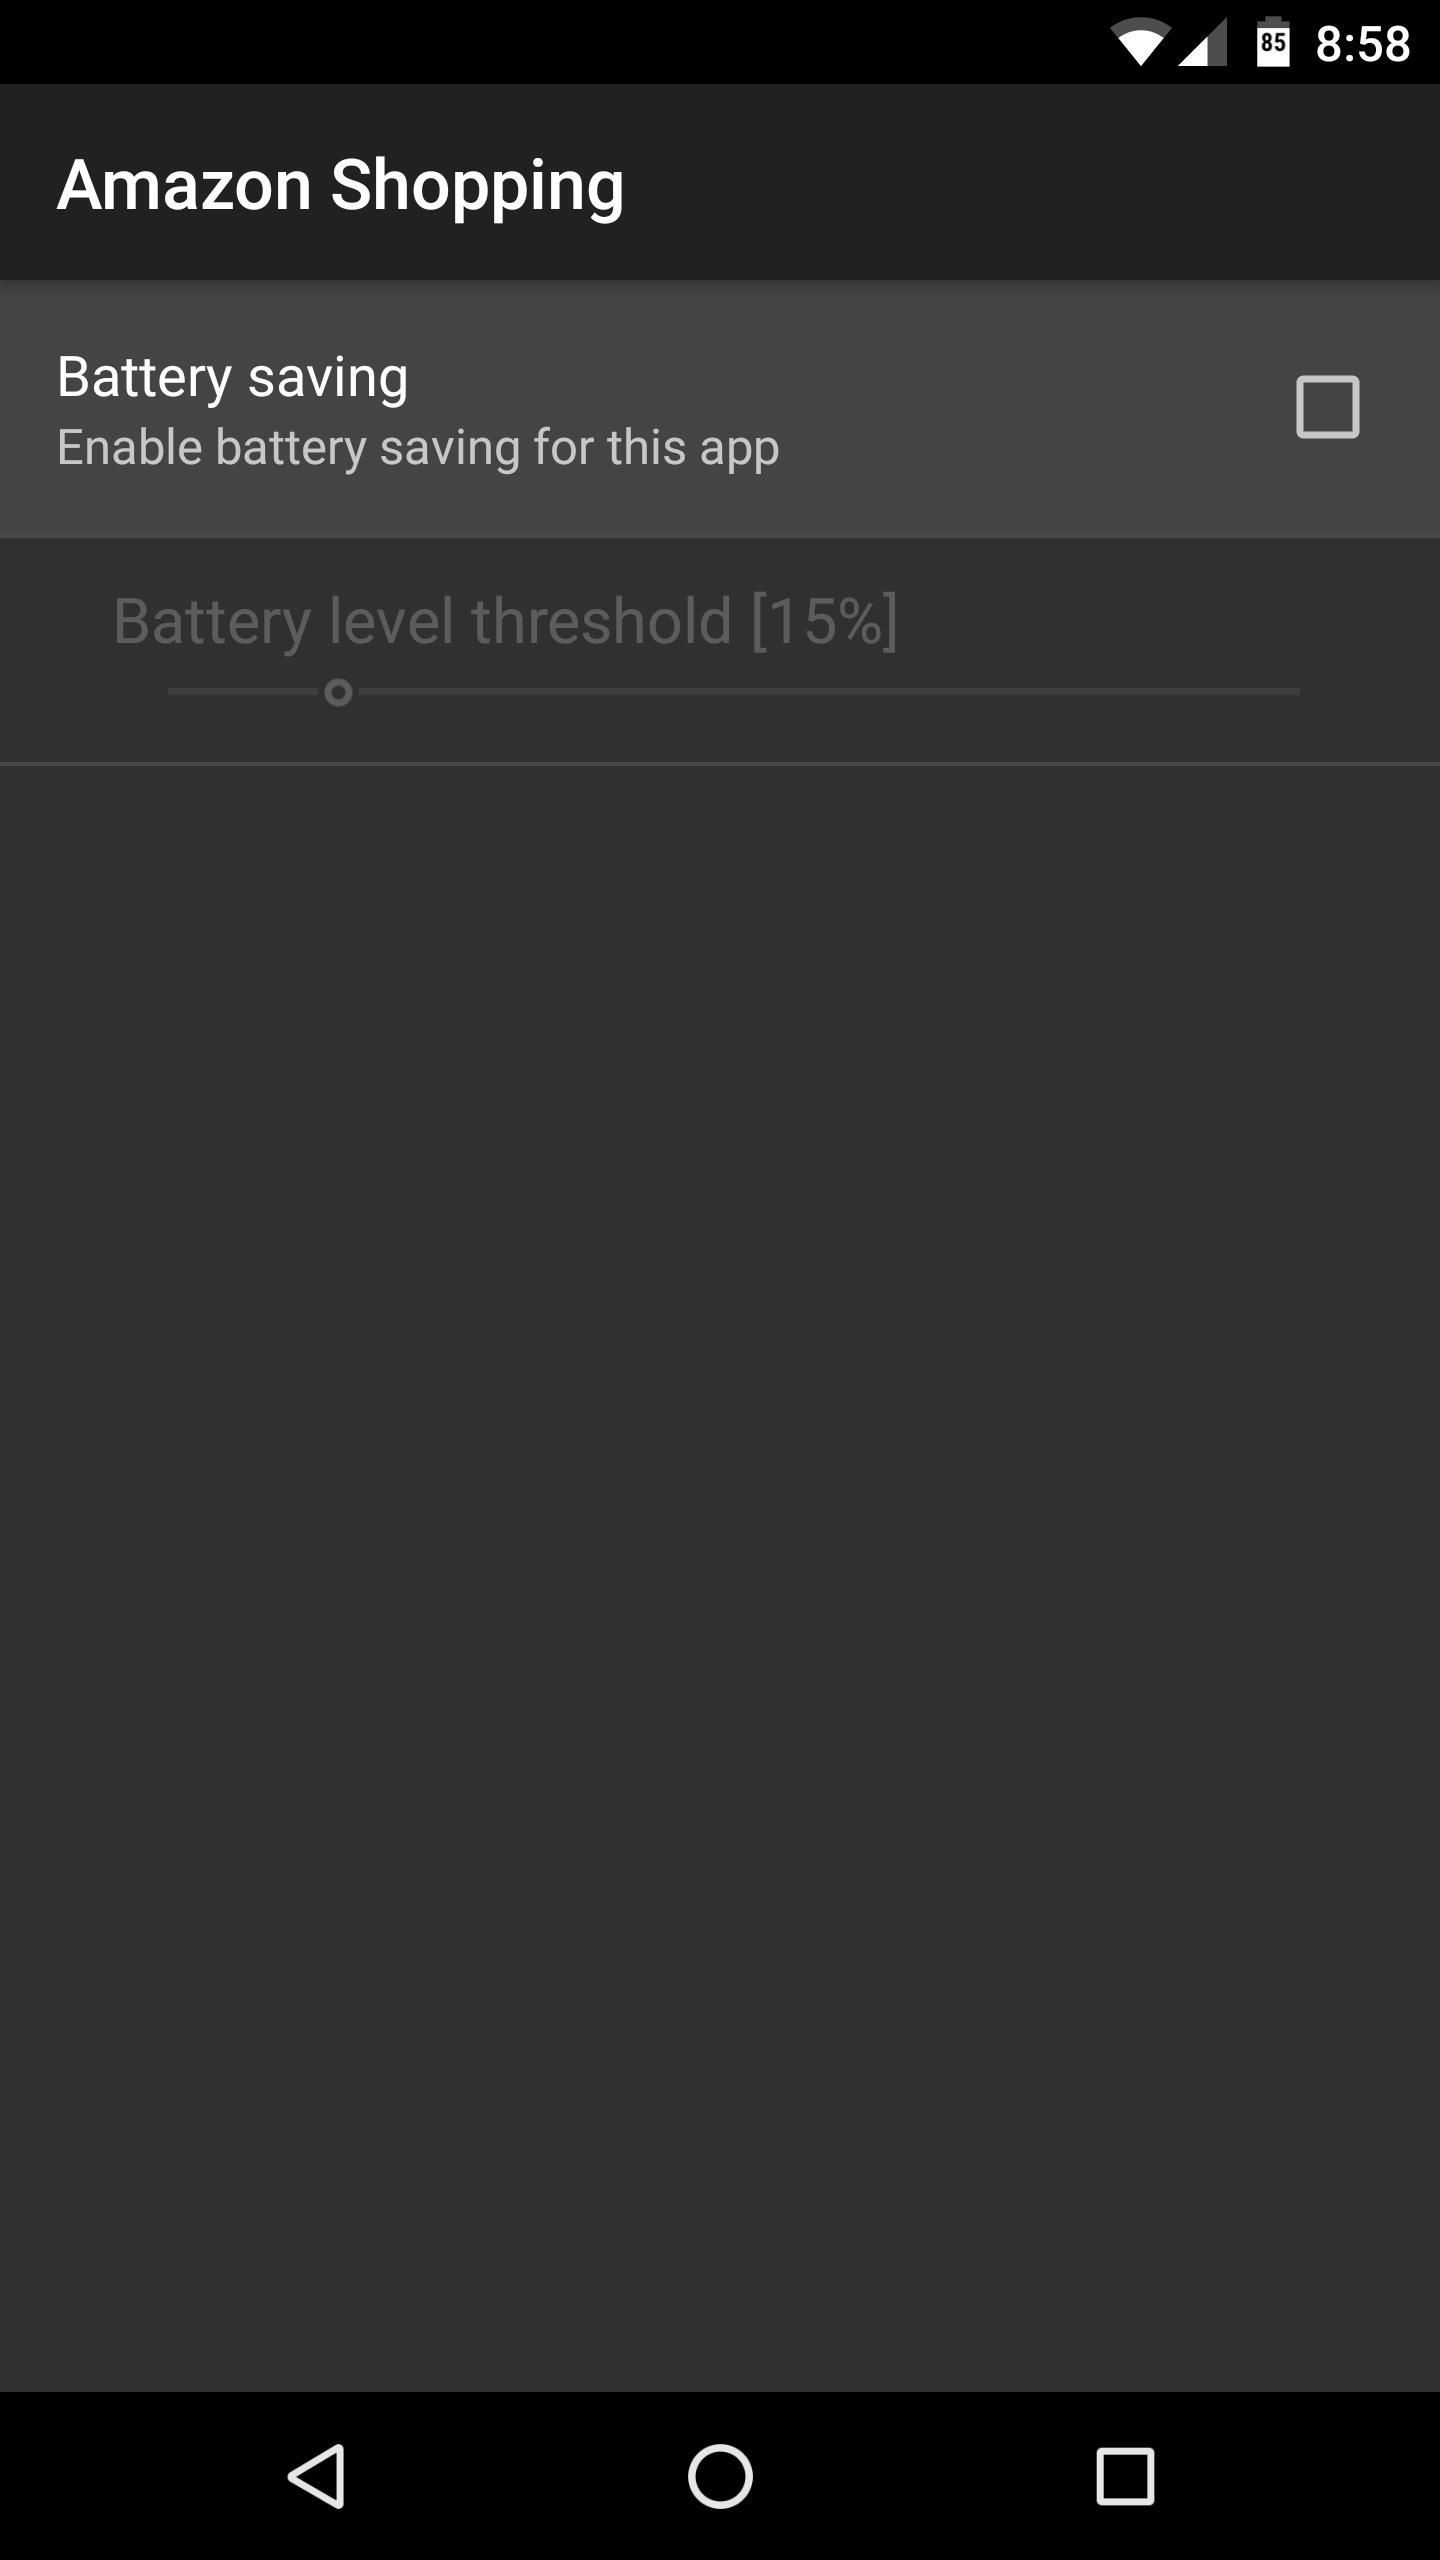

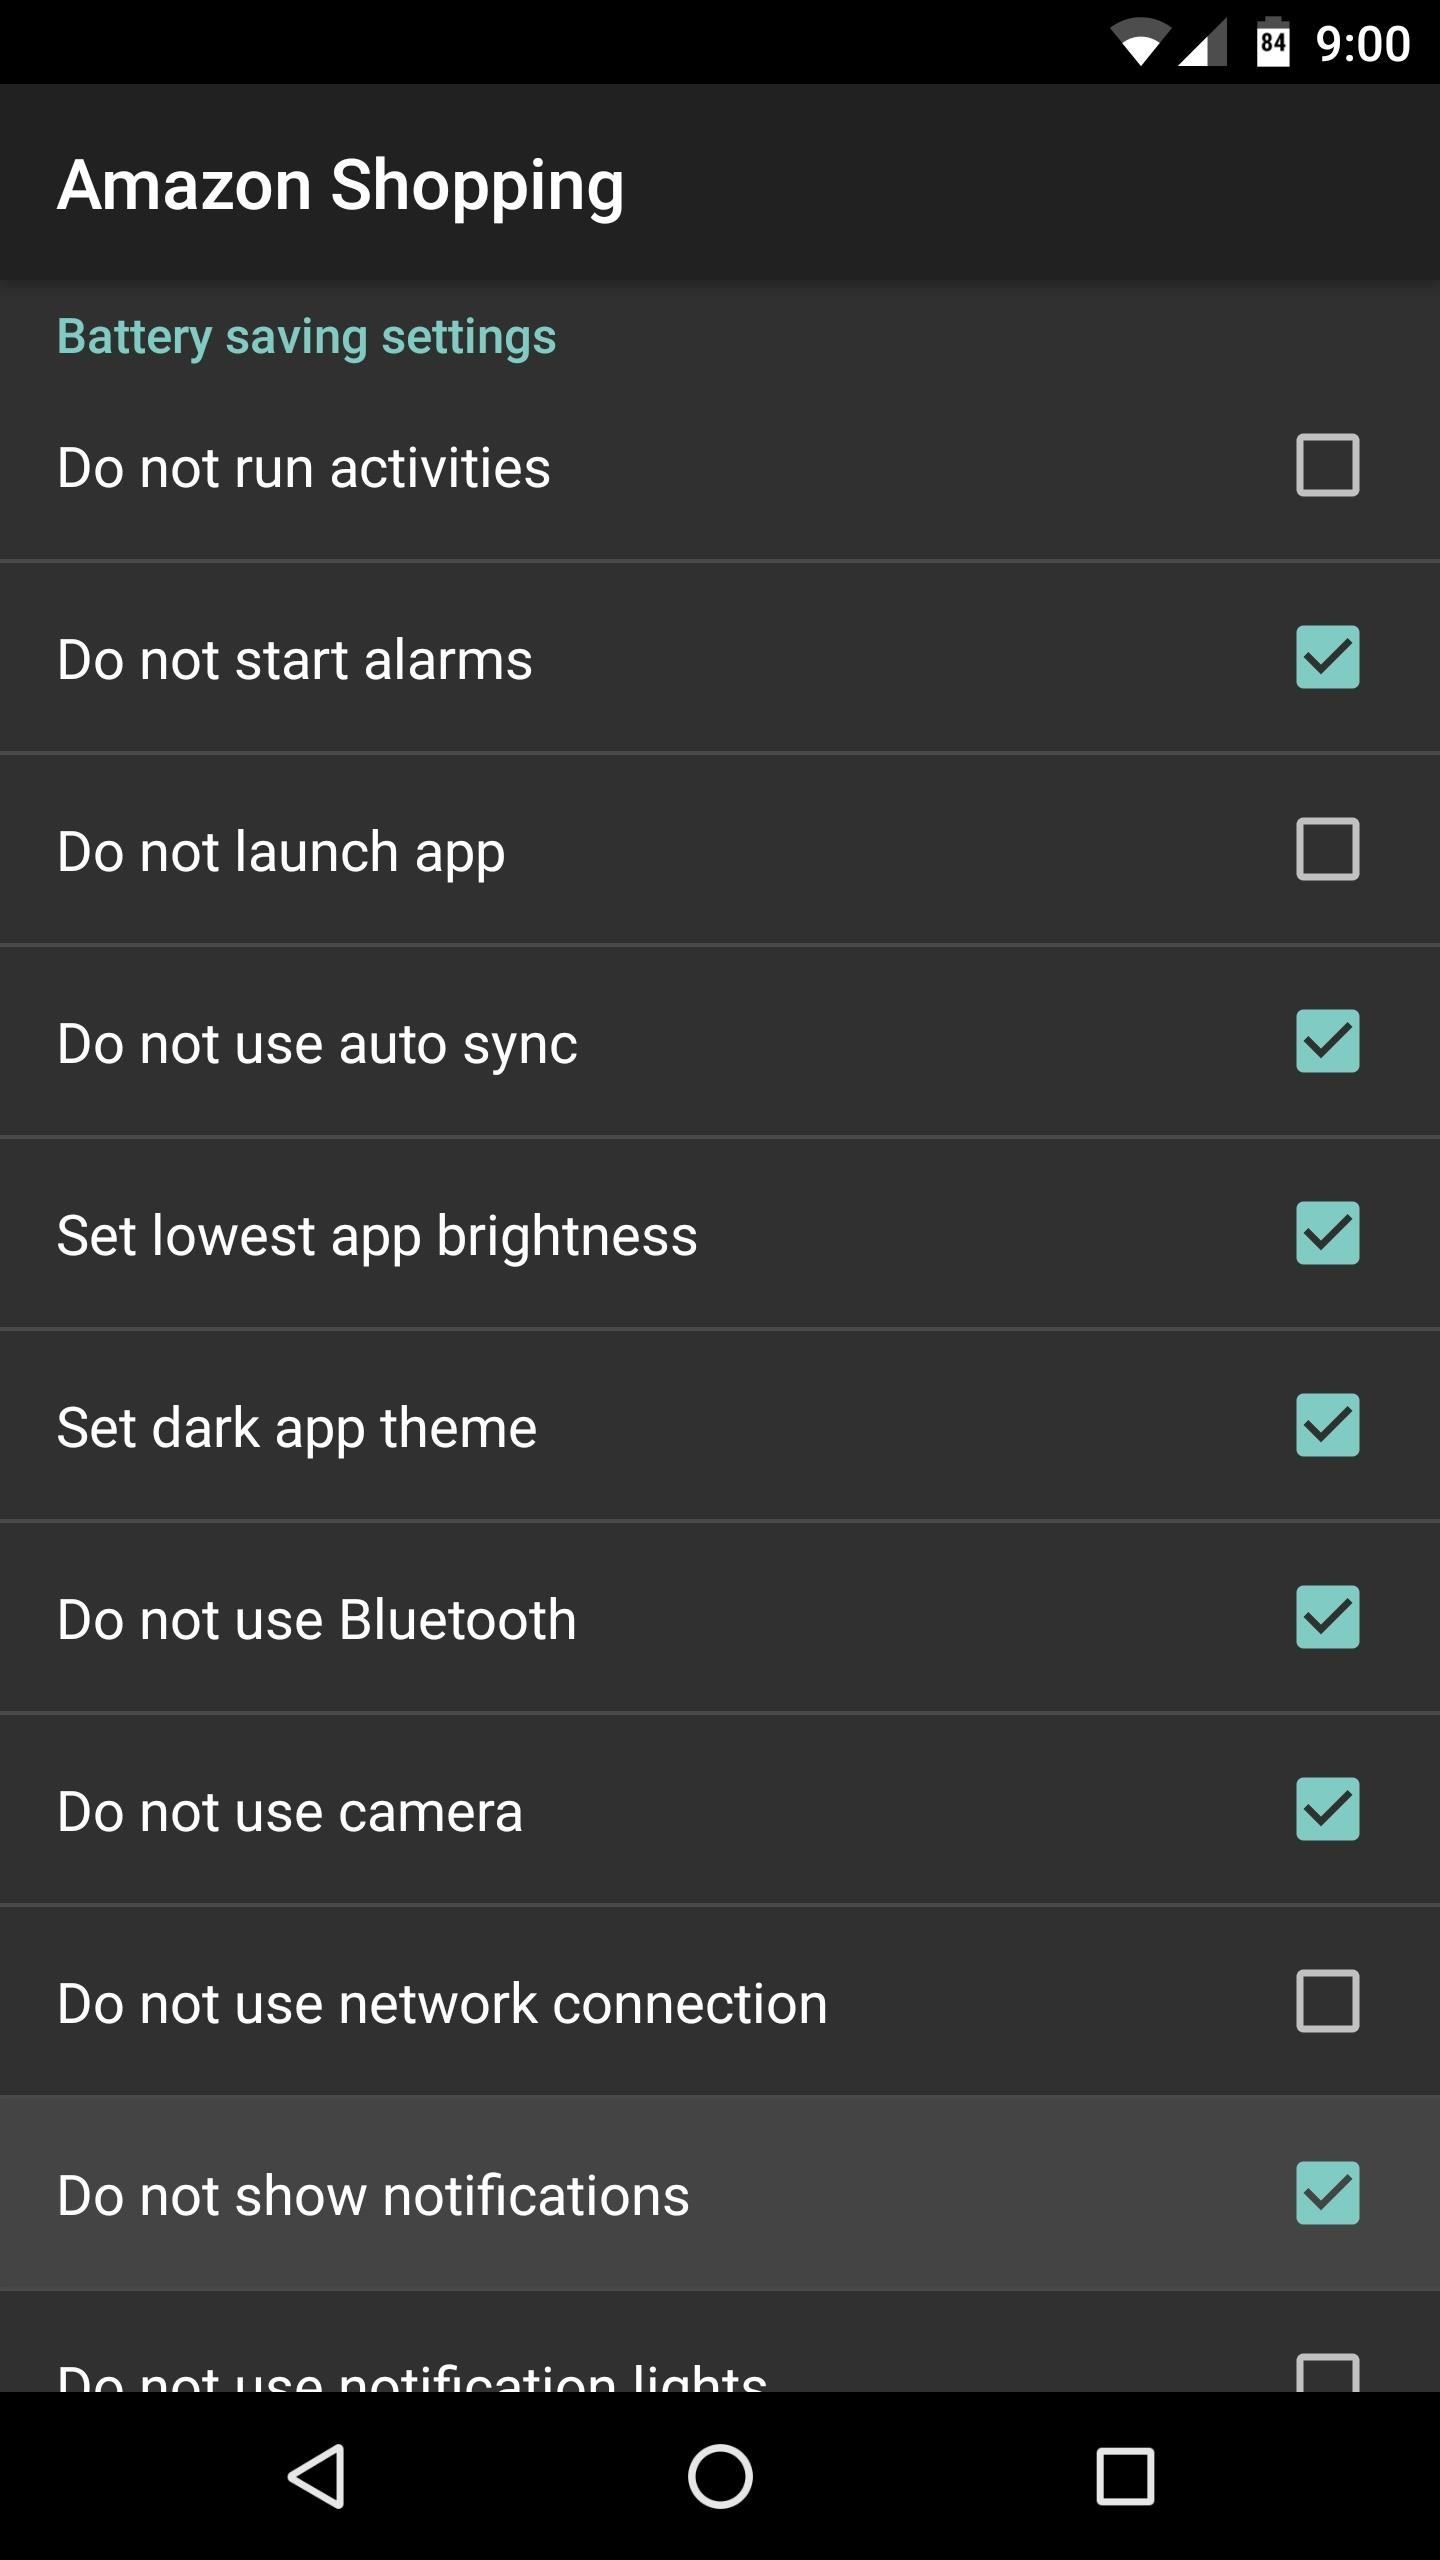
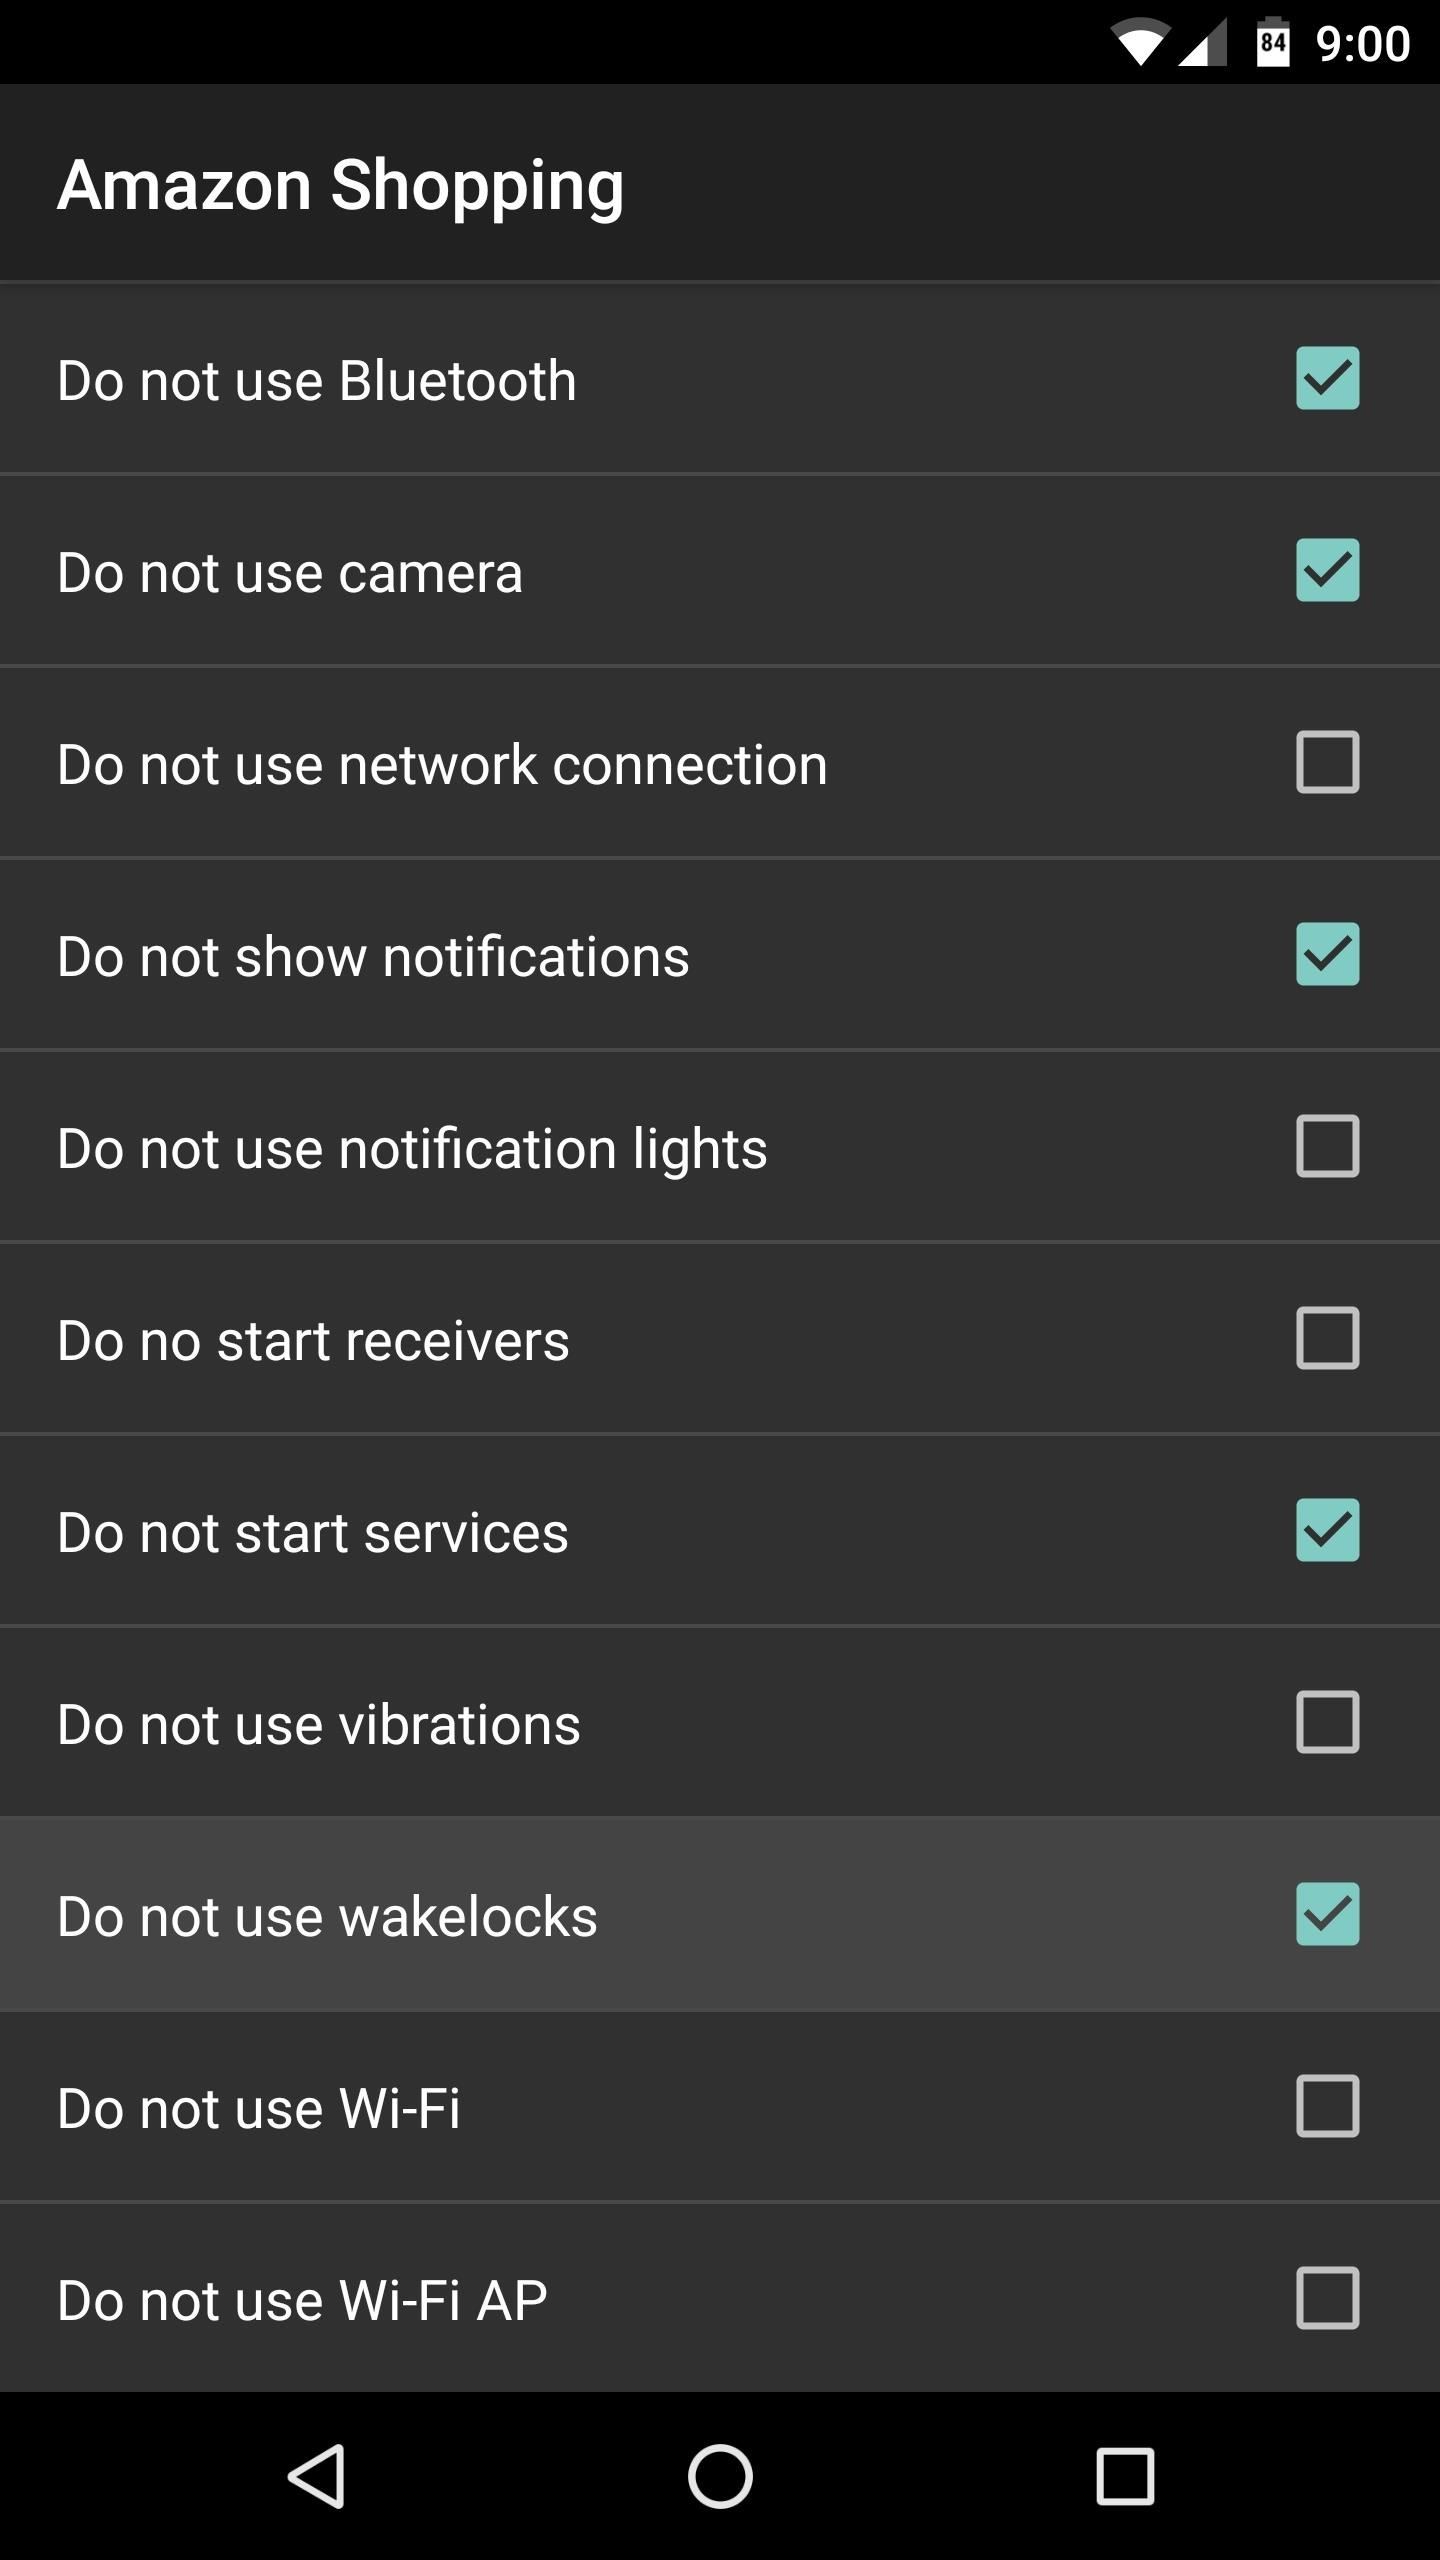
Beyond that, simply go through the list and enable any battery-saving setting that you'd like to apply when this app is active and your battery level is below the threshold. Depending on the app, some features could break some functionality, so use your best judgement. If you have any issues, you can always come back later and deselect these options one-by-one to troubleshoot.
When you're done there, you can repeat this same process for any other app on your phone. But there's a similar menu that we'll get to later which can apply most of these settings system-wide, so keep that in mind.
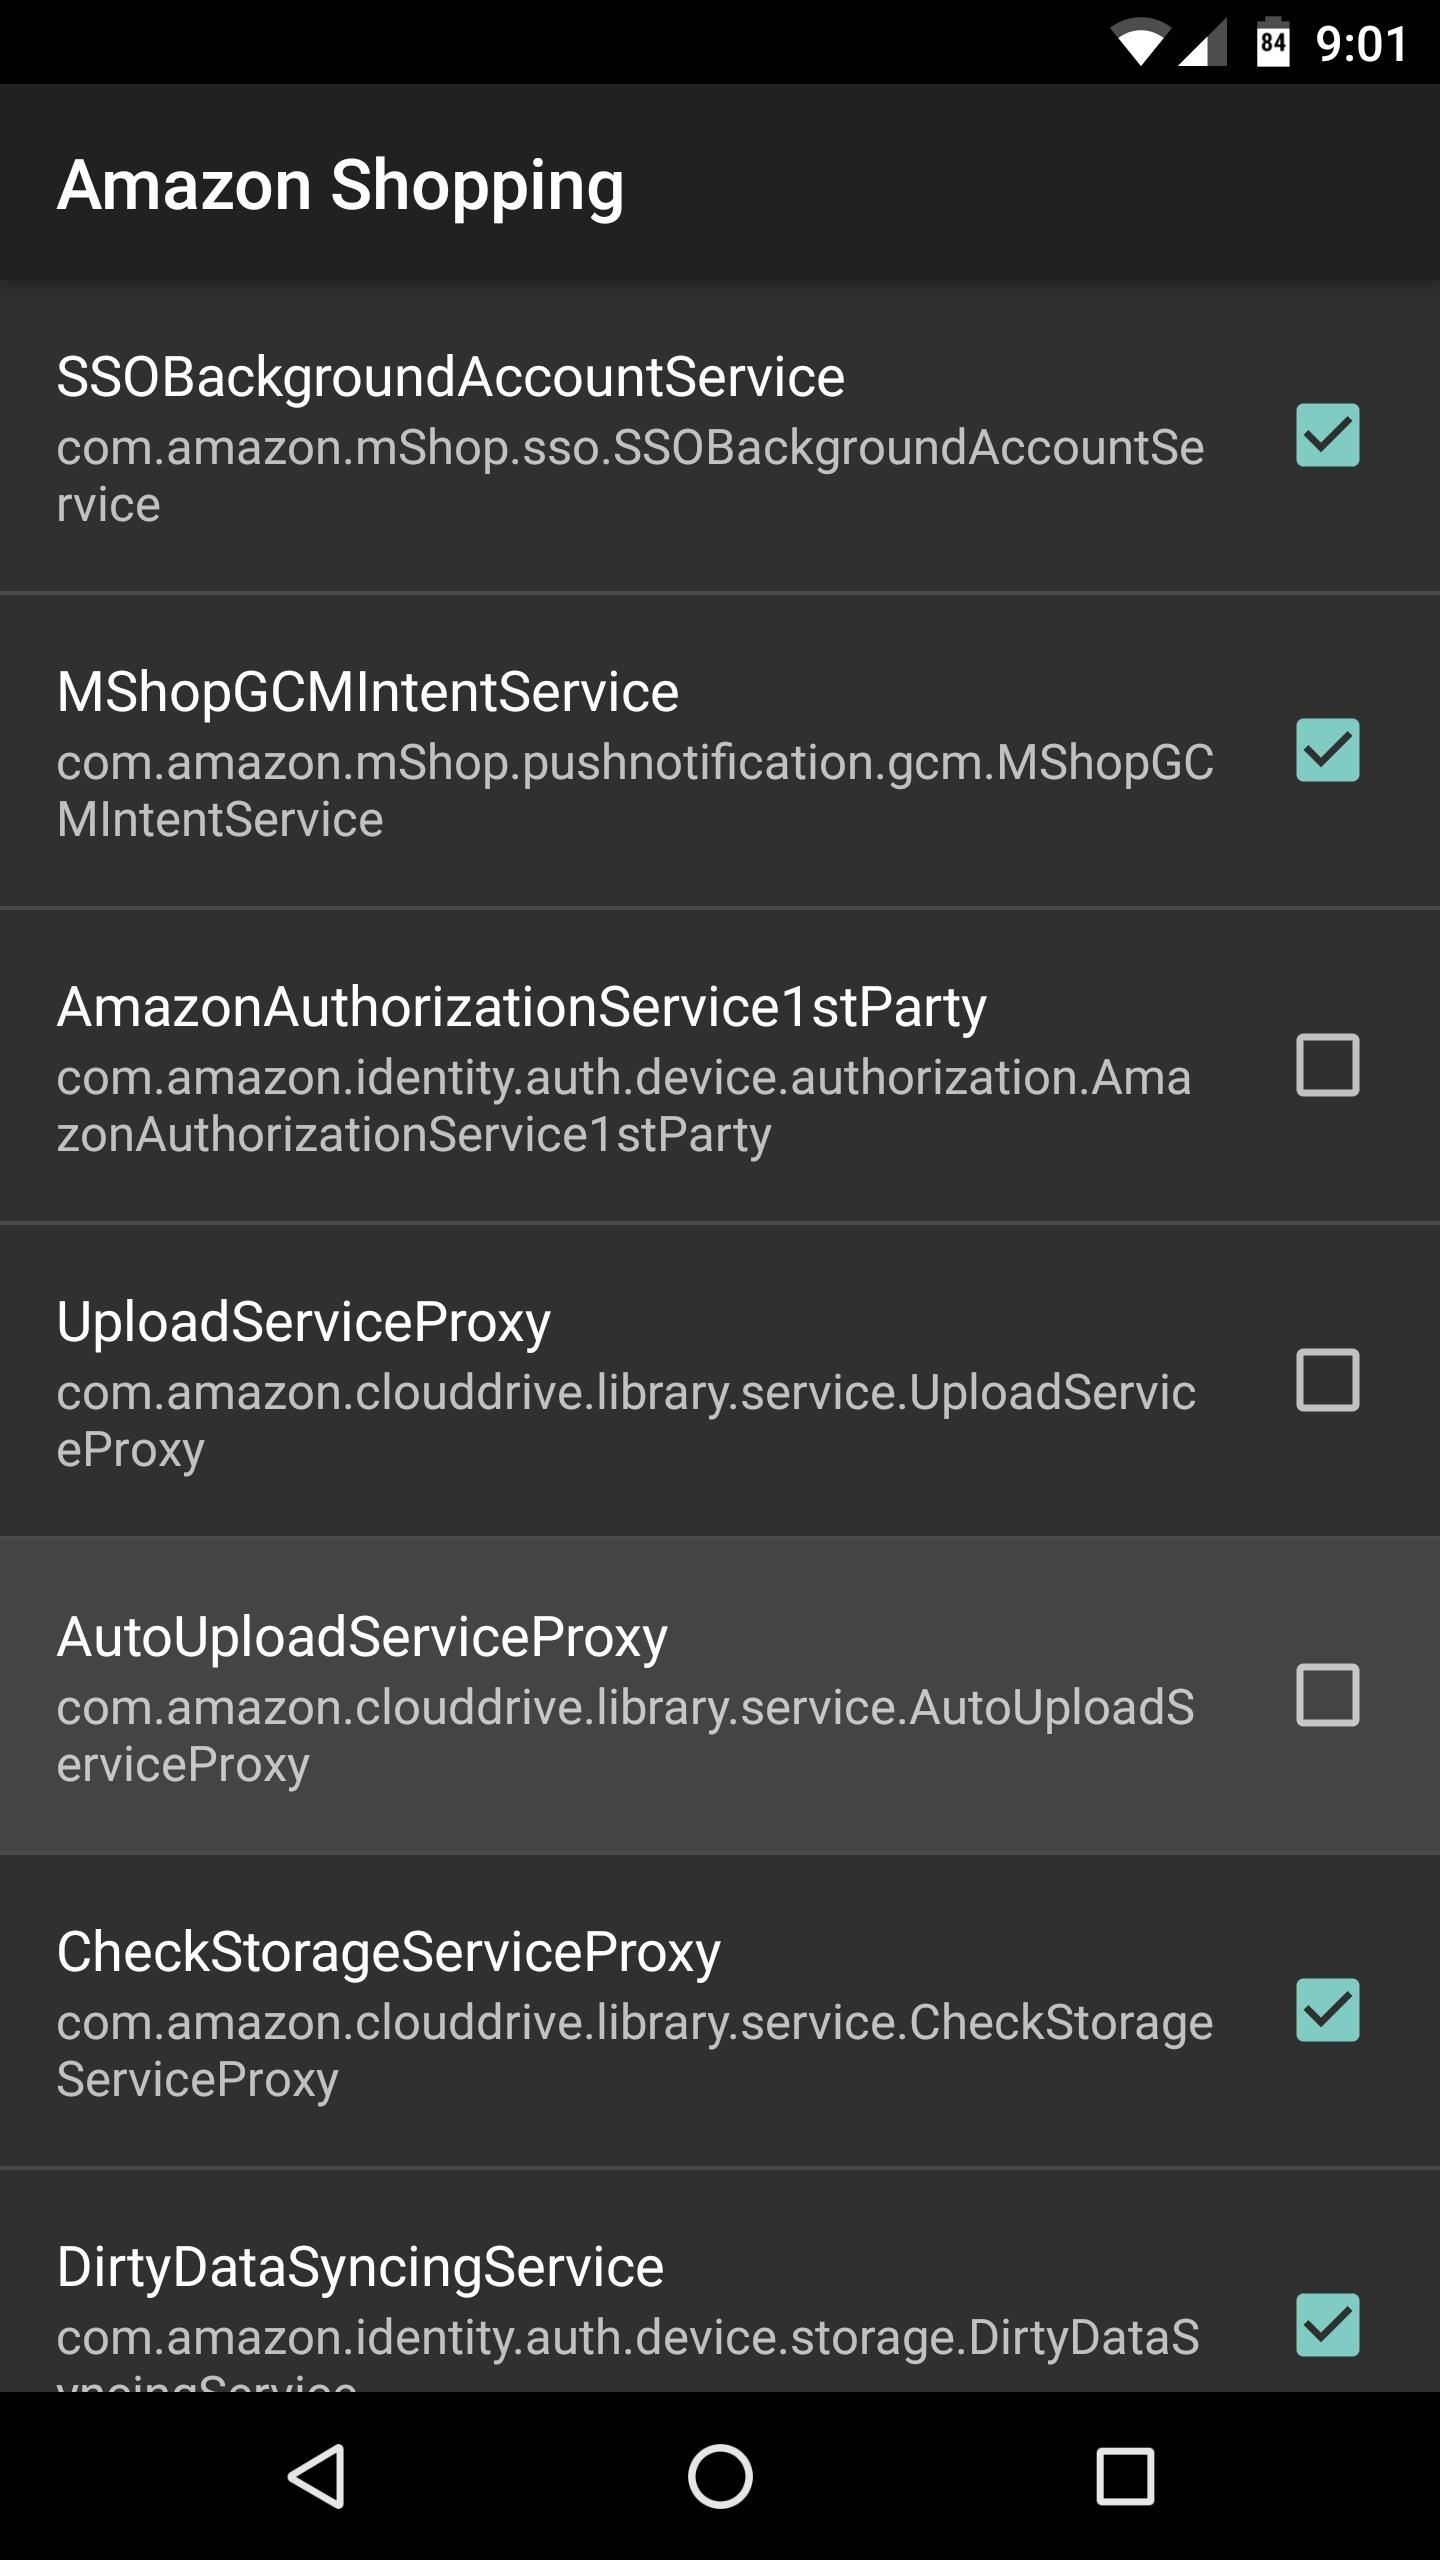
Step 4: Disable App Services
After that, you'll have a chance to disable services for any of your apps, which could lead to some significant battery gains. Services are what apps use to run tasks while you're not actively using them, and they help with things like background data sync and prompt notifications. However, if an app is using services you don't need, disabling them can save you lots of battery life, because the app won't be running in the background as often.
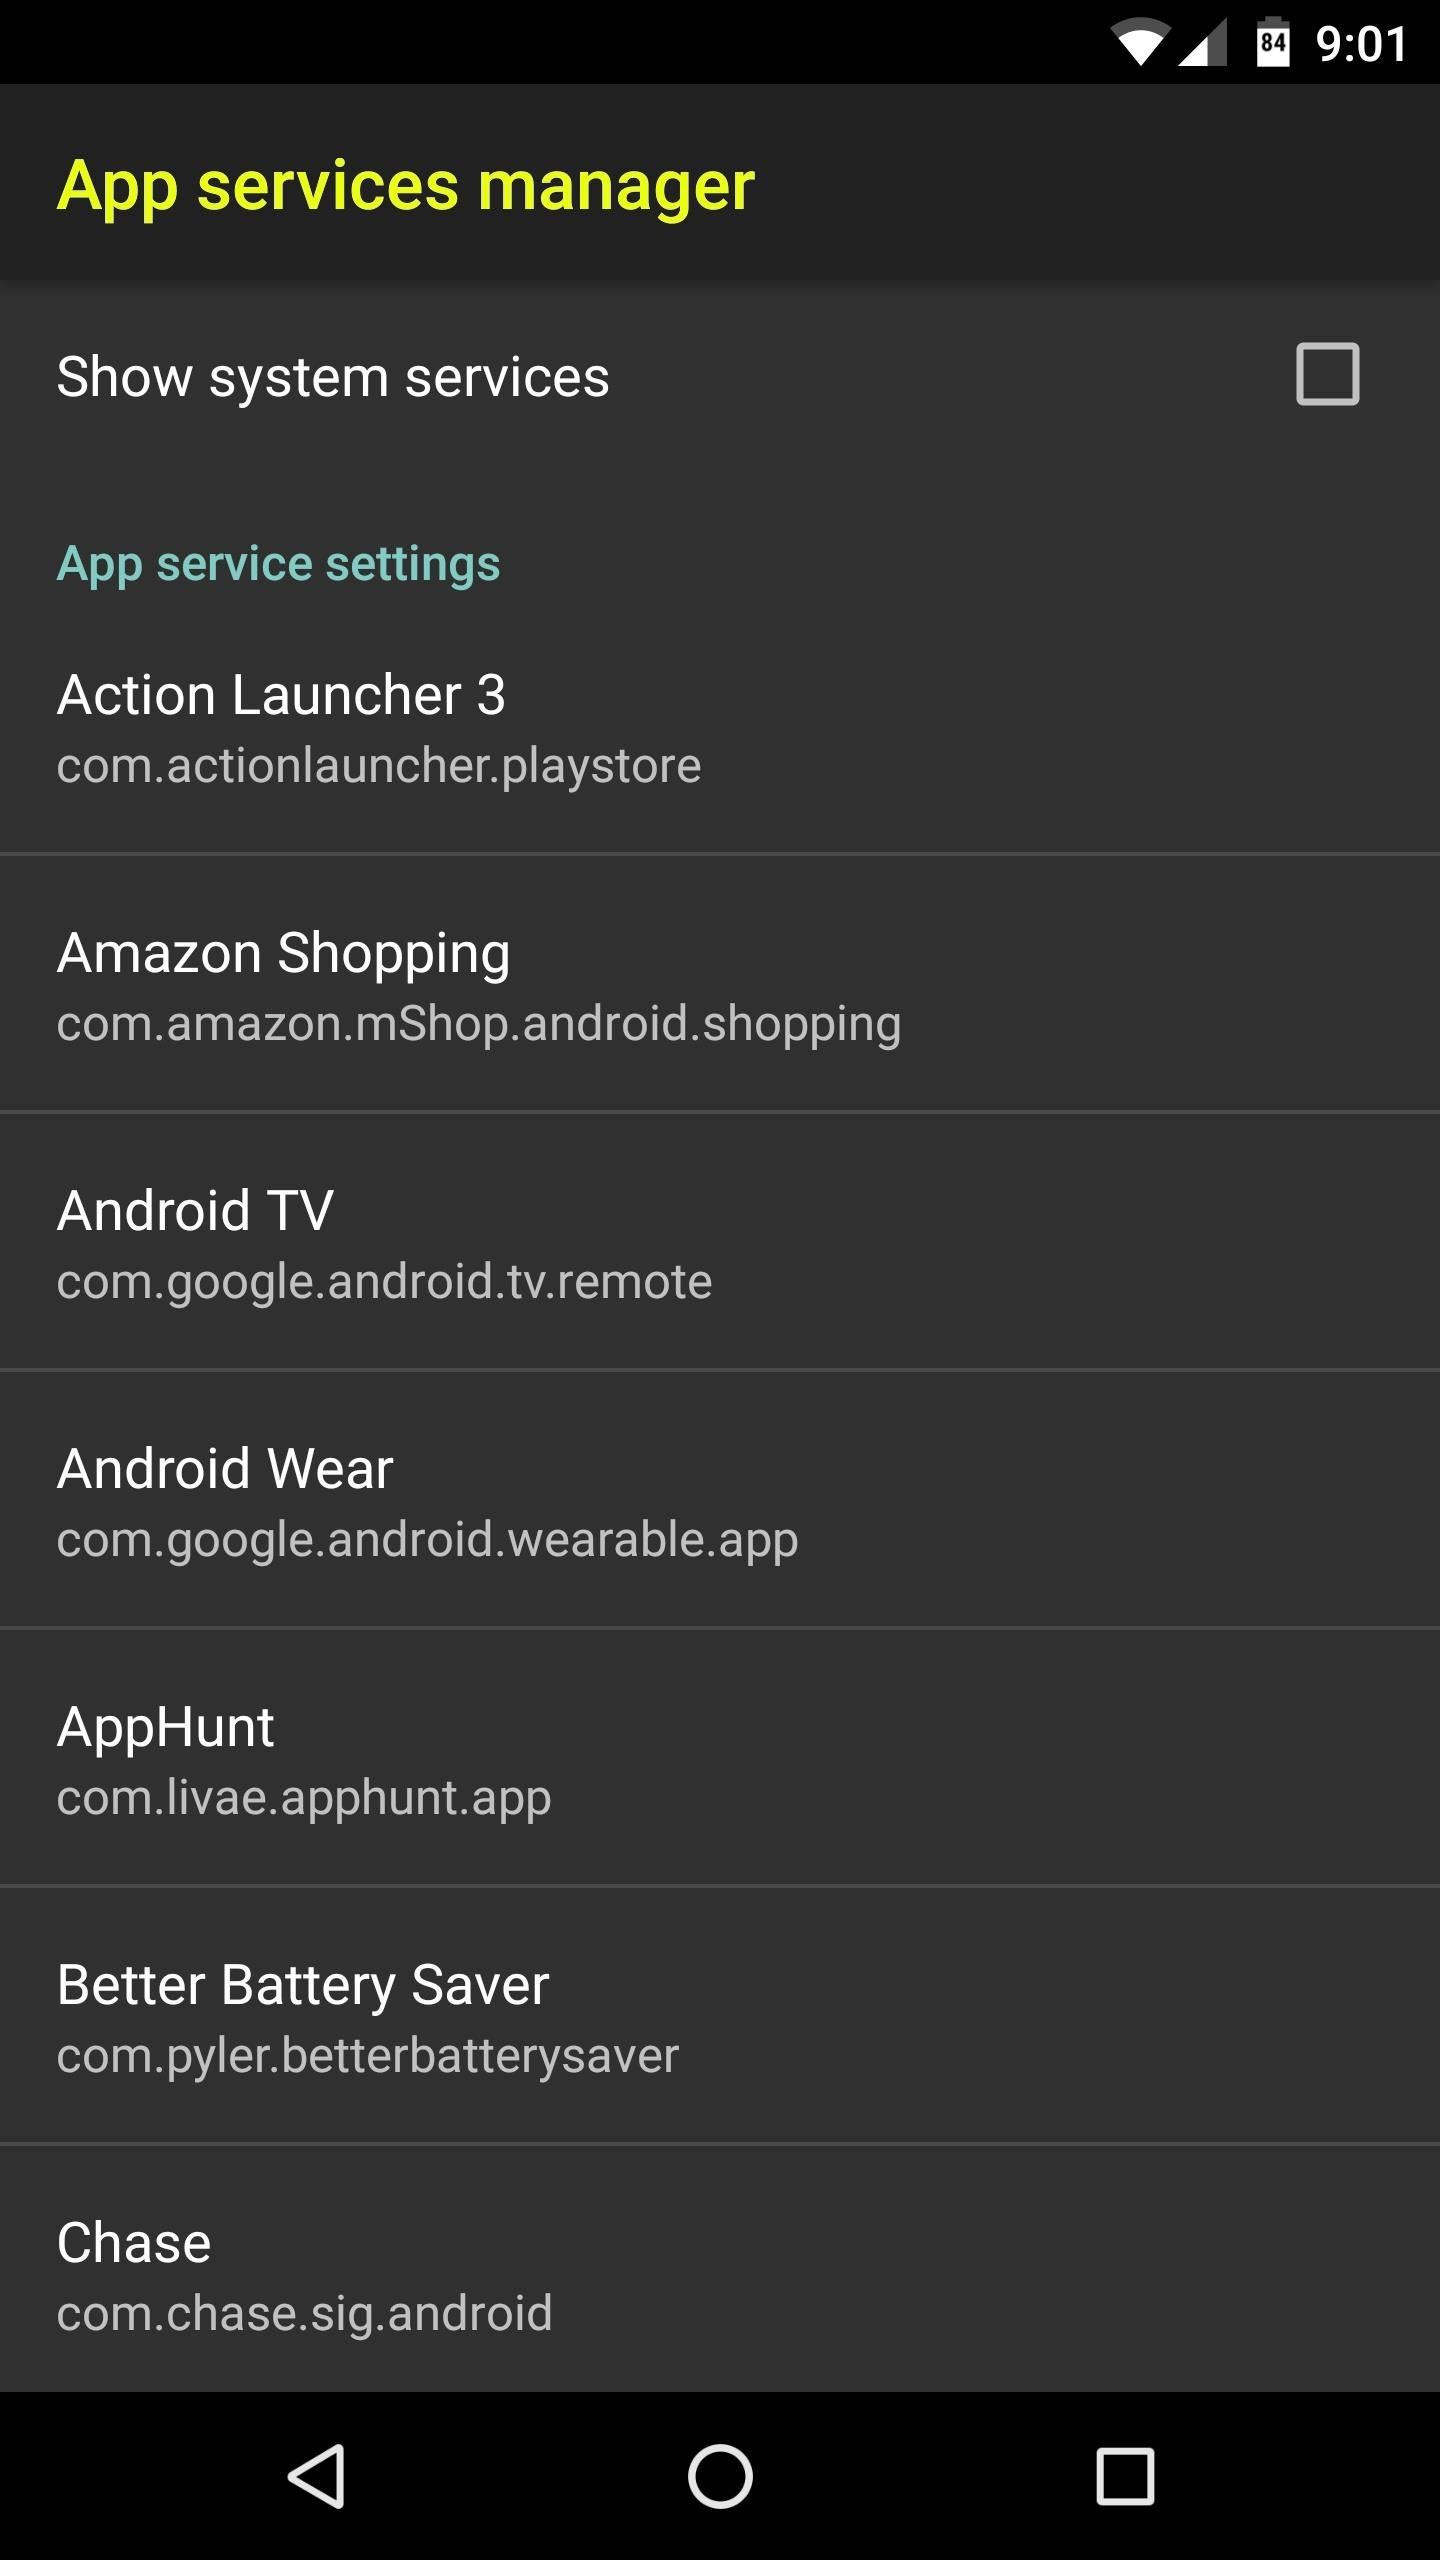
To try this out, head to the App services manager menu, then select any app. From here, deselect any unwanted service, and that function will no longer be performed in the background. Try to keep track of the services you disable here, because if you experience any bugs with this app in the future, you might have to turn some of them back on.
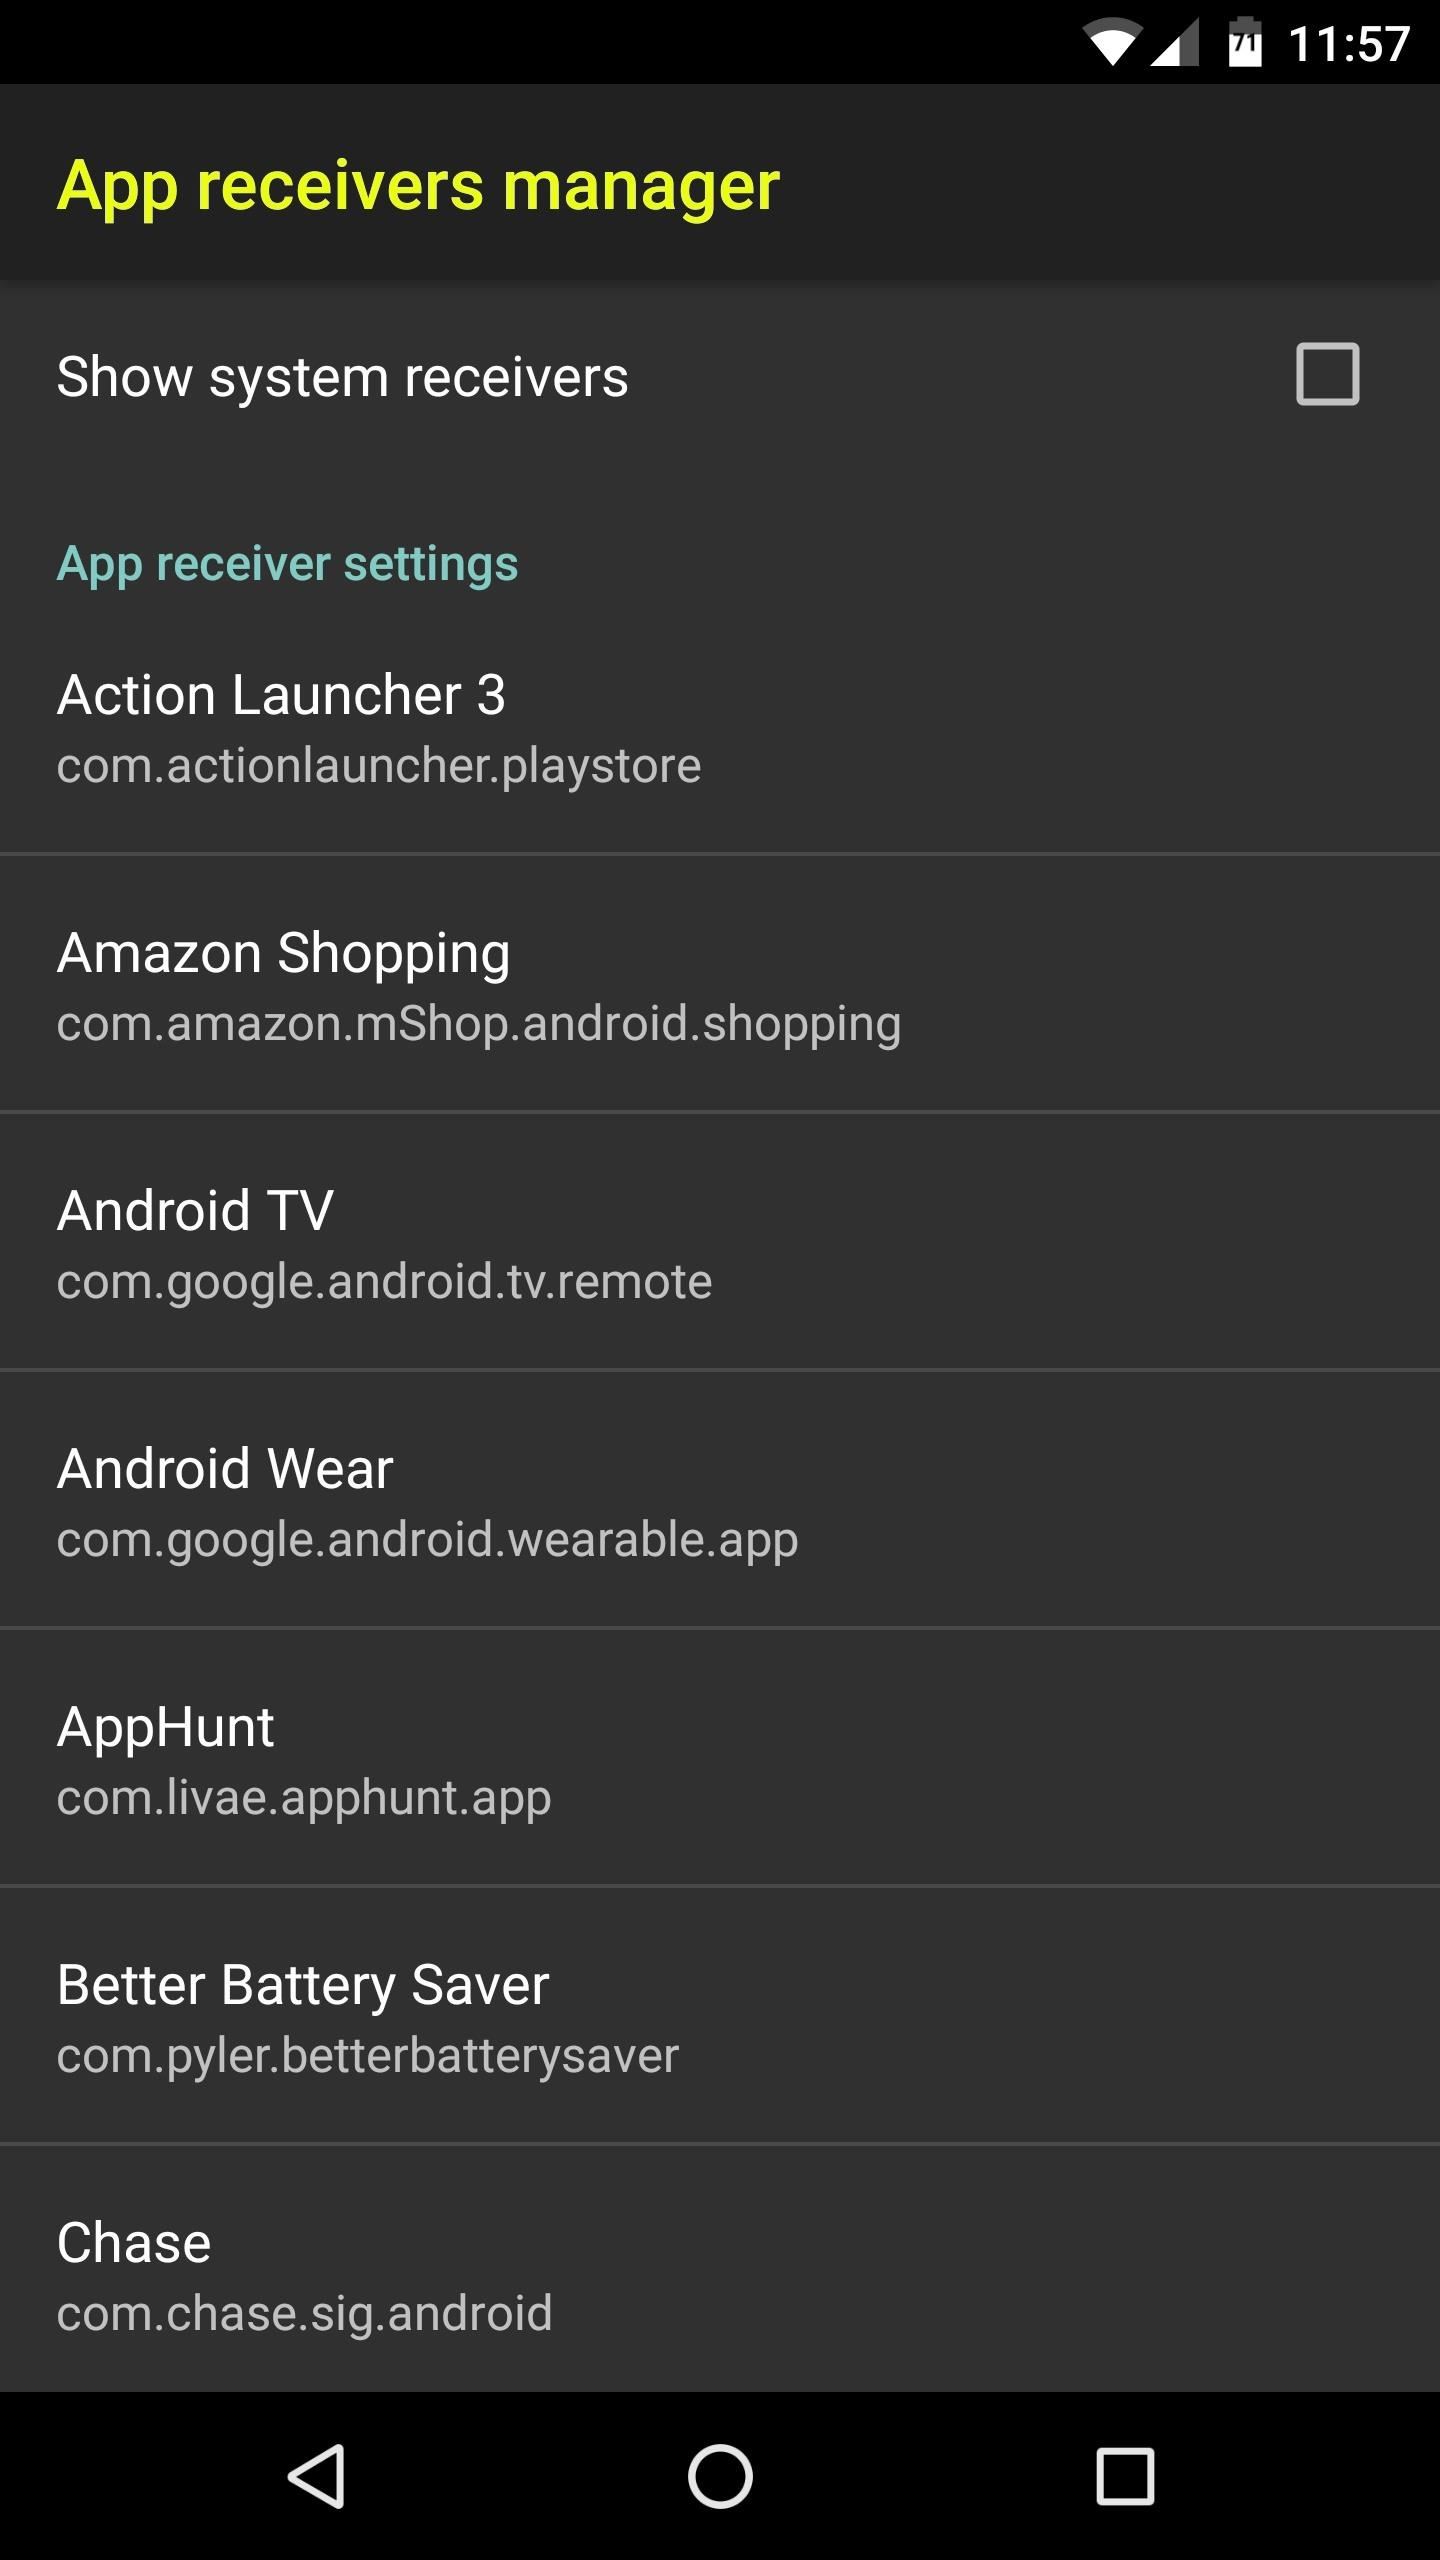
Step 5: Disable App Receivers
This next section deals with broadcast receivers, which let apps receive information that is broadcast by the Android system. Think of this like the app asking Android, "Hey, let me know when you get a new text message, or if the device's location changes." Of course, each time the app receives this information, it has to wake from sleep to process it, which will drain some battery life.
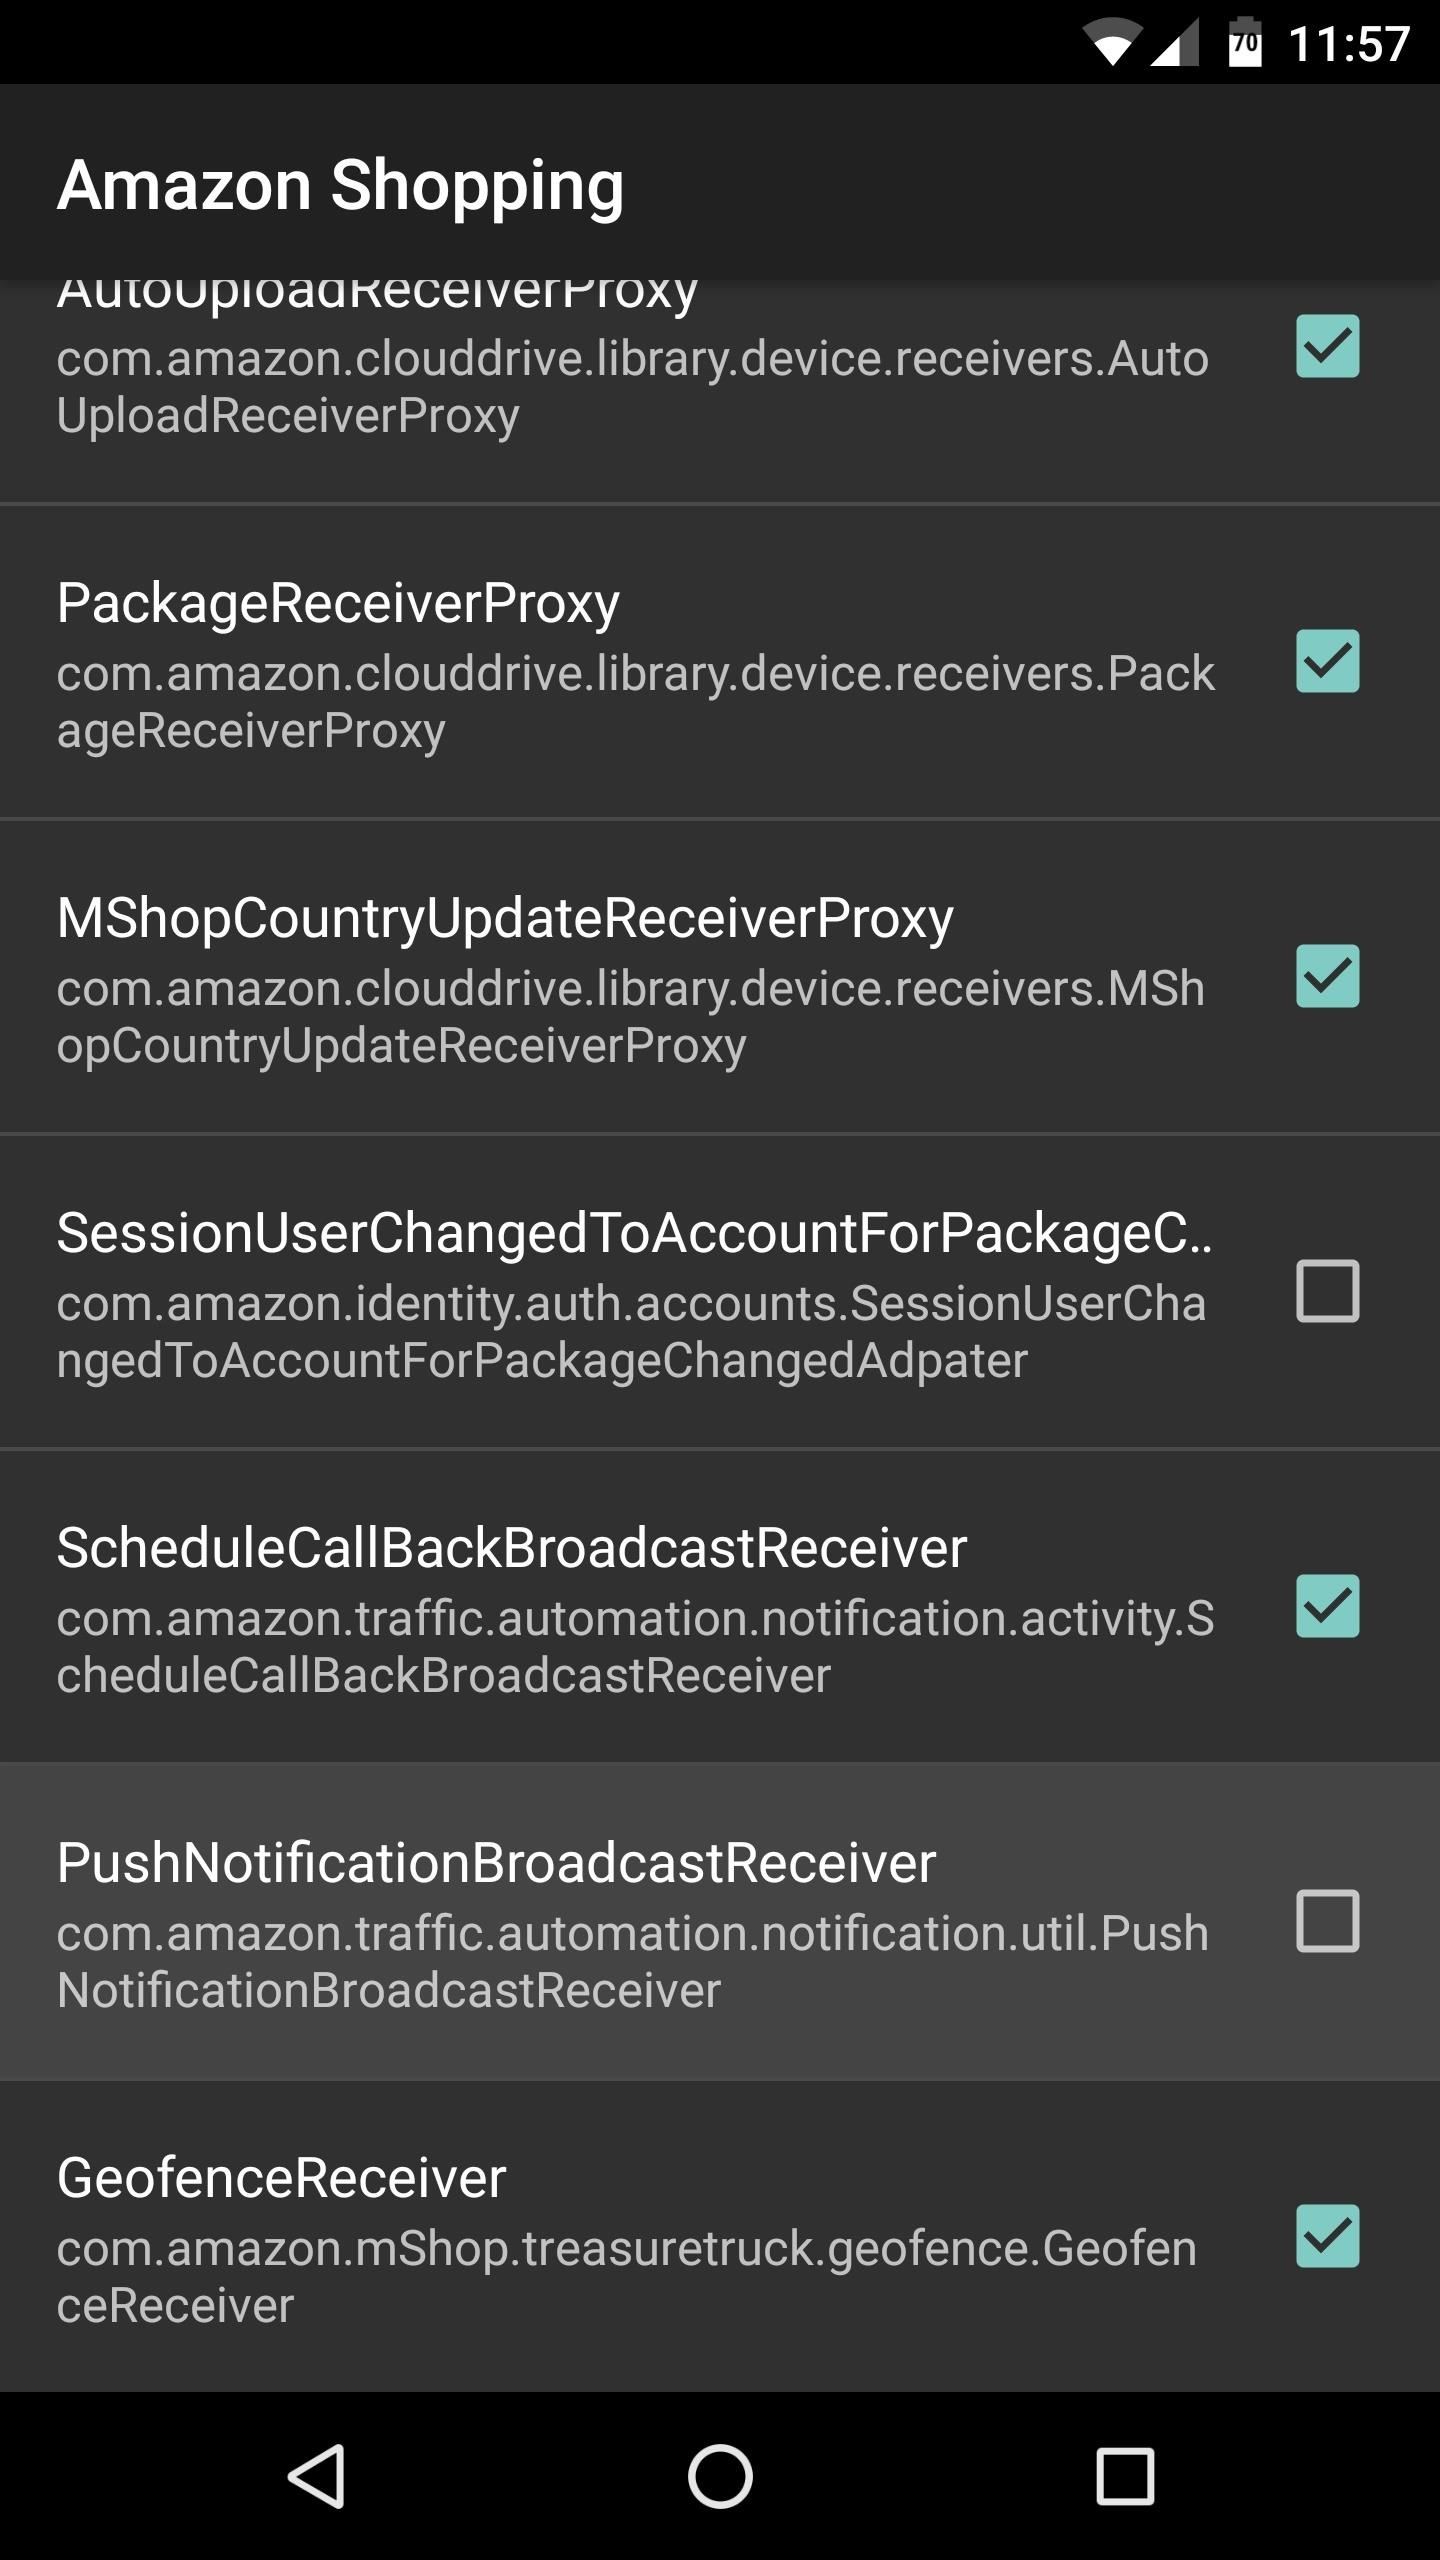
So to disable unwanted broadcast receivers, head to the Apps receivers manager section, then select any app from the list. From here, you can just untick the box next to any receiver, and the app will no longer force Android to give it an update on that front. But be careful, and make sure you understand the gist of each setting you disable here, because your apps might not function properly with certain receivers disabled.
Step 6: Adjust System-Wide Battery Saving Settings
Finally, the Battery saver settings menu is a lot like App battery savings, except the changes you make in this menu will apply system-wide. So to begin, use the Battery level threshold slider to set the percentage where you would like these settings to kick in.
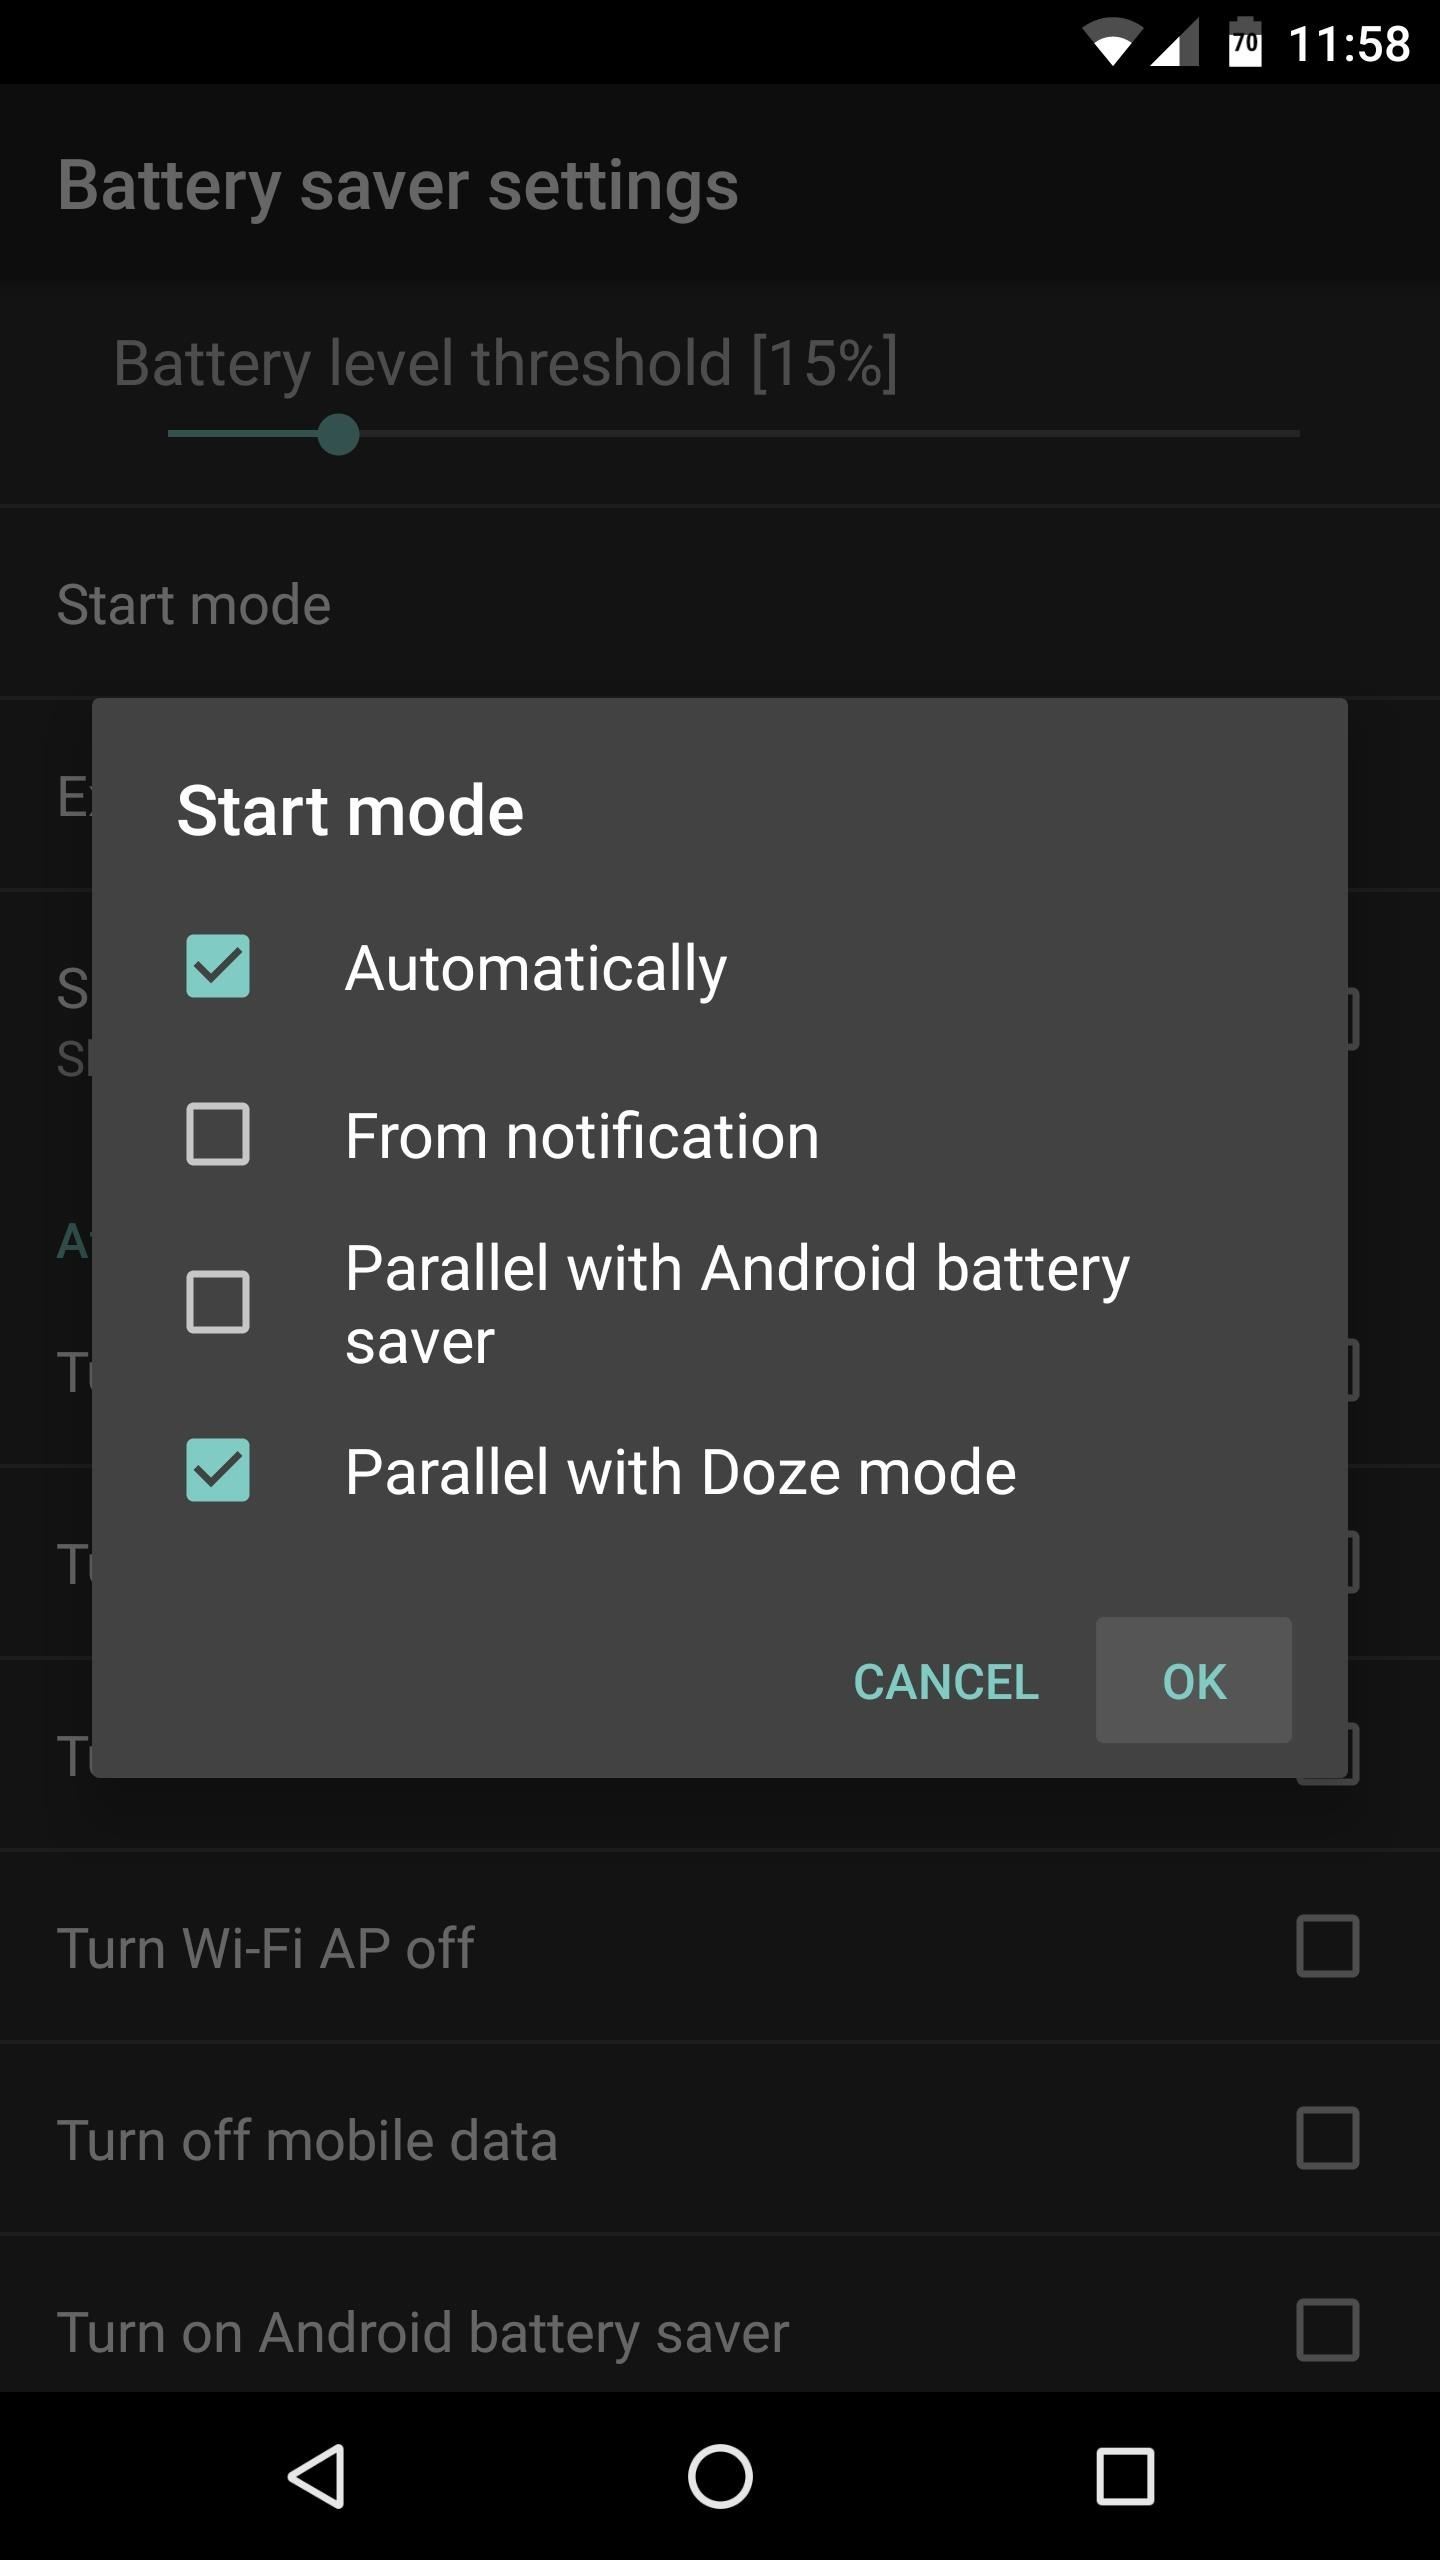
From there, select the "Start mode" option, then you can batch-select options for enabling Battery saver mode. If you select "Automatically," these tweaks will be applied at the battery level threshold you set, whereas "From notification" can be used to enable the tweaks manually, and "Parallel with Android battery saver" will start when your system battery saver mode kicks in. But the most interesting option here is "Parallel with Doze mode," which will activate these options when your phone has been laying flat and still for a period of time, though this requires Android 6.0 or higher.
Once you've done that, select the "Exit mode" option, then choose the same options that you chose for Start mode. This will ensure that the battery-saving features turn off automatically without any interaction from you.
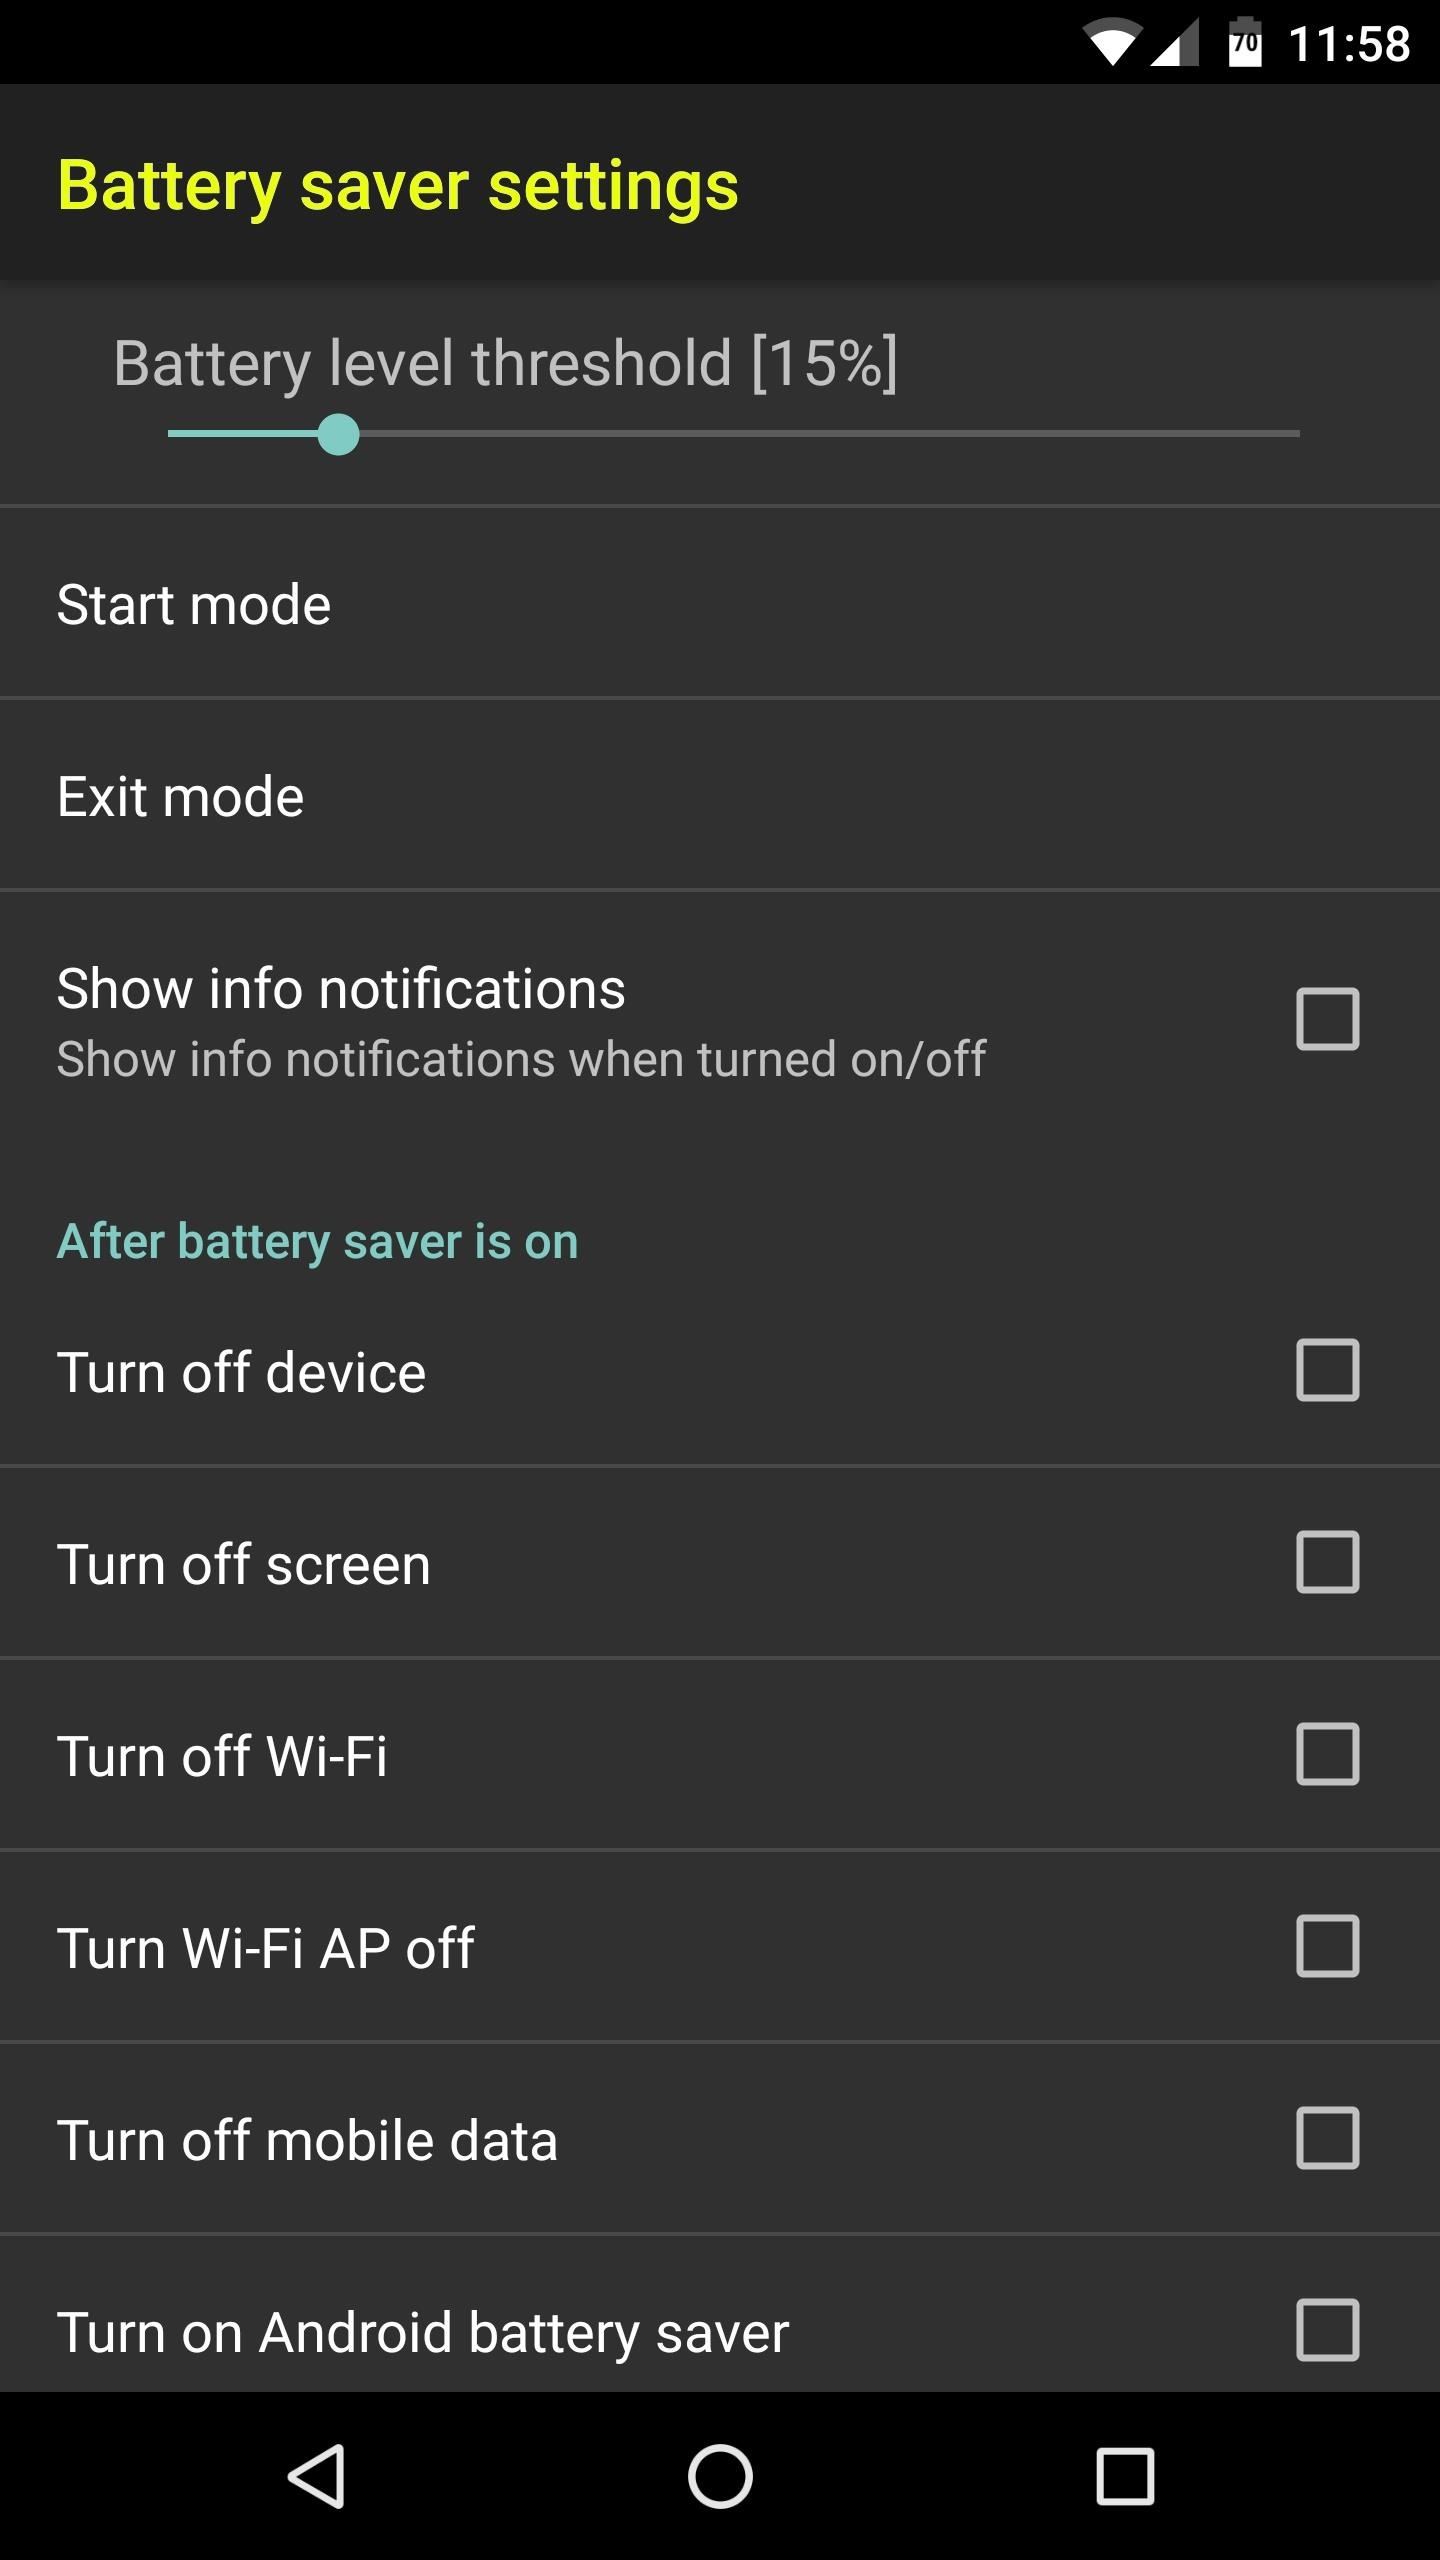
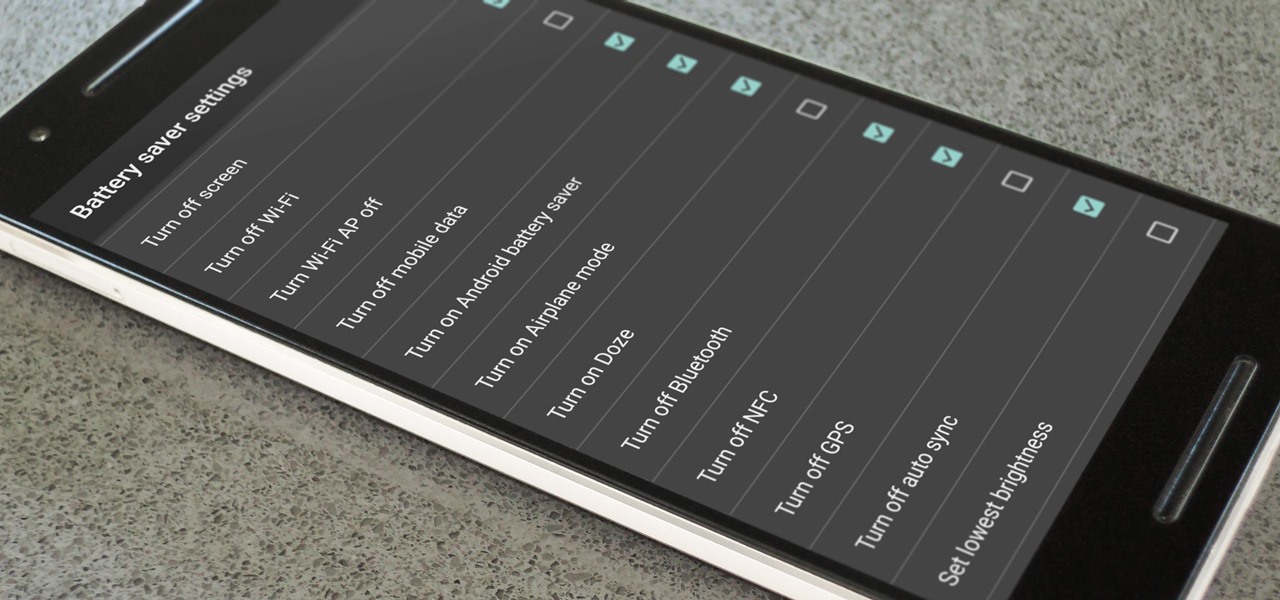
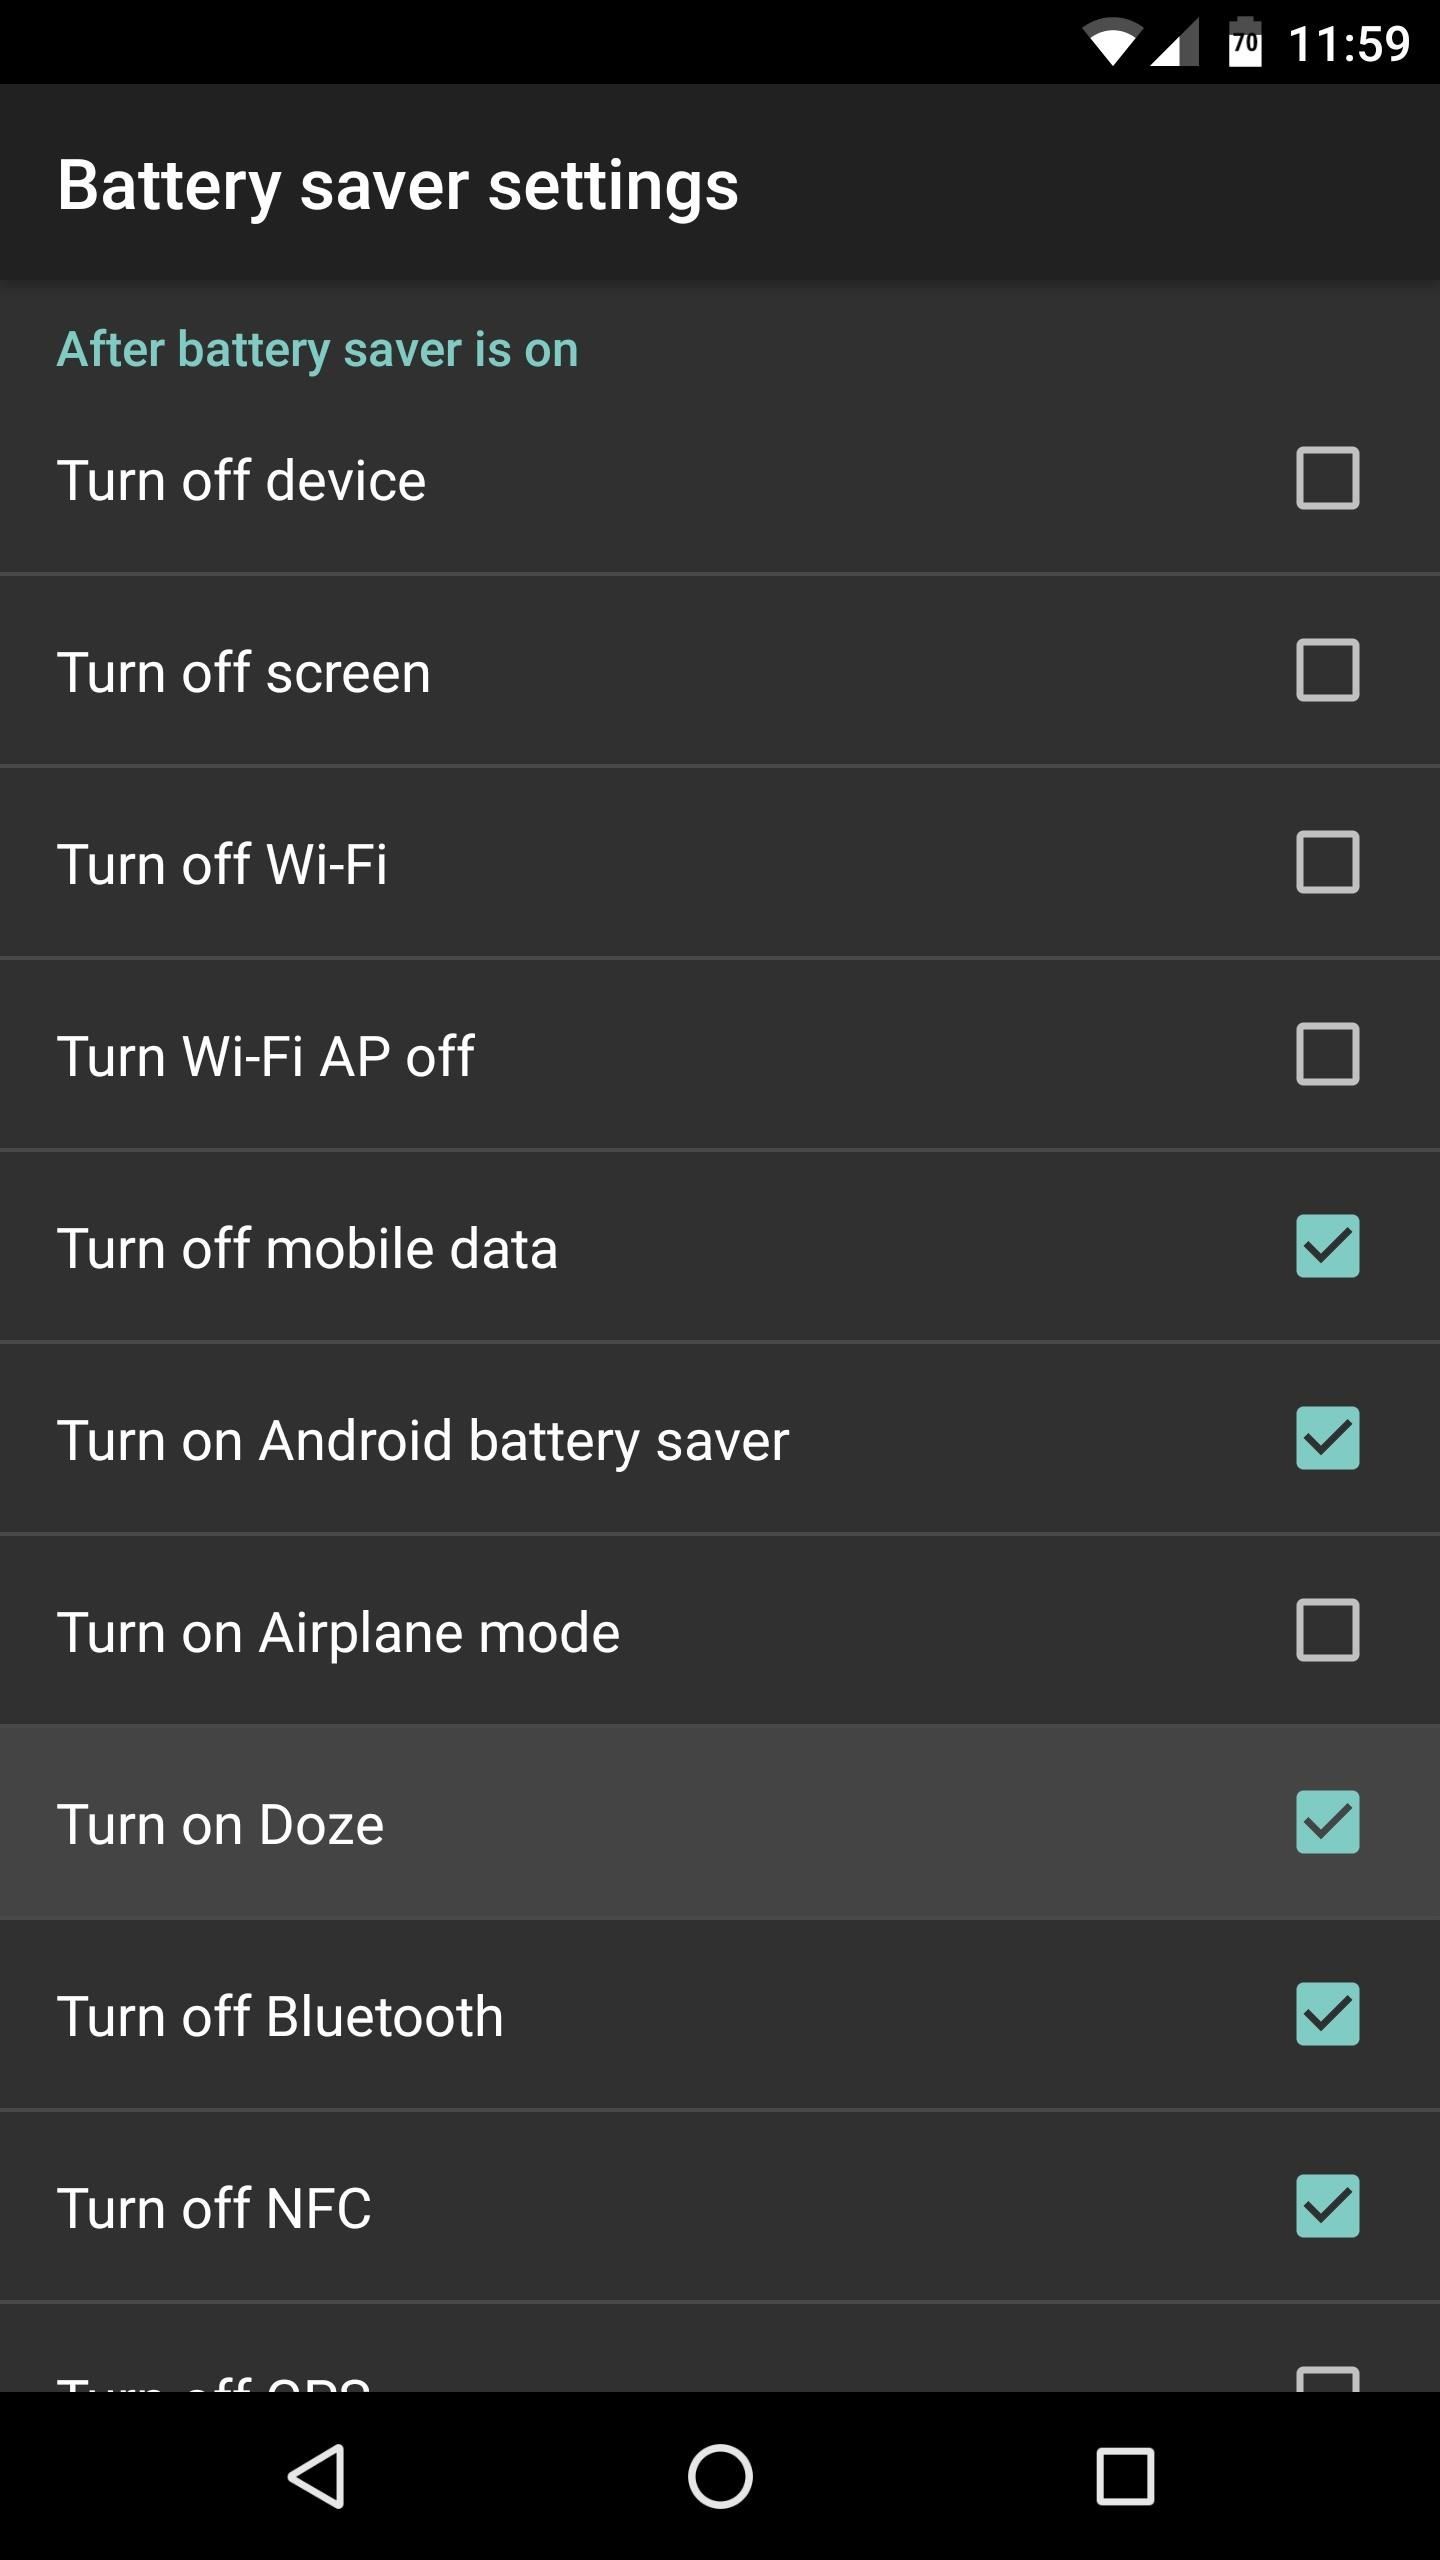
Next, scroll down a bit, then tick the boxes next to any of the options in the After battery saver is on category. There are several great battery-saving tweaks to choose from here, including the ability to disable connectivity radios like Wi-Fi and Bluetooth. But the best feature here, in my opinion, is "Turn on Doze." This will force-enable Android's best battery-saving utility, though you'll need to be running Marshmallow or higher to use it.
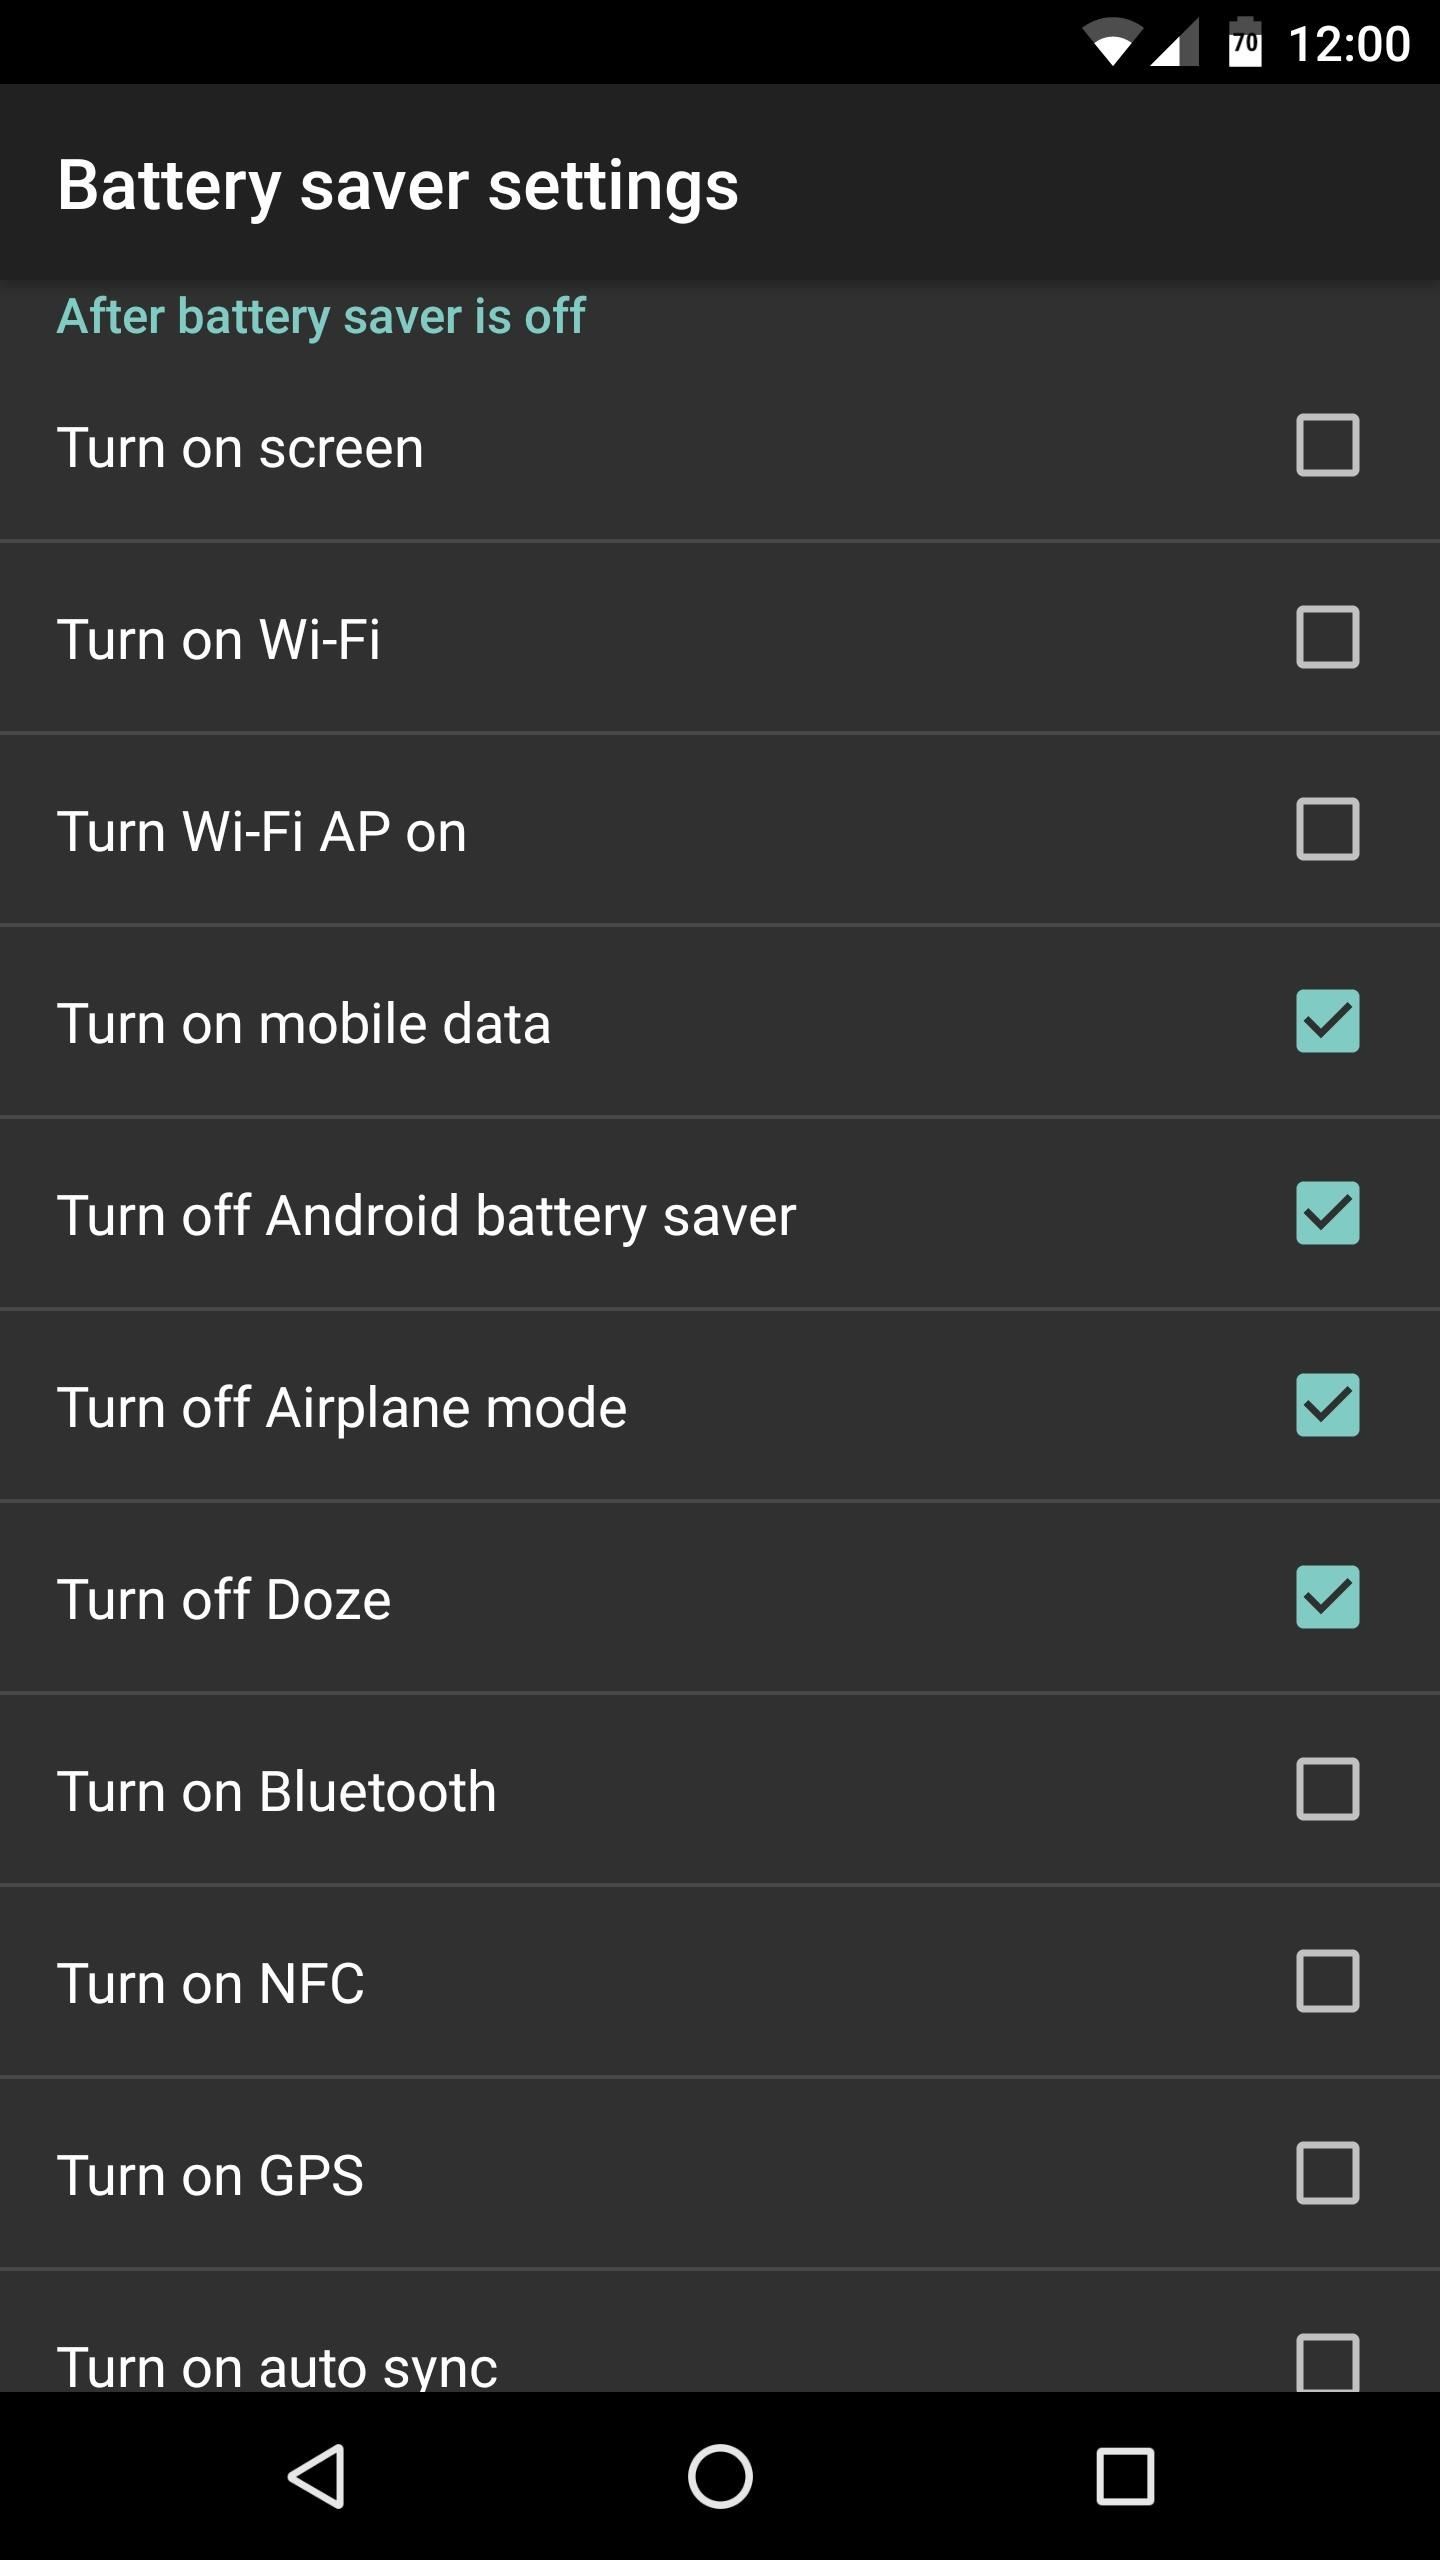
Once you've done that, scroll down a bit further, then you'll see a section labeled After battery saver is off. Go through each of these settings, and make sure to tick the boxes next to every setting you enabled under After battery saver is on. That way, when your battery is charged up again, everything will go back to normal automatically.
With everything set up now, you should start to notice some significant gains in battery life—particularly when your battery level is low. Depending on how you set things up, these aggressive battery-saving measures will kick in around 15%, so that last bit of juice should last you quite a while.
Who needs a wand? Unlock your magical powers and transform yourself from a Muggle into a Wizard or Witch just by using your Android phone. See how:


Be the First to Comment
Share Your Thoughts