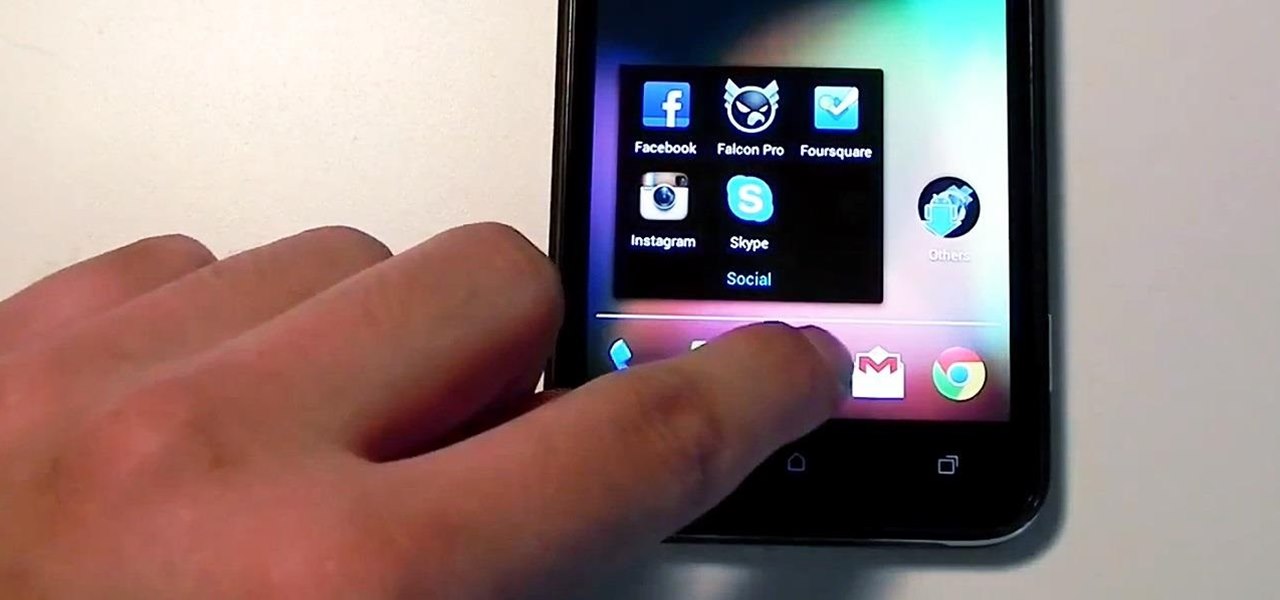

Sense appears on over forty Android devices, but HTC's notorious GUI was actually designed with a completely different mobile OS in mind—Windows.
HTC first built Sense to fill in missing functionality of Windows Mobile, the predecessor to Windows Phone 7. When it was ported over to Android, it was hailed as one of the most beautiful and useful Android user interfaces.
However, as Android itself becomes more polished, there has been outcry against manufacturer skins. Many consider OEM apps and features "bloat" or "gimmicks." Along with carrier-installed software on our devices, OEM skins slow down the naturally smooth and responsive Android experience.
If you want Android in its purest form on your HTC EVO 4G LTE, your best option is CyanogenMod.
CyanogenMod is built from the AOSP (Android Open Source Project) source code. It takes up a quarter of the resources that Sense ROMs do and is much more customizable.
How to Install CyanogenMod on Your EVO 4G LTE
To install this new ROM, you'll need:
- An unlocked bootloader and a custom recovery like TWRP.
- The Android Forums Mini-SDK.
- The latest stable CyanogenMod build. I'll actually be using this beta version from the device's maintainer, kushdeck. Put this on your phone's internal storage or SD card.
- The boot.img from the CyanogenMod .zip you downloaded. Open the .zip file and put the boot.img file in your SDK directory. This is the kernel we will need to flash with fastboot because the HTCdev unlock does not allow flashing kernels.
- The Google Apps download, since they are not included by default in CyanogenMod. Put this zip file in your phone's internal storage or SD card, in the same place as the CyanogenMod zip.
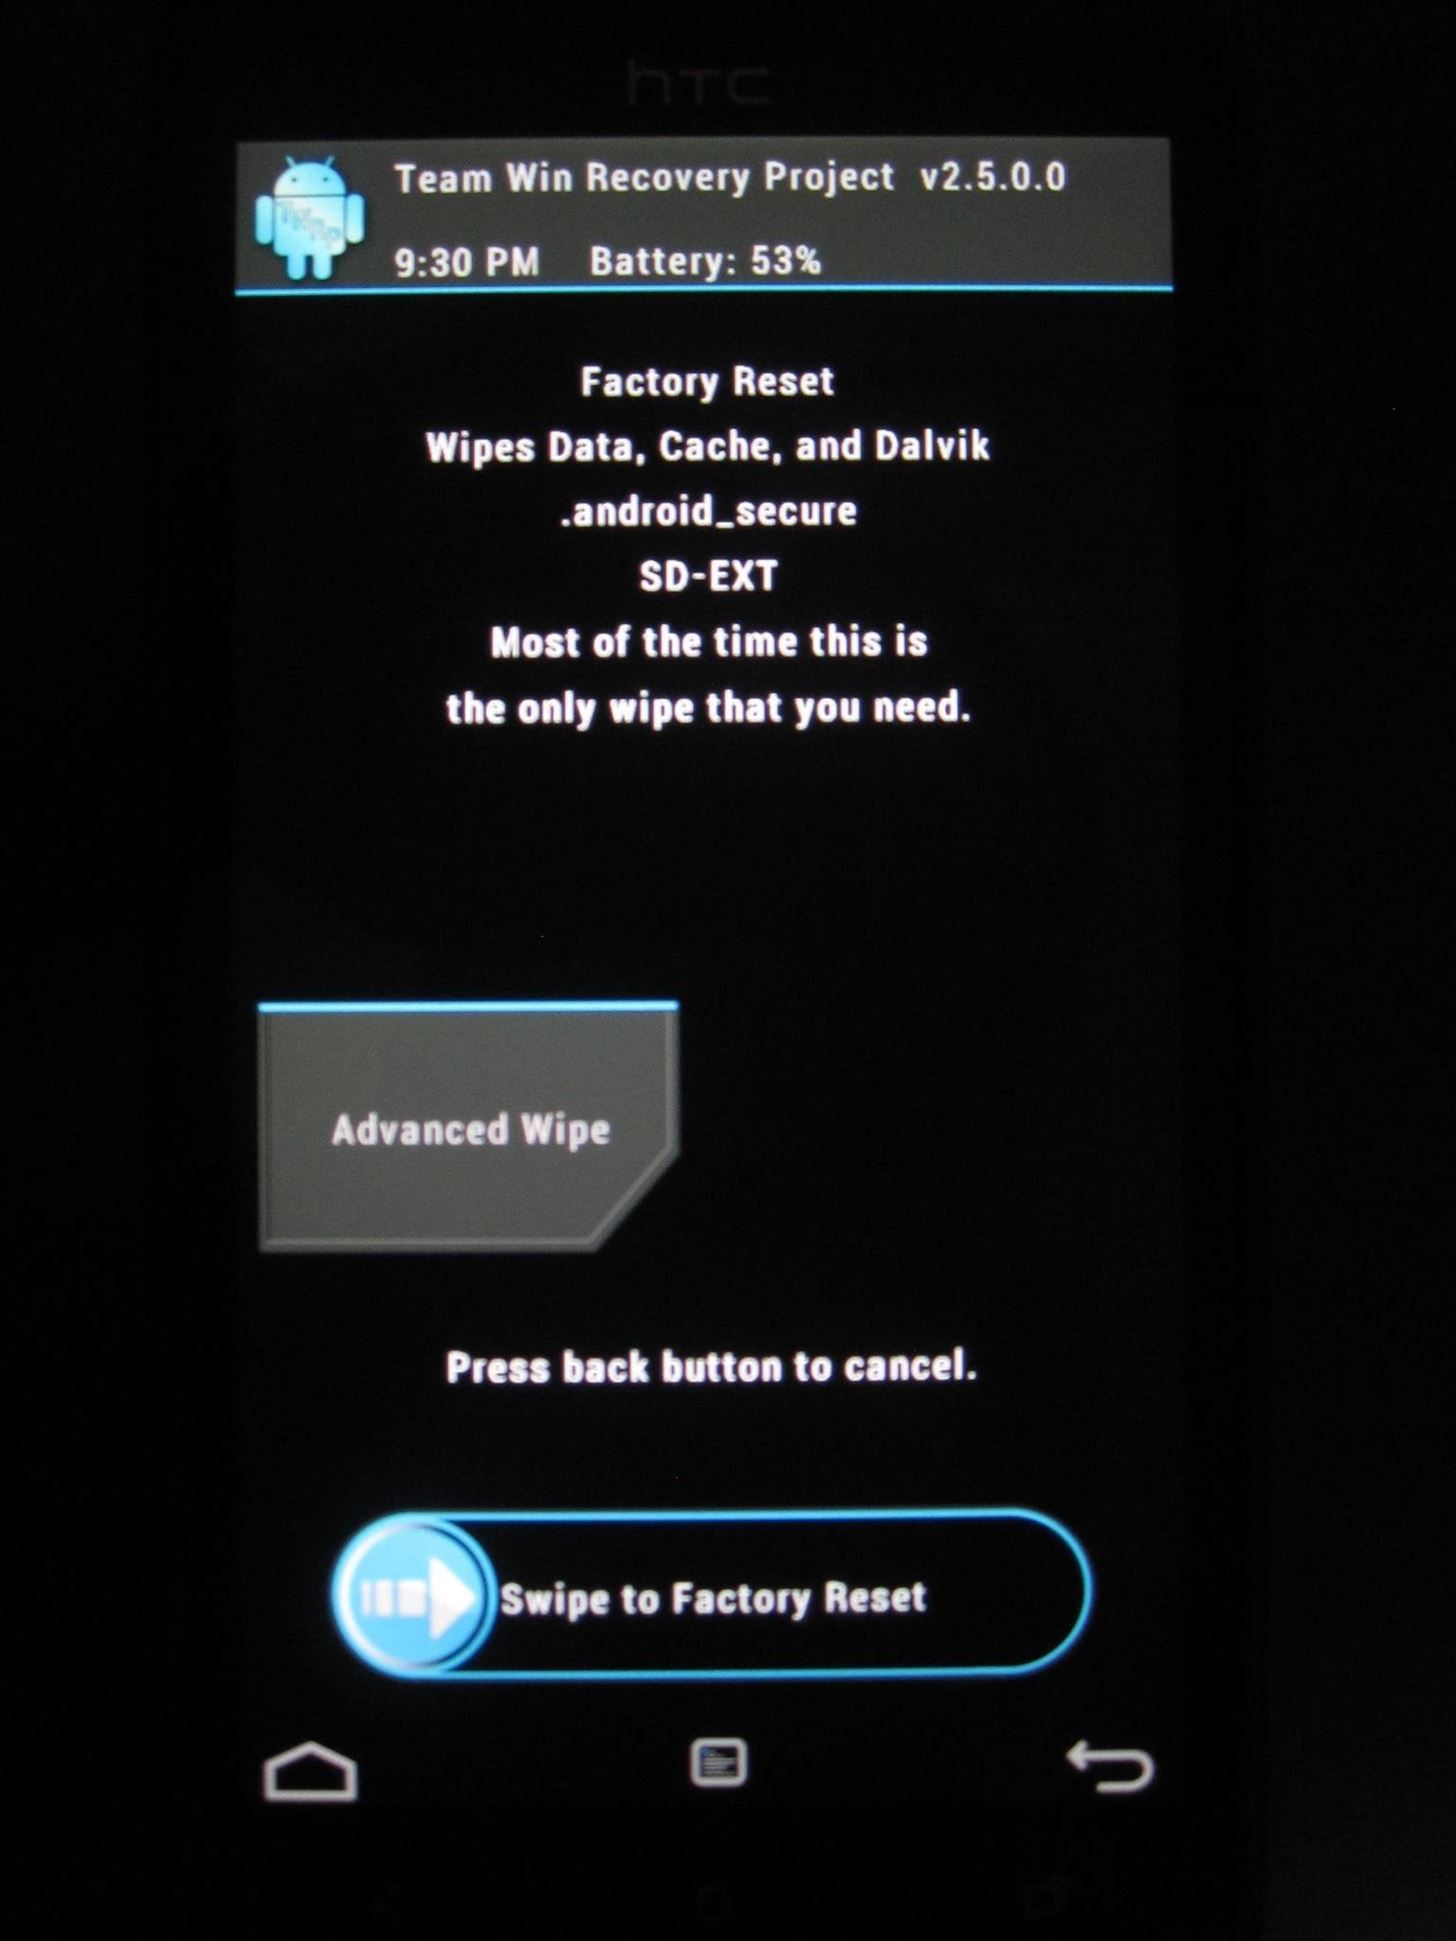
Step 1: Backup and Wipe
If you were using Google Wallet, remember to go in the app's settings and Reset it before continuing.
- Boot into the bootloader by holding Vol Down as you reboot the phone, then select RECOVERY and press Power.

- Tap Backup when TWRP loads.
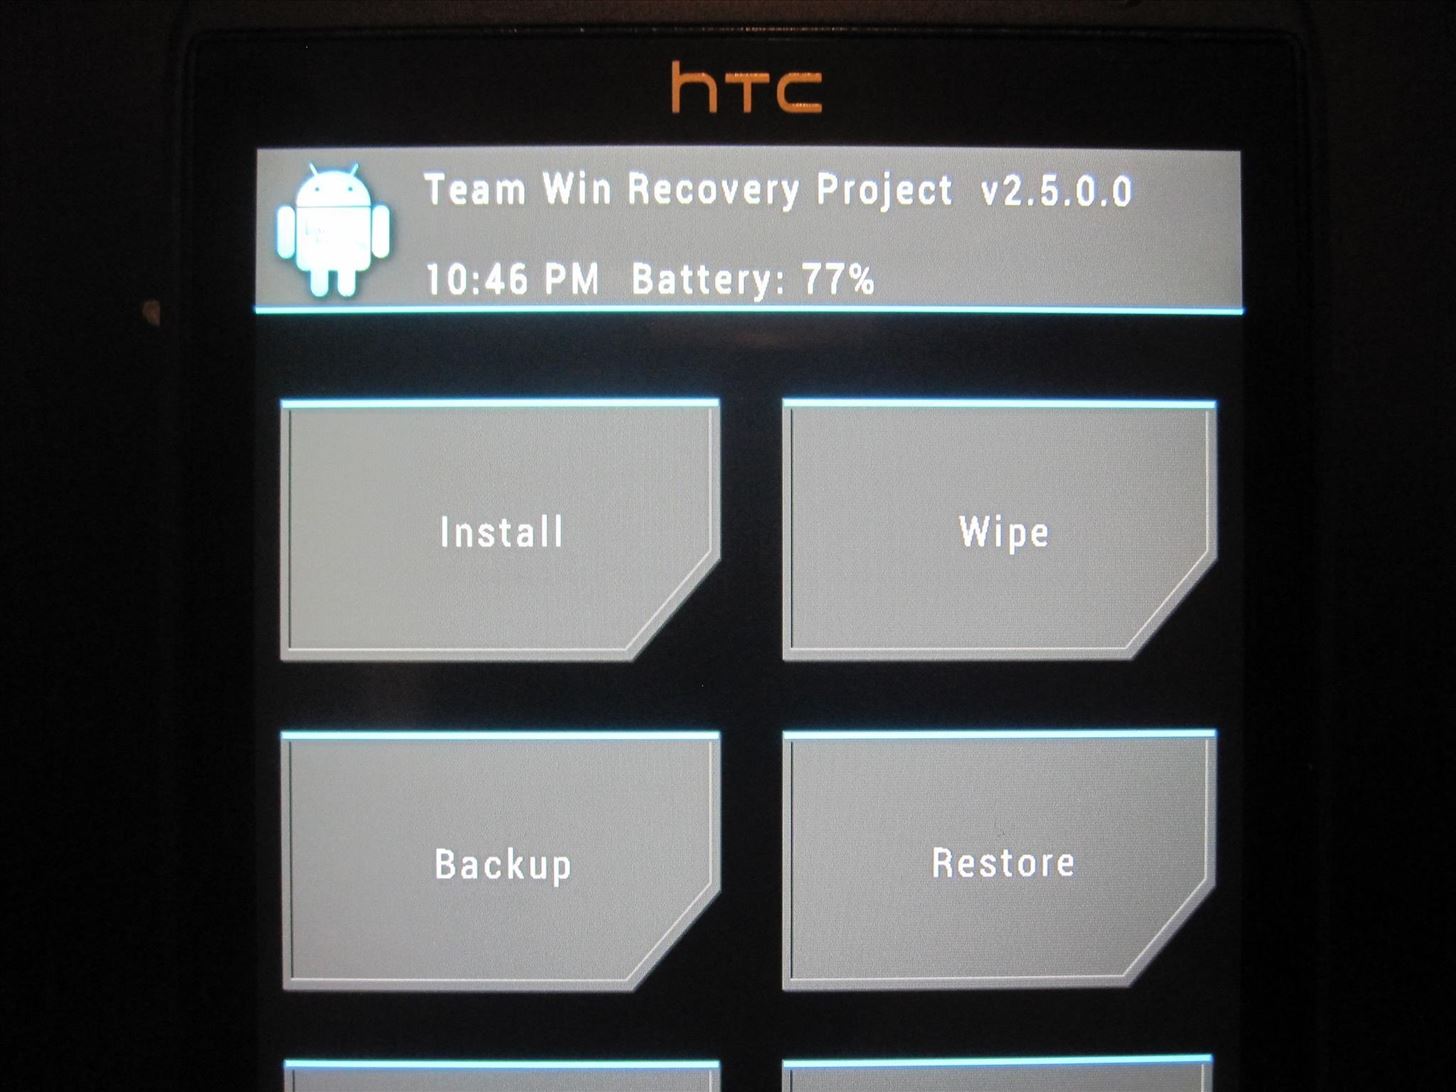
- Select anything additional you want to keep, but leave the defaults, then swipe to confirm.

- When it's finished, go back to the main menu and tap Wipe, then swipe to confirm.
Step 2: Flash the ROM and Google Apps
- Back at the main menu, tap Install and navigate to the directory where you put the CyanogenMod ROM and Google Apps.

- Tap on the CyanogenMod .zip, but do not swipe to confirm. Instead, tap Add More Zips.

- Now tap on the Google Apps .zip, then swipe to confirm.

- Finally, at the main menu, tap Reboot, then Bootloader.
Step 3: Flash the Kernel
- At the bootloader, select FASTBOOT and press Power.
- Connect your phone to your computer with a USB cable.
- Open up a command prompt and navigate to your SDK directory.

- Type the following command: fastboot flash boot boot.img
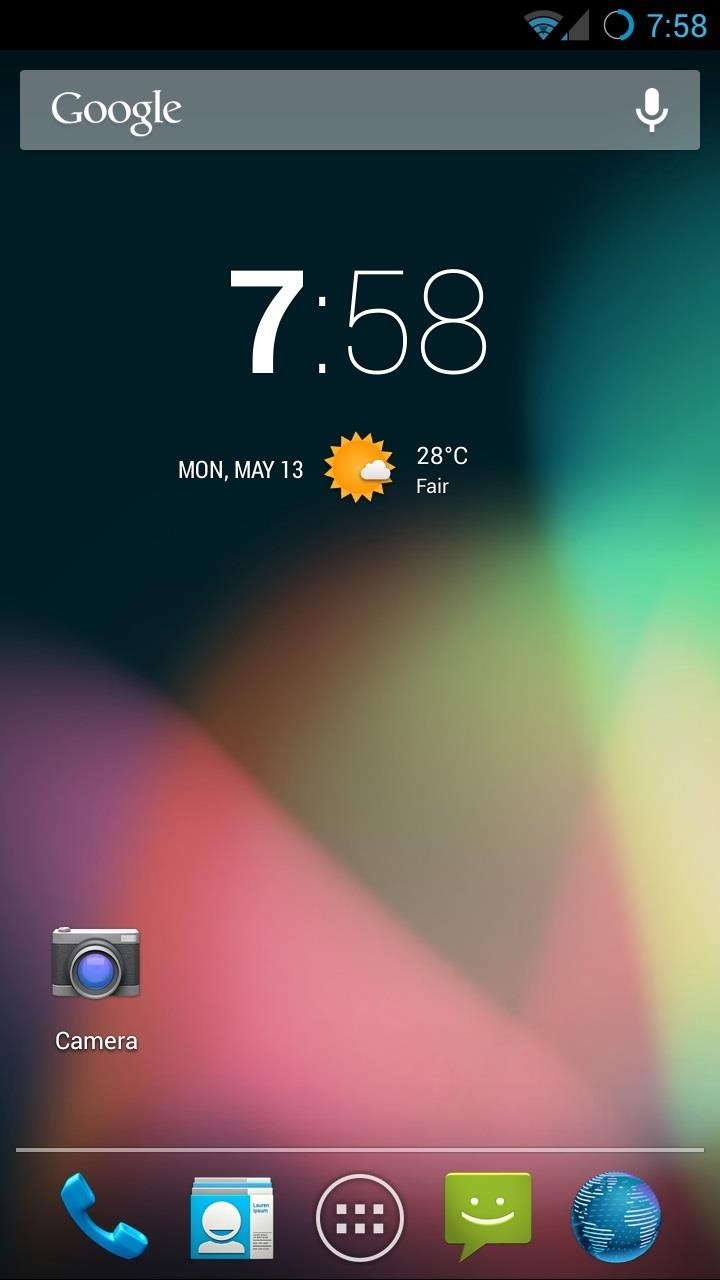
Now, just reboot your phone and enjoy Android as it was meant to be!
Who needs a wand? Unlock your magical powers and transform yourself from a Muggle into a Wizard or Witch just by using your Android phone. See how:


Be the First to Comment
Share Your Thoughts