
When Google released the Nexus 5X and Nexus 6P, they added official support for fingerprint scanning to Android's main code base. On the surface, this was done to ensure that the fingerprint scanner in their own devices could be used to its full extent, but because it was added to AOSP, this meant that the new Fingerprint API could be used by any Android manufacturer.
As a result, we now have a unified fingerprint-scanning interface on Android, which developers can plug into when creating third-party apps. One of the first developers to jump on board was Rick Clephas, whose app adds an extra layer of security to any app on your device by requiring a fingerprint on launch. So if you're tired of nosy friends poking around in your phone, read on below to see how to lock any app using your fingerprint.
Requirements
- fingerprint scanner
- Android 6.0 Marshmallow or higher
Note that Samsung devices running Android 4.3 to 5.1 will still work using Samsung's API, and those on Marshmallow will use Google's API.
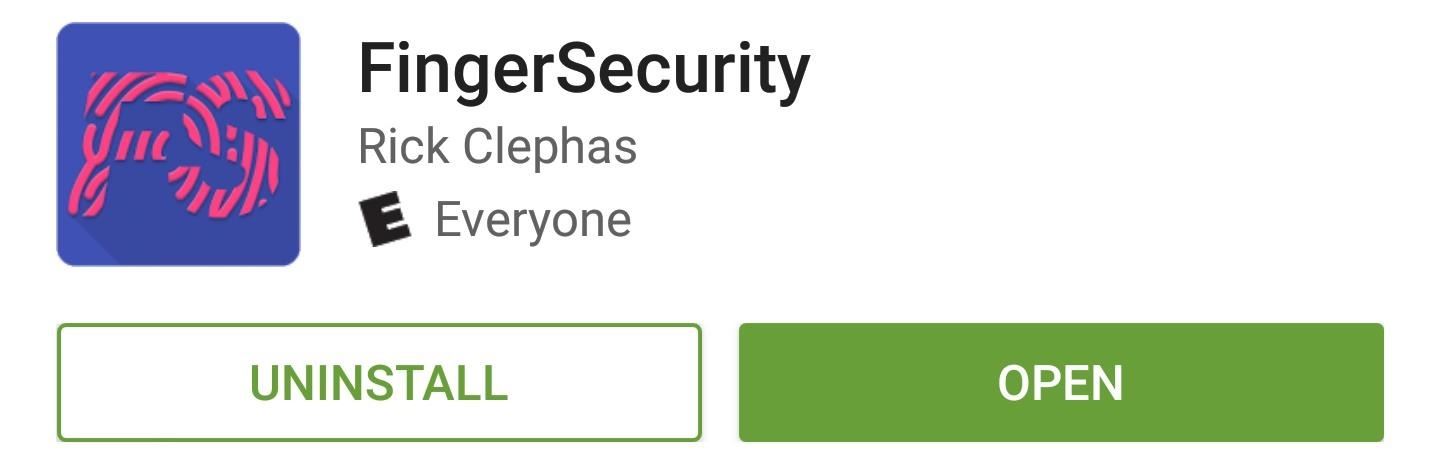
Step 1: Install FingerSecurity
The app that will let you block access to any other app on your device using your fingerprint is called FingerSecurity, and it's available for free on the Google Play Store.
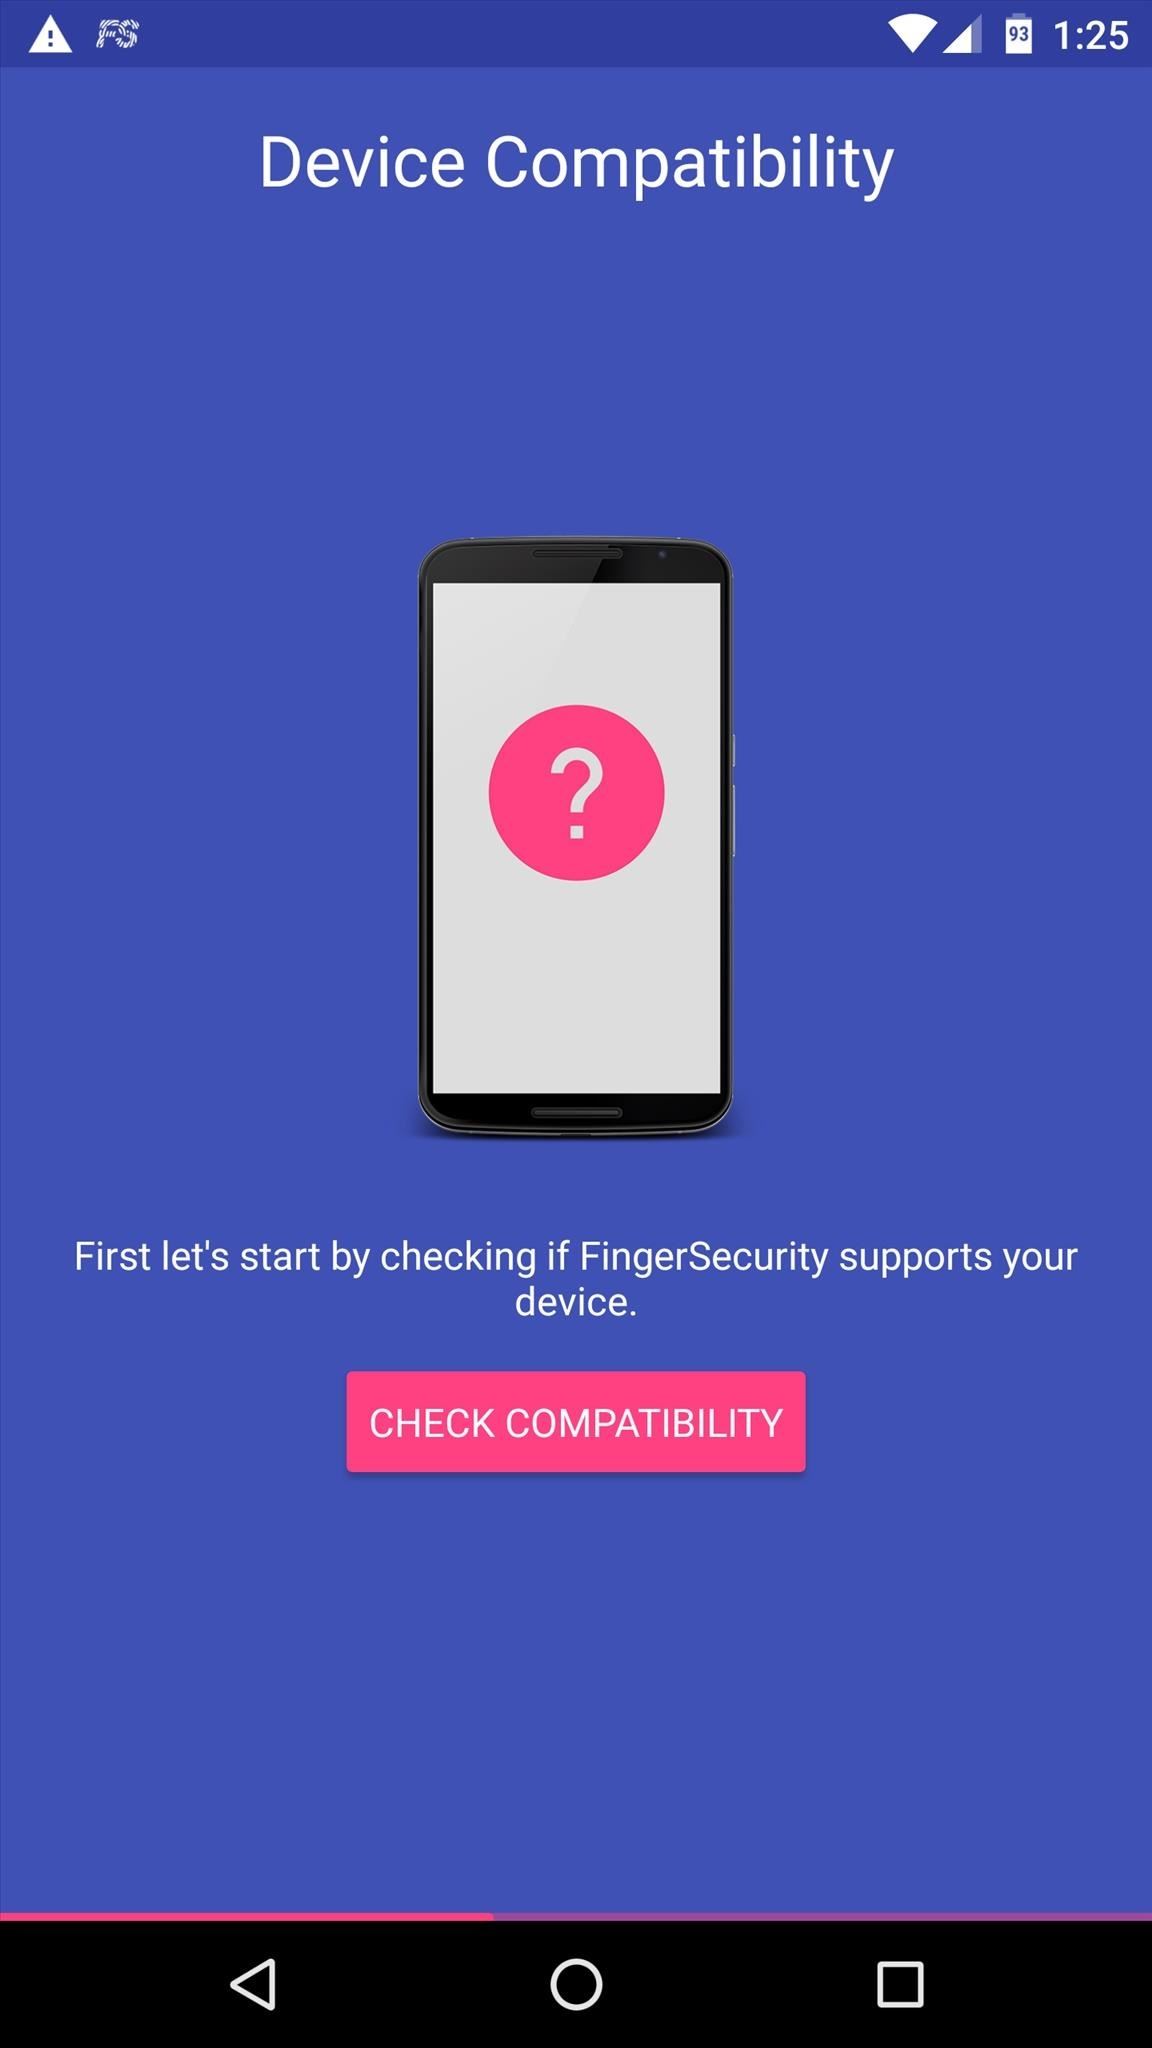
Step 2: Run Through Initial Setup
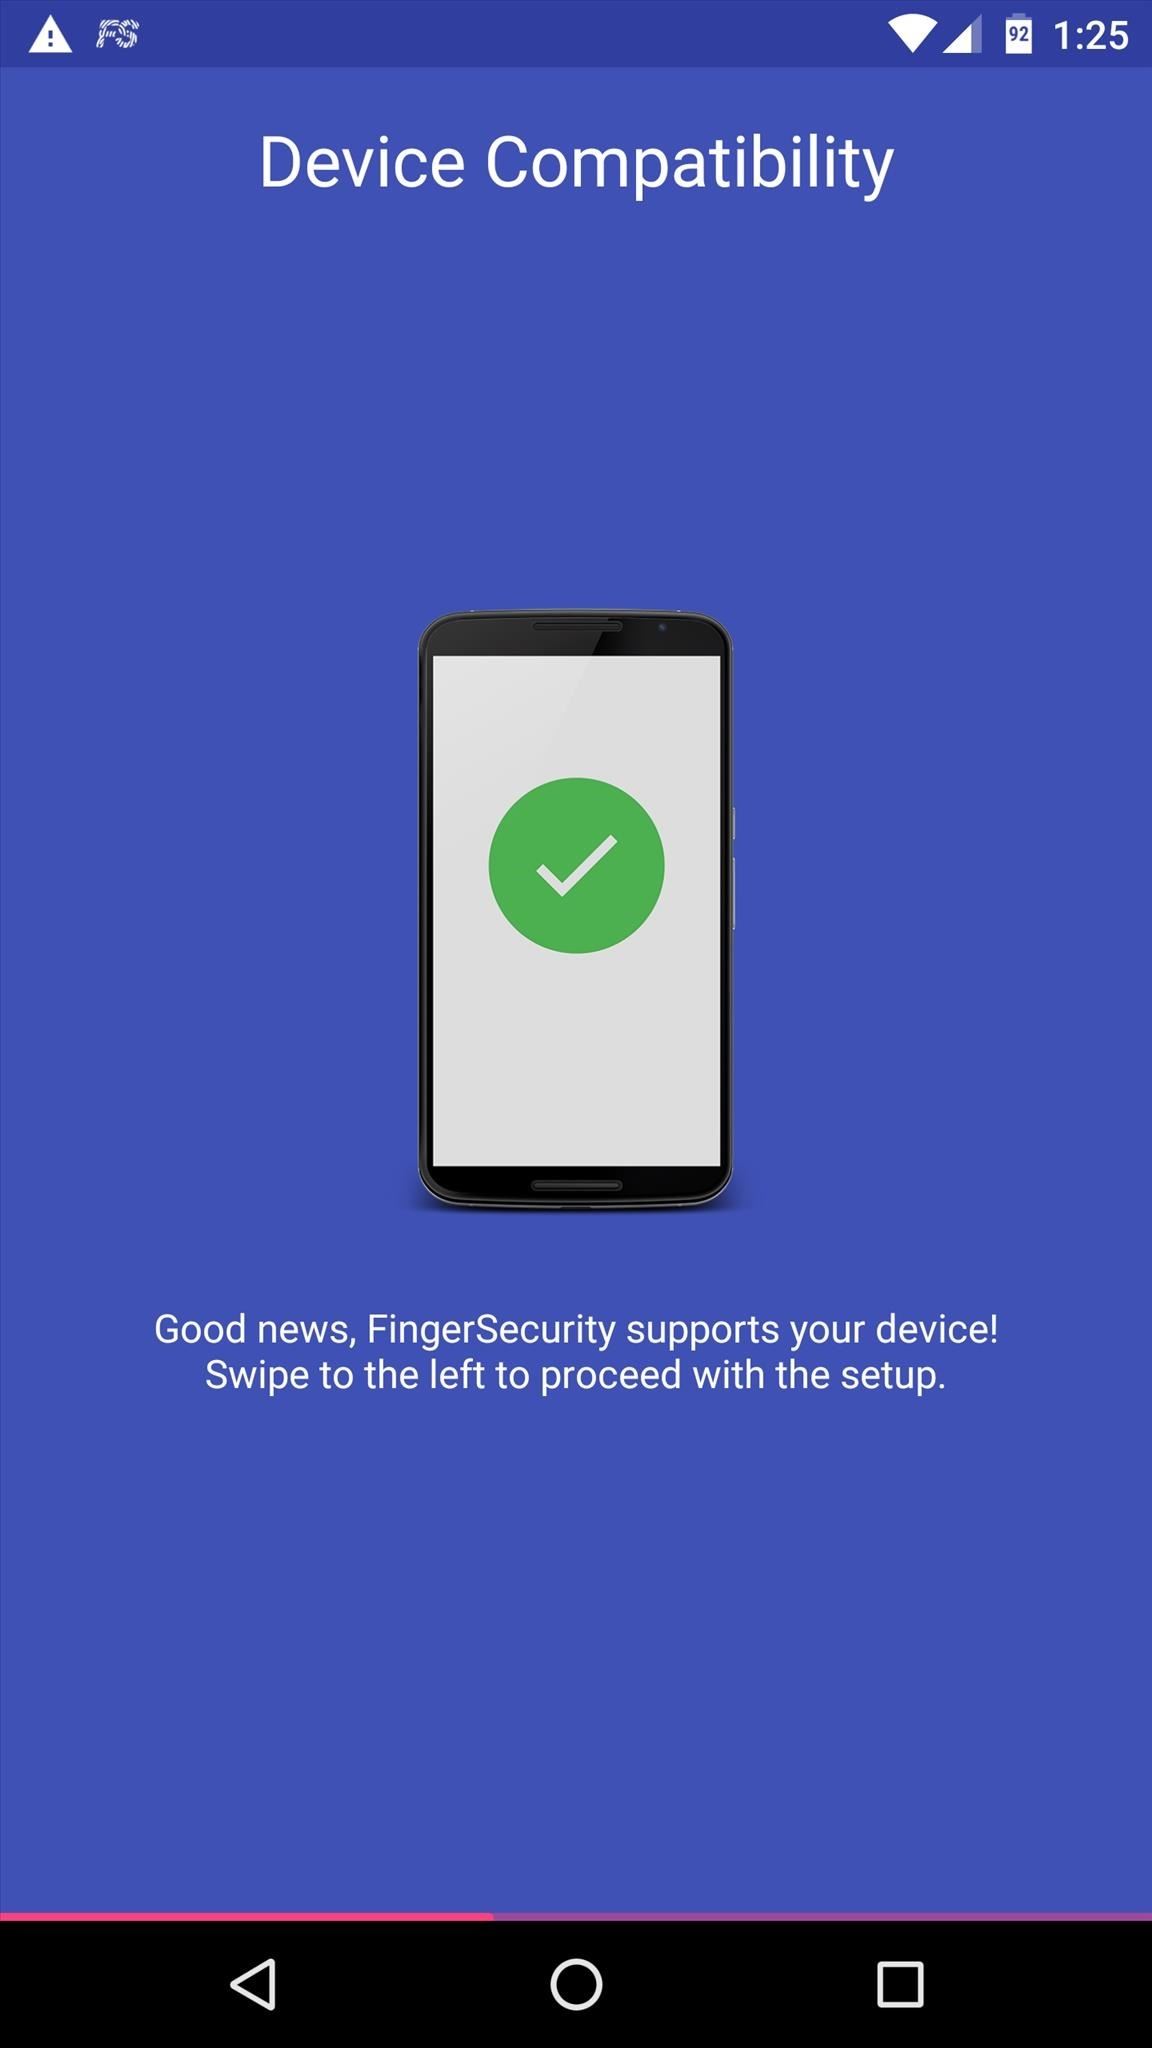
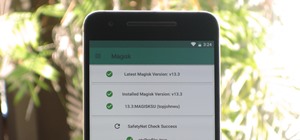
When you first launch FingerSecurity, you'll get a quick feature tour. On the second page of this tour, you'll get a chance to double-check your device's compatibility. Tap "Check Compatibility" here, and if you see a big green check mark, you're good to go.
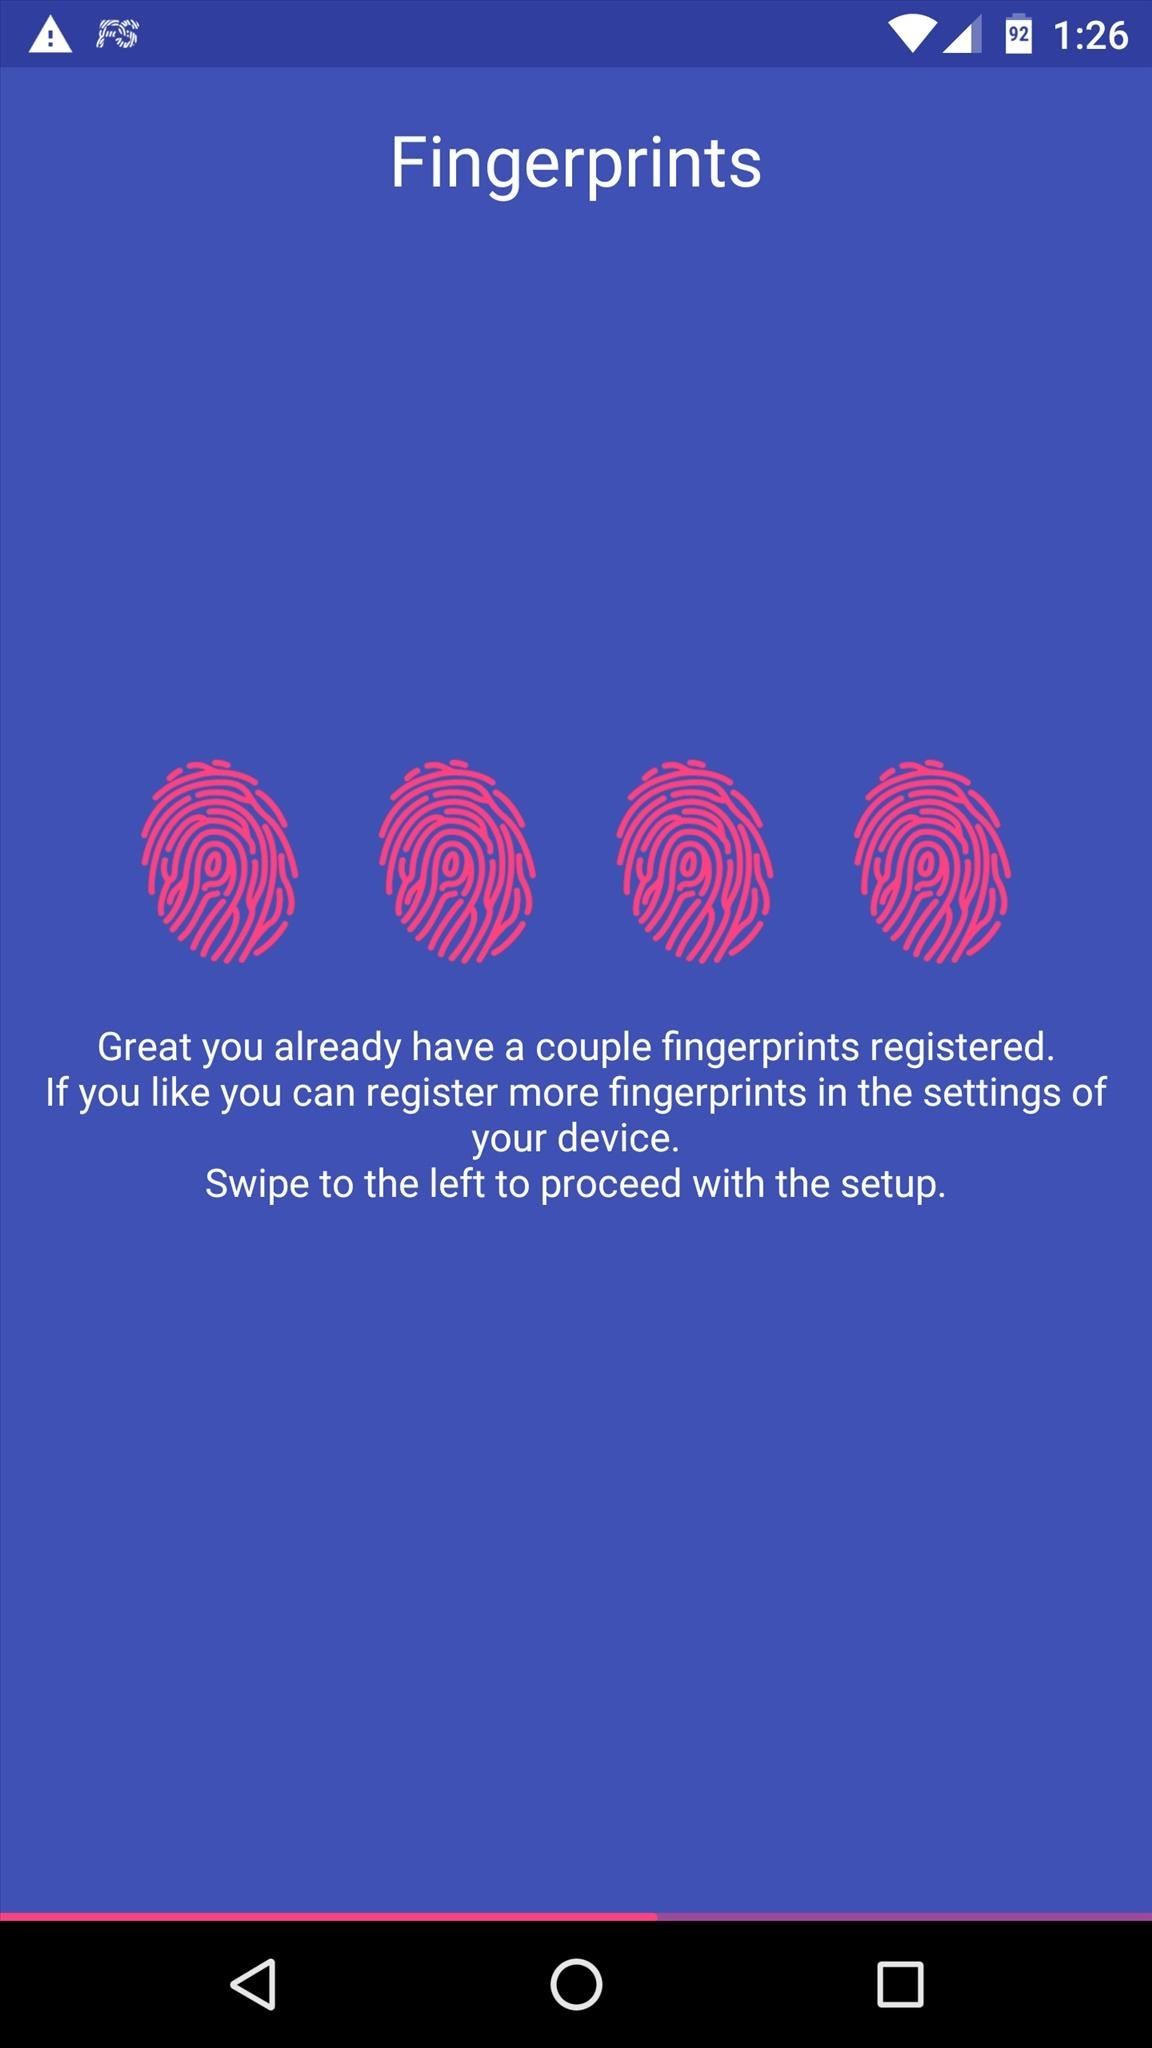
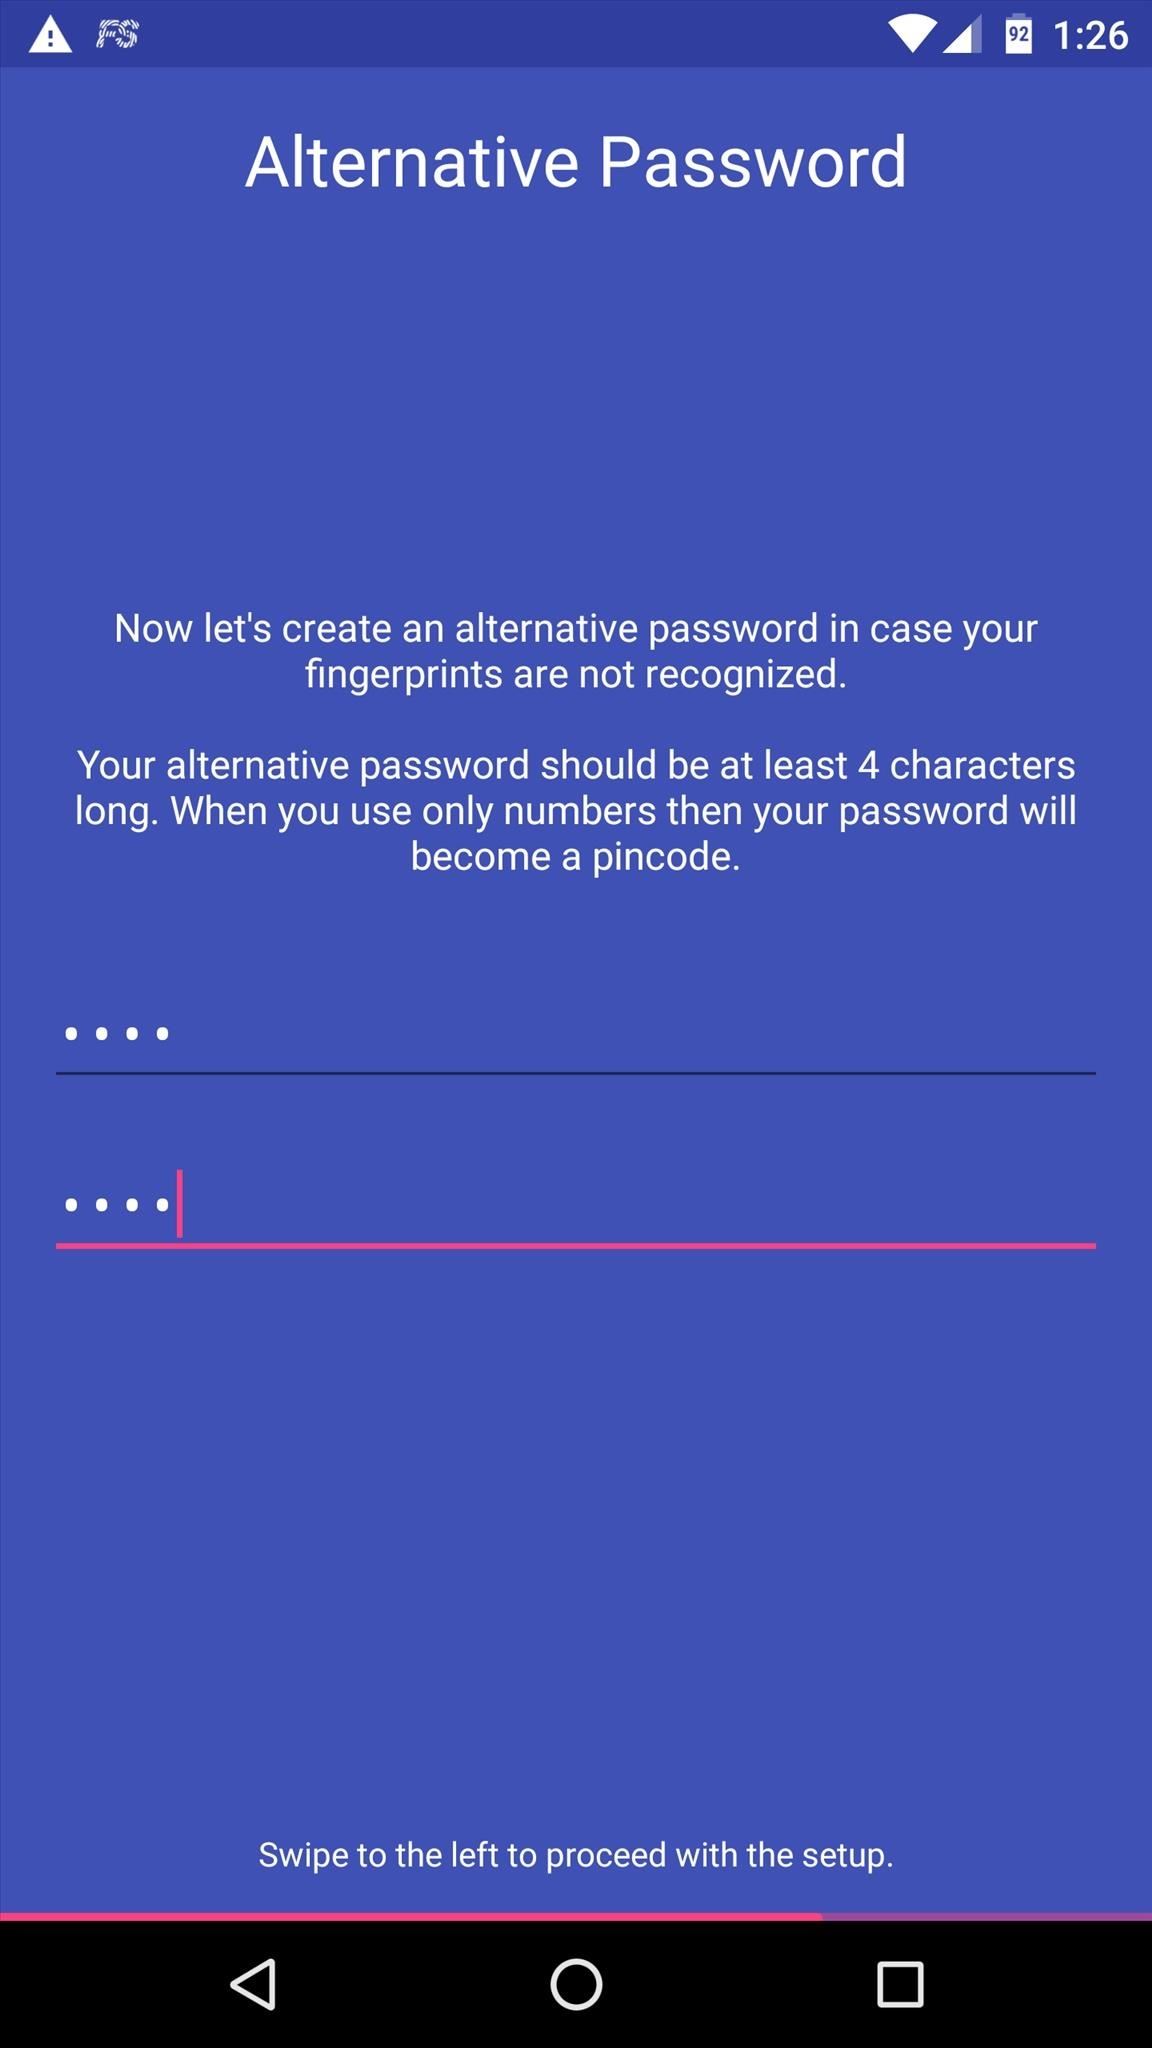
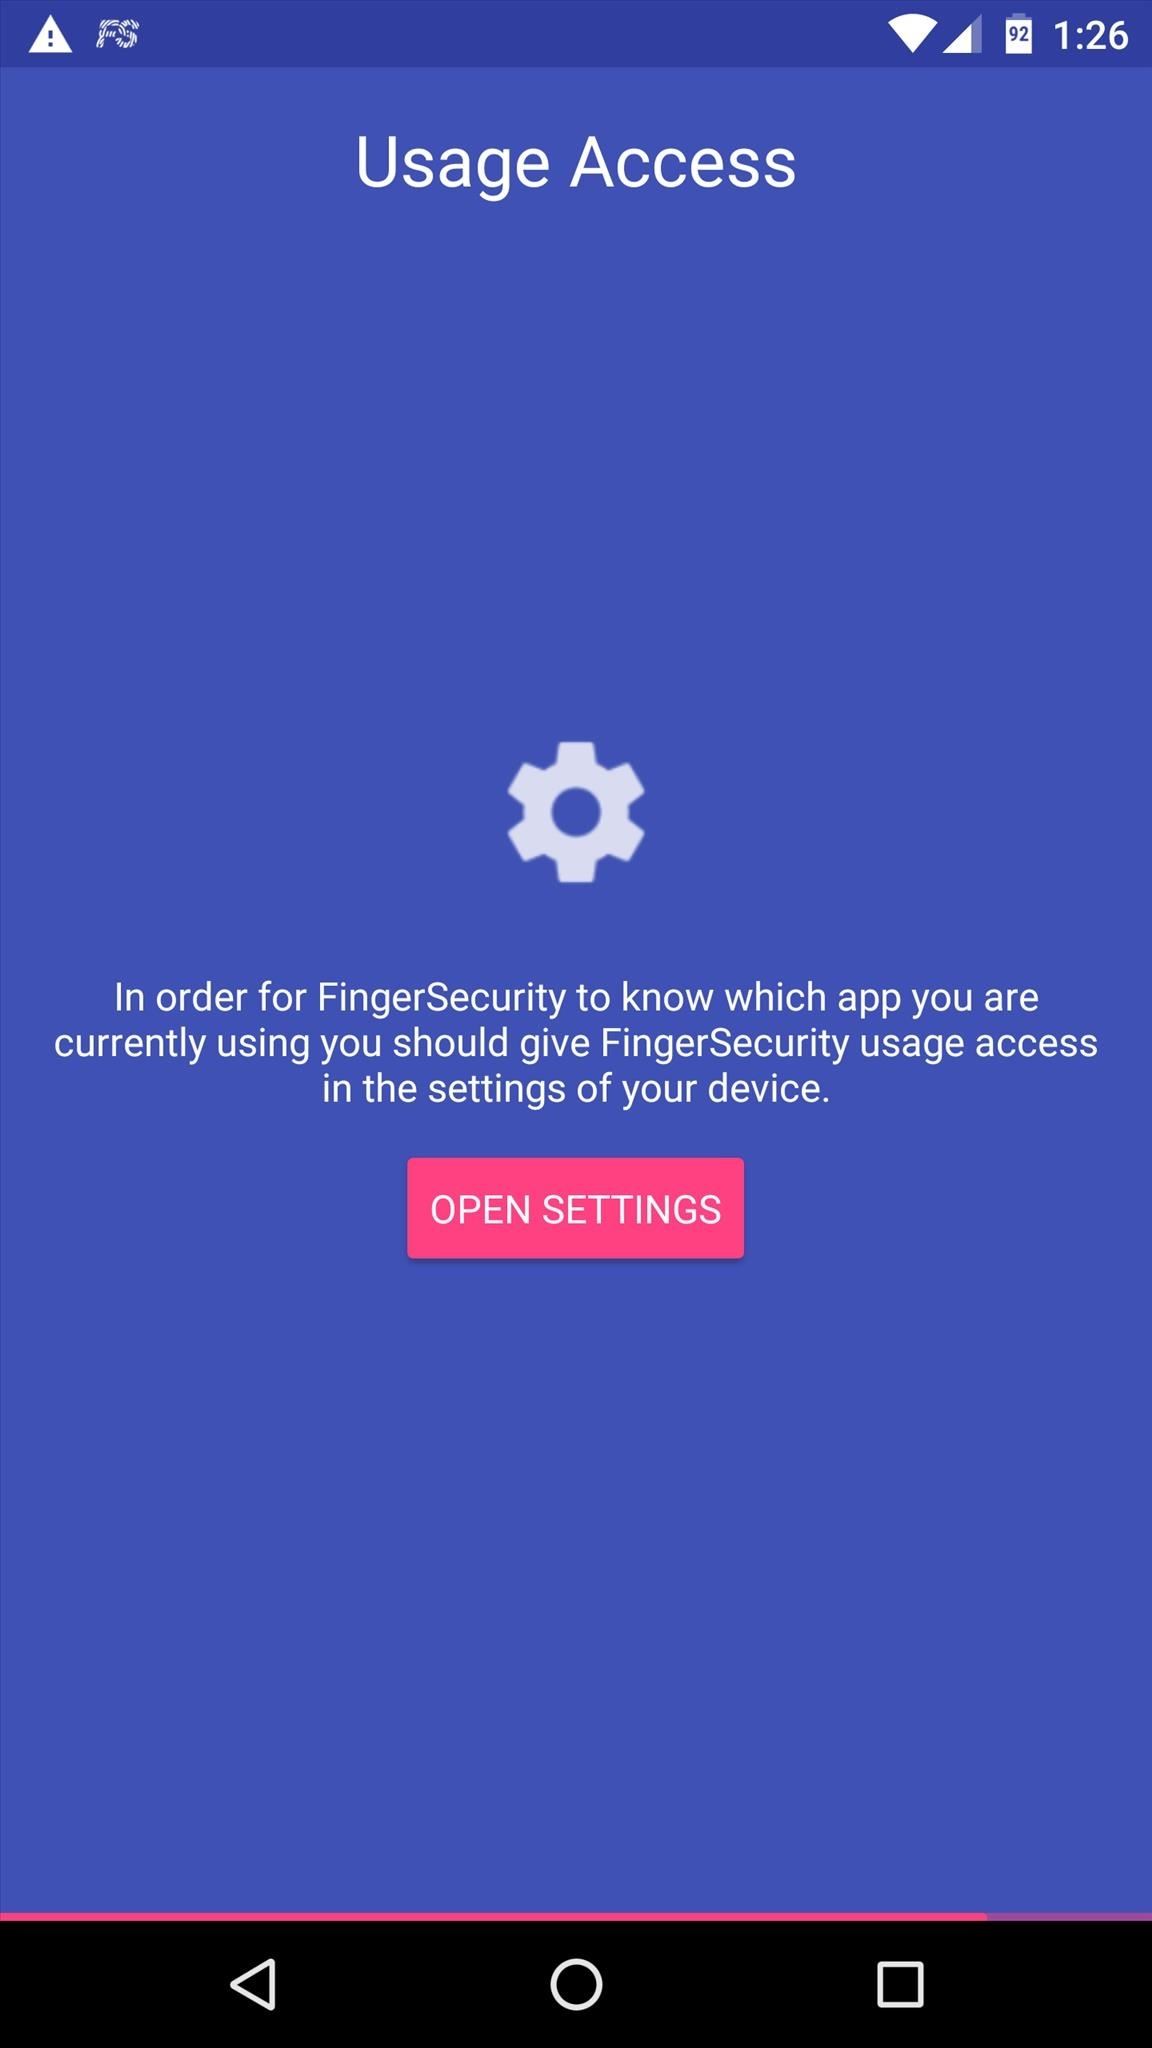
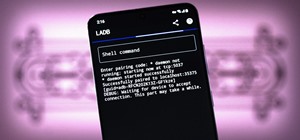
From here, the next page of the feature tour will prompt you to register fingerprints in your phone's settings under "Security" if you haven't already done so. Next up, you'll be asked to create a backup password, so take care of that. Finally, FingerSecurity will ask for "Usage Access." so tap "Open Settings" on this screen, then press "OK" on the subsequent menu.
Step 3: Enable Additional Security Options (Optional)
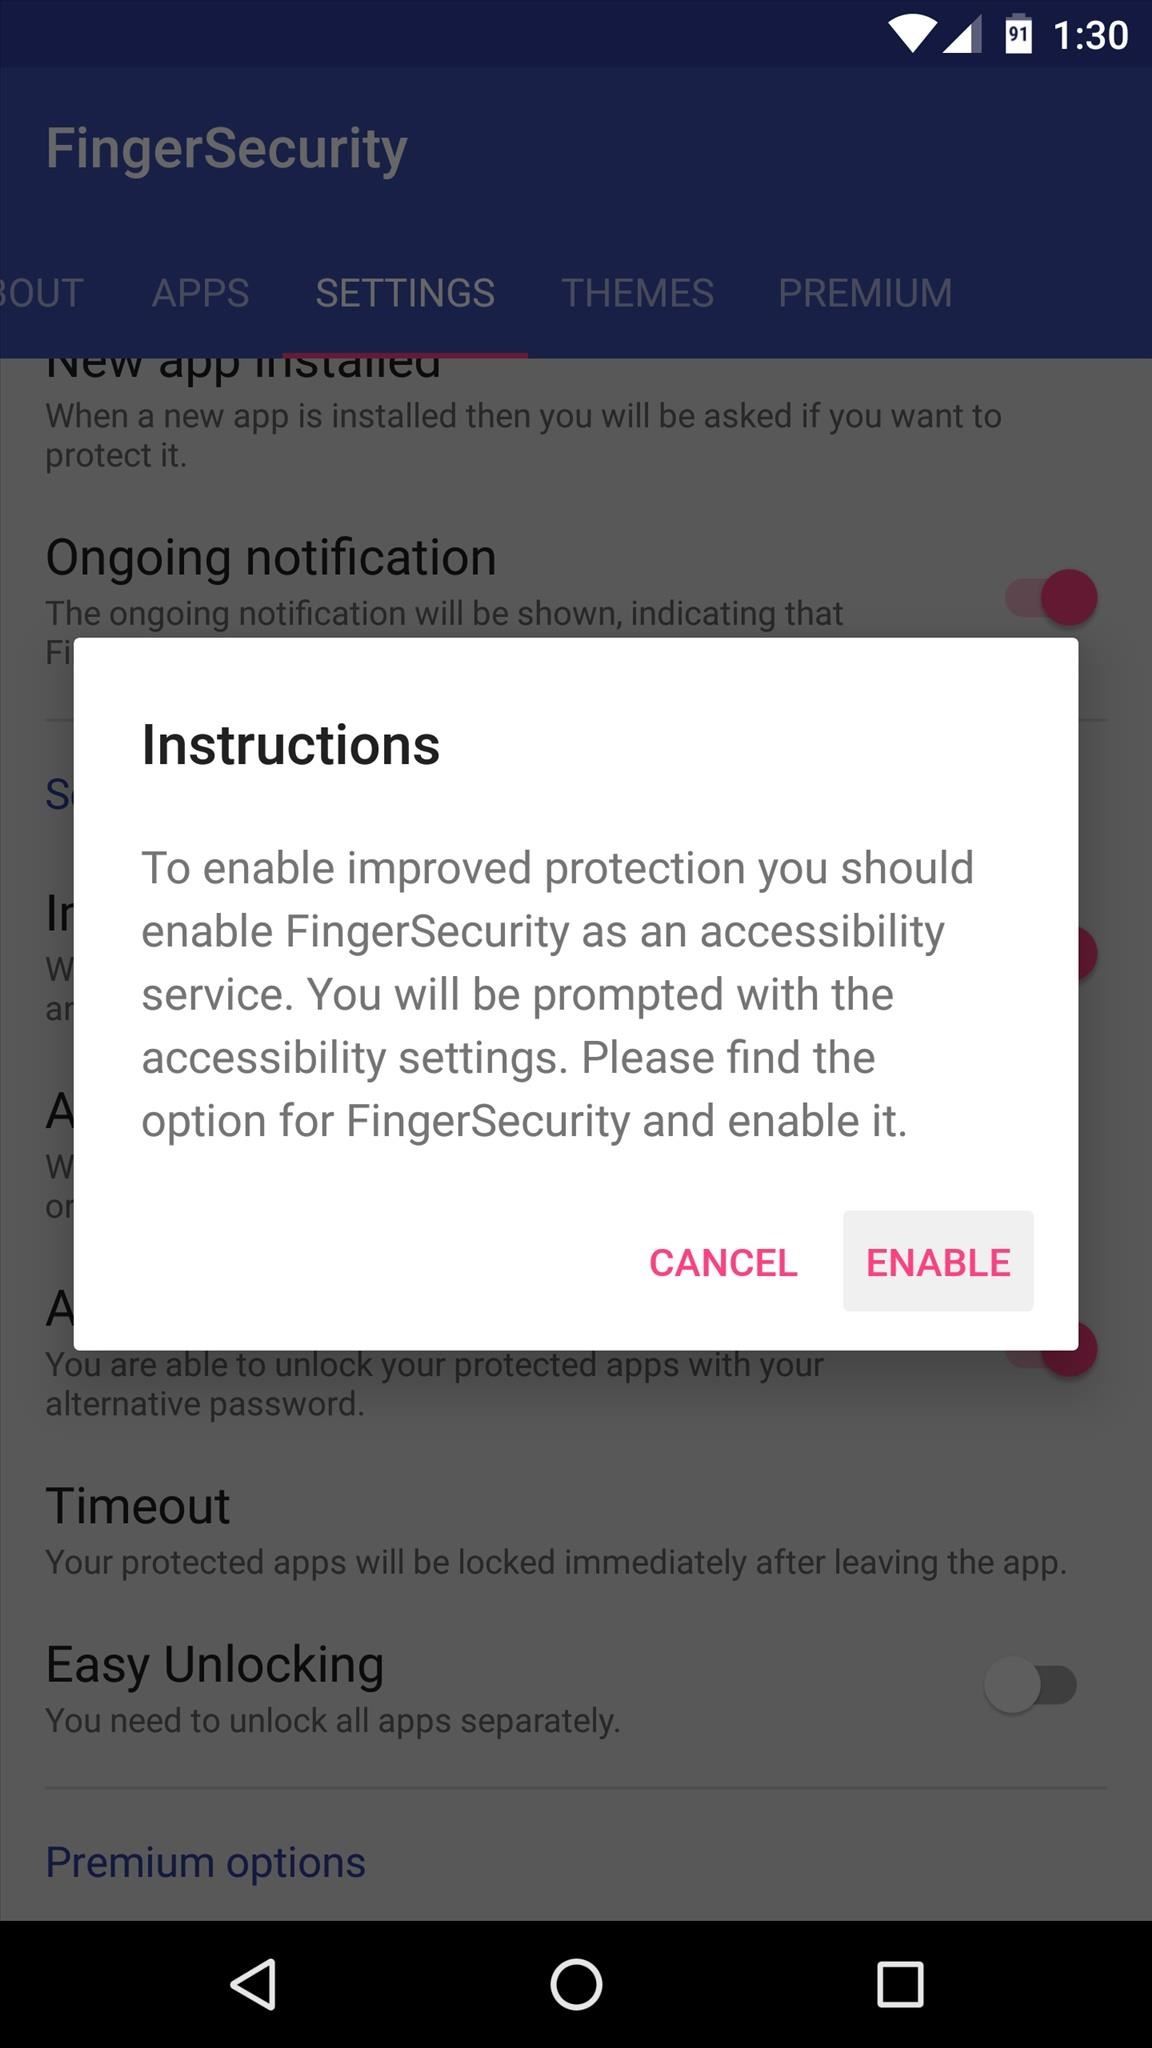
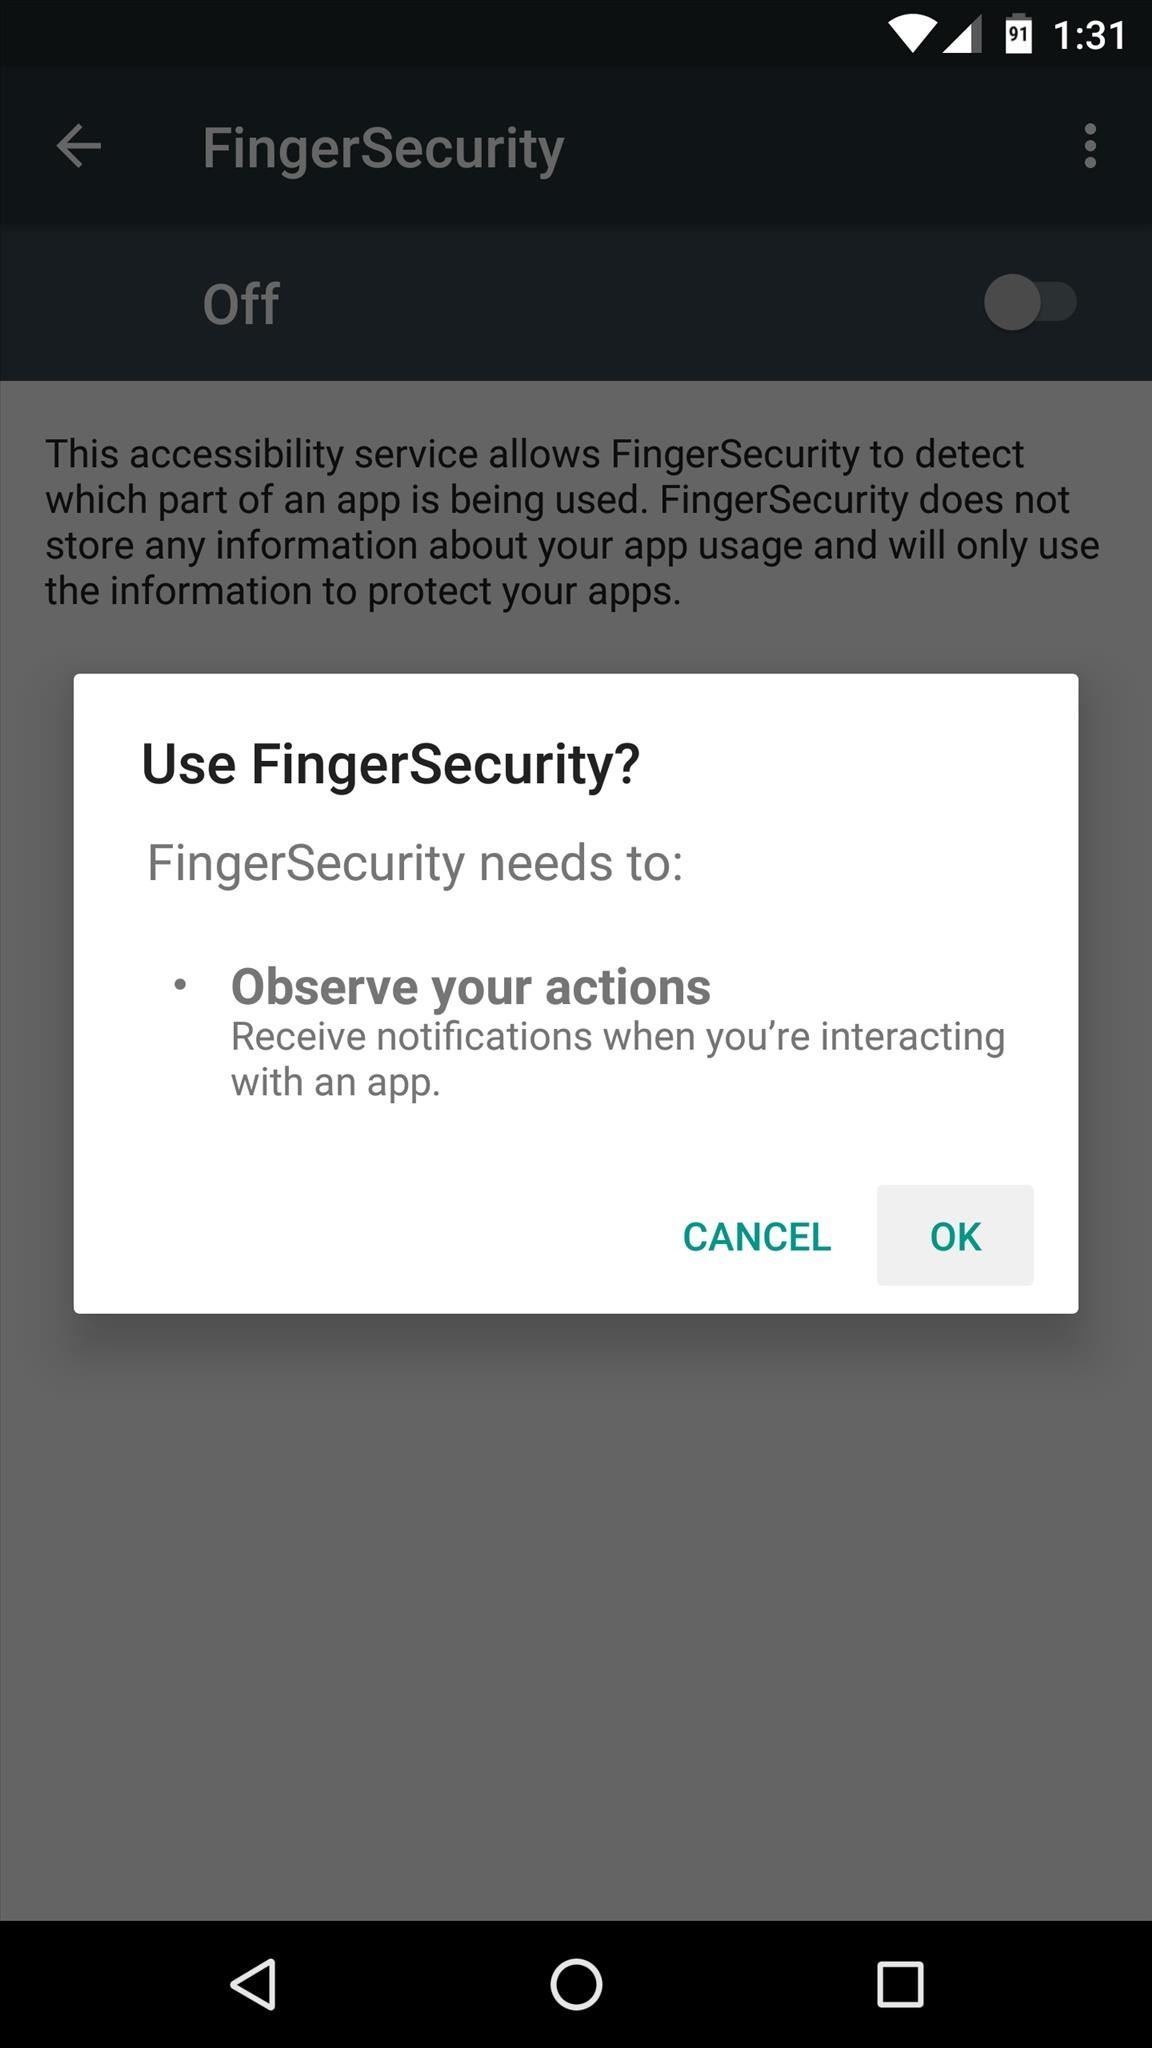
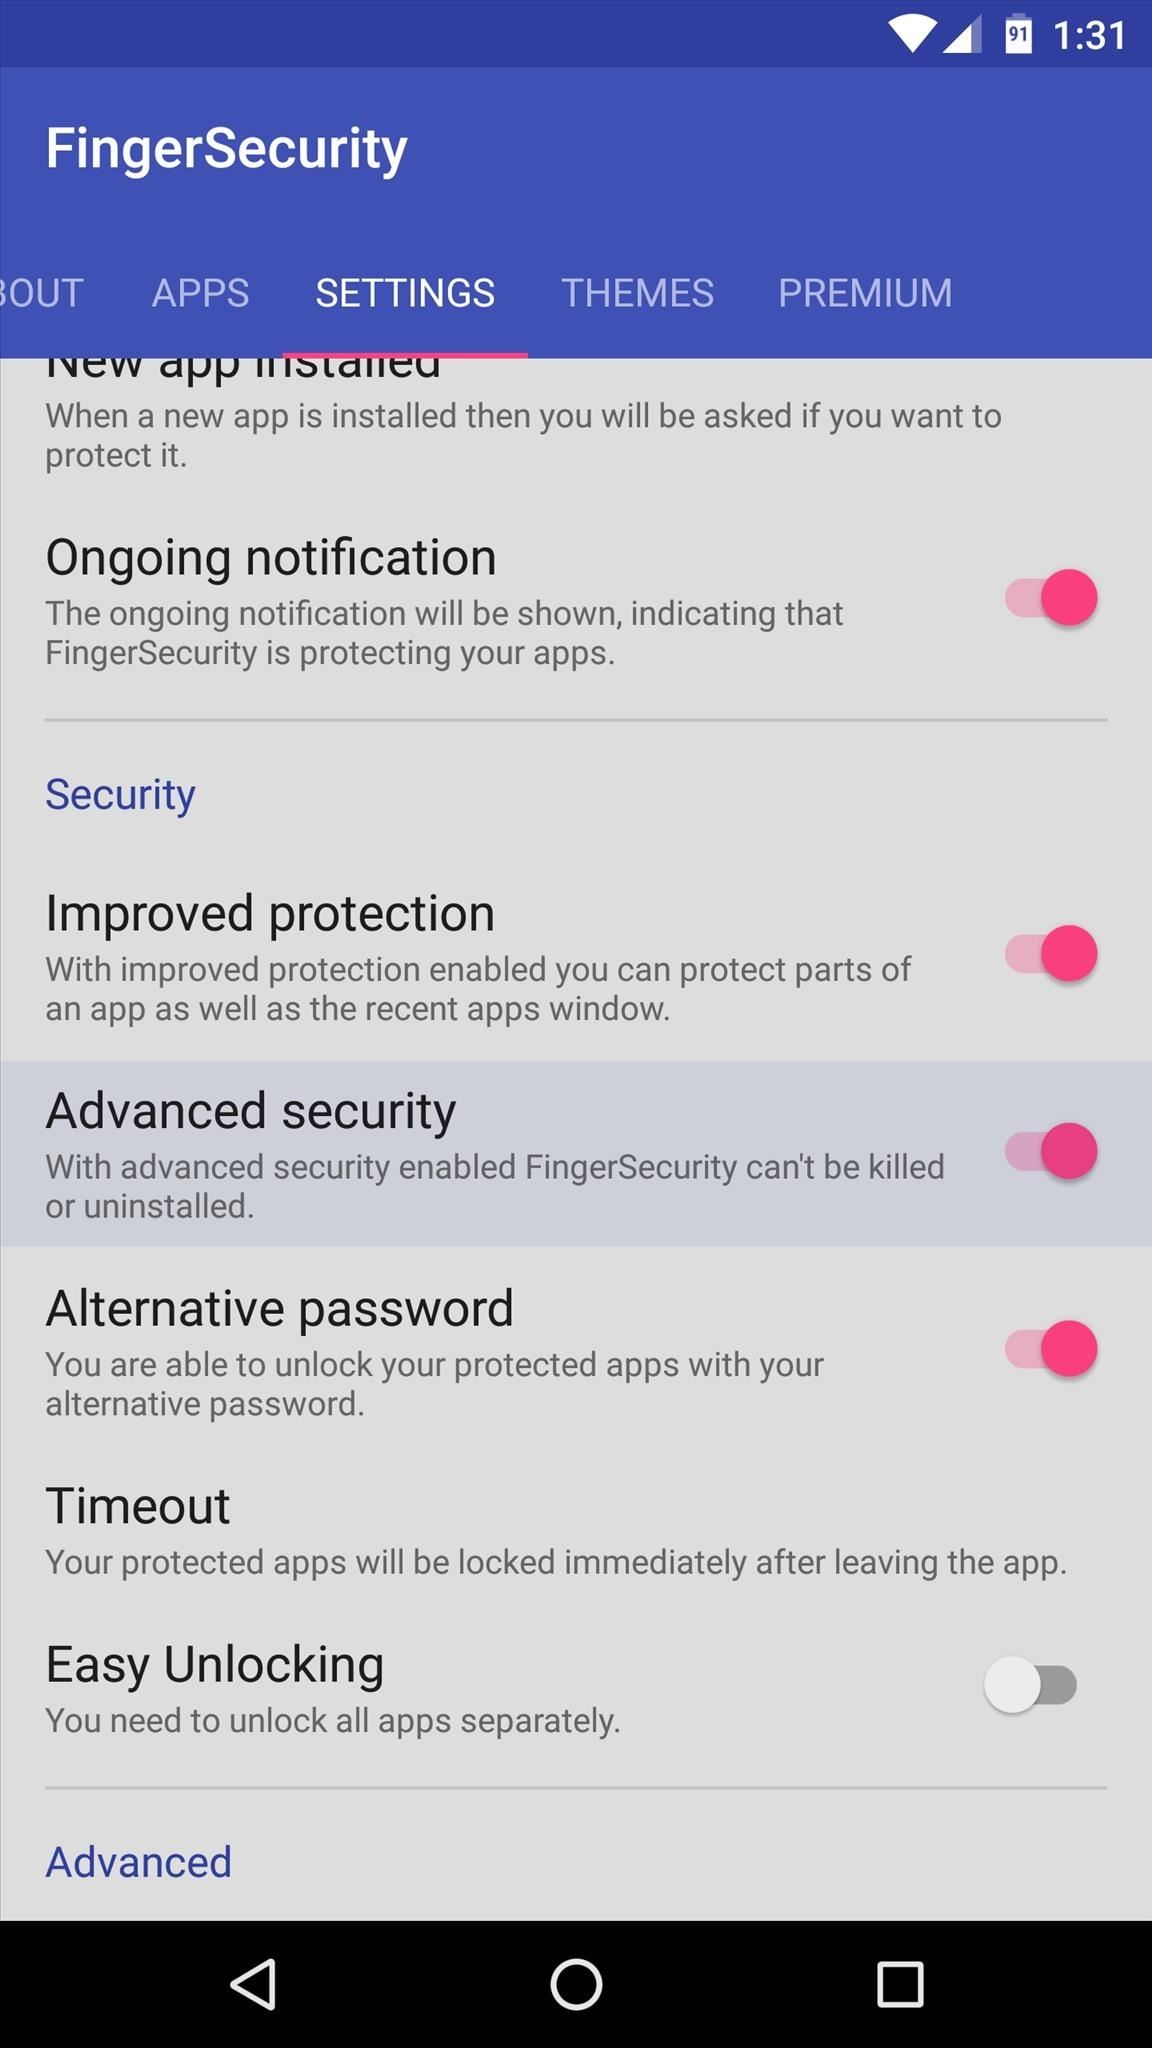
With the basics out of the way, you might want to consider beefing up security by enabling a pair of additional options. If you'd like to prevent access to only certain screens within your apps, enable the "Improved protection" option in FingerSecurity's Settings tab. From here, tap "Enable" on the popup, then select and enable the FingerSecurity entry on the following screen, and press "OK."
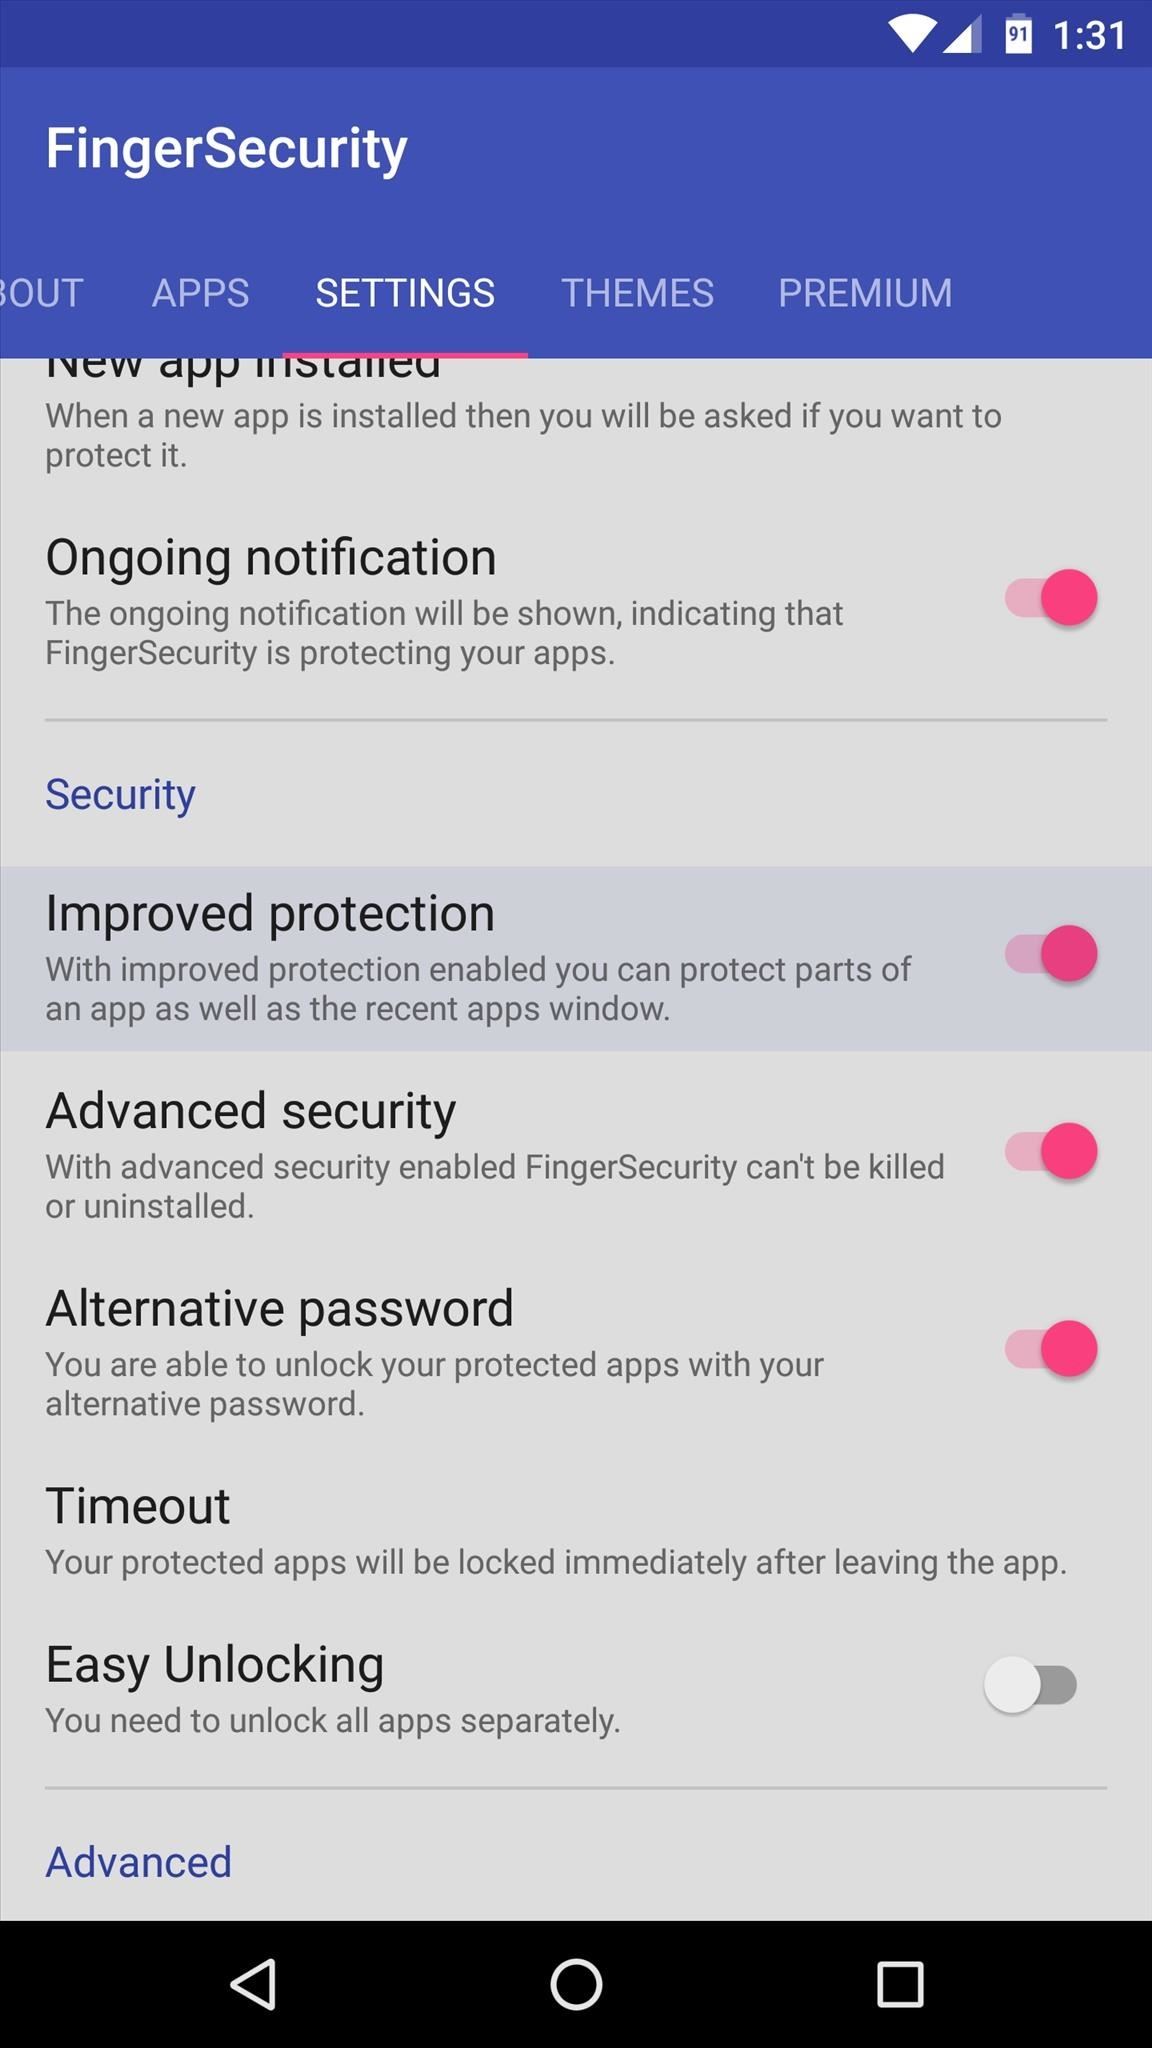
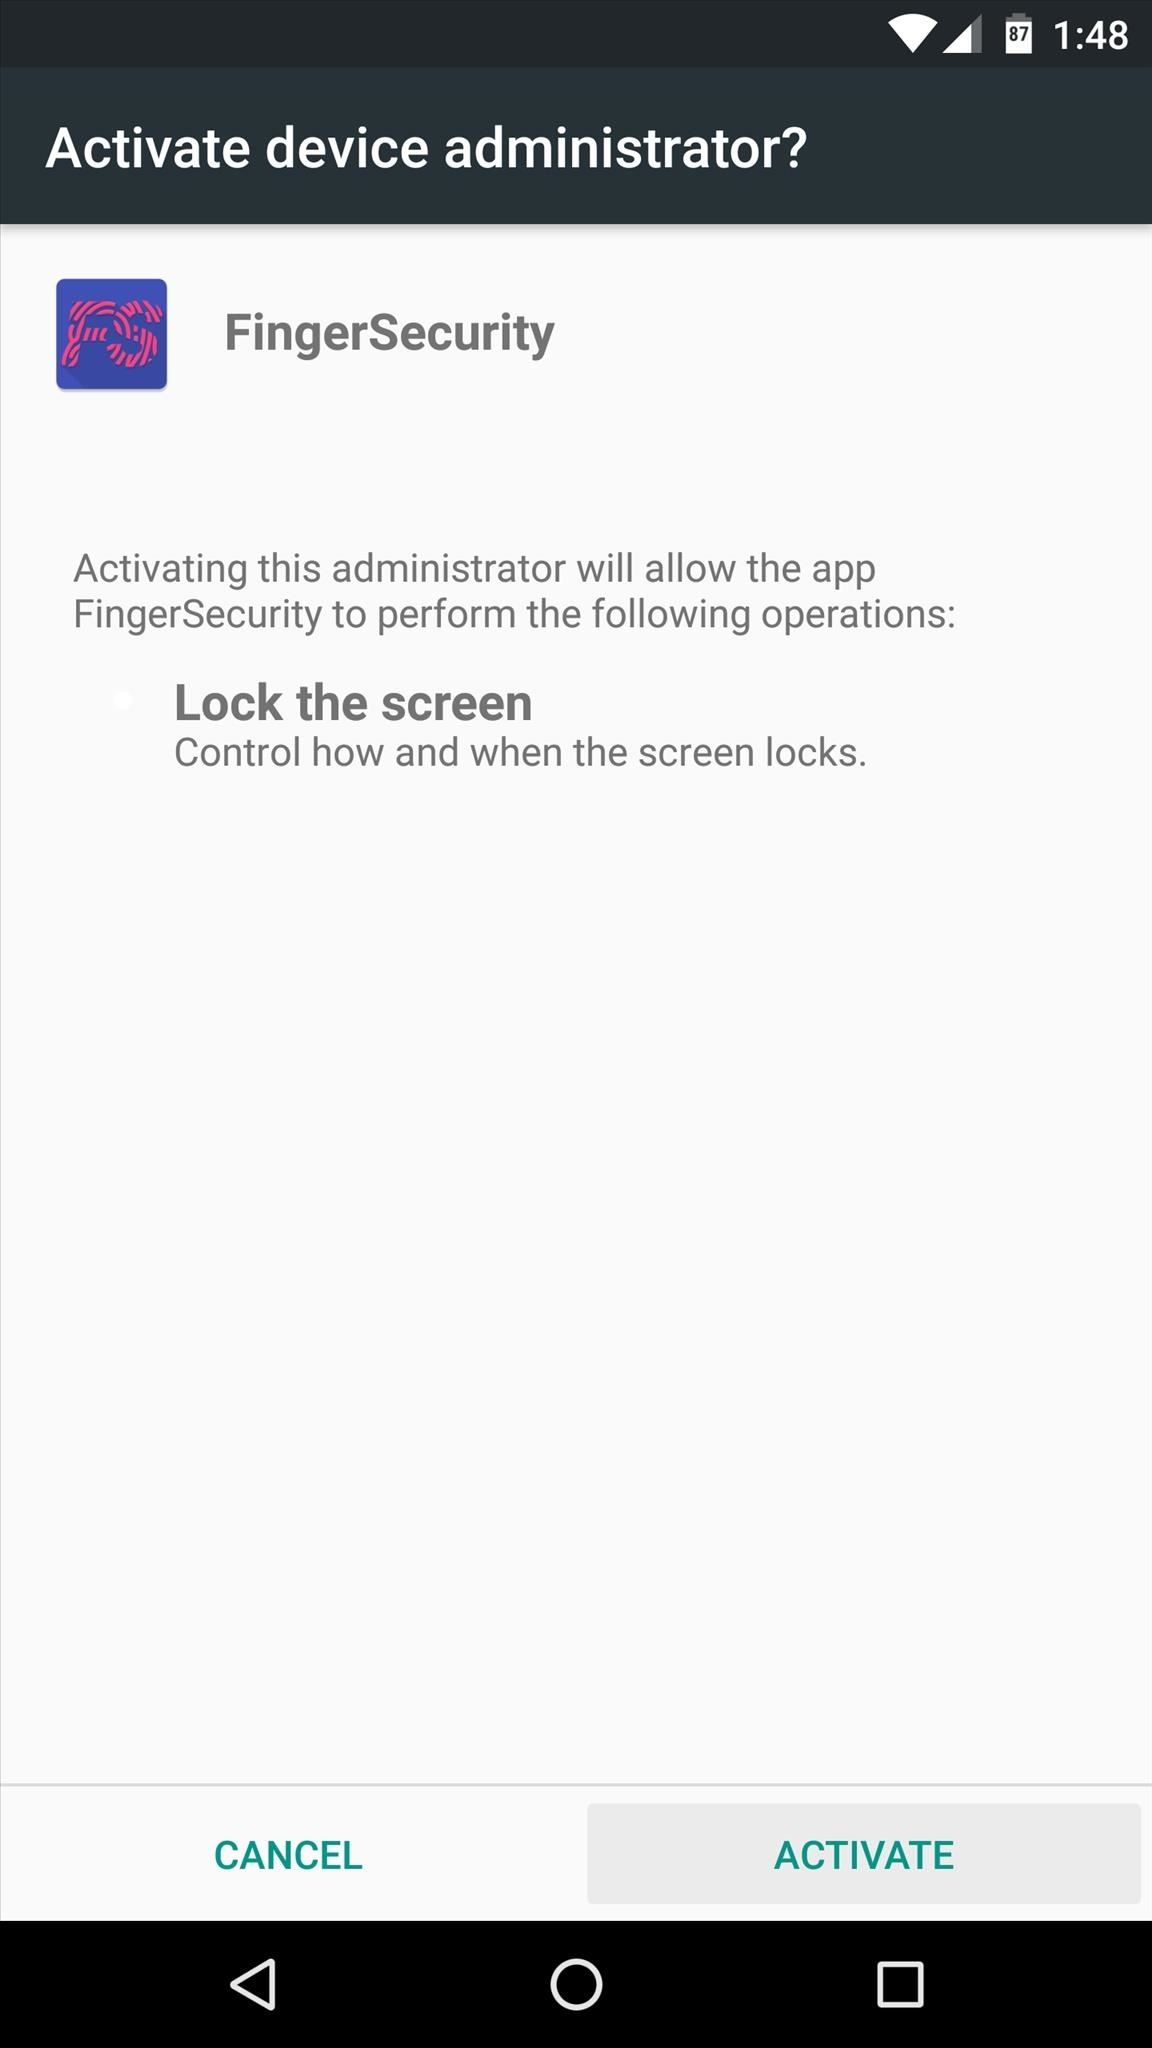
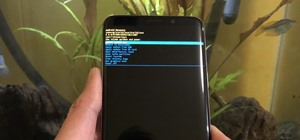
Next, to prevent someone from being able to circumvent the fingerprint lock on your apps, enable the "Advanced security" option, then press "Activate" on the next screen. This will turn FingerSecurity into a device administrator, which means the app can't be uninstalled or closed unless you open this settings menu, scan your fingerprint, and disable this option again.
Step 4: Lock Apps & Activities
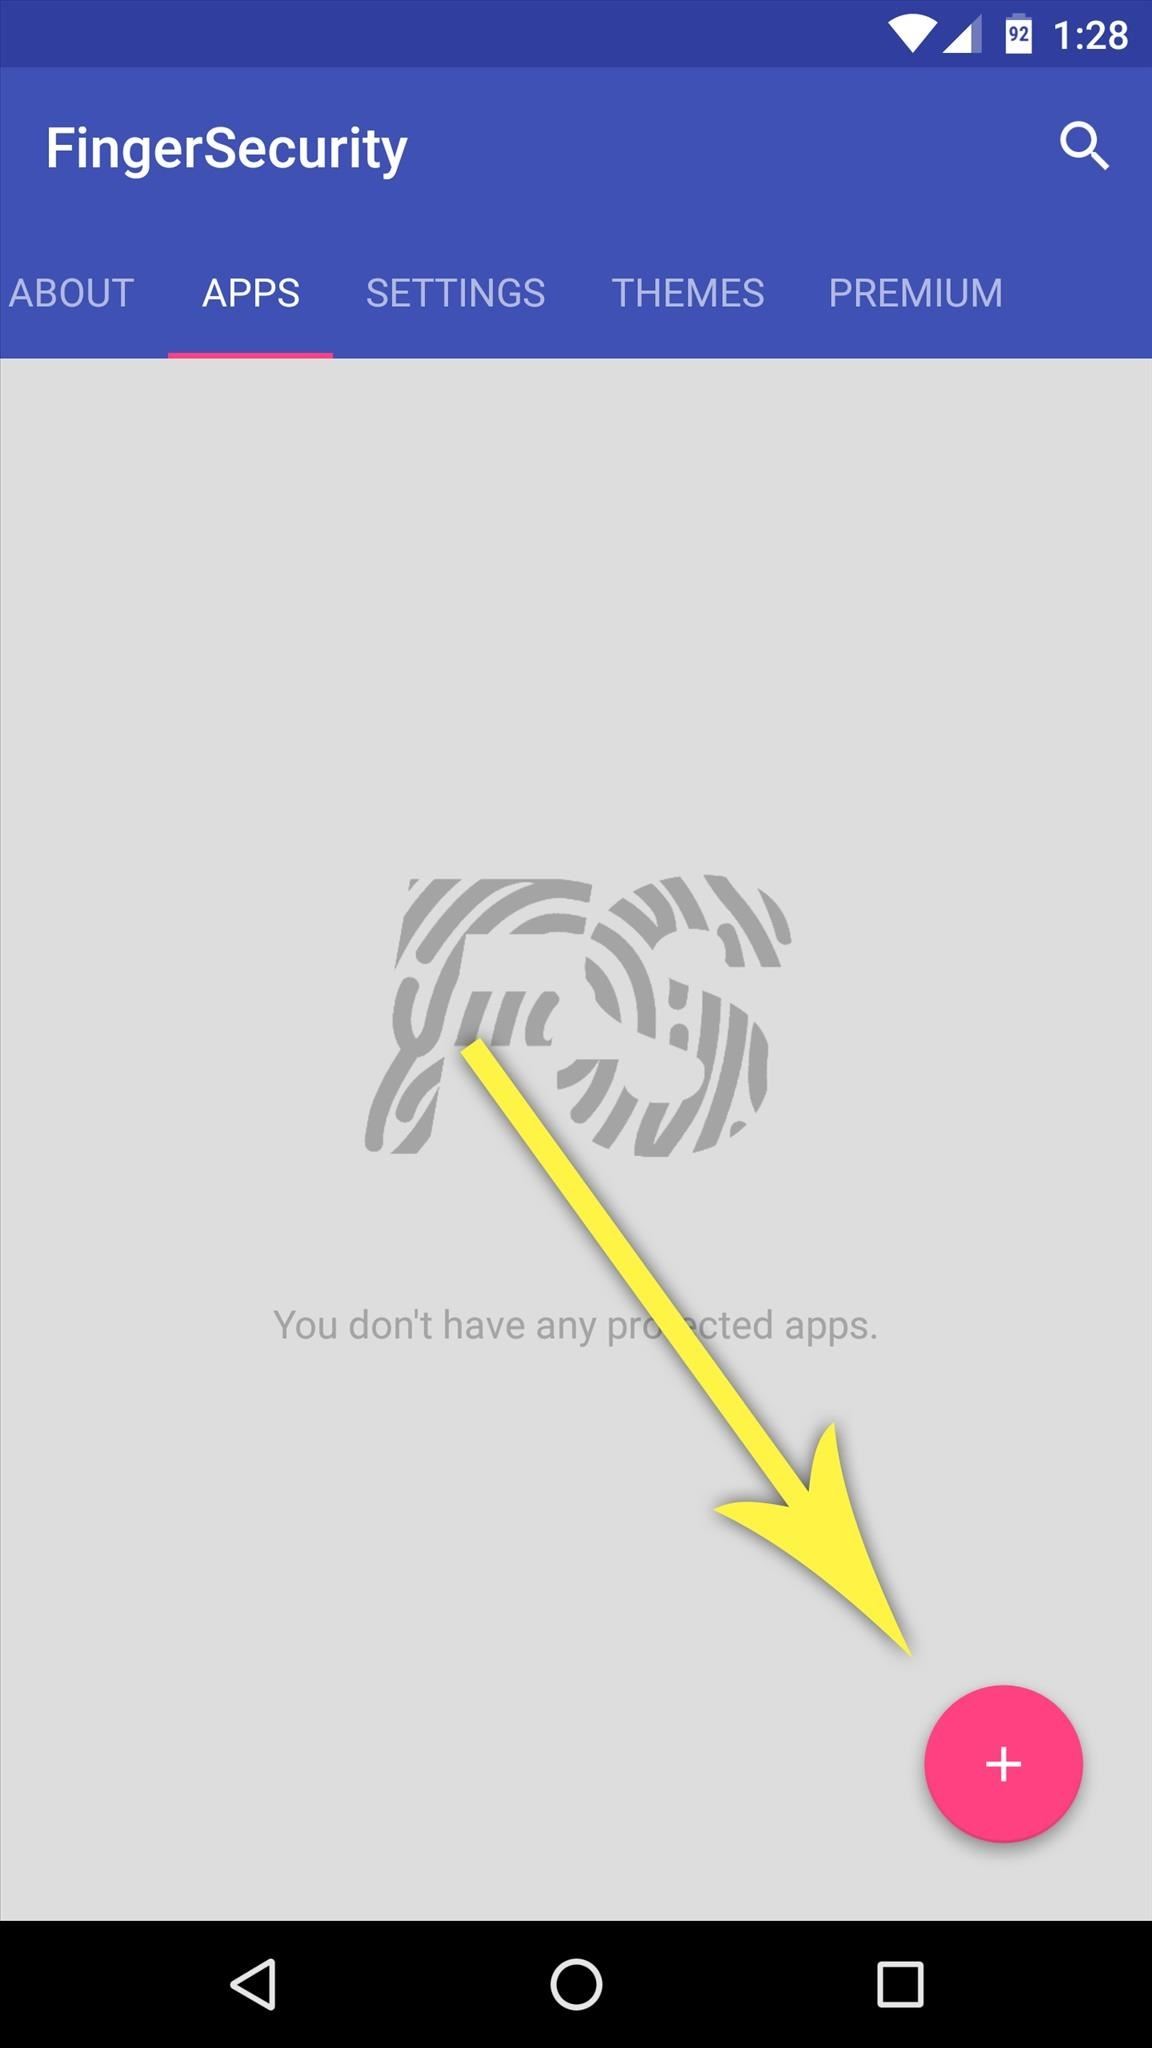
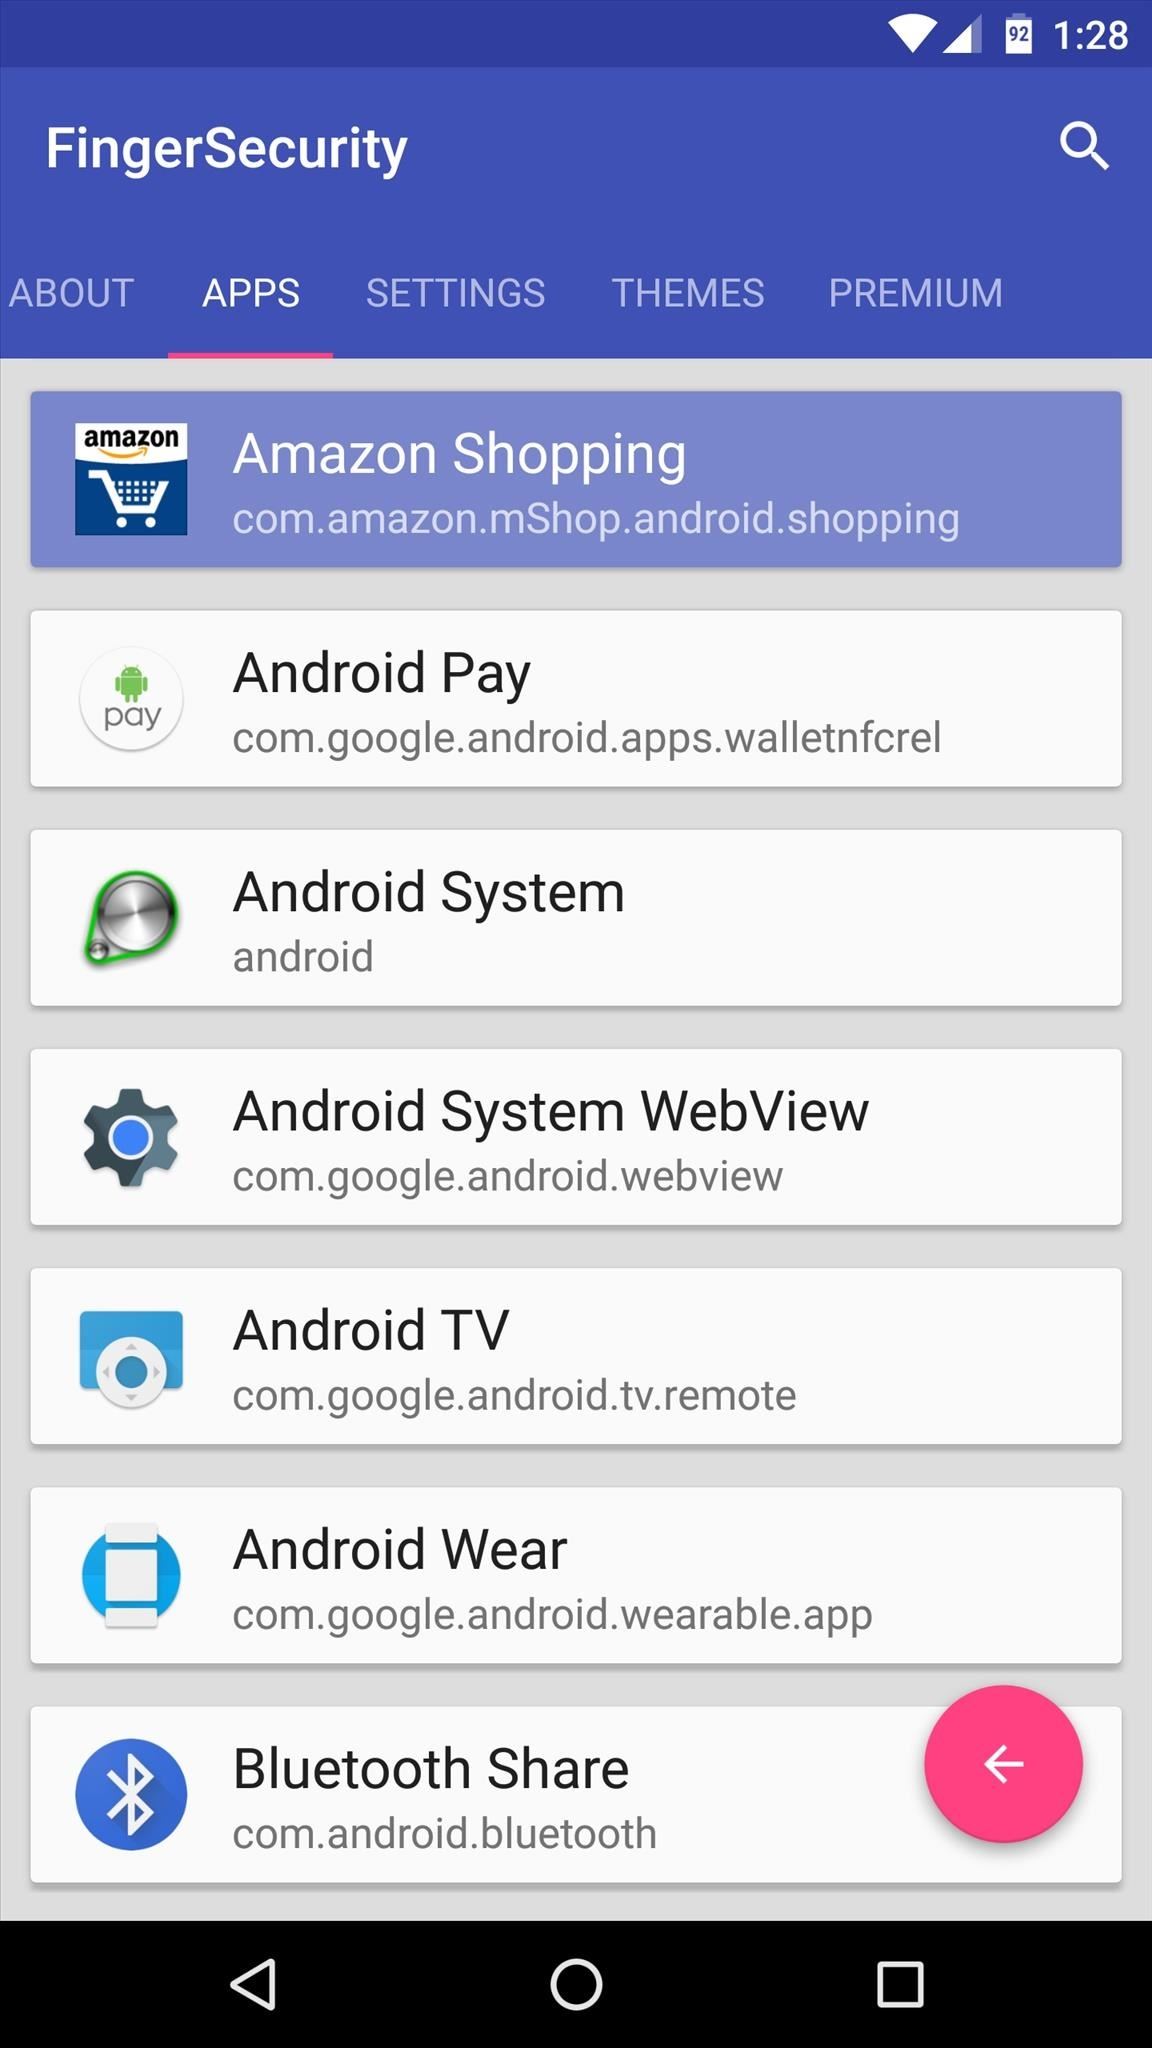
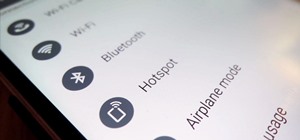
With all of the finer options configured, the only thing left to do is choose the apps you would like to lock with your fingerprint. From the Apps tab in FingerSecurity's main menu, tap the floating action button in the bottom-right corner. Next, select any apps you would like to lock, then enable the first toggle switch on the following screen.
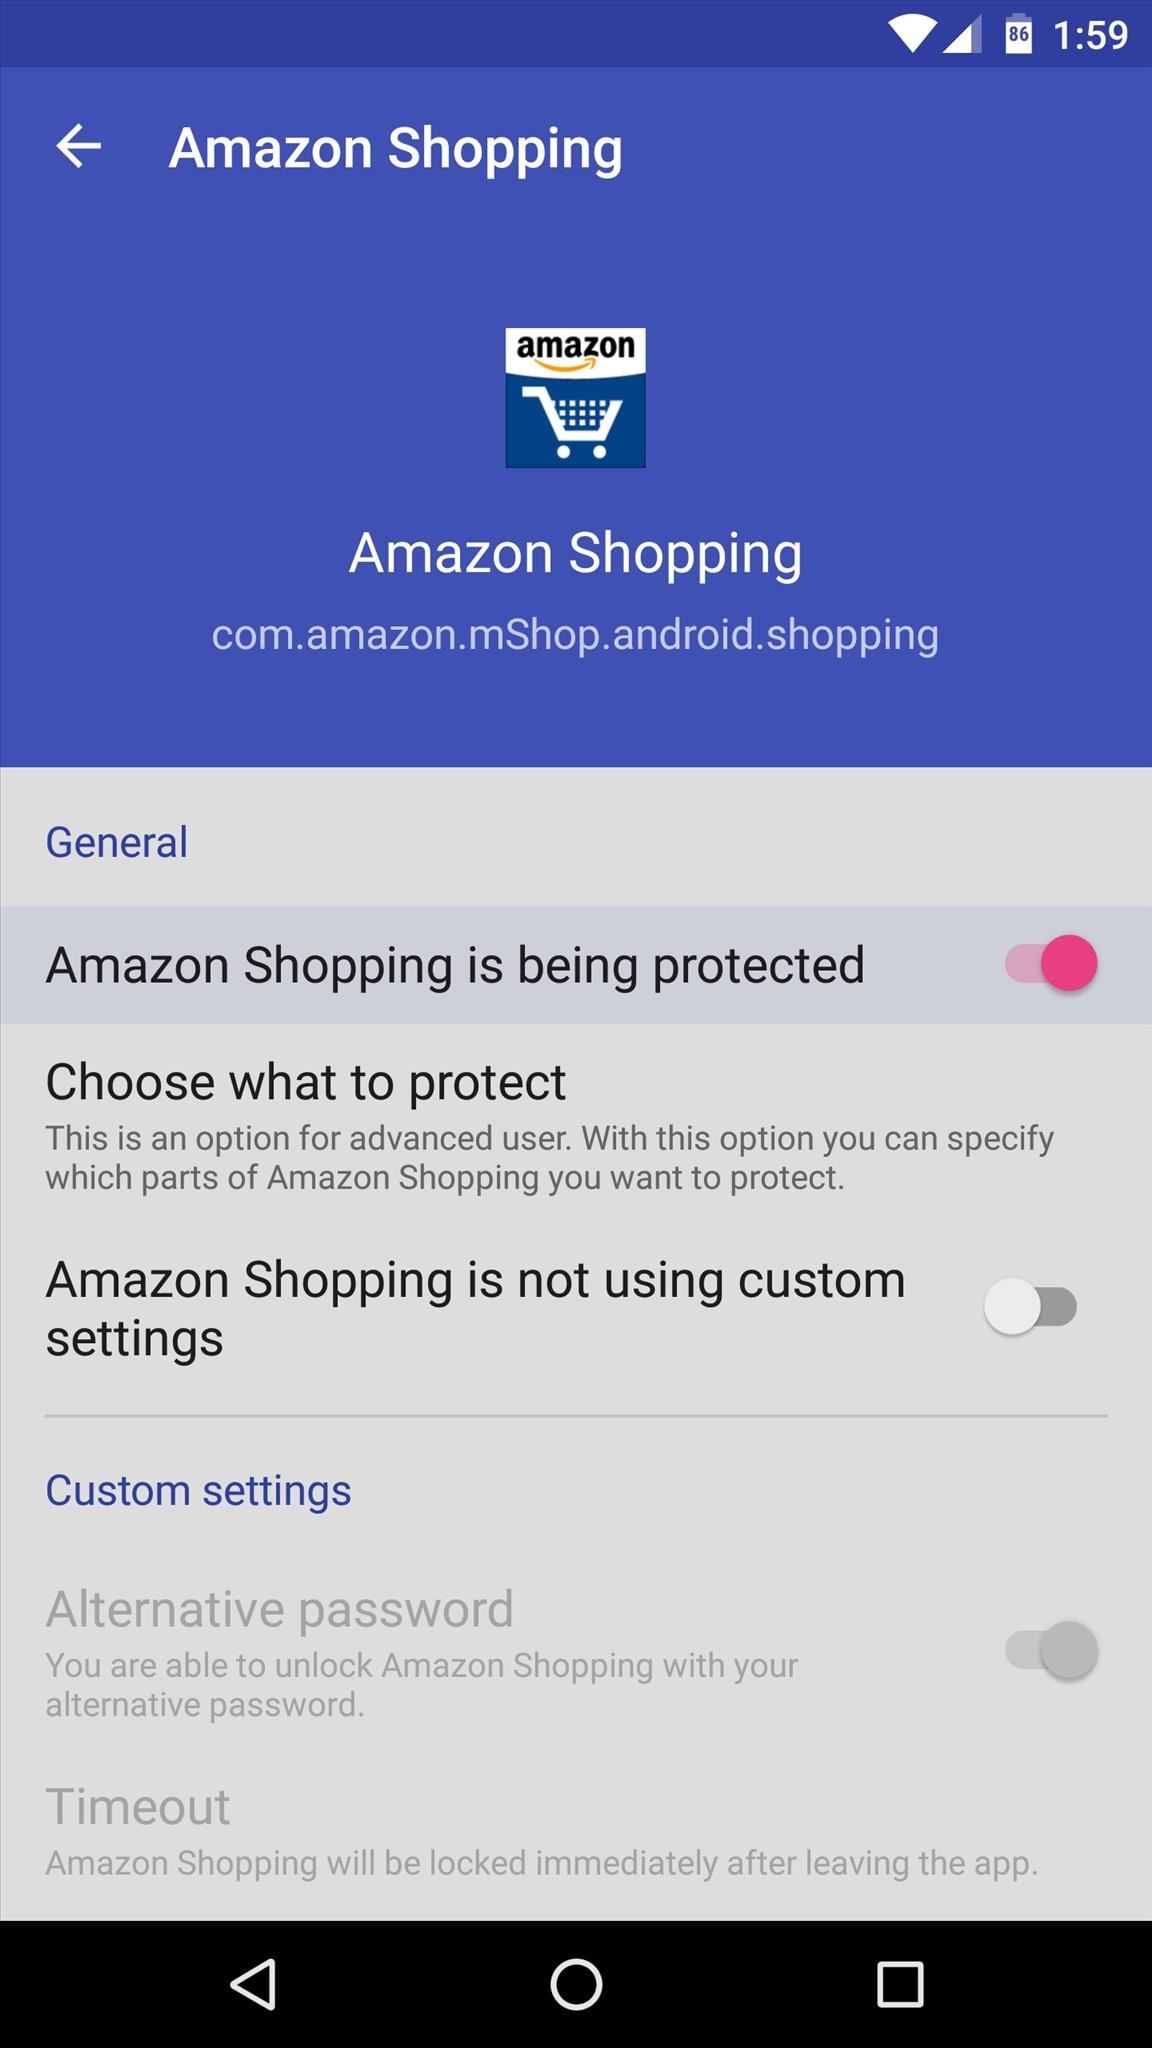
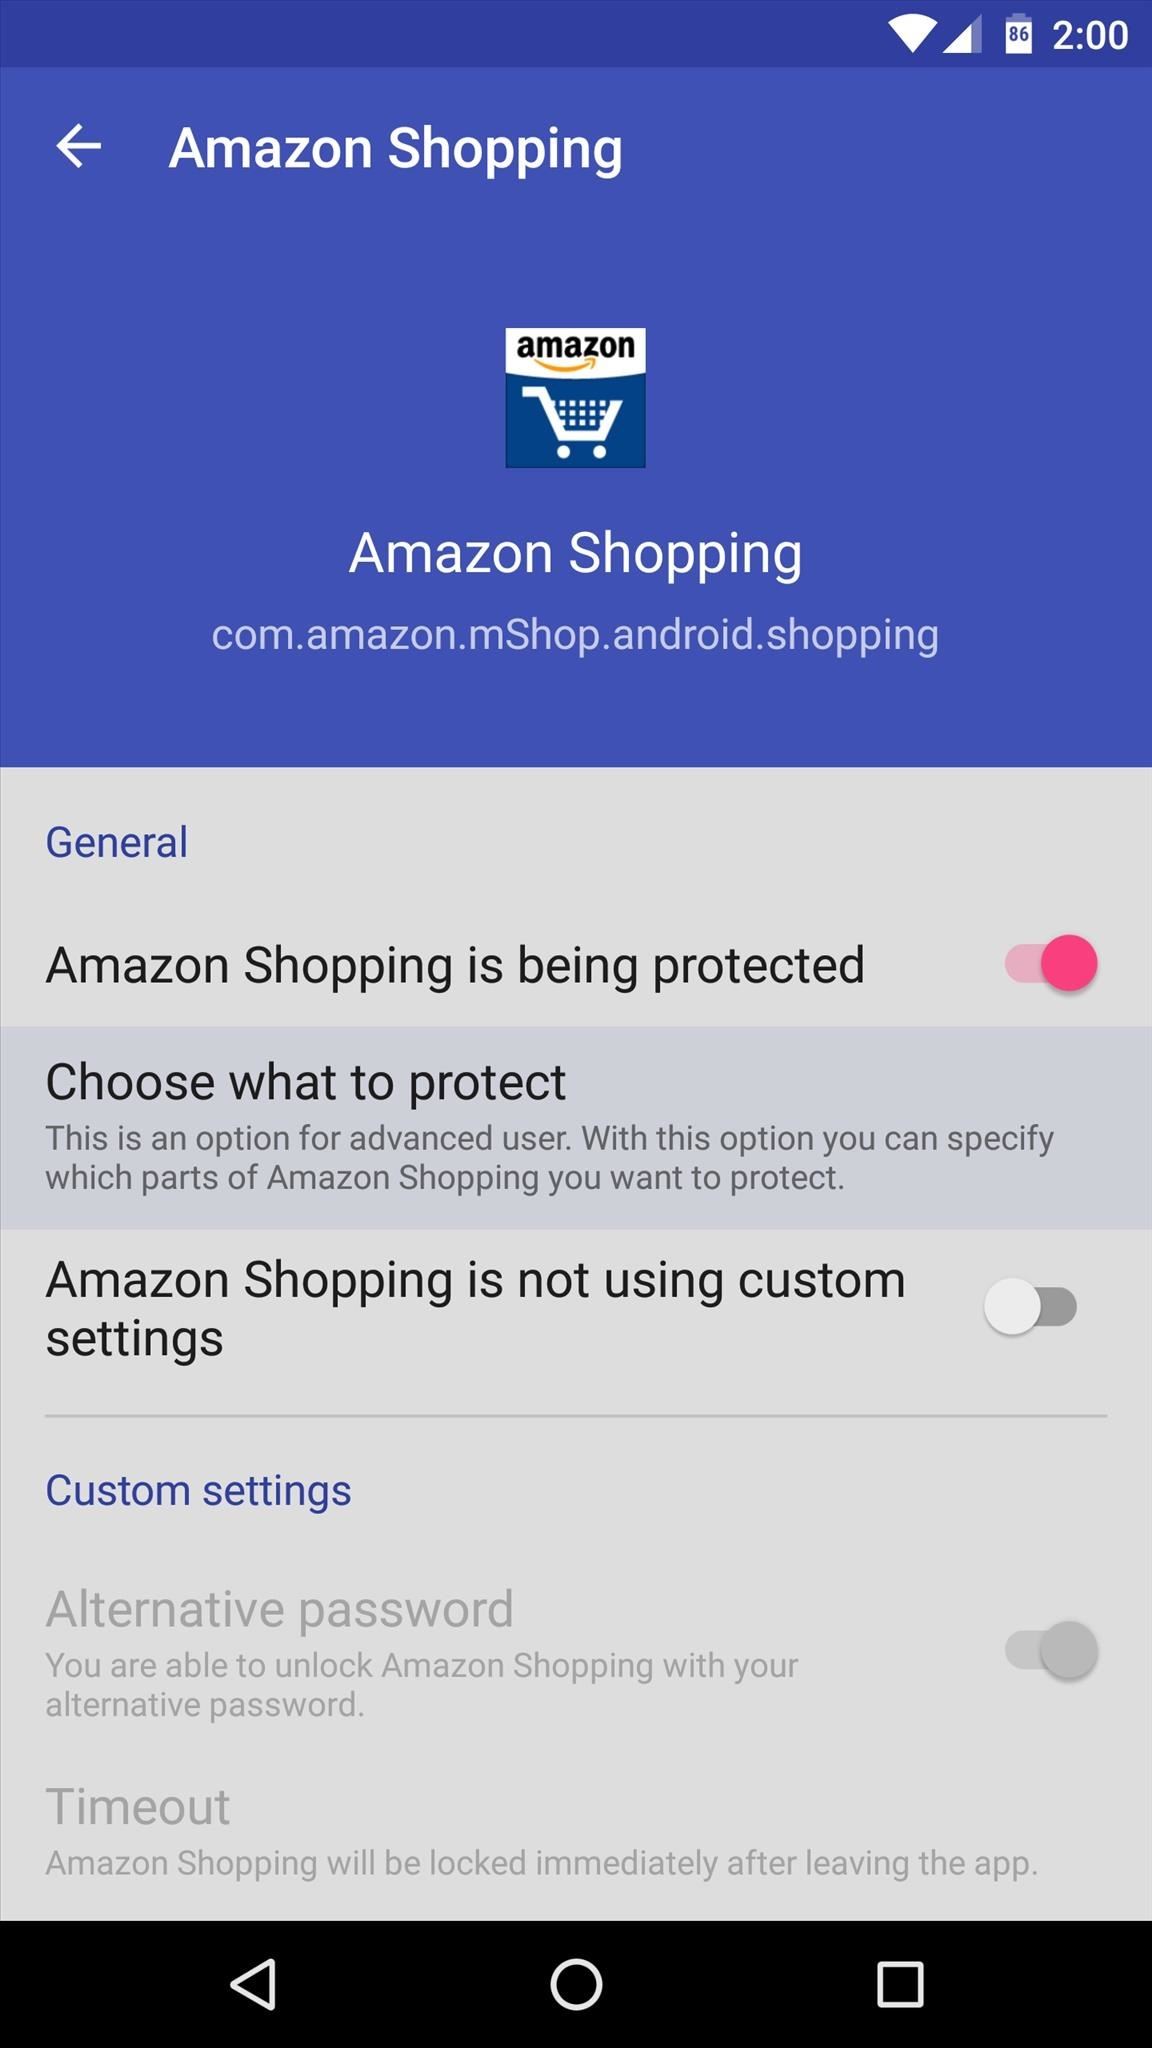
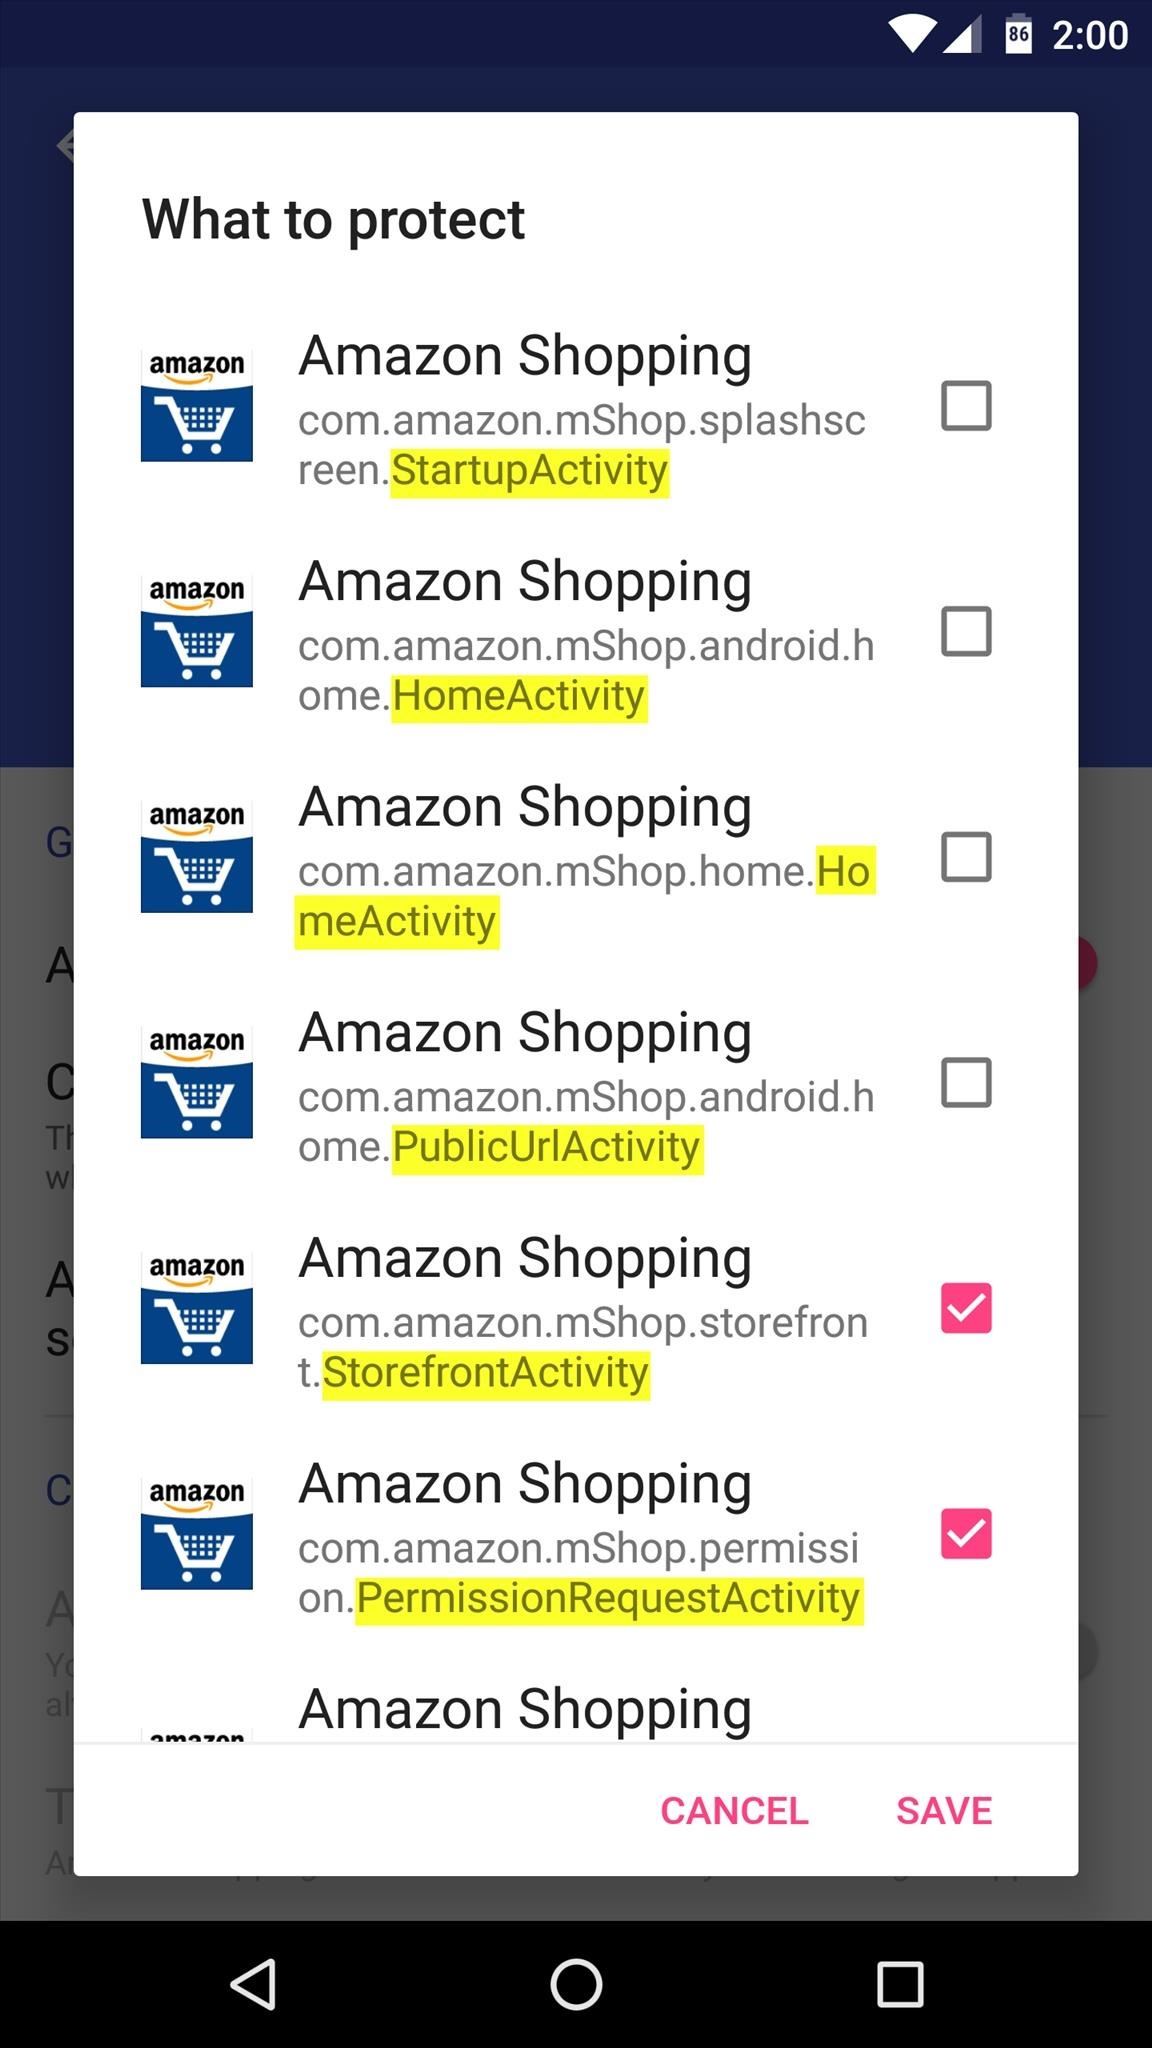
If you opted to enable the Improved Protection feature in Step 3, you'll see a second toggle switch on this same menu. Enable this option to only lock certain screens within the app, and you'll see a popup. The entries in this list are activities, which means their names are not easy to decipher—but if you focus on just the words after the last period in each entry, you'll get a better idea of what each activity is.
Step 5: Unlock Apps with Your Fingerprint
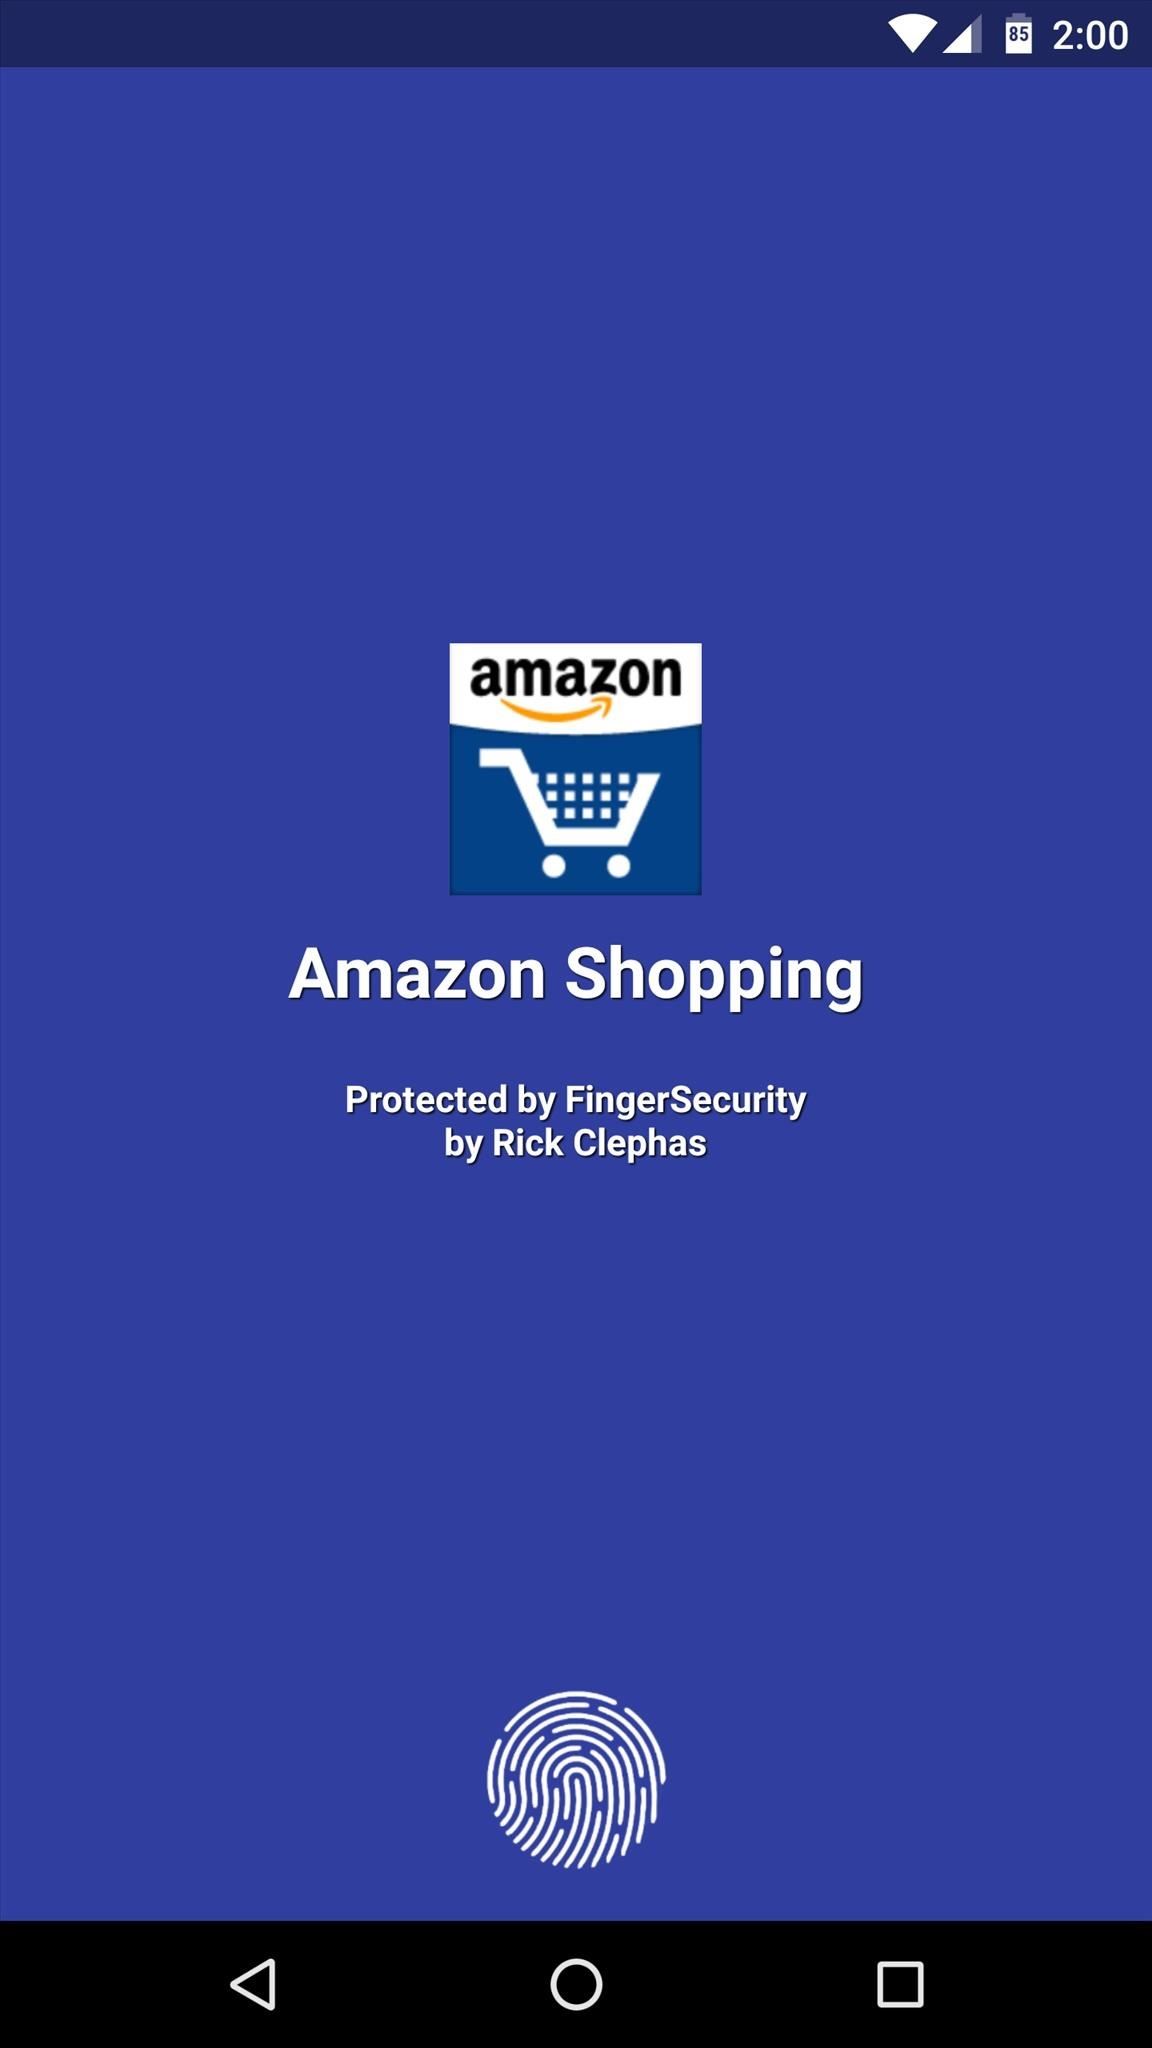
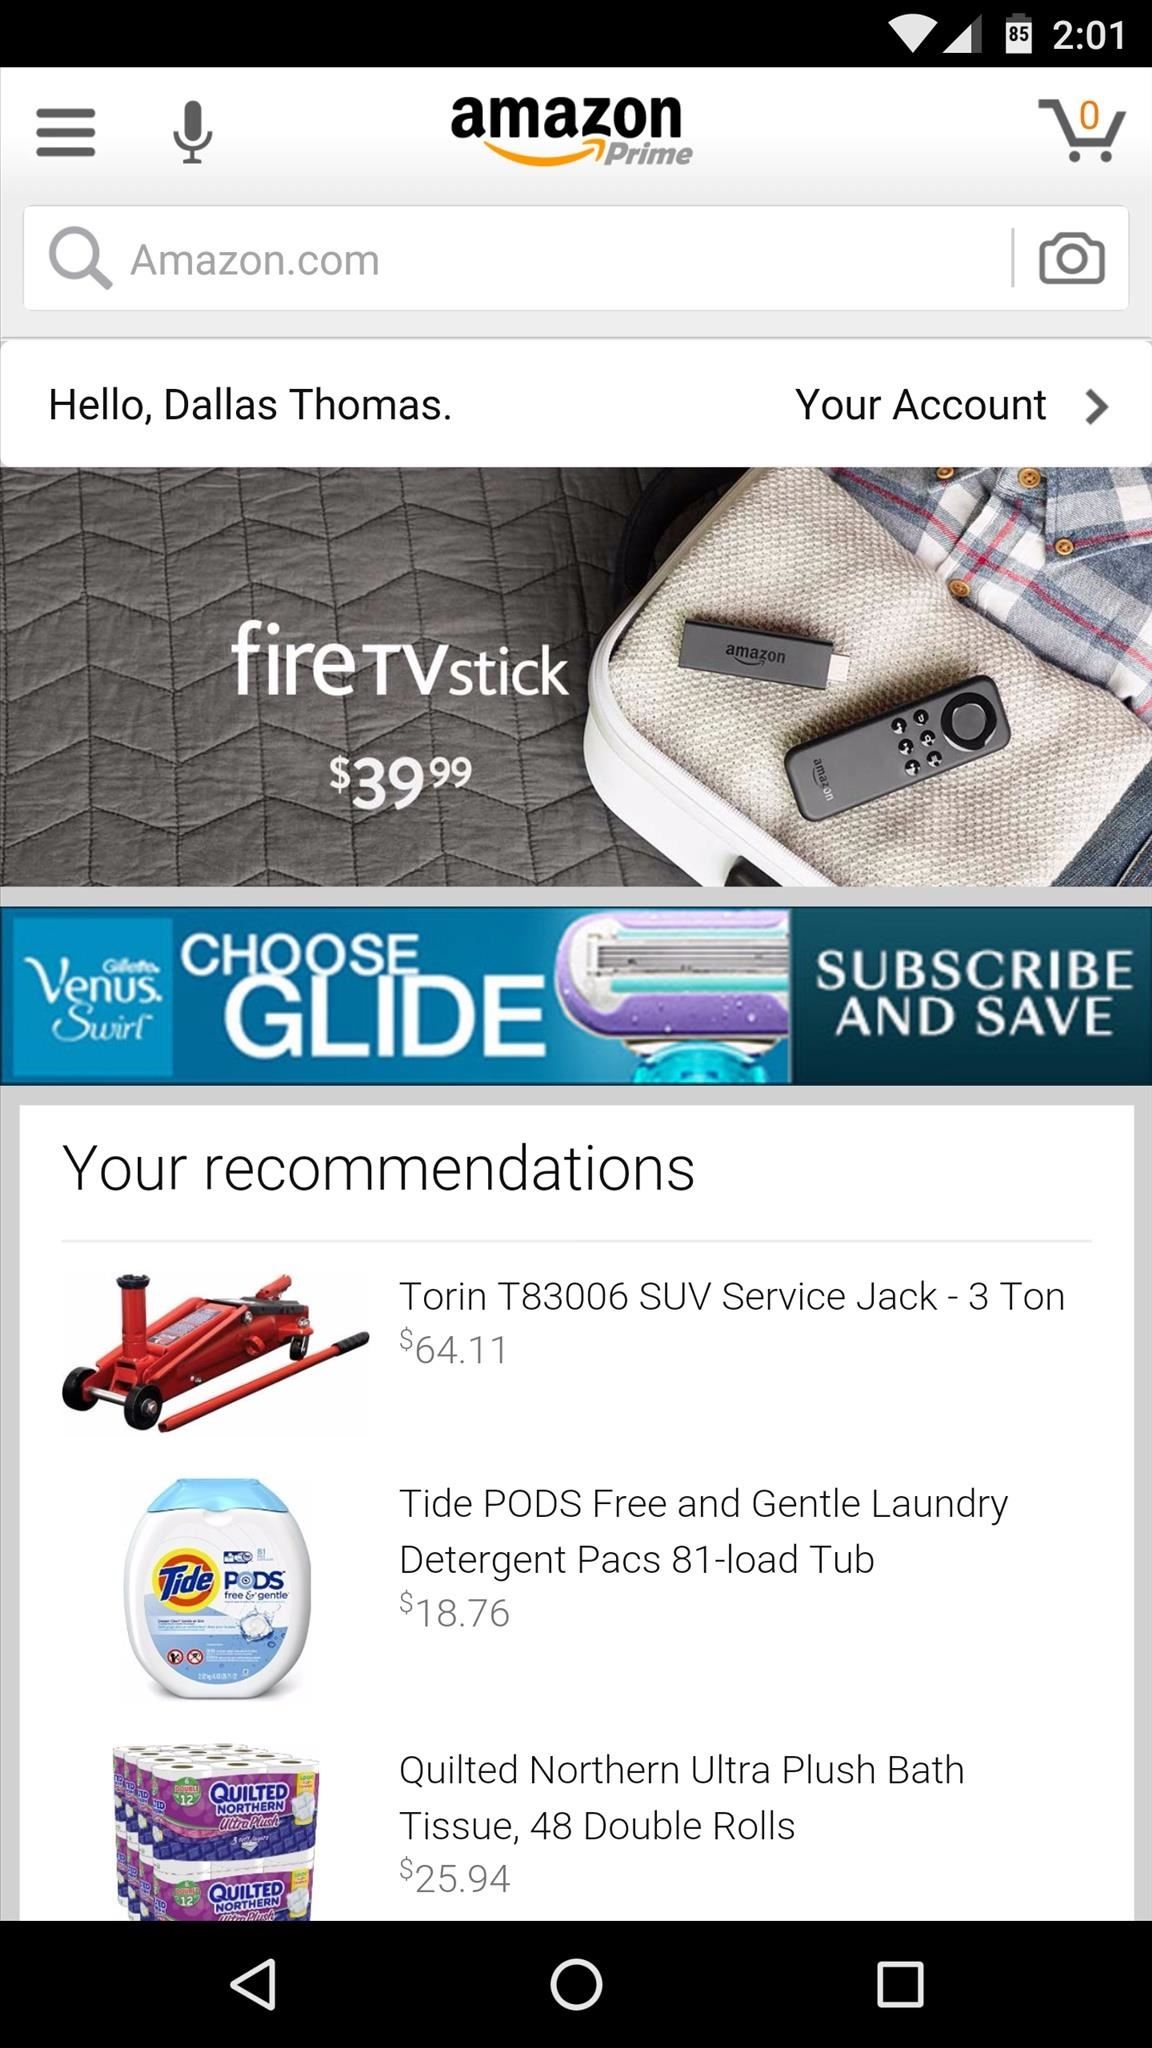
Now that you've got everything set up, your apps will be locked by default. When you open any of the apps you selected in Step 4, you'll be greeted by the lock screen—just scan your fingerprint to access them. It's a great way to ensure that your nosy friends don't mess around with your apps when you're not looking, but at the same time, it's still incredibly easy for you to access your own apps.
FingerSecurity does have some premium features that you can purchase in the app, and include location-based security, themes, protected notifications, and choosing specific fingers for certain apps.
Who needs a wand? Unlock your magical powers and transform yourself from a Muggle into a Wizard or Witch just by using your Android phone. See how:


Be the First to Comment
Share Your Thoughts