
We all got a little jealous of the iPhone 7 Plus's dual-lens camera during the Apple Keynote in September. It's okay, you can admit it. But just because your Android doesn't have two lenses doesn't mean you can't recreate the fun bokeh effect of the iPhone's now wildly popular Portrait Mode.
The Google Camera app for Android has its own special lens blur effect that's simple to use and doesn't require dual cameras. You just move your phone slightly up while taking a picture, which effectively creates two points of view from one lens. If you haven't tried it out, do it now with the instructions below. We'll wait.
Taking 'Lens Blur' Photos with Google Camera
If you don't have it already, you'll need to install the Google Camera app to try this one out. It's a simple camera app with fun shooting modes like Lens Blur and Photo Sphere, which takes 360-degree photos. The Lens Blur feature has been around for two years, but it was never advertised, so many folks might not be aware of it.
- Play Store Link: Google Camera (free)
If you can't install the app above, you'll need to use the Pixel camera instead, which supersedes the one listed above. On non-Pixel devices, it works very similar to how it's outlined in this article.
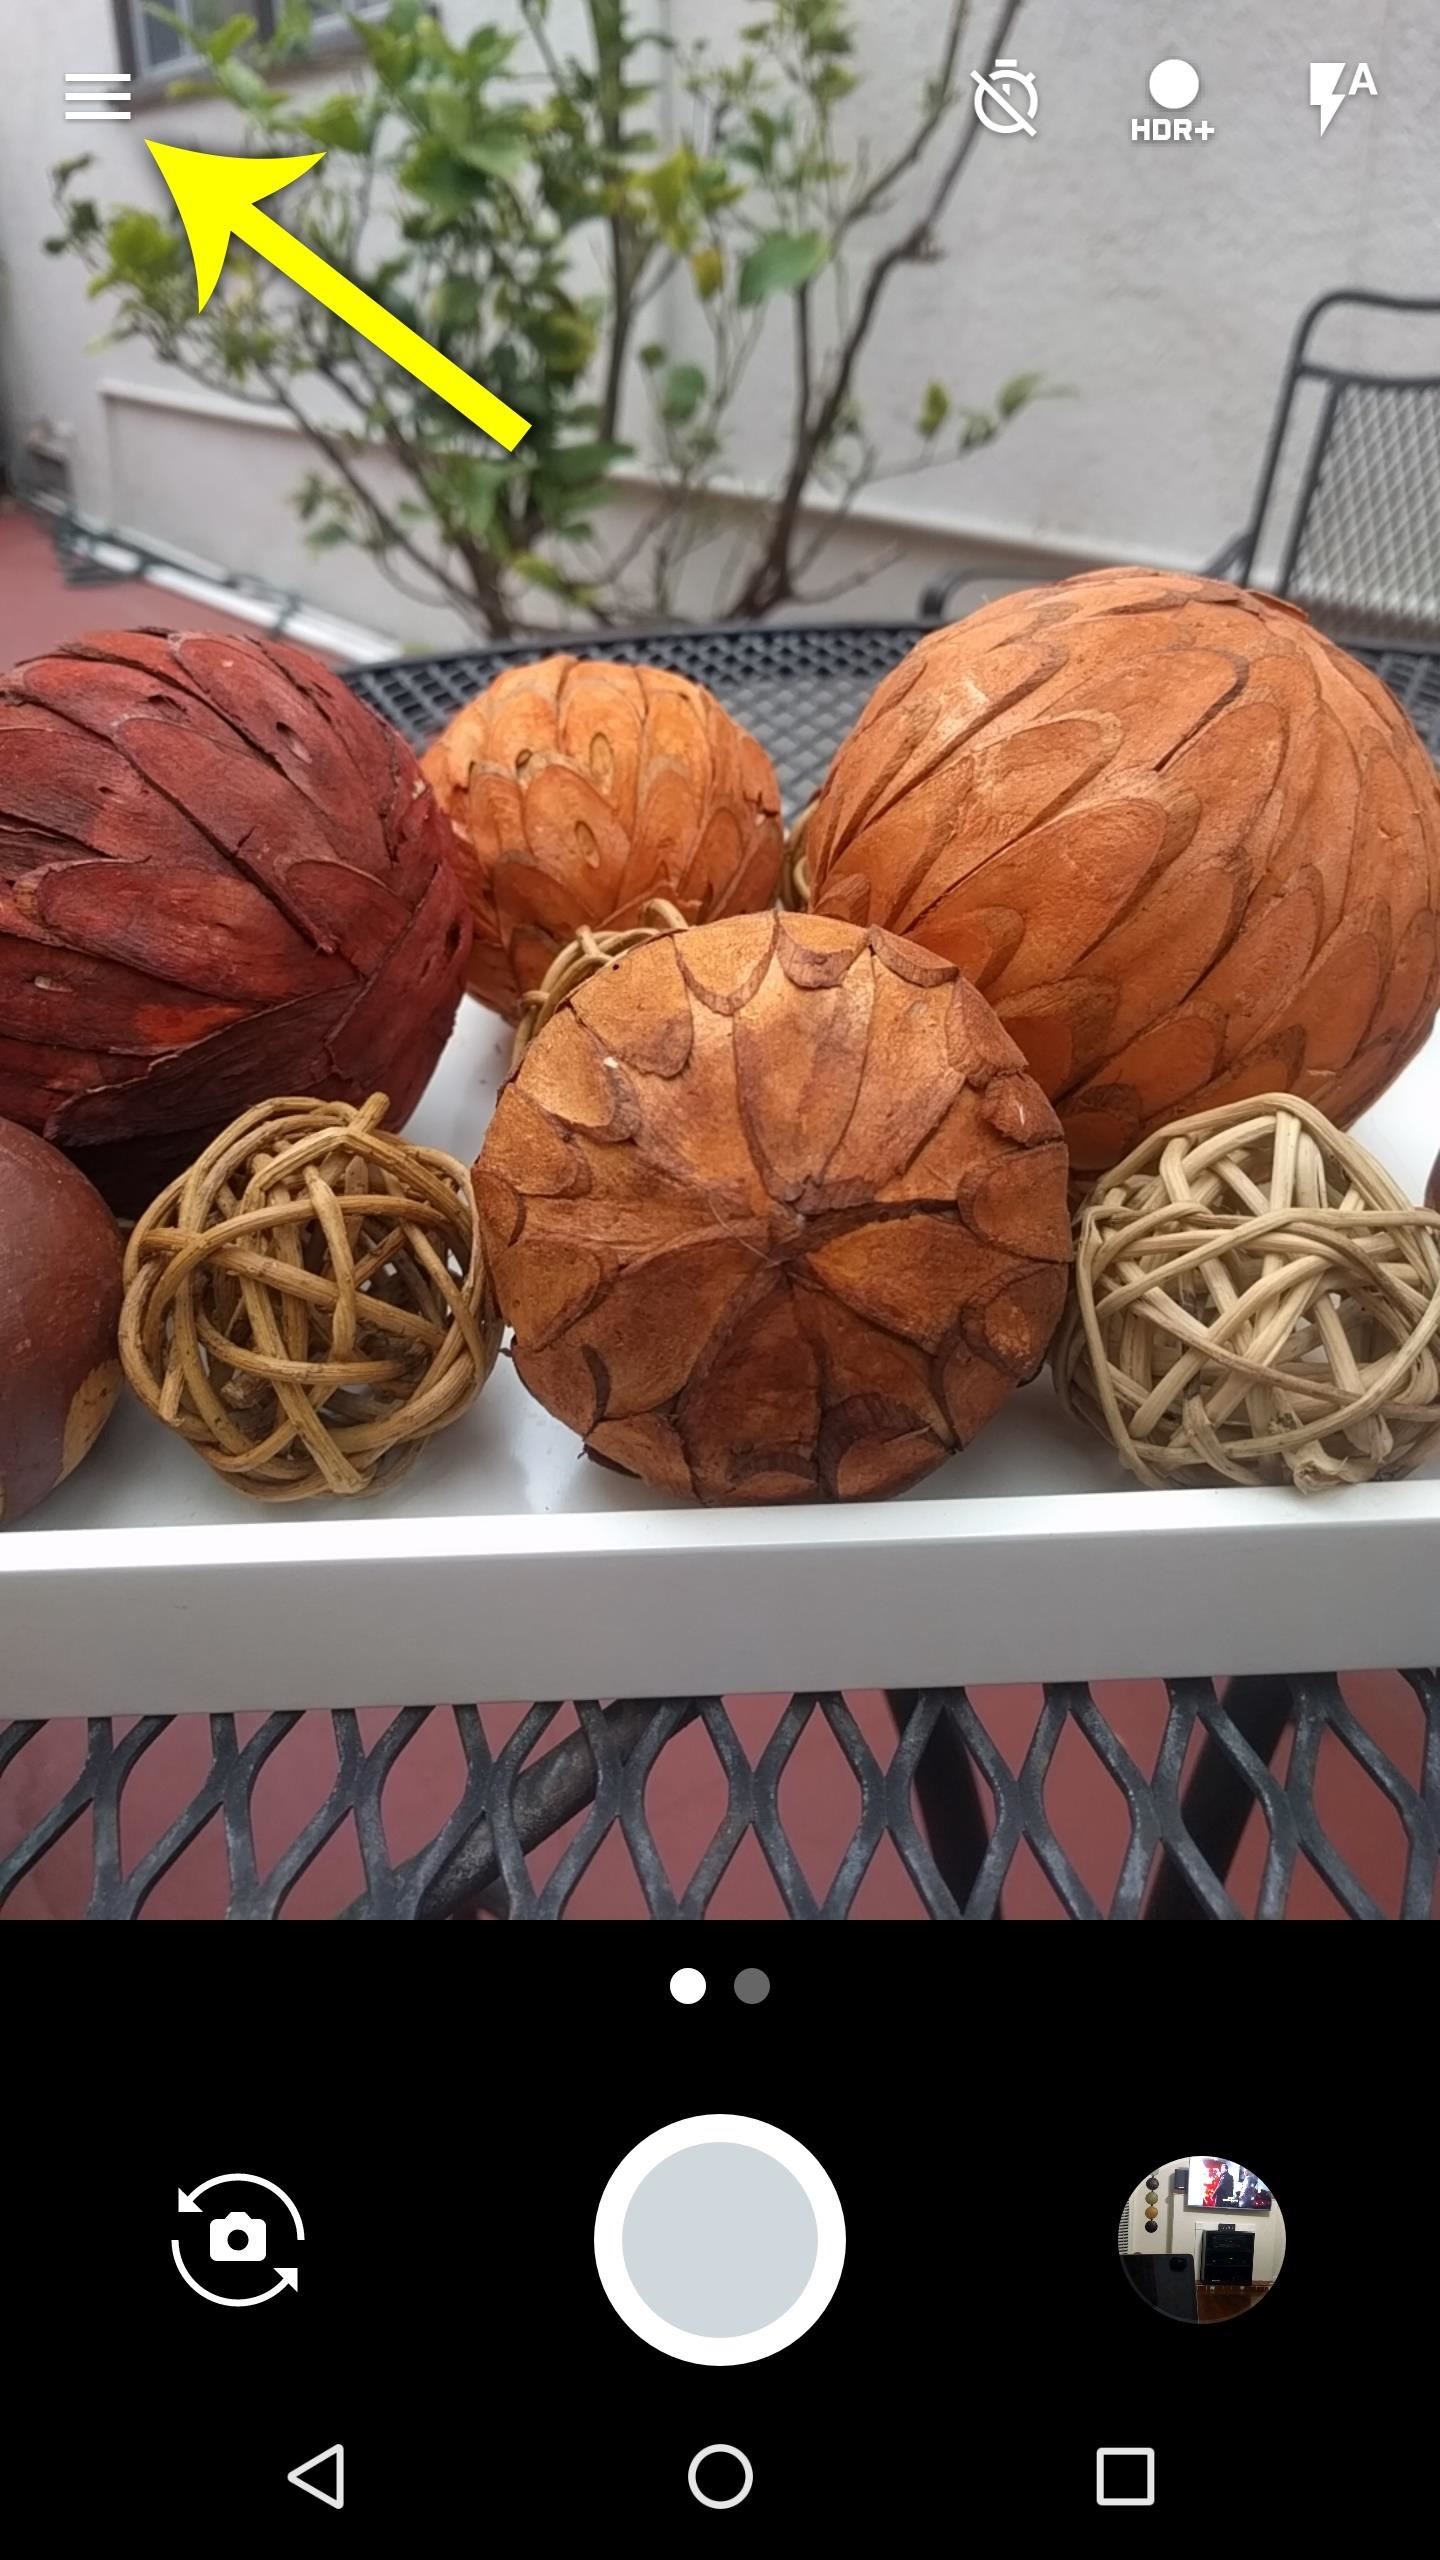
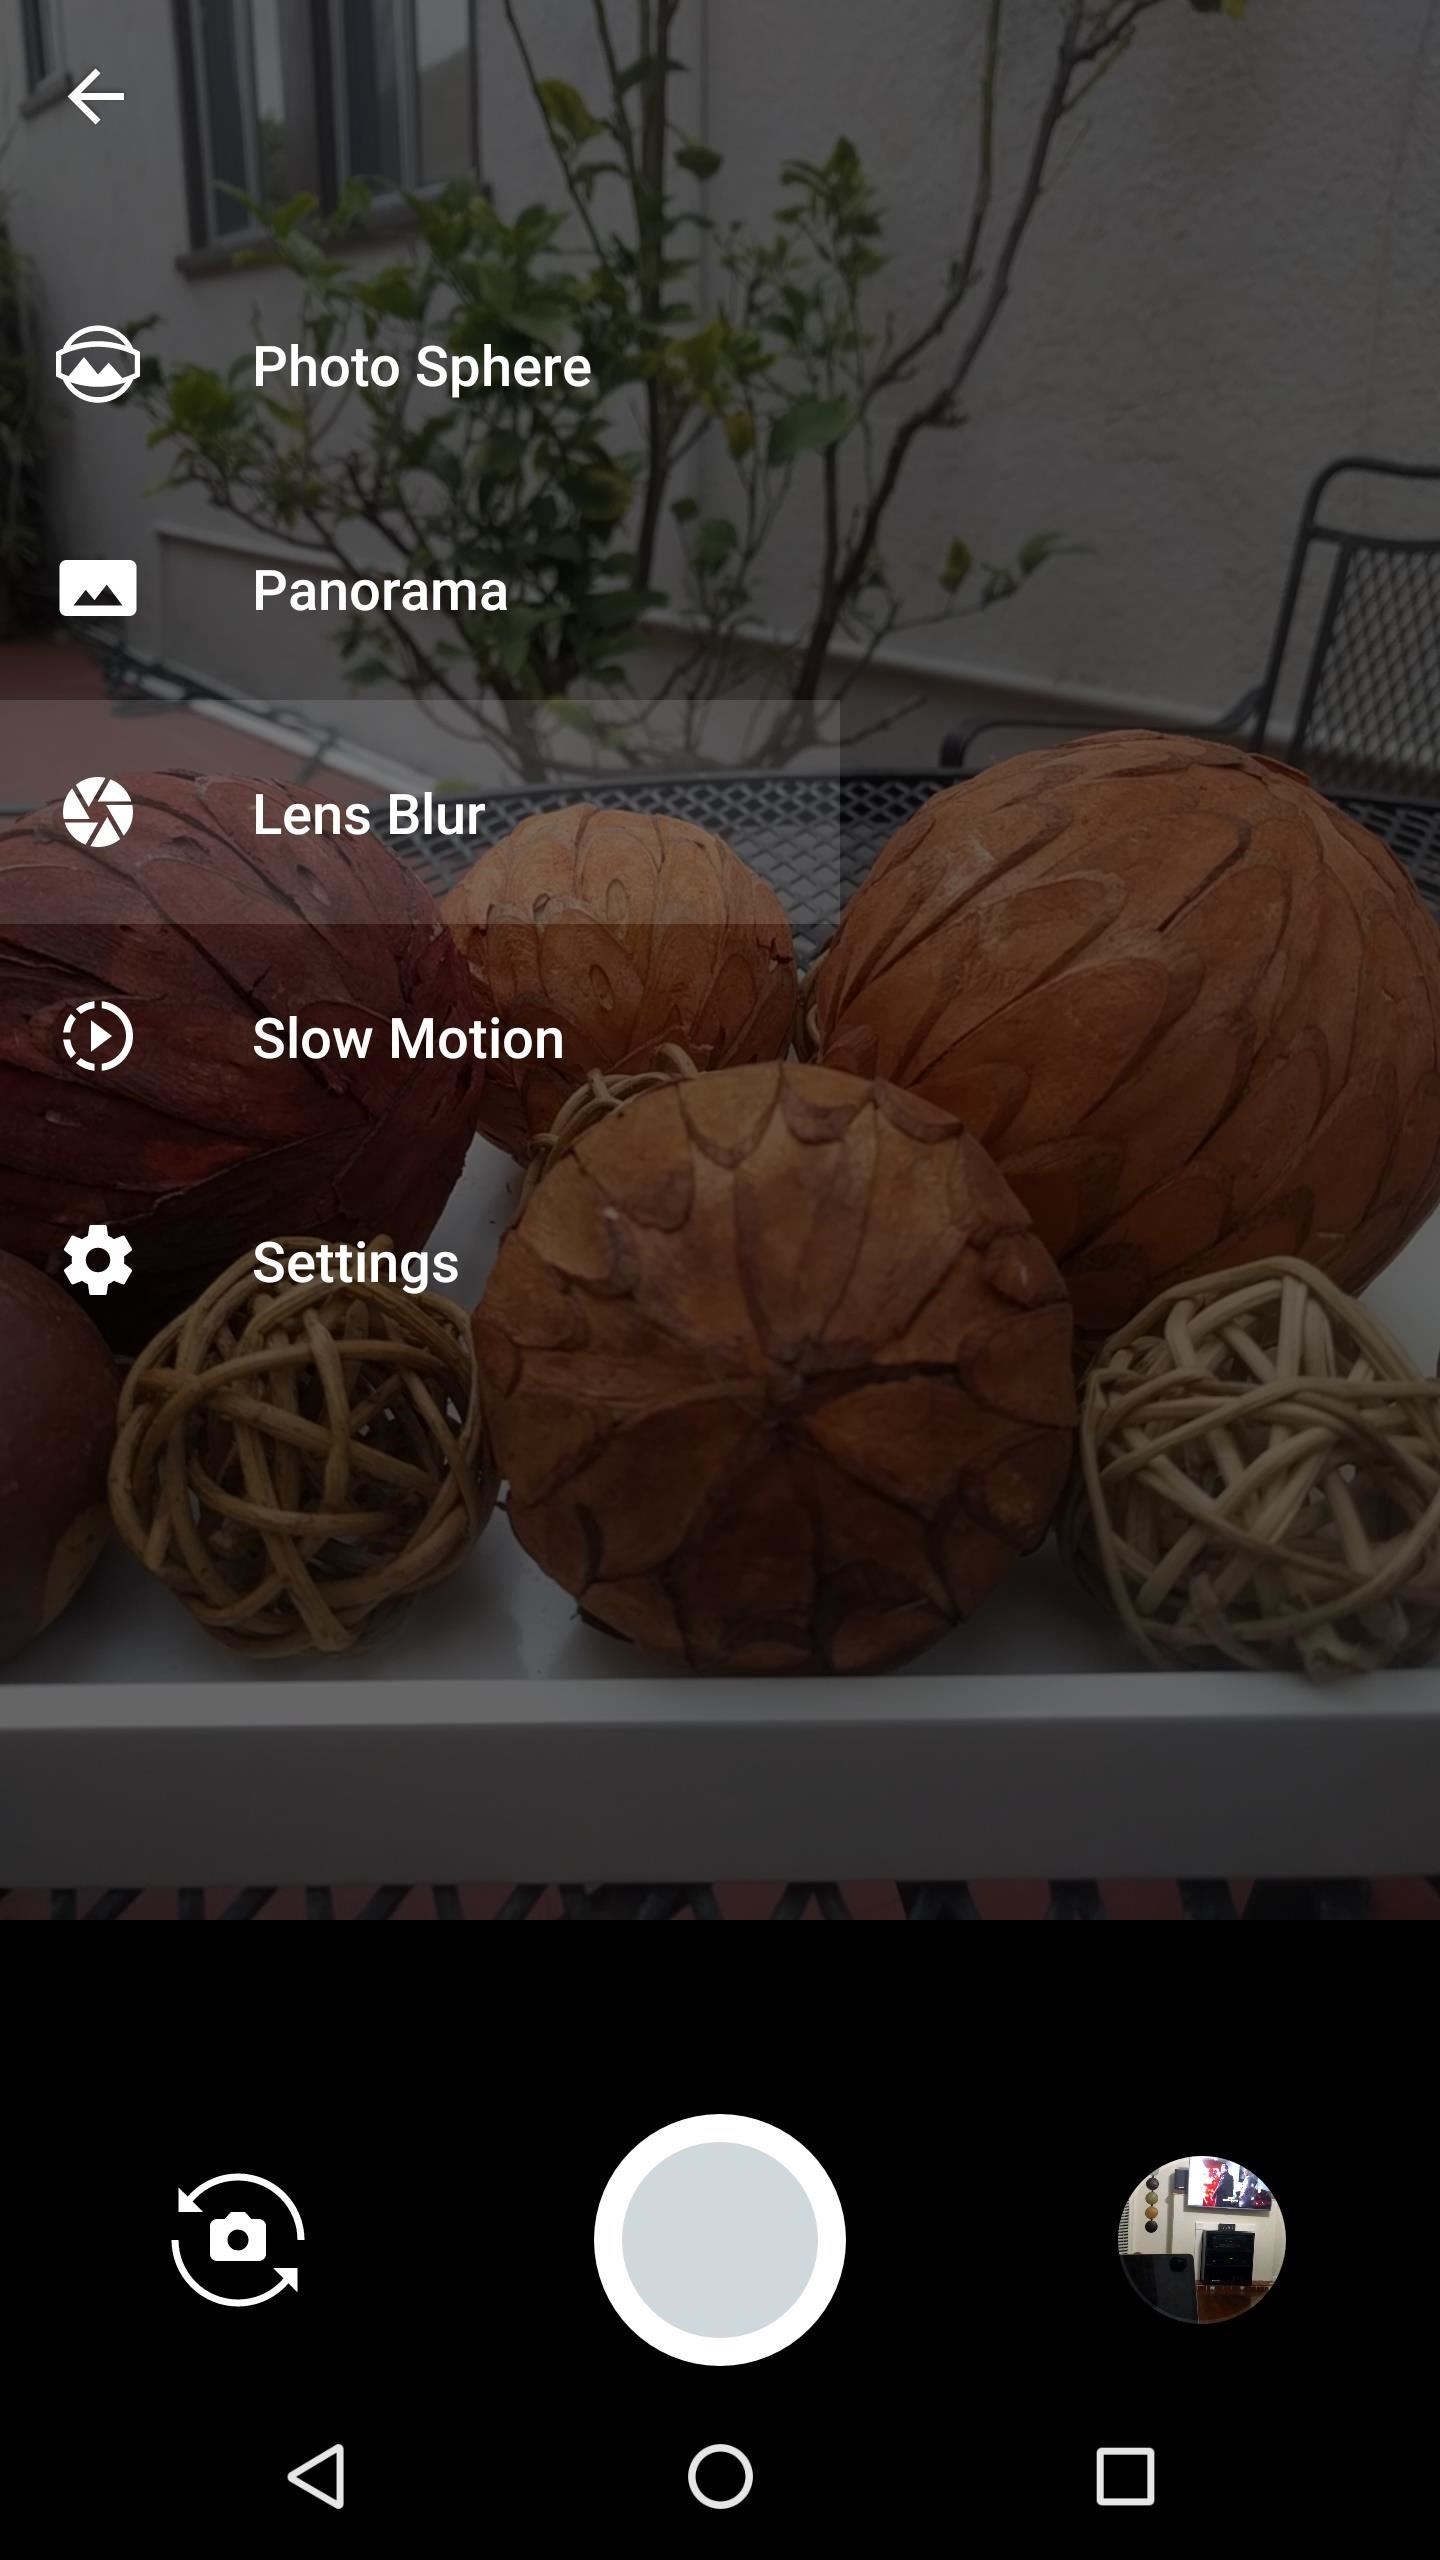
To try it out, simply open Google Camera, then head to the side navigation menu. From here, select the "Lens Blur" option, then you'll get a quick tutorial on how it all works.
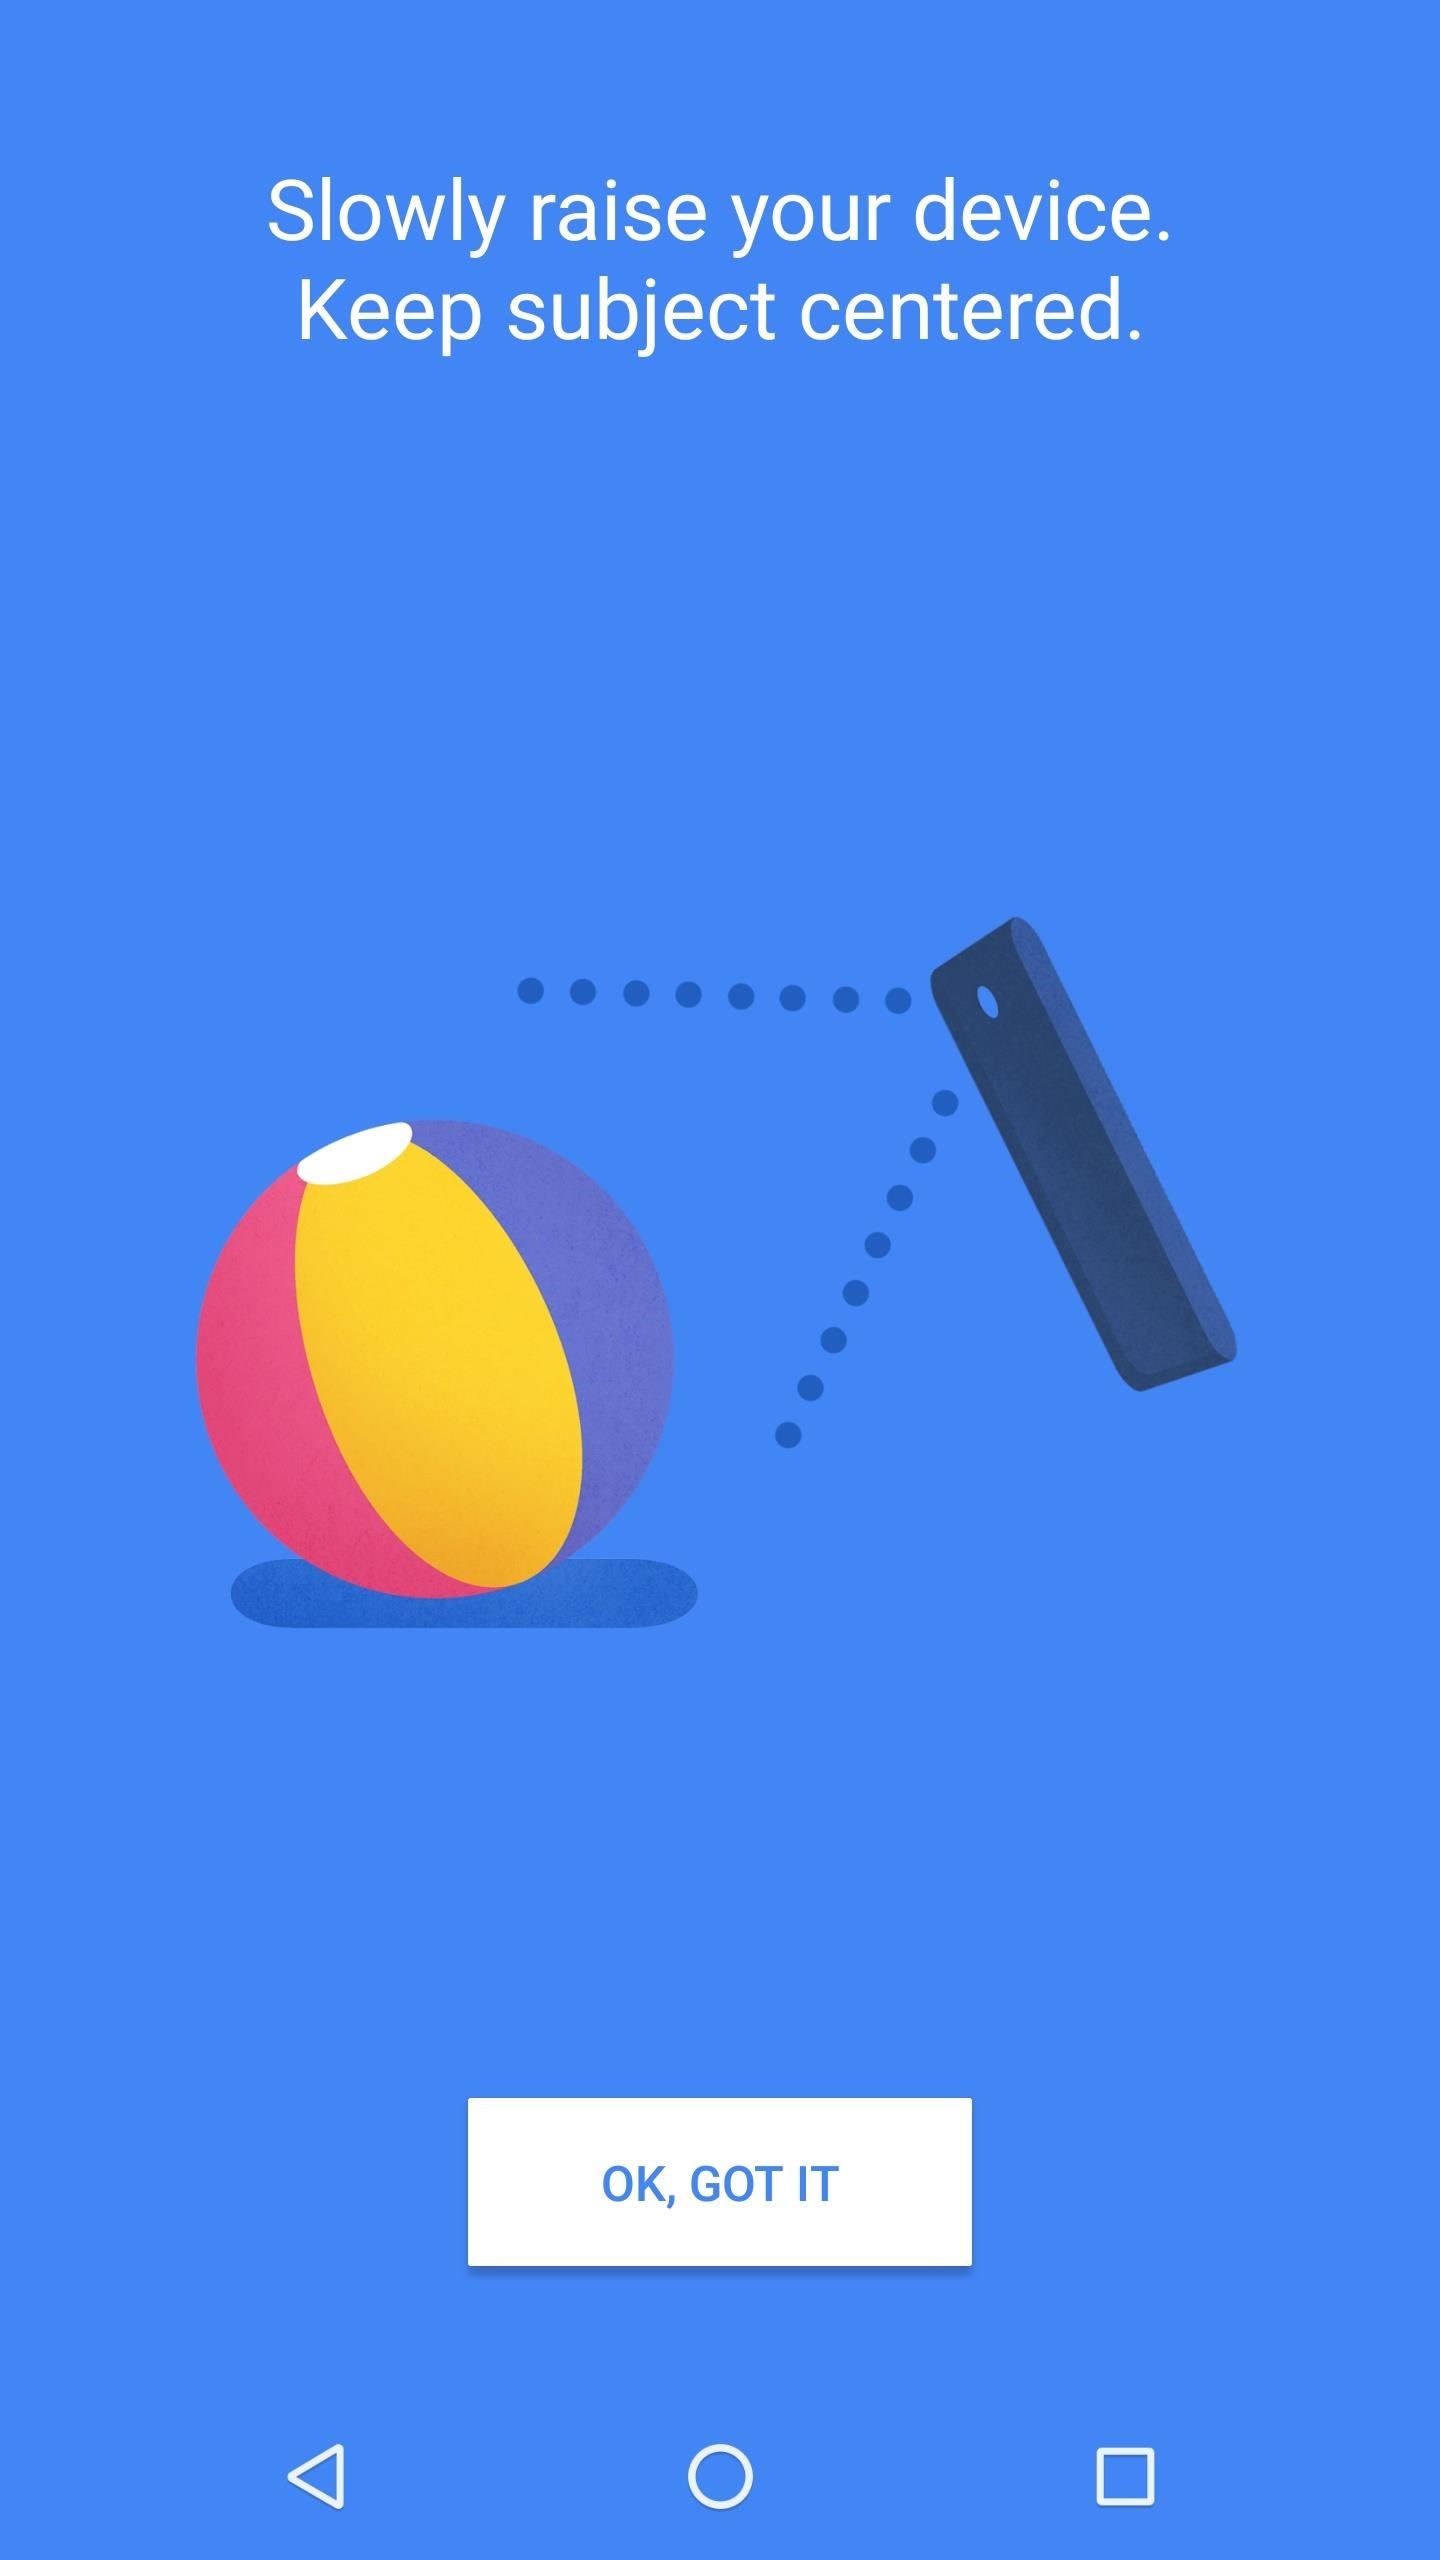
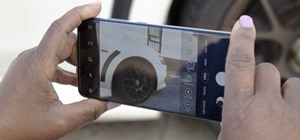
Next, just line up your shot, then press the shutter button. When you do that, you'll be prompted to raise your phone. So slowly lift your arm without moving away from the subject too much, then you'll hear a tone and see a check mark on your screen when the image has been captured.


Setting the Focus Point & Applying Blur in Post
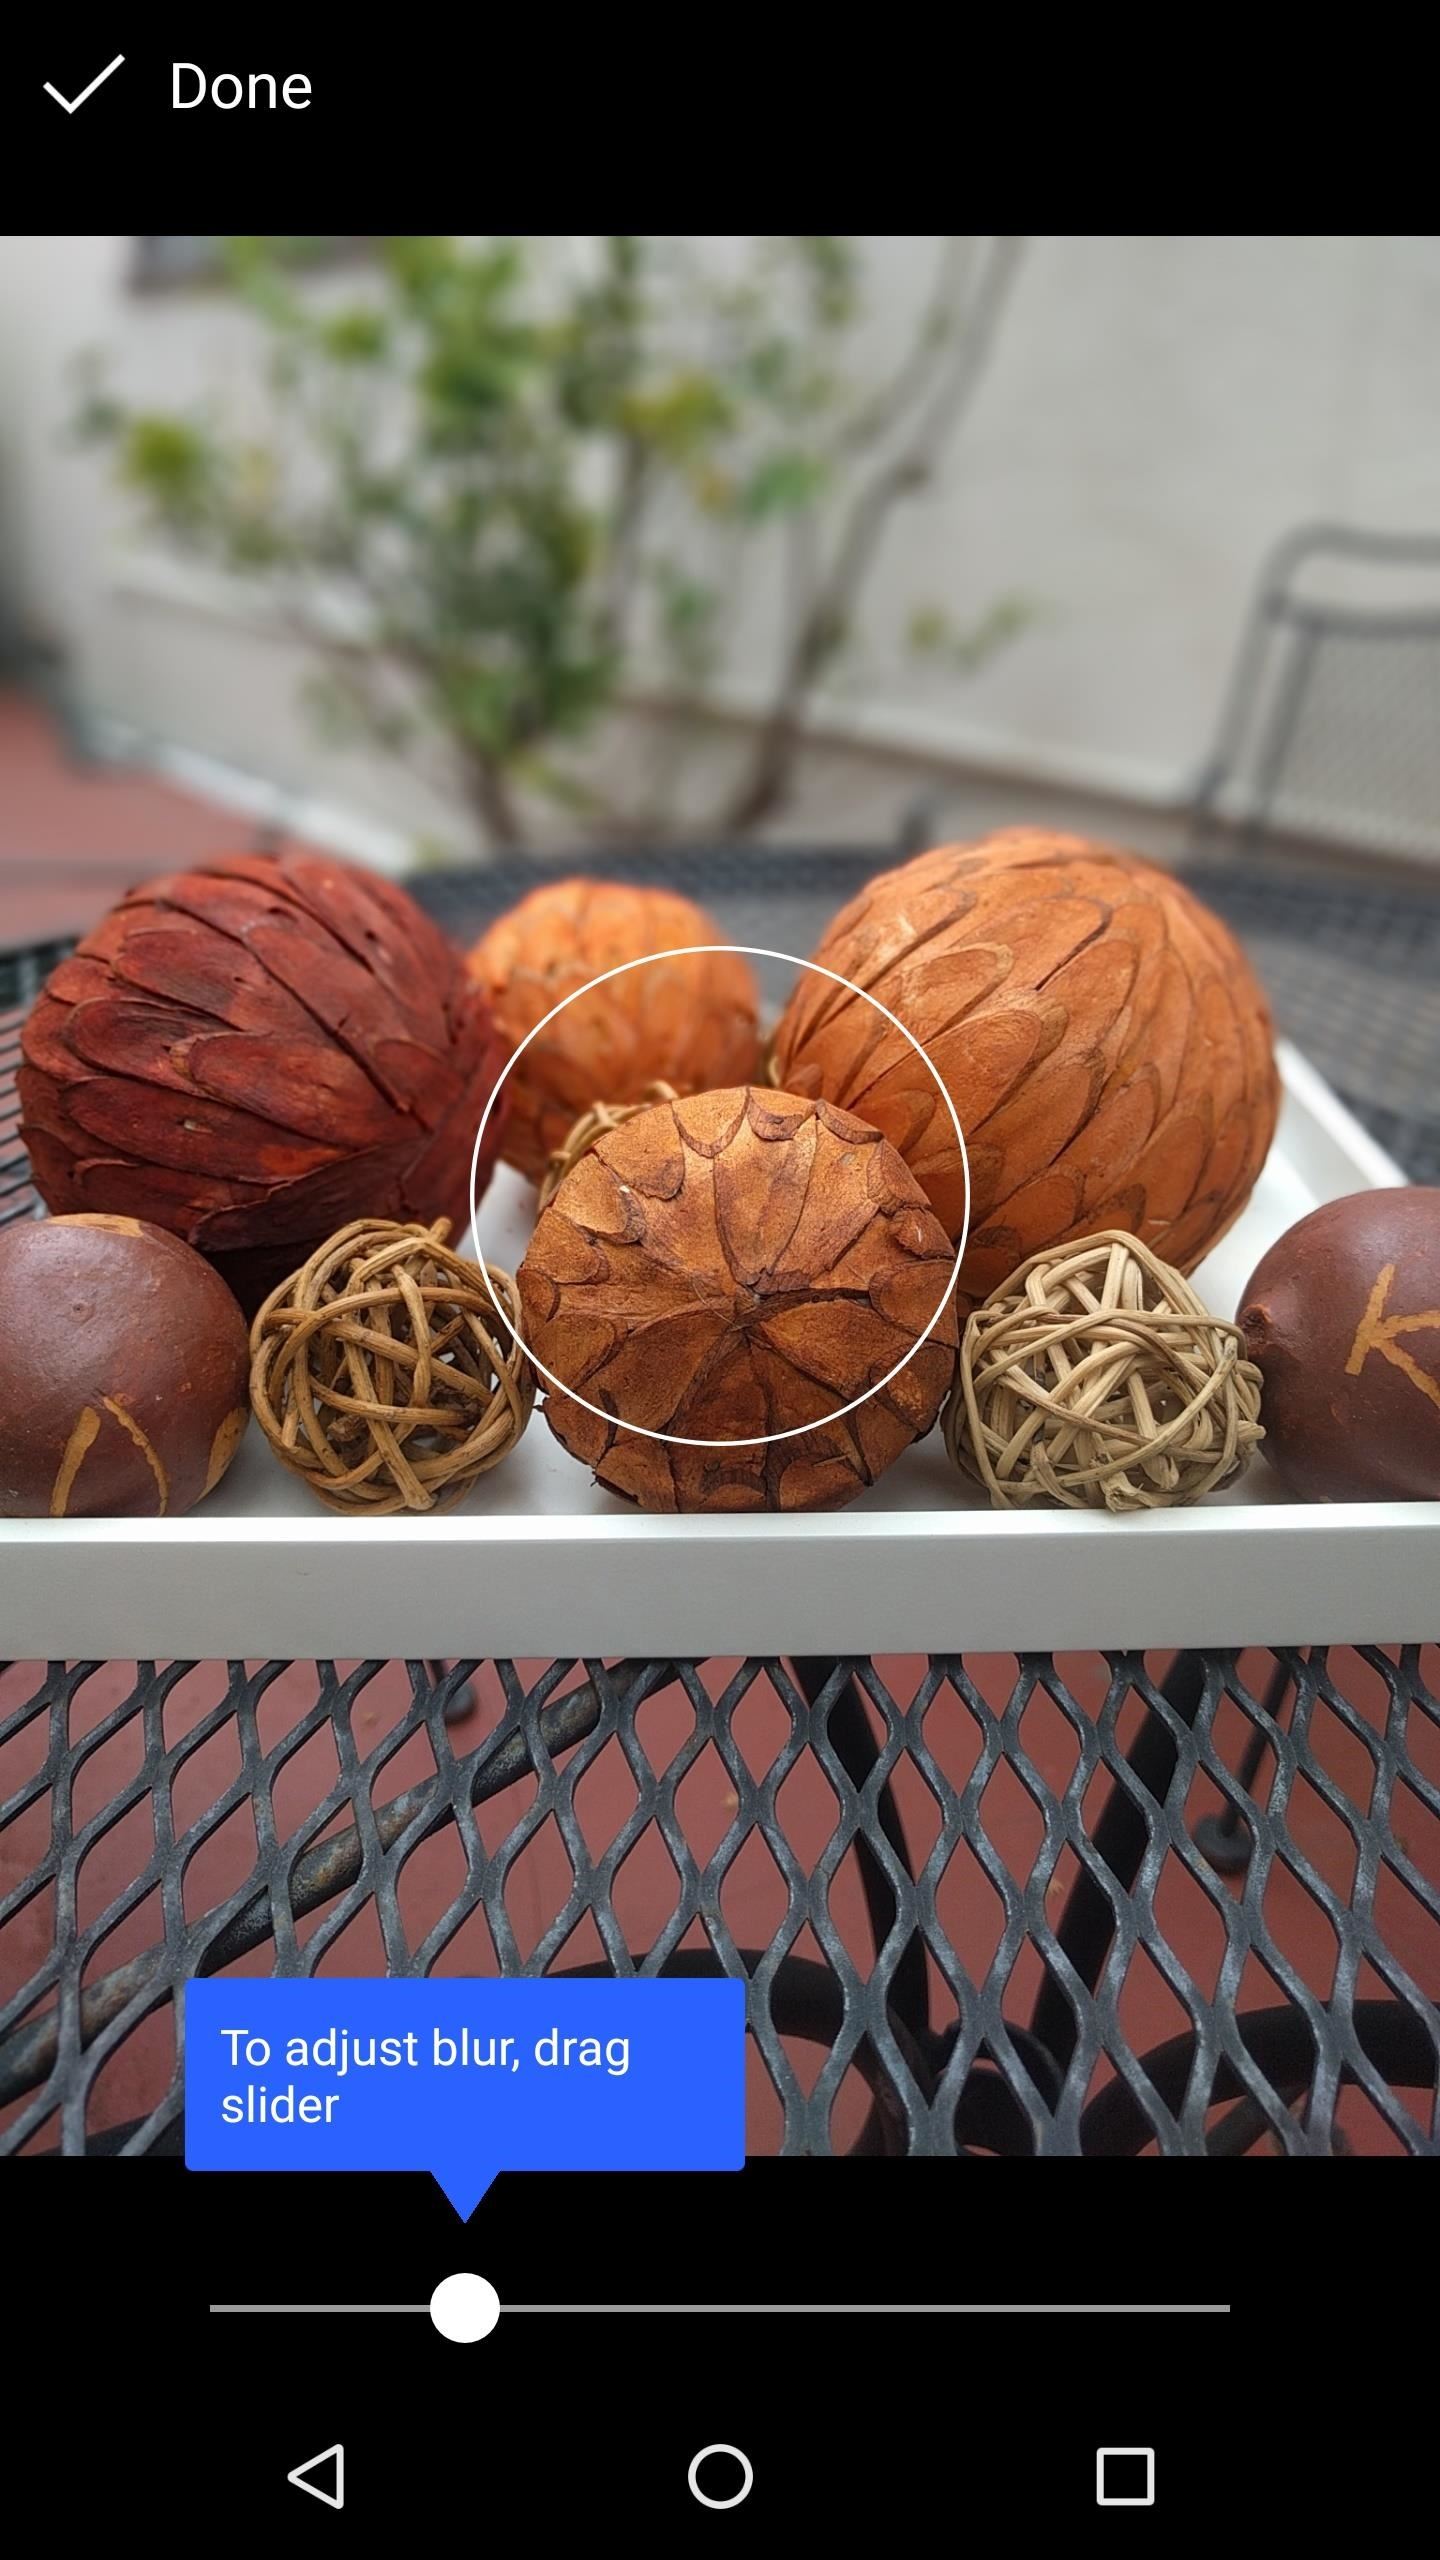
Once you've taken your photo, tap the preview image in the bottom-right corner of Google Camera to view the picture. Google Camera will have already picked a focus point and applied a bit of blur, but you can adjust this manually as well.
To do that, press the button that says "To refocus, tap here." Next, you can tap any area of the image to set it as the focal point of your photo, then use the slider at the bottom of the screen to adjust the amount of blur that will be applied to the non-focused areas. When you're satisfied, just tap "Done," then your pro-style photo will be ready to share.

The Google Camera app achieves this effect by creating a 3D map of the scene while you're moving your phone, which allows it to know which objects are closer to or further from the lens. This is the same way the iPhone 7 Plus works, but it creates the 3D map on the fly, whereas Google Camera does it after you've taken a shot.
This 3D map is embedded in the picture's metadata, so it can be used by other apps to create different effects. Two of the coolest ways to use this is to create parallax GIFs, or even your own custom live wallpapers — so now that you've mastered Lens Blur, you can see how to use those features at the following links:
Who needs a wand? Unlock your magical powers and transform yourself from a Muggle into a Wizard or Witch just by using your Android phone. See how:


1 Comment
disappointed play store says cant find content in ur country?!! tried to download the google camera on my phone, im in the uk
Share Your Thoughts