
If you've ever owned an HTC device or anything in the Nexus line, odds are, you have typed the word "fastboot" into your command line at one time or another. That said, odds are, you have only just barely scratched the surface of what this handy little Android tool can do. Let's take a deeper look.
What Is Fastboot?
Fastboot is a tool/protocol for writing data directly to your phone's flash memory. In practical use, it is used to flash images such as recoveries, bootloaders, and kernels to your Android device. Outside of the obvious, you can also restore nandroid backups, change your splash screen, and flash system updates.
Fastboot can do very little without a rooted device and an engineering SPL (secondary program loader), meaning the bootloader, or HBOOT for HTC. If you have a Nexus device, you don't typically need to mess with your SPL, as your device comes from the factory with a fairly capable bootloader.
Just like ADB, fastboot is included in the Android SDK.
Step 1: Installing Fastboot
Downloading the entire Android SDK if you only need fastboot is overkill. Thankfully, it is possible to download and install the specific tools that we need in just a few easy steps, on all major operating systems.
Windows Installation
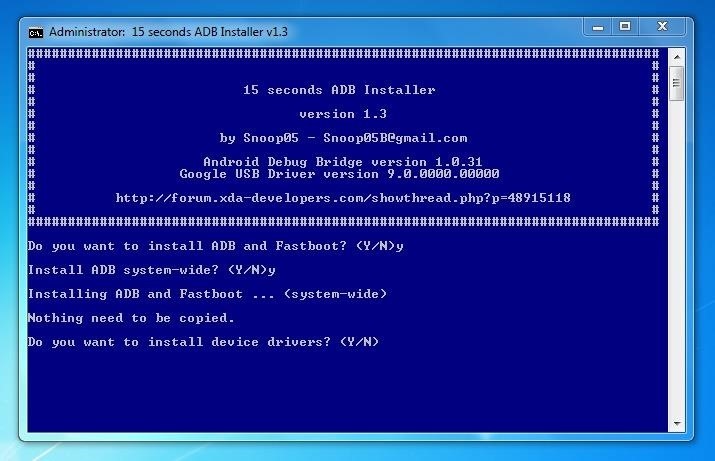
Getting fastboot to work on Windows can be a little challenging. Thankfully, XDA forums user Snoop05 created an installer that massively simplifies the process, by installing both Fastboot and ADB, installing the necessary device drivers, and adding these tools to your system PATH (allowing them to be run from any folder via the command line), into a 15-second operation.
Simply download and run the installer. You will be asked if you want to install ADB and Fastboot—type "Y" and press enter. It will then ask if you want to install ADB system-wide—again, type "Y" and press enter. After that, it will ask about installing the device drivers.
Once again, type "Y" and press enter, which will open another installer for the drivers. Simply click "Next" and allow the drivers to install.
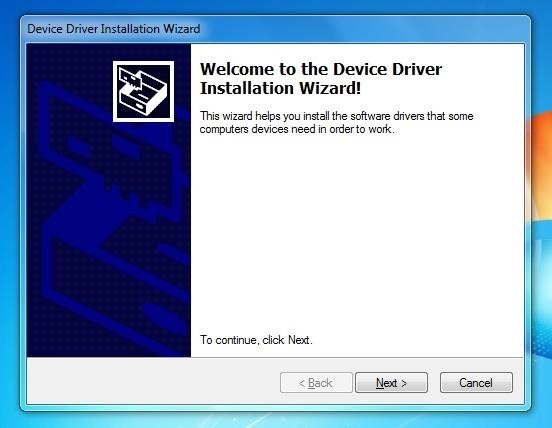
Once the installation is complete, select "Finish" and the installer will close and you are all done.
Mac OS X Installation
In the same vein as the Windows installer used above, scripts have been written for OS X that massively simplify the Fastboot installation process.
Follow the process in the above video and described here by Andrew to quickly install Fastboot and ADB on your Mac computer.
Linux Installation
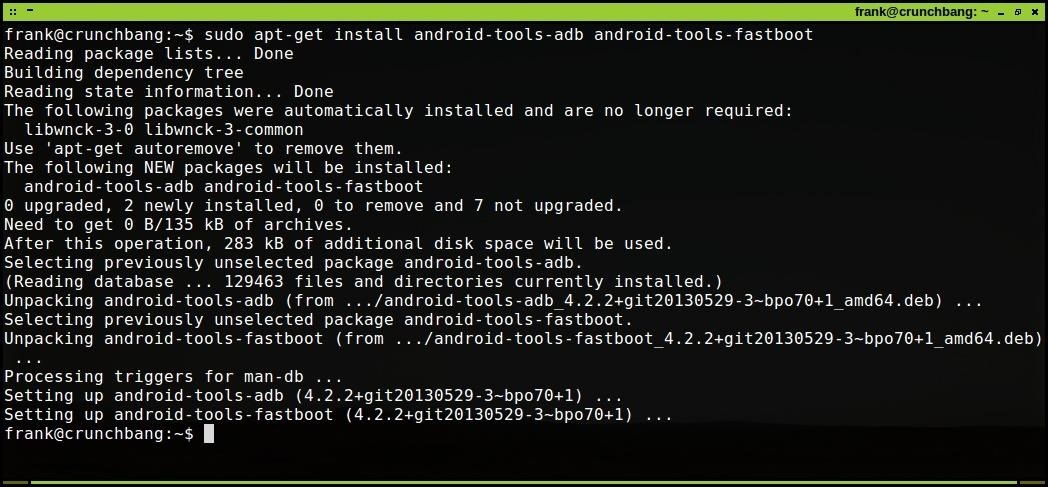
By far the easiest installation process of them all. On many distros, including Kali Linux and BackTrack, you will only need to issue a single command from the terminal:
sudo apt-get install android-tools-fastboot android-tools-adb
If for some reason that does not work, you may need to manually add a repository to APT (advanced packaging tool) with the following command. Once that is complete, issue the first command again and it should install this time.
sudo add-apt-repository ppa:phablet-team/tools && sudo apt-get update
Note: If you are using a flavor of Linux that does not use APT, you will need to look up the installation procedure for your specific package manager, though it should be fairly similar.
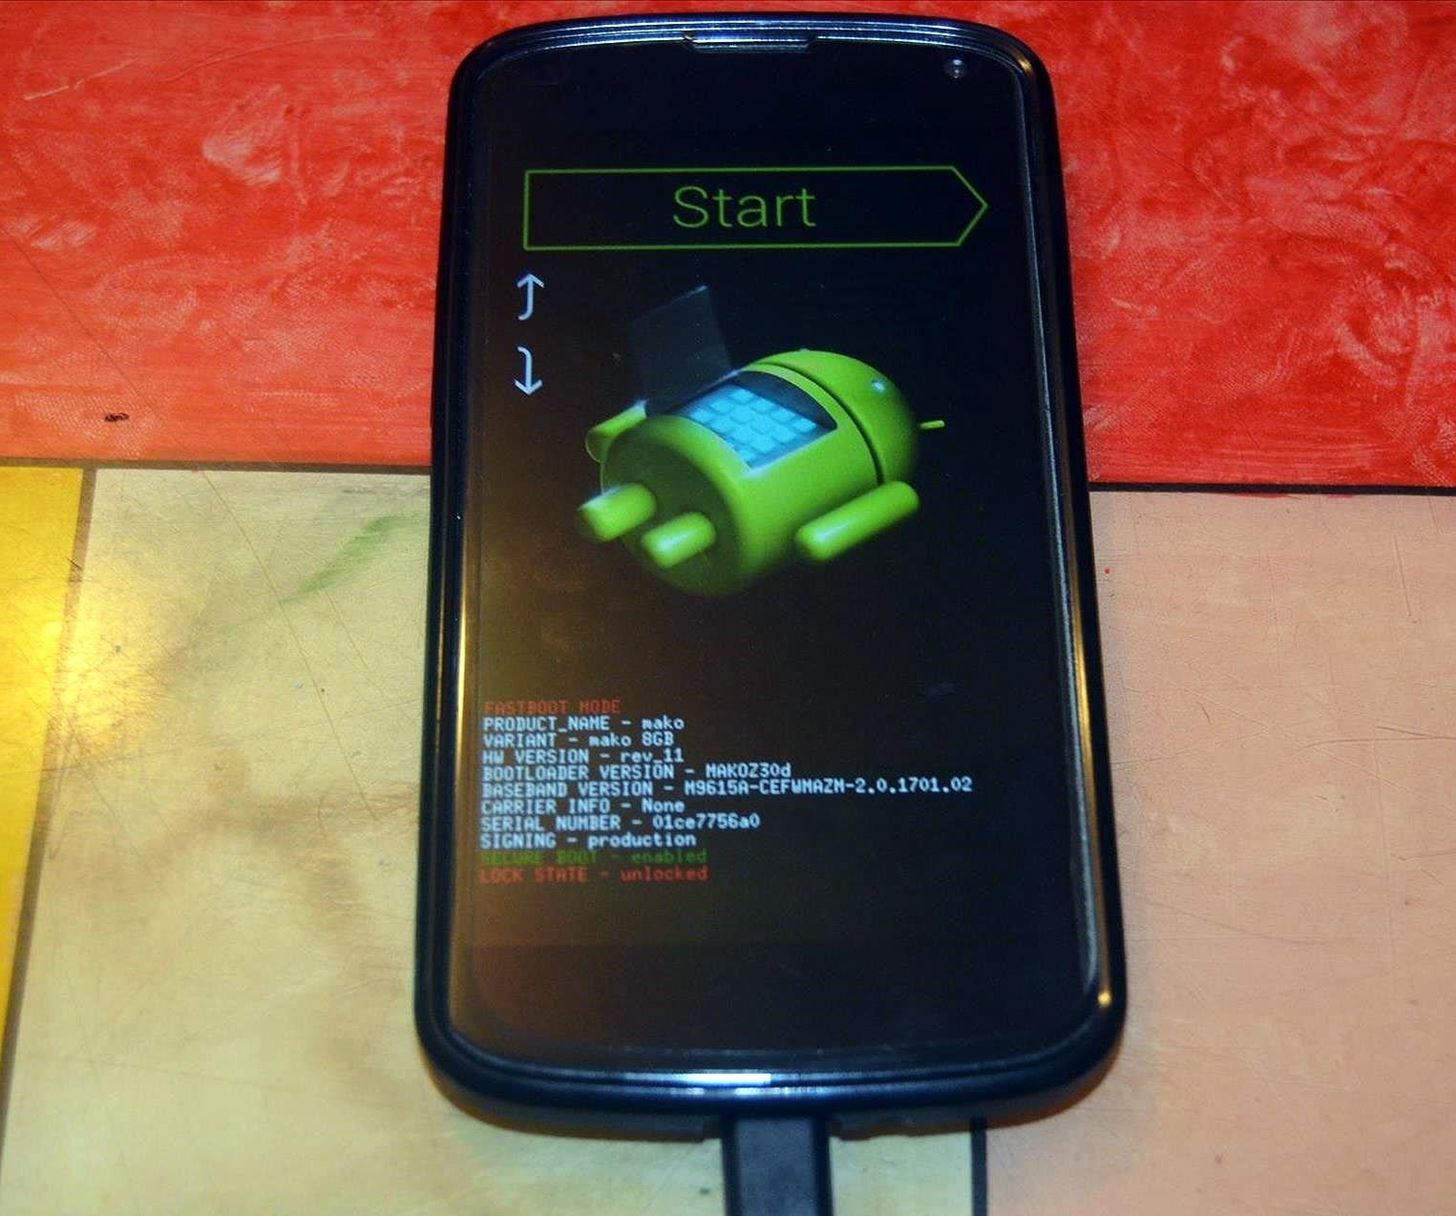
Step 2: Setting Up Your Phone to Use Fastboot
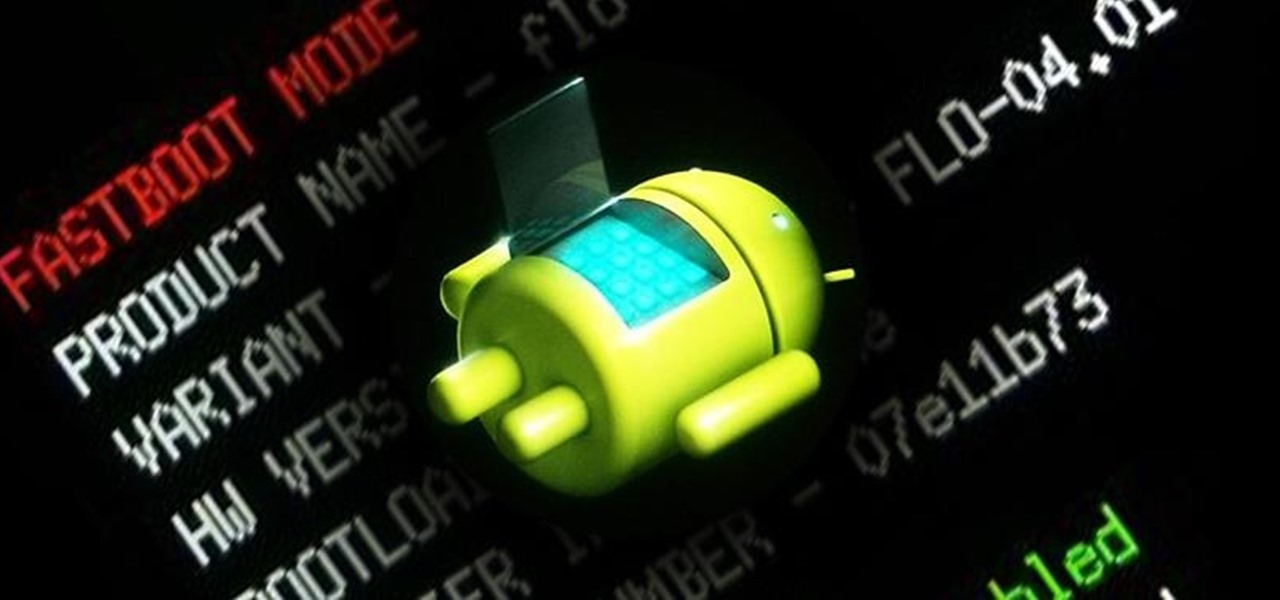
Now it's time to boot your phone into "fastboot mode." On most models, you can enter fastboot mode by turning your device completely off and turning it back on by holding down the Power and Volume Down buttons simultaneously.
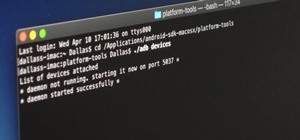
With your device in fastboot mode, connect it to your computer using your device's USB cable, then open up the command/terminal prompt on your computer and type the following.
fastboot devices
If fastboot is working properly, you will see your device listed here by its serial number.
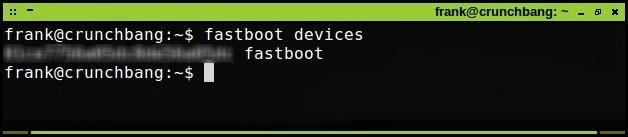
If you do not see any devices listed, make sure that your device is actually in fastboot mode and that you are using a good USB cable (yes, this does make a difference).
Step 3: Basic Fastboot Commands
Now that we have fastboot up and running, let's see what we can do with it.
Unlock/Relock Your Bootloader
On Nexus devices, the following command is all that is required to unlock your bootloader and root your device.
fastboot oem unlock
However, on other devices, unlocking the bootloader alone will not be very helpful. You will need to use specific exploits to remove the radio secure flag completely. Be sure to do research on your specific device to know the exact unlocking/rooting procedure.
To reverse the above process and relock your device's bootloader, simply use the following command.
fastboot oem lock
NOTE: Be aware that unlocking the bootloader will wipe your device, so back up all your user data before doing this.
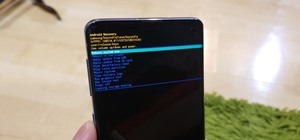
Flash a Custom Recovery
There are a number of custom recoveries that are available for most devices, the most popular of which are ClockworkMod and TWRP. Download a recovery for your device to your computer and make sure that it is an IMG file (it may need to be extracted, if it has a ZIP or other archive extension).
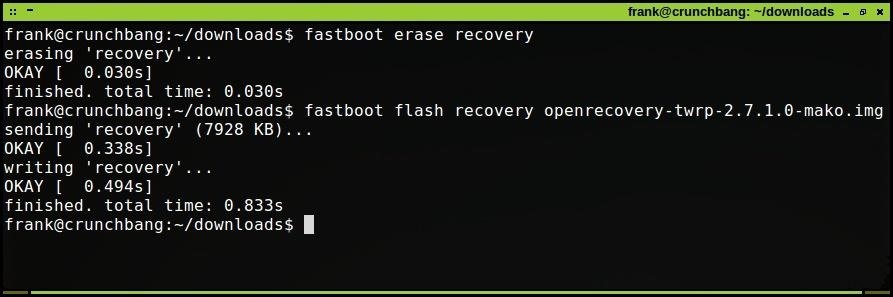
Open the command prompt, navigate to the folder where the recovery image is saved and issue the following commands:
fastboot erase recovery
fastboot flash recovery <recovery-file.img>
Flash a Custom ROM
Typically, once a custom recovery installed, most will use it to install ROMs, kernels, etc. However, it is possible to to do all of that with the fastboot, which can be useful, especially if you find yourself in a situation where your recovery partition is corrupt.
Download a compatible ROM to your computer. Open up the command prompt and navigate to the folder where you downloaded the file, then use the following:
fastboot erase system -w
fastboot erase boot
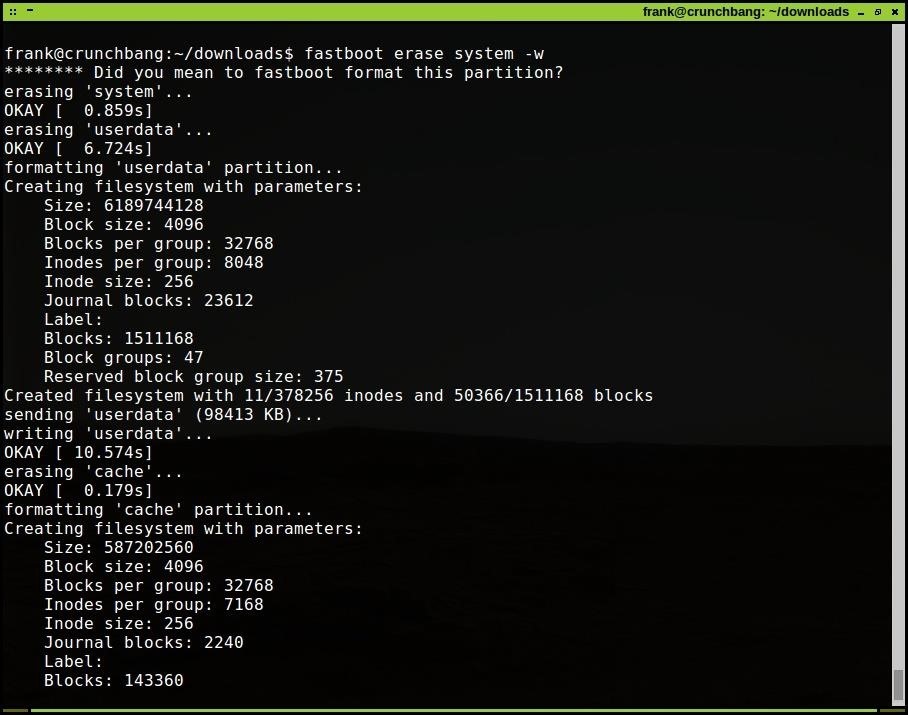
These commands will wipe your device's system, data, cache, and boot partitions before your install your new ROM. While there are times when a "dirty" flash is okay, doing this will help you to avoid issues when installing a new ROM. Now, enter the following command:
fastboot update <your-file.zip>
The zip is now installed—if your device does not automatically reboot, you can do it manually by issuing this command:
fastboot reboot
Flashing a Radio
Flashing a new cellular radio to your device can be dangerous. That said, a new radio can improve cellular reception, data speeds, and battery life. It is impossible to know which radio will work best for you without trying it out and observing the effects, as they will react different based off geography and general signal strength in your location.
Download a radio for your device to your computer and make sure that it is an IMG file (it may need to be extracted, if it has a ZIP or other archive extension).
Open the command prompt, navigate to the folder where the radio image is saved and issue the following command:
fastboot flash radio <radio-file.img>
When that command executes successfully, reboot the bootloader:
fastboot reboot-bootloader
Occasionally, device manufacturers will also release a "rcdata.img" file with a new radio. This file should also be flashed, via this command:
fastboot flash rcdata rcdata.img
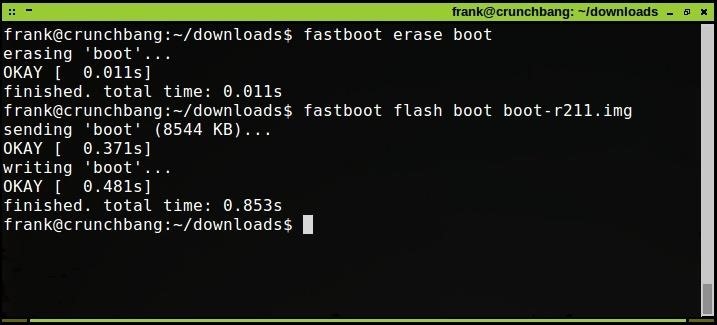
Flashing a Kernel
Download a compatible kernel for your device to your computer. The kernel should be an IMG file. Open a command prompt, navigate to the folder where you saved the kernel and issue the following commands:
fastboot erase boot
fastboot flash boot <kernel-file.img>
Step 4: Advanced Fastboot Commands
Now that you've got the basics down, here are some fun advanced fastboot techniques that might come in handy.
Change Your Device's Splash Screen
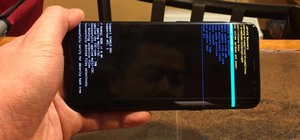
Flashing a new splash screen (the image or GIF that displays as your device is booting up) is a surprisingly low-level task to perform on your Android device and, as such, requires full s-flag off status to work. If you don't know what this means, I would suggest just sticking with the default.
Download or create a splash screen image file. Open your command prompt and navigate to the folder where it is saved , then issue this command:
fastboot flash splash1 <splash-screen-file.img>
When you reboot your phone, you should now see your new splash screen.
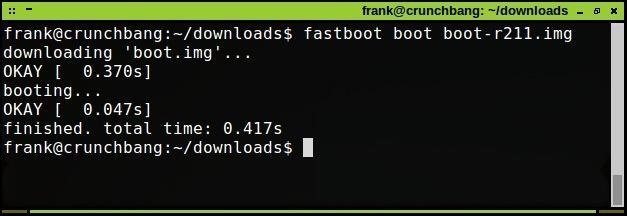
Boot Your Phone with a Kernel or Recovery Image Without Flashing It
Ever feel like trying out a new kernel or a custom recovery, but you're not sure that you want to commit? Maybe you would like to test out several kernels back to back to evaluate their features and performance, or you need a specific recovery feature but know you will only need it once. Here is how to boot your device with a kernel or recovery without flashing it.
For kernels, open a command prompt, navigate to the folder containing the kernel (which must be an IMG file) you want to boot and type:
fastboot boot <kernel-file.img>
For custom recovery images, open a command prompt, navigate to the folder containing the recovery (which must be an IMG file) you want to boot and type:
fastboot boot <recovery-file.img>
Restore a Nandroid Backup
While unfortunately you cannot make a nandroid backup with fastboot, you can use this versatile tool to restore one, quickly and cleanly.
The nandroid backup must be stored on your computer (which is convenient anyway as it frees up space on your device) and it must be stored in the yaffs2 format (you can identify this format as a series of IMG files that correspond to the various backed up partitions, like data, system, and boot).
First, perform a system wipe:
fastboot erase system -w
fastboot erase boot
Next, flash each partition from your nandroid backup:
fastboot flash userdata data.img
fastboot flash system system.img
fastboot flash boot boot.img
As easy as that, your backup is restored and you can reboot your device.
Now that you have a better grasp on what fastboot is and what exactly it can do, you can dive into your Android device's partitions and flash with confidence.
That's about it for this introduction to fastboot. Is this something you'll be using the next time you hack your device? Or are you already familiar with fastboot and think we left something out? Let us know in the comments!
Who needs a wand? Unlock your magical powers and transform yourself from a Muggle into a Wizard or Witch just by using your Android phone. See how:


3 Comments
i flashed all the img files but now it startup with the BOLT logo and it disappears and I am now with blank black screen and no boot
Informative and comprehensive guide on the many uses of fastboot mode in Android. But there's one critical error: root access of the Android OS is never a requirement to use fastboot mode. In fact, fastboot is a great way to flash a stock firmware image to a soft-bricked or boot looping non-rooted device.
i have an andrid tablet in boot loop going to try some steps
Share Your Thoughts